
Trees can be tricky. Their many leaves cast shadows and reflect highlights in ways that can catch you off guard. That said, I love drawing trees. Especially the ones with great big gnarled trunks and lots of character. You can tell that they have seen a lot in their lives. If only they could talk, we could learn a lot from them.
I create each image in Photoshop using a graphics tablet and several layers for the tutorials you’ll find here. I’ve also included tips for most steps to help digital, and paper artists create a better tree. So take your time, and enjoy the process. This image took about two and a half hours to create, and that’s with making sure each layer and each step had an image saved for the tutorial.
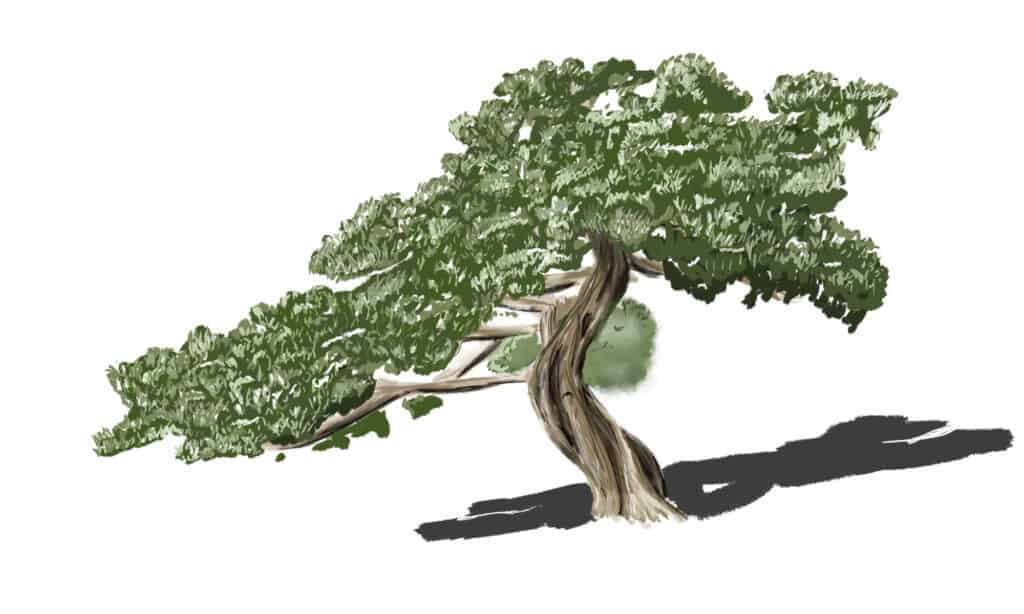
I chose a pine tree that grew on a cliff overlooking the ocean. Its windswept branches and twisted trunk are a testament to the struggle it endured as it grew.
Supplies
| Supplies | Reason for Preference |
|---|---|
| Your favorite drawing paper | You can choose any paper you like to work with. I prefer Bristol smooth because of its versatility. |
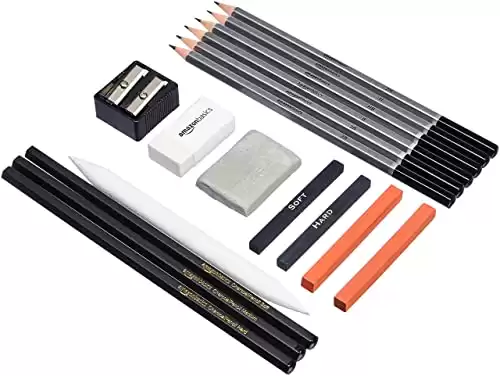
| Drawing pencils | Don’t spend a lot if you’re just getting started. Inexpensive pencils from Amazon or a nearby dollar store will work. |
| Watercolor or colored pencils | 2-3 shades of brown, 2-3 shades of green, black, and white. |
| Erasers | Moldable putty-type erasers and regular rubber erasers. |
| Blending stumps or blending pencils | I like the precision that the stumps and pencils offer over my finger. |
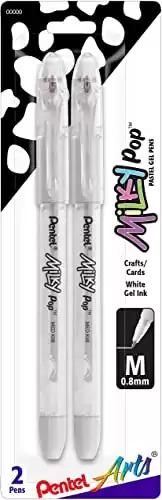
| White gel pen | White gel pens are great for highlighting things at the end. |
| Watercolor paint brushes | Small detail brushes are what I would use for this. |
1 – Sketch an Outline for Your Tree Drawing
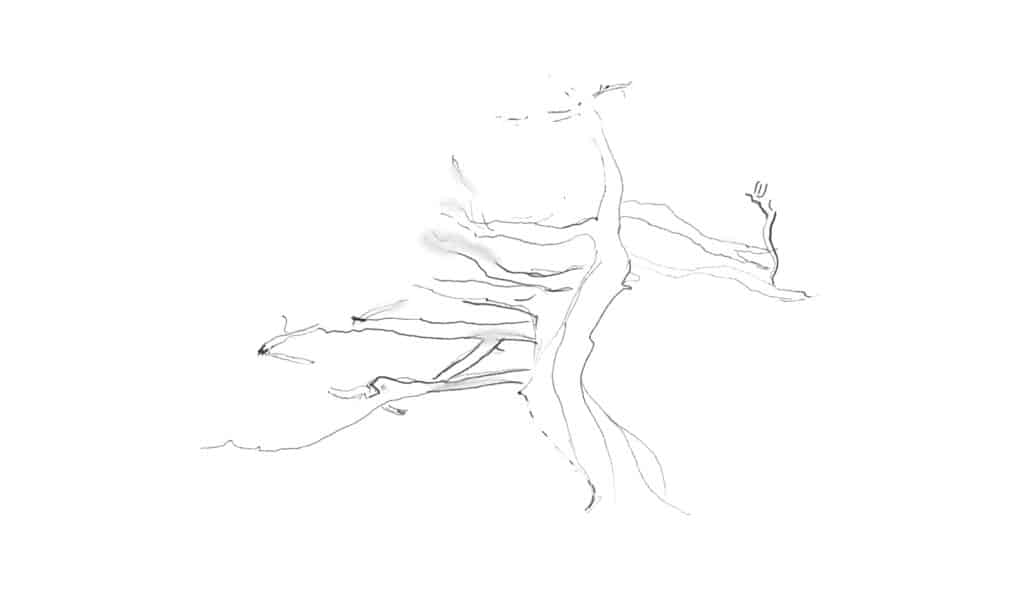
As always, start with a basic shape. For the tree drawing, I didn’t see the necessity of drawing cylinders and circles like when we drew the horse or dog. Tree trunks have a few basic rules, but their final forms are shaped by the environment where they grow. Even trees of the same species growing 100 yards apart can vary significantly.
Notice that I did not draw a straight trunk. This is because nearly constant winds that sweep over the cliff’s edge have caused its trunk to twist and turn during its growth, and the effect is clearly visible.
Give your tree drawing an outline of the canopy. Because it’s a pine tree, there won’t be many visible individual needles. Even at short distances, they often blur together a little. Later, we’ll call attention to a few of them with careful highlights. However, make the outline somewhat jagged for now, as if clumps of needles are poking out from the edges.
This isn’t a science, so don’t be overly concerned with perfection. Also, we’ll be erasing or blending in all of these lines later in the process, so draw lightly!
2 – Layer the Color into the Tree Trunk in Your Drawing
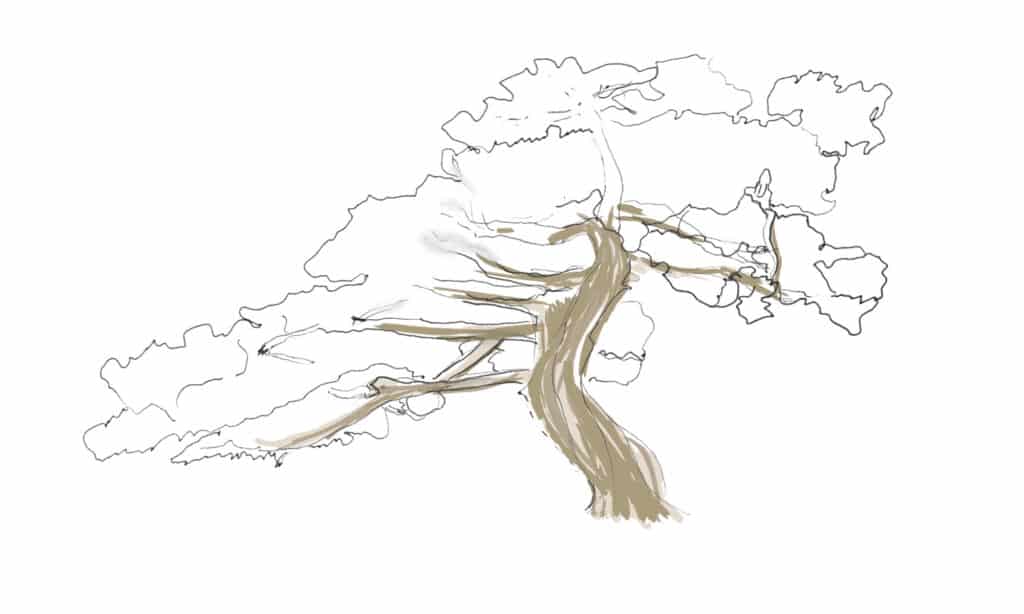
This tree’s gnarled trunk will take a few colors to make it look right. Starting with a light tan, coffee-with-cream color, fill the branches and tree trunk with the base color. Then use either a darker tan or layer on more of the same color in streaks of color that follow the curves but do not blend them together.
Build up some more color, again in streaks. Use a darker brown than the first layer. You can also add a touch to the lower edges of the branches with dark brown to begin to give it shape.
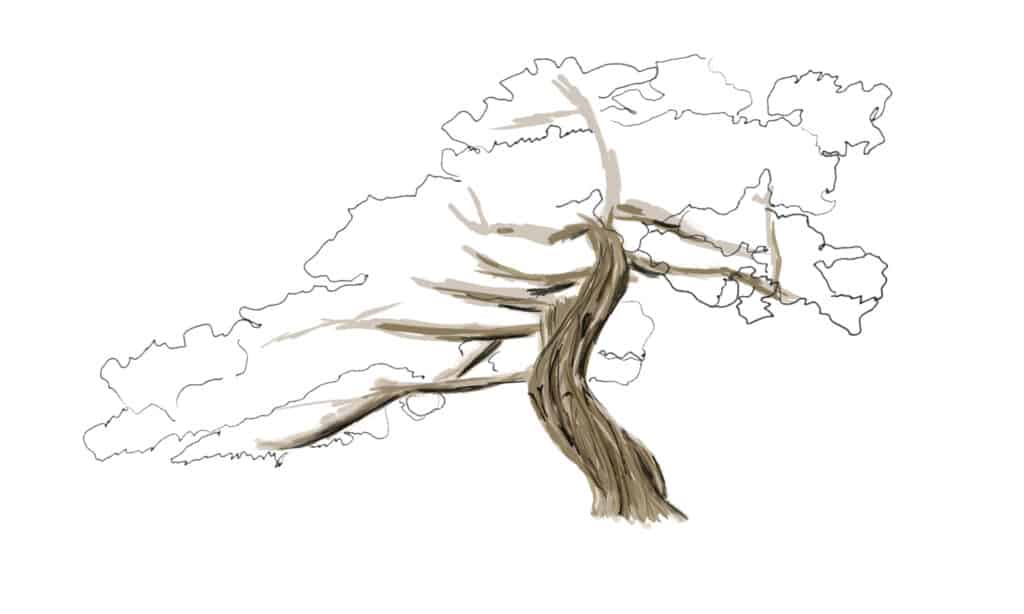
As before, do not blend tree trunk colors together. Instead, layer even more dark brown in streaks, following the twists of the tree trunk. Keep doing this until you’re happy with the results.
Digital artists: I did all the tree trunk colors in separate layers, then merged them when I was happy with the results. Although, in truth, it wasn’t necessary to merge the layers, building the color this way made it possible to completely remove things I disliked without damaging the rest of the tree drawing.
Paper artists: If you only have two shades of brown, that’s okay. Starting with the lightest brown, gently color the whole trunk, then use the same brown with more pressure to add a few darker streaks. Next, move on to the darker brown and first use it gently, then add more pressure for a darker stroke. If you add too much, use a moldable eraser to remove some of it.
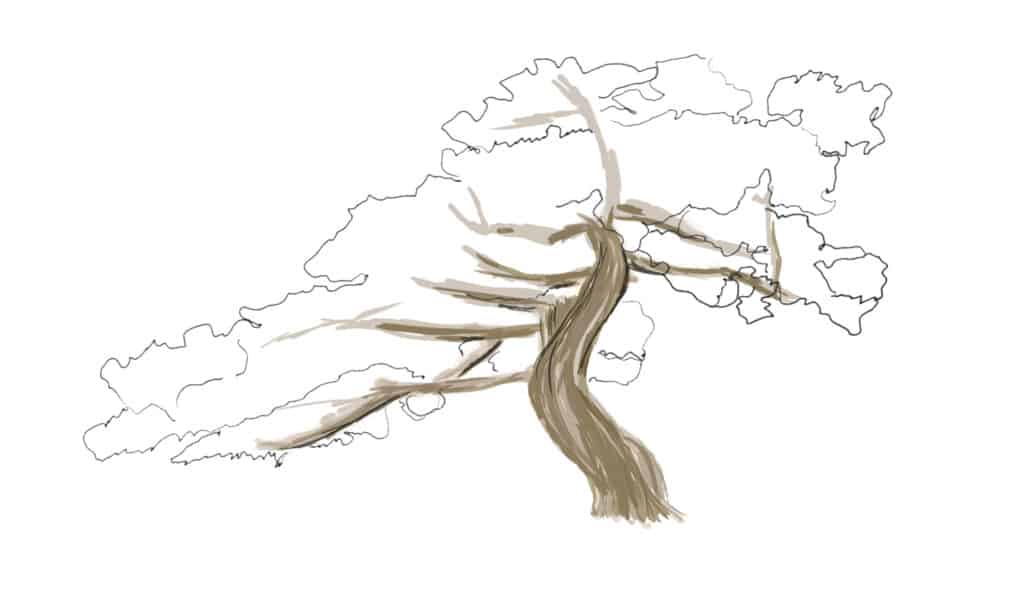
3 – Layering Color Into Your Tree Canopy
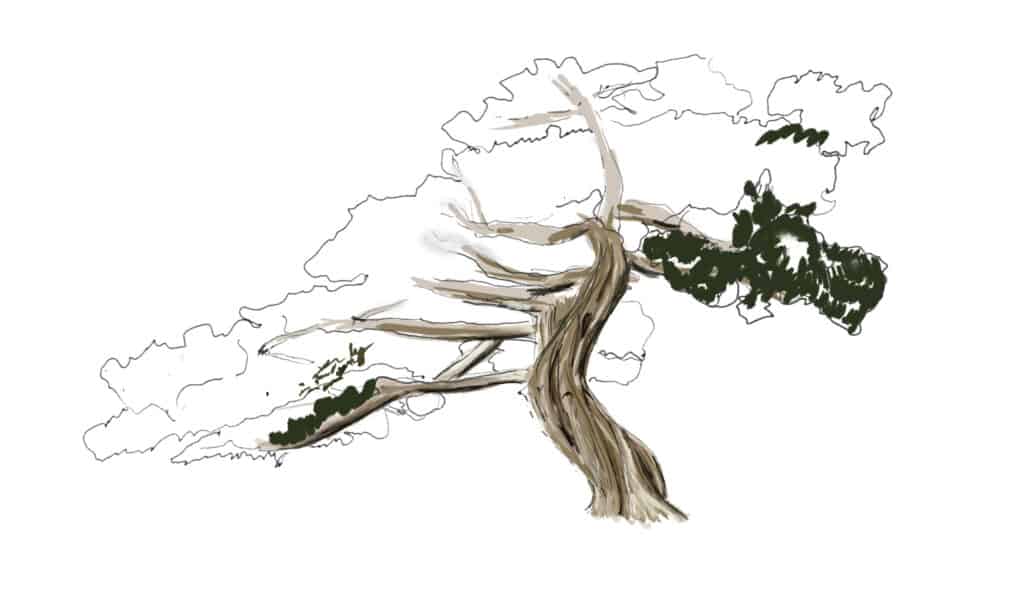
Use a relatively dark brownish-green to color the lower sections of the canopy. Be sure to leave lots of holes for lighter colors. Use a zig-zag motion to simulate pine needles’ sharp points that stick out from the clumps.
Next, take a medium green to do the main areas of the canopy. Leave lots of jagged little holes because we’ll fill those in with a lighter green. You can also add a smudgy clump of needles on the far side of the tree. They’re farther away, so if you were looking at the real thing, you wouldn’t see as much detail.
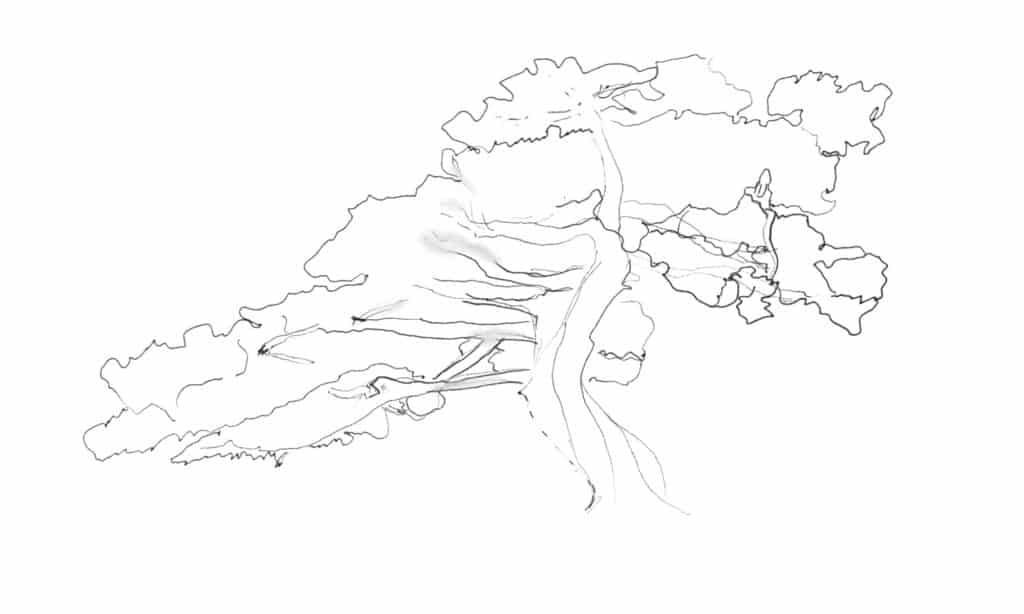
After this, you do not need any of the outlines. Either remove them or blend them into the drawing.
We’ll add highlights to the tree drawing as we go instead of all at the end. For me, it’s the best way to get a really excellent tree canopy with the depth and various colors you expect to see.
The sun is coming in from the left of the tree in the drawing, about two-thirds up the page. Remember this! More of the lighter colors will be on that side of the page, while the darker shades are strongest on the opposite side, lower on the page.
The highlighted needles are getting the most light, making them appear brighter. Take a lighter green and make clumps of needles in most areas that you previously left without color. Leave some open space, you can always add more if you like, but it’s difficult to remove things if you find you’ve done too much.
Digital artists: Make sure you’re creating new layers for the tree canopy. It will help if you find that you don’t like something you did. To achieve the texture, I used a charcoal pencil brush in Photoshop for most of this drawing; it gave me the slightly cleaner edges I wanted and texture to the tree.
Paper artists: Take your time. Starting with the darkest shades but leaving space for the lighter color shades is the easiest way to get the detail at an appropriate level. I know artists who start with the lighter stuff and go in the other direction. I think it depends on the individual doing the drawing and the media they’re using. Experiment until you’re comfortable. At this point, when you’re happy with the drawing, you can use watercolor brushes to wet the color very slightly to make it pop.
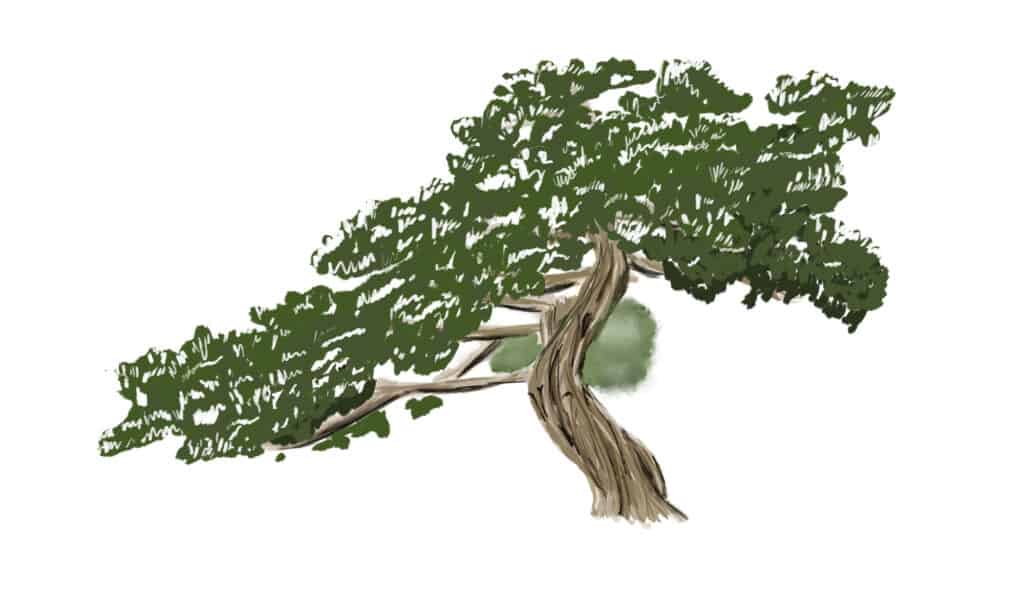
4 – Add a Little More Shading to Your Tree Drawing

I decided the tree trunk in my drawing needed more shadows and remembered that the tree itself casts a shadow on the ground. So here they are – the shadows on the tree trunk were oh-so-gently blended, so I didn’t mess up the detail I worked so hard to create. The shadows on the tree trunk were cast through the canopy, so they are filtered and softer-edged. The shadow on the ground is just a distorted silhouette of the tree. I also added just a touch on the lower edges of the branches.
Digital artists: Create a layer on top of the tree trunk but below the canopy. Set it to “Multiply” for these shadows.
Paper artists: For the shadows on the tree trunk and branches, use a blending stump with a fair amount of graphite embedded into it. For the shadow on the ground, use a soft pencil like a 4B.
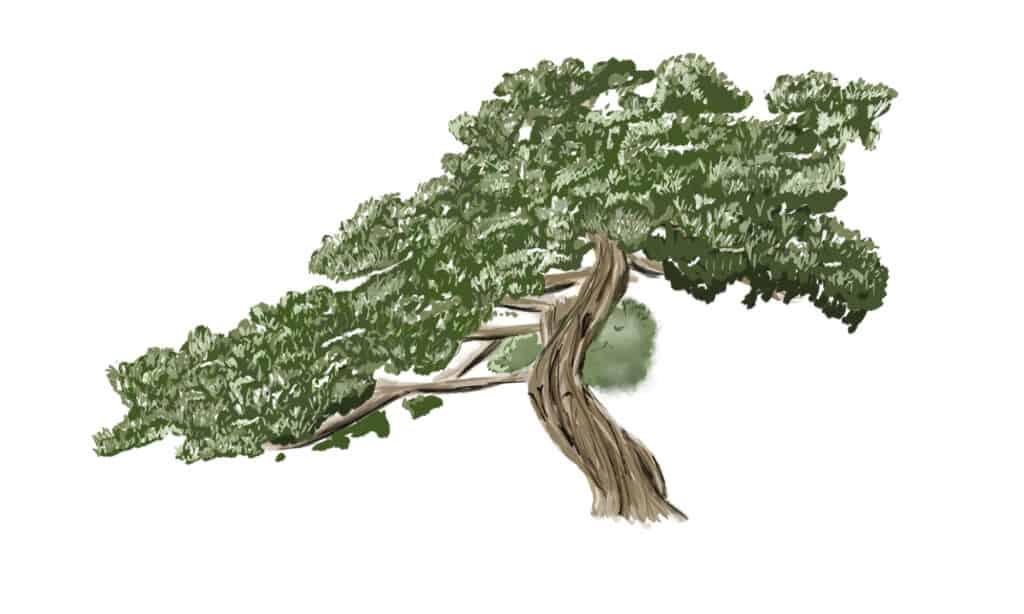
5 – Highlighting Your Tree Drawing
Adding a few highlights will make this pop. But, thanks to the method we used to draw the tree canopy, we don’t need much. Just stand back and look at it. If something is screaming for more attention, then add a little white.
The tree branches and trunk need the most. Notice the tops of the branches and the front of the tree trunk; there are a few highlights in each area where the light is brightest. Add a little white to the tree drawing in those areas and gently blend the edges.
Digital artists: As always – create a new layer for the highlights.
Paper artists: White gel pens are great here, but you could also use a moldable eraser and gently pull away the color if you have not already used water on the page.
6 – Finishing Your Tree Drawing

What cliff-dwelling tree doesn’t need an ocean far below? You could also add tiny sailboats or rocks to help give the impression of distance. Or perhaps a whale is breaching, far off in the distance? Have some fun with it.
When you’re satisfied, let it sit for a day or two. Then, after you’ve had a break from staring at it, I promise you’ll have a clear head and fresh eyes to see what (if anything) needs to be changed.
Digital artists: I wanted to do something with this, so I created four new layers behind the tree in Photoshop. Leaving them set at “Normal,” I filled in a few things.
- Ground
- Water
- Cloud
- Sky
Paper artists: Ideally, you’d want to have the background at least started before you start the tree. I would draw the tree outline, then lay down the basic colors for the background behind and around it. Color in the blues of the sky and ocean where the canopy is open.
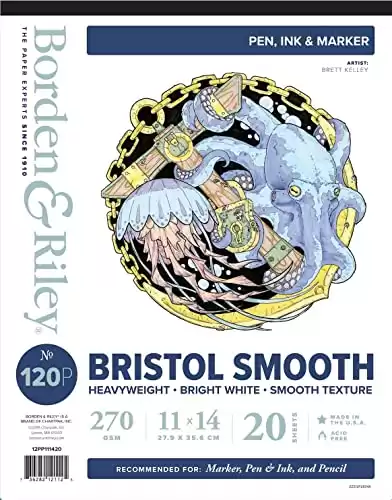
- 157 lb. paper with neutral pH
- Sturdy, 2-ply paper with smooth rendering surface
- Perfect for pencil, pen, dry brush, and other mediums
- 11" x 14"
- Made in the USA
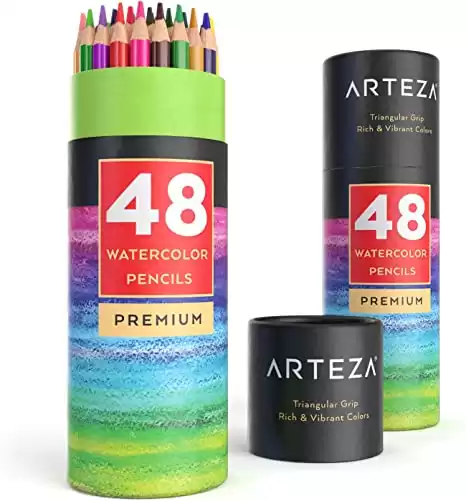
- Includes 48 artist-grade colored pencils
- Highly pigmented
- Water-soluble
- Unique triangular design makes these pre-sharpened watercolor pencils easier to hold and control
- Break-resistant

- Pack of 6
- Kneaded rubber/gummy erasers
- Erases and/or lightens most dry media
- Also helpful for blending, highlighting, shading, smoothing, correcting, and brightening drawings
- Easy to clean by kneading between your fingers
- Designed for artists of all skill levels
- 17-piece set includes pencils, charcoal pencils, compressed sketch sticks
- Also includes a standard eraser, a kneaded eraser, a blender/smudge stick, and a dual-barrel sharpener
- Allows artists to experiment and combine different techniques
- Budget-friendly
- Set of 2
- Add a pop of milky white color to any artwork
- Features smooth gel ink
- Works equally well on light or dark-colored paper
- Latex-free grip for comfortable drawing
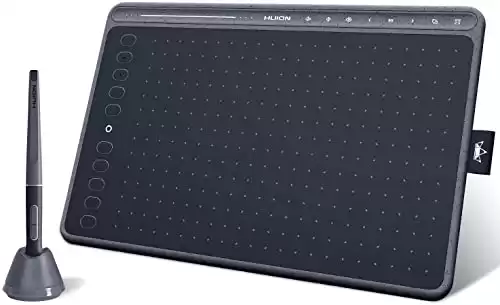
- This is the first graphics tablet equipped with 8 multimedia keys
- The multimedia keys are intuitive and can be used for a variety of artistic needs
- Can be connected with Android 6.0 (or later) phones or tablets via an adapter
- Battery-free stylus doesn't require a battery or charger
- Sleek and slim design available in 3 colors?
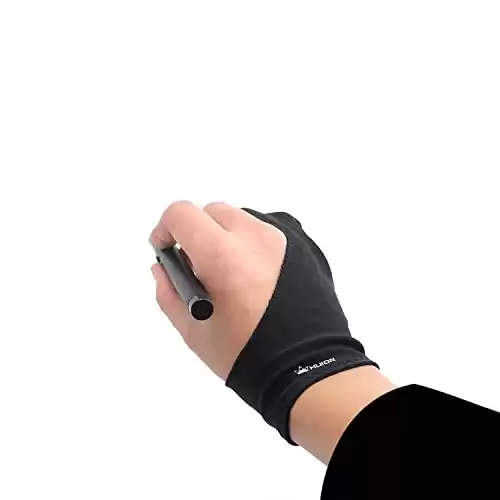
- Wear on either hand
- Prevents smudges from your hand transferring to your tablet
- Comfortable, soft, Lycra and Nylon
- Flexible
- Black
Next Up in This Series:
The photo featured at the top of this post is ©


How to Add Us to Google News


Thank you for reading! Have some feedback for us? Contact the AZ Animals editorial team.