
Corn is a nutrient-dense crop and includes a variety of vitamins that are beneficial to human health. Moreover, it is easy to grow for gardeners of all skill levels in various growing environments. So, if you want to grow corn for the first time, this article will go over all the basics you need to know. We’ll discuss corn’s botanical classification and history, optimum growing zones, when and how to grow it from seed, how to transfer seedlings, and the harvesting process, among other things.
Let’s get started!
Botanical Classification and History
Native people in Mexico started growing maize about 15,000 years ago. People think modern maize came from a wild grass called Zea mays parviglumis (Balsas teosinte). However, when Europeans came to North America, their culture reached as far north as southern Maine, and Americans taught them how to grow the native grains.
Since Christopher Columbus and other explorers and colonists brought maize to Europe, it has spread to all places where it can be grown. It can be grown from 58° N latitude in Canada and Russia to 40° S latitude in South America.
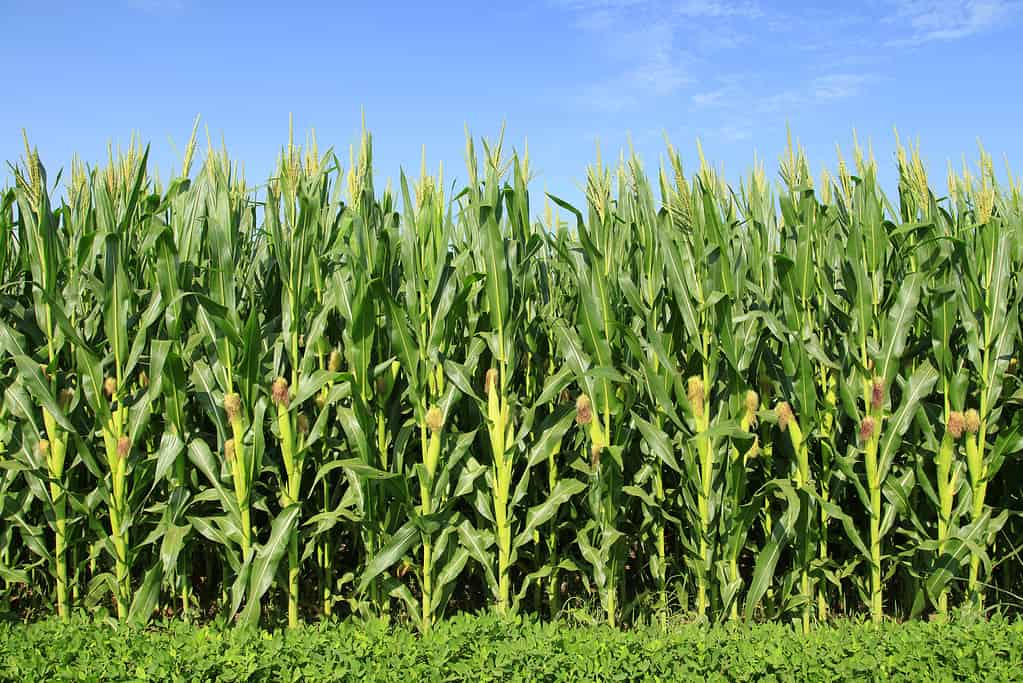
Nearly every month of the year, a maize crop is ready somewhere in the world. It is the most important crop in the United States and is a main food source in many places.

Nearly every month of the year, a maize crop is ready somewhere in the world.
©iStock.com/Qin PinLi
The Growing Requirements for Corn
There are many conditions for effective corn growing, as follows:
Precipitation Requirements
Corn is often not produced in dryland agricultural regions with less than 25 inches of yearly precipitation. Moisture should be provided for large yields of 18 to 20 inches or higher throughout the growing season.
Watering Requirements
Corn requires an average of one inch of water per week, especially when the stalks begin to sprout tassels. When your corn plants are cross-pollinating, it is critical not to overstress them. Otherwise, you’ll find a lot of ears devoid of prized kernels. Corn should be watered at the soil level whenever possible. Avoid watering plants from above, as doing so can remove pollen from the flowering tops.
Sunlight Requirements
Corn thrives in a warm, sunny environment, with temperatures ranging from 75 to 85 degrees Fahrenheit annually. Corn must be planted in a sunny spot, away from tall trees that can obscure the sun. Growing tall maize types to the north or east of your yard are the best way to ensure that your shorter plants get enough light.
Planting seeds in the full sun around two weeks before the expected date of the last frost is recommended as best practice by most gardening experts.
Soil Composition and pH
The right soil pH to grow corn is between 5.8 to 7.0. Good soil ensures strong corn roots, so take the time to improve the soil in your garden before planting.
The more organic matter you can put into the soil, the better the soil will be for vegetable crops. It not only provides nutrients, but it also attracts beneficial organisms that help to maintain the general health of your garden.
Fertilizer Requirements
Corn produces high nutrient demands, particularly nitrogen. Add compost, well-rotted manure, or “green manure” such as clover or vetch to the soil before planting. If you do this, your harvest will have a good head start.
Fertilize your corn with a nitrogen-rich organic fertilizer like a cottonseed meal, feather meal, blood meal, alfalfa meal or chicken manure, when the stalks are 10 inches tall. Corn needs to reapply when it develops tassels.
Corn thrives in a warm, sunny environment, with temperatures ranging from 75 to 85 degrees Fahrenheit annually.
©iStock.com/zhengzaishuru
How to Grow Corn
Corn is a warm-season crop that is cold-sensitive. We do not recommend starting corn indoors because the root systems do not transplant well, so direct seeding is the best method.
A good rule of thumb is to plant corn two to three weeks after your average last frost date. Your soil needs to be warm to between 60 and 65 degrees Fahrenheit, and you’ll need anything from 60 to 100 days of warm weather to have a nice yield.
Note: It’s best to start planting corn as soon as possible. When you sow your seeds earlier, you lessen the chance of pests and diseases ruining your crop.
How to Direct Sow Corn Seeds
You should do the following to get the best results when directly sowing corn seeds into your garden soil.
Things You Will Need:
- Compost
- Spade
- Plant collars
- 46-0-0 fertilizer
- 5-10-5 fertilizer
- Floating row cover
Step 1: Prepare Soil for Planting
Before planting your seeds, break up and loosen the top 8 inches of soil in a well-drained garden. Additionally, ensure that your soil receives six hours or more of direct sunlight, is rich in organic matter, and has a soil pH between 5.8 and 7.0.
Step 2: Apply Mature
Next, apply a 2-inch layer of compost to the bed and 1.5 pounds of 5-10-5 fertilizer per 50 square feet. Compost and fertilizer should be dug into the top 6 inches of loosened soil. After amending the soil, use a rake to smooth it out.
Step 3: Plant Corn Seeds
Corn seeds should be planted 1 to 2 inches deep. Place the seeds 12 inches apart in a row, with the rows 24 inches apart. Water the ground until the top 6 inches of soil are damp, then water as required to keep the soil moist throughout the germination period. Corn normally sprouts in seven to fourteen days.
Step 4: Water Gently
Moisten the soil where you’ve planted your seeds, but don’t overwater. The soil around the seeds should be moist but not soggy. The best results will come from a consistent drip-style watering regimen.
Step 5: Uproot Crowded Seedlings
After the corn has sprouted, you may spot some seedlings crowded in certain areas. This will cause the seedlings to be stunted and die. So, to allow the surviving of these seedlings to reach their full potential, you must uproot the seedlings and transfer them to a new location.
Note: Corn requires a lot of space for two reasons:
- It takes in a lot of soil nutrients and is mostly pollinated by the wind. Pollen grains fall from the plants’ tops and must make their way to the delicate silk strands that emerge from the freshly developed ears.
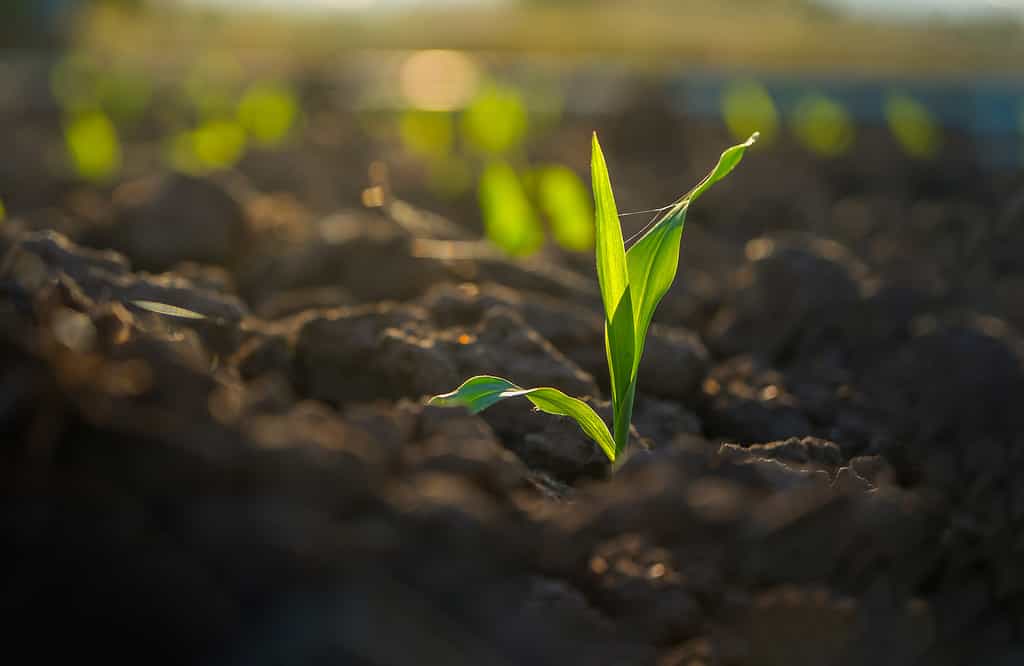
Corn normally sprouts in seven to fourteen days after planting.
©iStock.com/lamyai
How to Transplant the Corn Seedlings:
Transplanting seedlings may seem complicated at first, but once you get the hang of it, you’ll see how simple it is. All you have to do to ensure you’re doing it properly is to follow these steps.
- Prepare the Land:
Brush every weed aside in preparation for digging holes and planting.
- Dig a Shallow Hole:
Be ready to dig planting holes twice as wide and deep as the container. It’s important to improve the soil by adding amendments like compost, worm castings, or organic granular fertilizer before planting. It will help your newly planted seedlings develop more rapidly and strongly.
Note: Grow corn in blocks of short rows rather than long rows to ensure that silks are nicely showered with pollen. In a 3 x 5-foot, 15 plants spaced one foot apart can be grown in a small garden.
- Remove the Seedlings from the Tray:
Be very careful. Its stems are quite fragile, so be careful when handling them. Instead, grasp the root ball and carefully remove the plant from the container. Flip them over and use two fingers to grasp the stem firmly. The container’s bottom can be readily removed by pinching or squeezing it.
- Plant the Seedling:
If the roots are fully stuck in the container, you can release them by gently tugging them apart. It is important to proceed with caution, however, because the roots of some plants are easily injured. Planting a start at a shallower depth than in the container will result in the start dying. Cover it with the earth if they fall too far into the hole.
- Fill in the Hole:
Fill the rest of the hole to cover all the roots completely, then center the root ball. Then gently pack it down to ensure the seedling does not sink too deeply into the soil after transplanting.
- Water Your Garden:
Water each seedling carefully but thoroughly, using the garden hose’s lowest setting. Consequently, this will reduce the potential for life-threatening shock.
Step 6: Add Additional Fertilizer
When the corn stalks have eight leaves, spread 1/4 pound of 46-0-0 fertilizer over every 50 square feet of the garden. Spread the fertilizer 6 inches away from the plants along the rows, and then water the garden bed to allow it to absorb into the soil. When the first silks start to appear, add 1/8 pound more fertilizer.
Step 7: Add Mulch Once the Seedlings have Matured
Mulching the soil should be avoided until plants emerge from the ground and their stems grow stronger. Mulch reduces evaporation and weed growth while also limiting air and water flow. Mulch benefits mature plants but not seedlings.
Step 8: Keep an Eye Out for Pests and Diseases
Watch for aphids and spray them off the plants with a strong water stream before they harm. Rinse corn early to avoid fungal infections such as corn smut. Remove any stems with fungal growth to prevent them from spreading.
Step 9: Ensure Proper Pollination
As the stalks generate silks and drop pollen, gently shake them. Shaking the stalks promotes uniform pollen distribution and ear development.
How to Harvest Corn
To determine the right moment for harvesting, you should examine the ears for signs of ripeness. The first thing you should check is the silks of the plant approximately a month after first appearing. You may safely harvest your corn once they are dry and brown in color.
When your plants are ready to be harvested, you will see the light milky liquid that results from bursting the kernels. Indicating that the plants are overripe and ready to be harvested, a creamy white coloration indicates that they are beyond their prime.
When your corn is ready for collecting, grab an ear with one hand while holding the stalk with another. Pull the cob down and twist it until it breaks off the stalk. In general, you can pick up one cob from each stem.
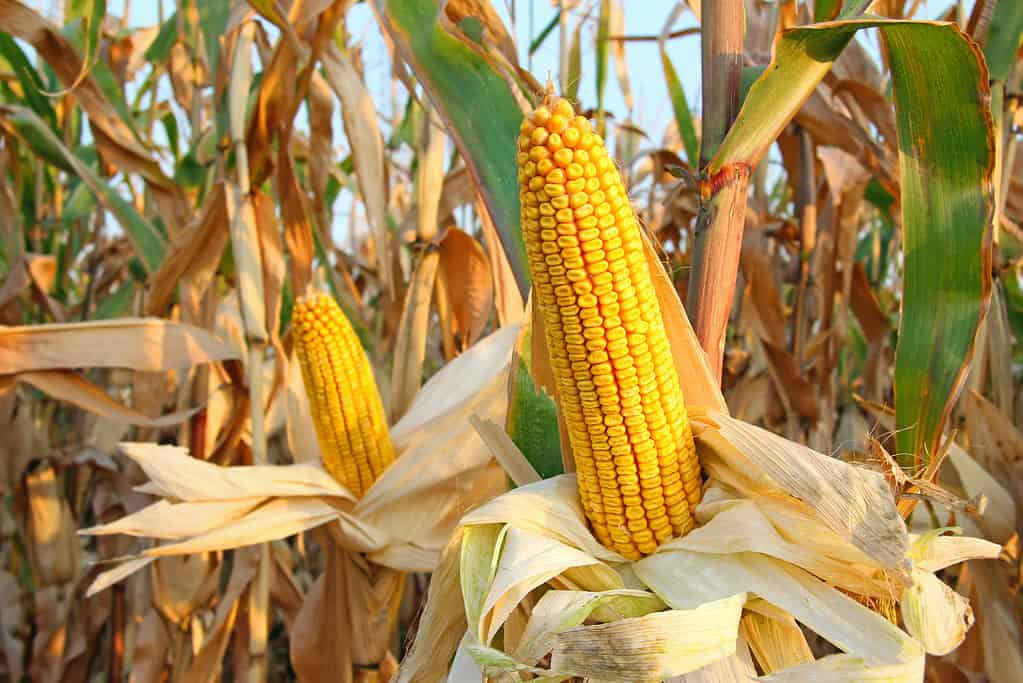
To determine the right moment for harvesting, you should examine the ears for signs of ripeness.
©iStock.com/branex
How to Grow Corn: Conclusion
The corn plant is a popular crop and vegetable that is simple to cultivate. Incorporating it into your garden is rewarding, especially if you desire quick and straightforward access to these plants.
The photo featured at the top of this post is © iStock.com/Kwangmoozaa


How to Add Us to Google News


Thank you for reading! Have some feedback for us? Contact the AZ Animals editorial team.