
If you’ve ever bitten into a sweet and juicy peach (Prunus persica), you may have wondered if growing a peach tree from the pit is possible. The good news is that growing a peach tree from a peach pit can be a fun, educational, and rewarding experience. You can turn that leftover pit into a thriving peach tree that will begin to produce delicious fruit in just a few years. And with the right care and nurturing it will continue to provide you with delicious fruit for years to come. Herewith is a complete, step-by-step guide to help you get started.
Growing a peach tree from a peach pit can be a fun, educational, and rewarding experience.
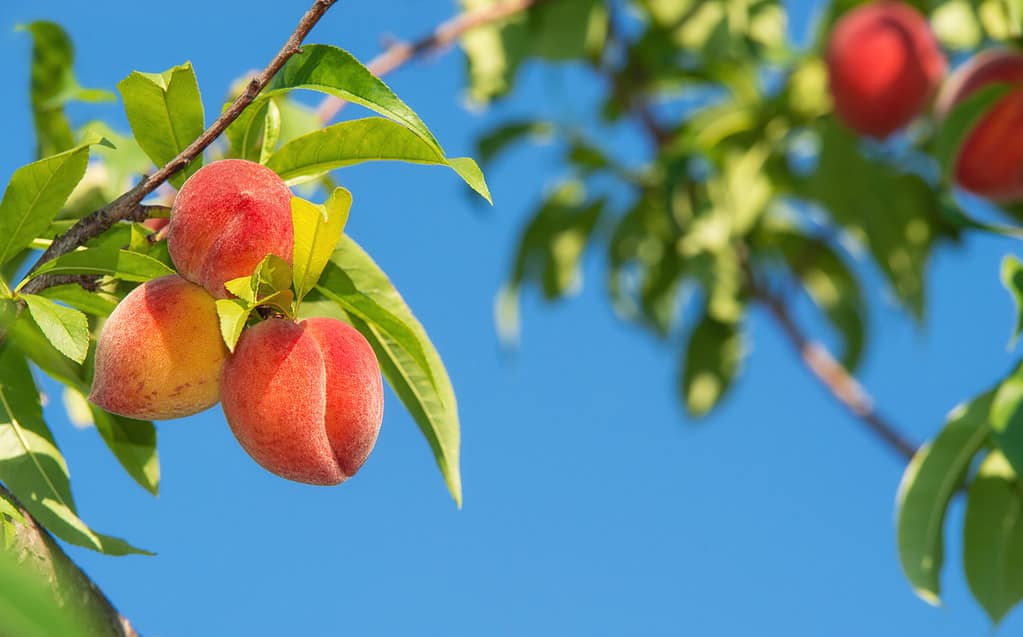
©Leena Robinson/Shutterstock.com
How to Grow Peaches from Pit to Tree: Step One
Choosing a fresh, ripe peach: Select a peach that is ripe, and juicy. Eat the peach. Consume it with gusto allowing the juice to run down your chin. Then study the pit. The pit should be firm and healthy-looking.
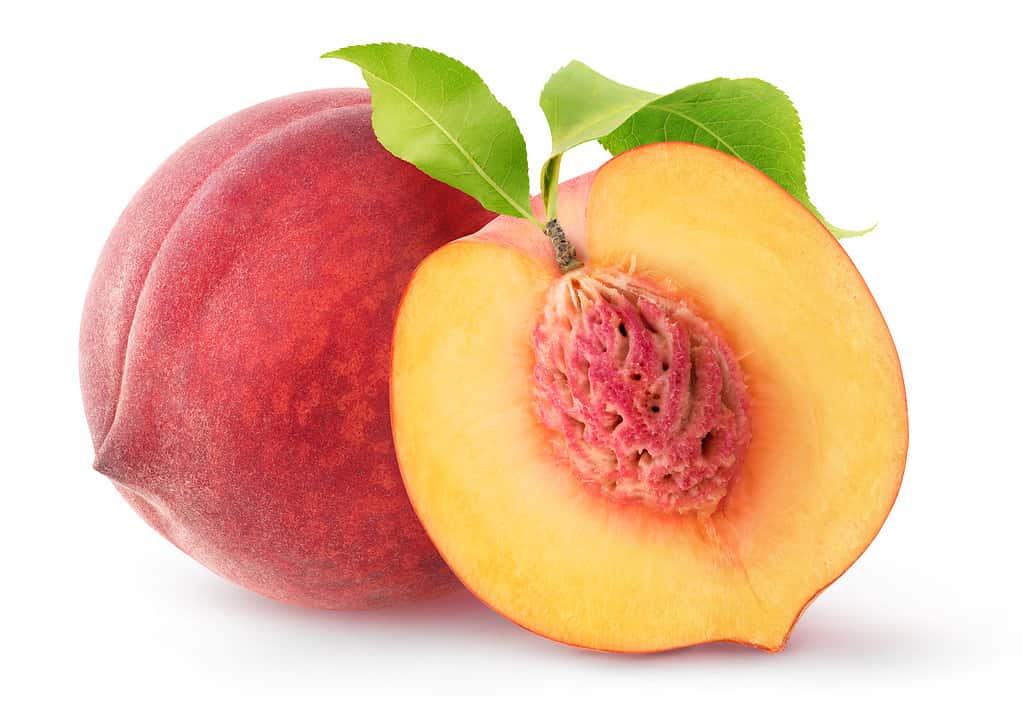
Eat the peach. Consume it with gusto allowing the juice to run down your chin.
©Anna Kucherova/Shutterstock.com
How to Grow Peaches from Pit to Tree: Step Two
Cleaning the pit: Once you have finished eating the peach, it’s time to clean the pit. This is easily accomplished by rinsing it under running water. Remove any remaining peach flesh.
Once you have finished eating the peach, it’s time to clean the pit.
©Nerza/Shutterstock.com
How to Grow Peaches from Pit to Tree: Step Three
Drying the pit: After washing the peach pit, place it on a paper towel and let it dry in a warm, dry place for a few days until it is completely dry.
After washing the peach pit, place the pit on a paper towel and let it dry in a warm, dry place for a few days until it is completely dry.
©Anastasiia Skorobogatova/Shutterstock.com
How to Grow Peaches from Pit to Tree: Step Four
Cracking the pit: Use a nutcracker or pliers to gently crack the pit open, being careful not to damage the seed (kernel) inside. While the pit may be planted directly into the soil, the plant will require more time to germinate. Removing the kernel from the pit is the recommended practice. This method also increases your chances of successful germination.

While the pit may be planted directly into the soil, the plant will require more time to germinate.
©Ruslan Khismatov/Shutterstock.com
How to Grow Peaches from Pit to Tree: Step Five
5 Removing the seed: After the peach pit has had an ample amount of time to dry, it’s time to remove the seed, or kernel, from the pit. Once the kernel has been removed, rinse it under running water to remove any remaining pit fragments.
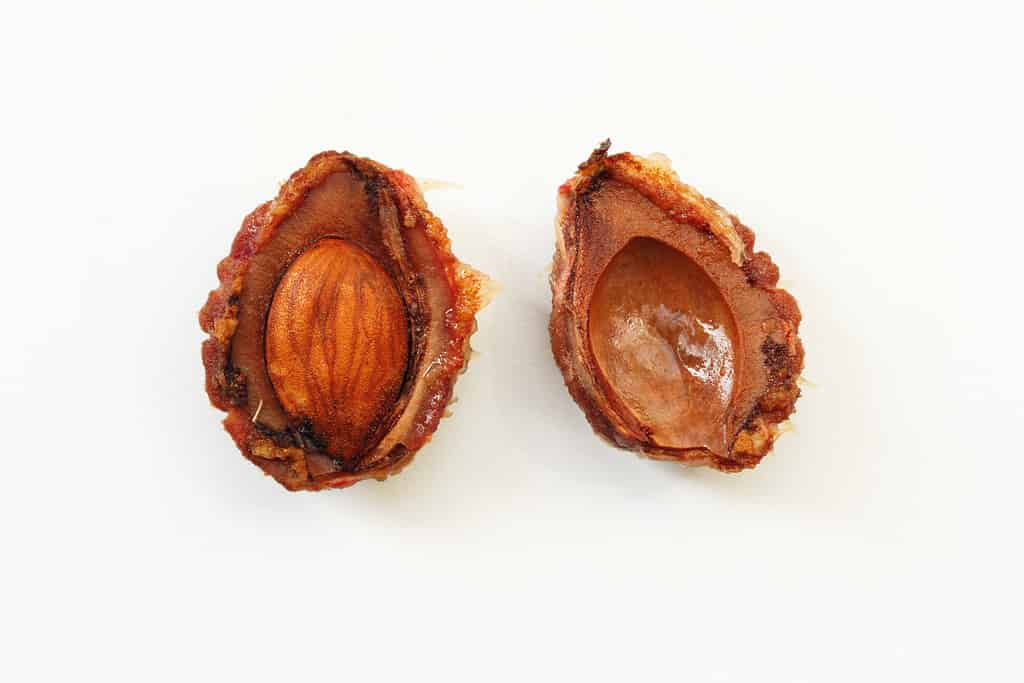
After the peach pit has had an ample amount of time to dry, it’s time to remove the seed, or kernel, from the pit.
©Alexandra Bobir/Shutterstock.com
How to Grow Peaches from Pit to Tree: Step Six
Cold stratifying the seed: Peach seeds need a cold period to germinate. Put the seed in a plastic bag with some moist peat moss or vermiculite. Seal the bag and place it in the refrigerator for 8-12 weeks. Check the bag periodically to ensure that the peat moss is still moist.

A peach seed needs a cold period to germinate, so place it in the refrigerator for 8-12 weeks.
©The Toidi/Shutterstock.com
How to Grow Peaches from Pit to Tree: Step Seven
Preparing a pot: Once the seed has been cold-stratified, it’s time to plant it! Start by filling a small pot with a well-draining potting mix. Next, make a small indentation in the center of the soil. Place the seed in the indentation and cover it with a thin layer of soil. Water the soil until it is moist but not soaking wet.
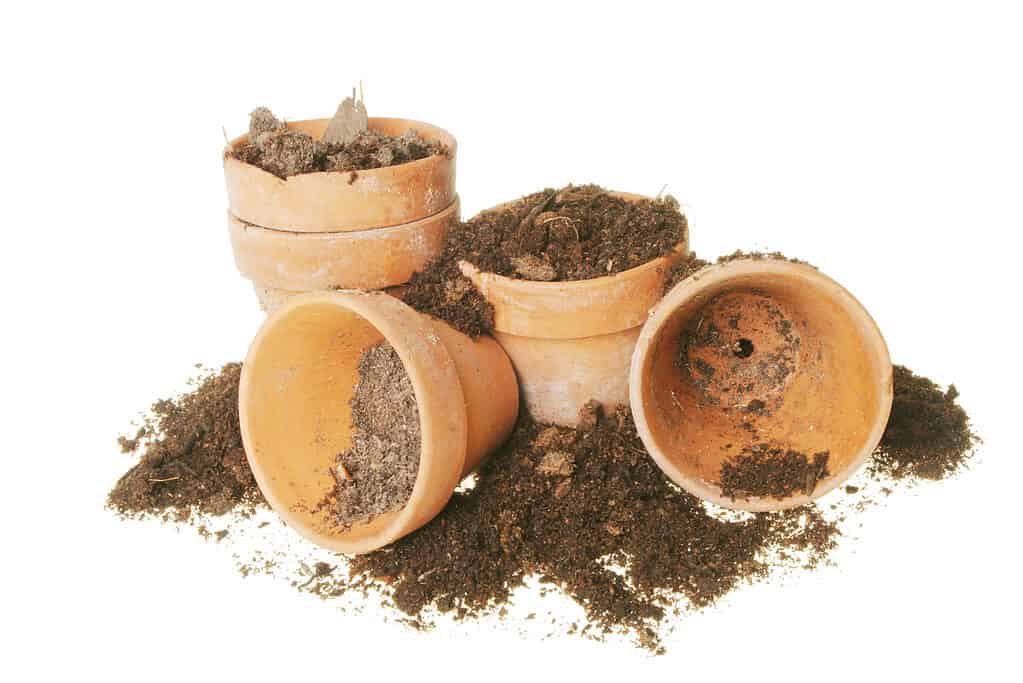
Fill a small pot with a well-draining potting mix.
©iStock.com/Griffin24
Place the pot in a sunny location, such as a windowsill, where it will receive at least 6 hours of sunlight per day. It’s imperative to keep the soil moist throughout this stage

Place the pot in a sunny location where it will receive at least 6 hours of sunlight per day.
©Bogdan Vacarciuc/Shutterstock.com
How to Grow Peaches from Pit to Tree: Step Eight
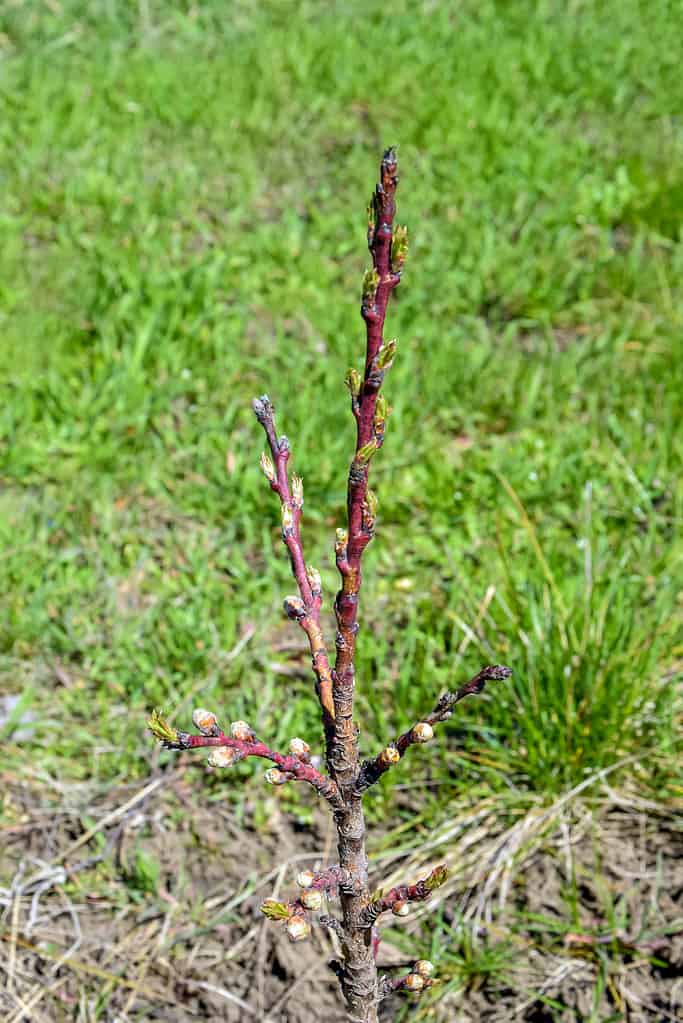
Transplanting the seedling: Once the seedling has grown a few sets of leaves, transplant it into a larger pot or into the ground outdoors. A variety of factors will determine your best course of action. Peaches are one of the less hardy stone fruits. They do not tolerate cold weather well. Younger trees are particularly vulnerable. Depending on where you are planting your peach tree, allowing your sapling an extra year to overwinter in a pot could prove invaluable.
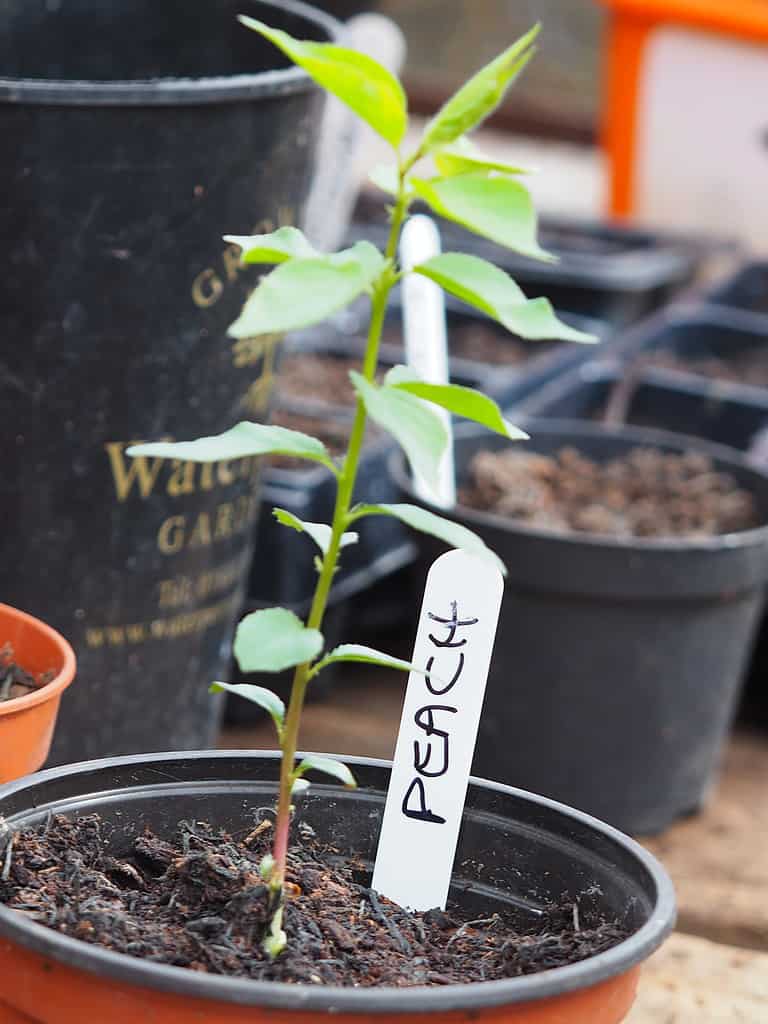
Peaches are one of the less hardy stone fruits. They do not tolerate cold weather well.
©Lacey Dent/Shutterstock.com
How to Grow Peaches from Pit to Tree: Step Nine
Fertilizing the sapling: Fertilize the sapling once monthly during the growing season, also known as spring and summer. A good choice for peach trees is an organic 10-10-10 fertilizer, which provides an even balance of nitrogen, phosphorus, and potassium. These nutrients aid the tree’s growth. 10-10-10 fertilizer is available at garden centers.
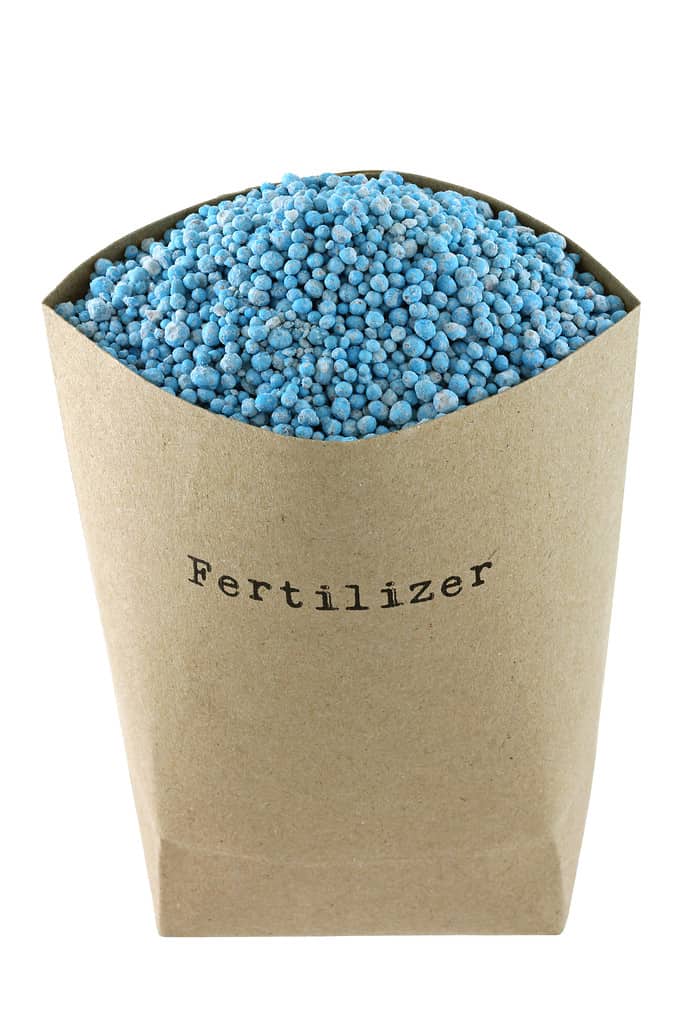
Fertilize the sapling once monthly during the growing season.
©sasimoto/Shutterstock.com
How to Grow Peaches from Pit to Tree: Step Ten
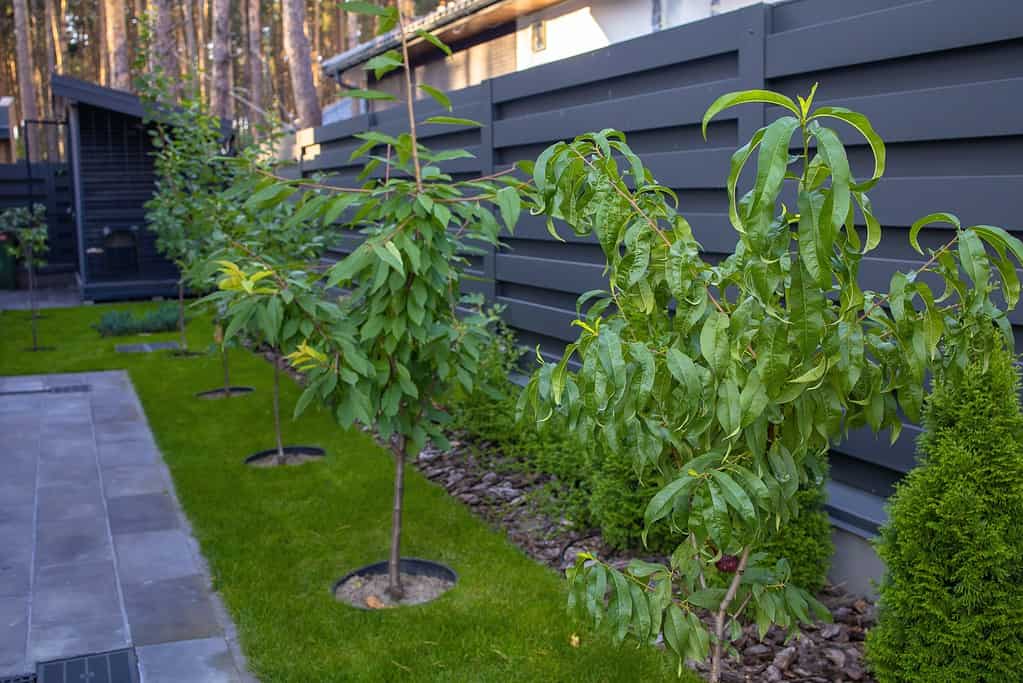
Planting the tree outside: Once your little peach sapling has had a winter or two in its pot, it’s time to plant it in the ground. When planting a small peach sapling, the hole should be about two to three times the width of the root ball and deep enough so that the top of the root ball is level with the ground. This allows for the roots to have enough space to grow and establish themselves in the soil. The best time to plant a peach sapling is in the winter while the tree is dormant. This allows the tree to establish its root system before the heat of summer arrives, which can be stressful for young trees.
Once your little peach sapling has had a winter or two in its pot, it’s time to plant it in the ground.
©MarinaNov/Shutterstock.com
Preparing the Ground and Planting the Tree
For the most favorable results:
- Choose a sunny location with well-draining soil.
- Dig a hole that is two to three times the width of the root ball and deep enough so that the top of the root ball is level with the ground.
- Loosen the soil at the bottom of the hole to encourage root growth.
- Remove the peach sapling from its container and gently loosen the roots. If the roots are tightly bound, use a knife to make a few shallow cuts on the sides of the root ball.
- Place the sapling in the hole, making sure it is level with the ground.
- Backfill the hole with soil, tamping it down gently as you go to remove any air pockets.
- Water the sapling thoroughly. Water as necessary to keep the soil evenly moist until fall.
- Add a layer of mulch around the base of the tree to help retain moisture and prevent weeds from growing.
Planting more than one peach tree allows for cross-pollination which can increase fruit set and improve the quality of the fruit.
©Vitaliy Karimov/Shutterstock.com
How to Grow Peaches from Pit to Tree: Step Eleven
Pruning the tree: As the tree grows, it should be pruned every year to maintain its shape and size, promote healthy growth, and improve fruit production. The best time to prune peach trees is in late winter or early spring before new growth begins. You can remove diseased, damaged, or dead wood at any time of the year.
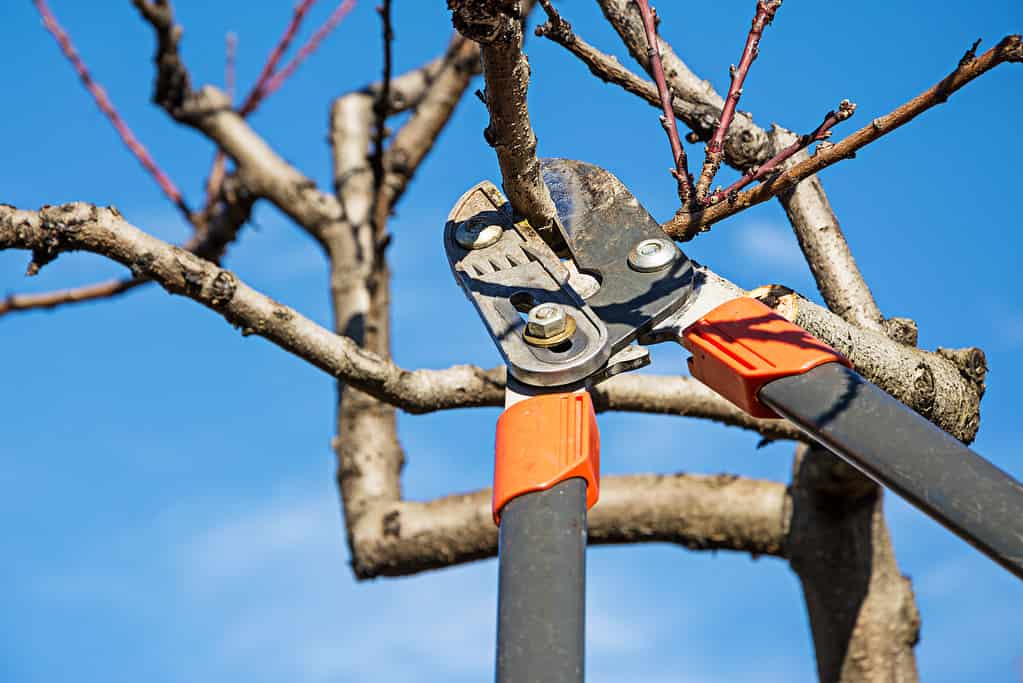
As the tree grows, it should be pruned every year to maintain its shape and size, promote healthy growth, and improve fruit production.
©ueuaphoto/Shutterstock.com
How to Grow Peaches from Pit to Tree: Step Twelve
Harvesting the fruit: After 3-4 years, your peach tree will start to produce fruit. It’s important to be patient and provide the tree with proper care and maintenance during this time to ensure healthy growth and a bountiful harvest. Harvest the fruit when it is ripe and enjoy the delicious taste of homegrown peaches! Right off the tree, baked in a cobbler, or churned into a creamy frozen treat, peaches are a perennial favorite and a wonderful addition to backyard gardens/orchards.
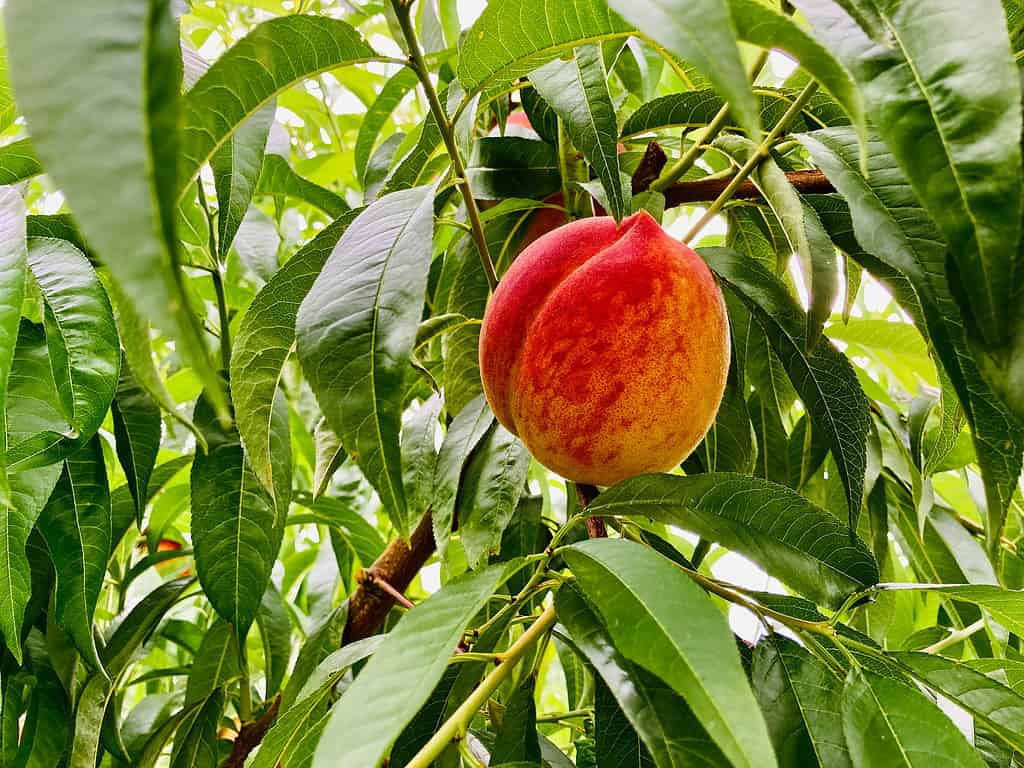
After 3-4 years, your peach tree will start to produce fruit.
©Zdena Venclik/Shutterstock.com
Five Facts about Peaches
- There are over 2000 varieties of peaches. There are 300 varieties grown in the United States.
- Peaches are categorized as either clingstone or freestone. Clingstone peaches have flesh that adheres tightly to the stone or pit, while freestone peaches have flesh that separates easily from the pit.
- Peach trees live for about 15 years.
- Though Georgia is known as the Peach State, California and South Carolina grow more peaches.
- Peaches are naturally fat-free and are loaded with fiber and nutrients like vitamin A (beta-carotene), vitamin C, and potassium.
The photo featured at the top of this post is © Leena Robinson/Shutterstock.com


How to Add Us to Google News


Thank you for reading! Have some feedback for us? Contact the AZ Animals editorial team.