
The flavor of freshly-grown peas from your garden is incomparable to the store-bought kind. It’s like eating candy straight from the vine! Peas are among the first veggies to be planted in the spring, even if there’s still snow on the ground. Learn our advice for cultivating these vegetables, from planting to harvesting!
All About Peas
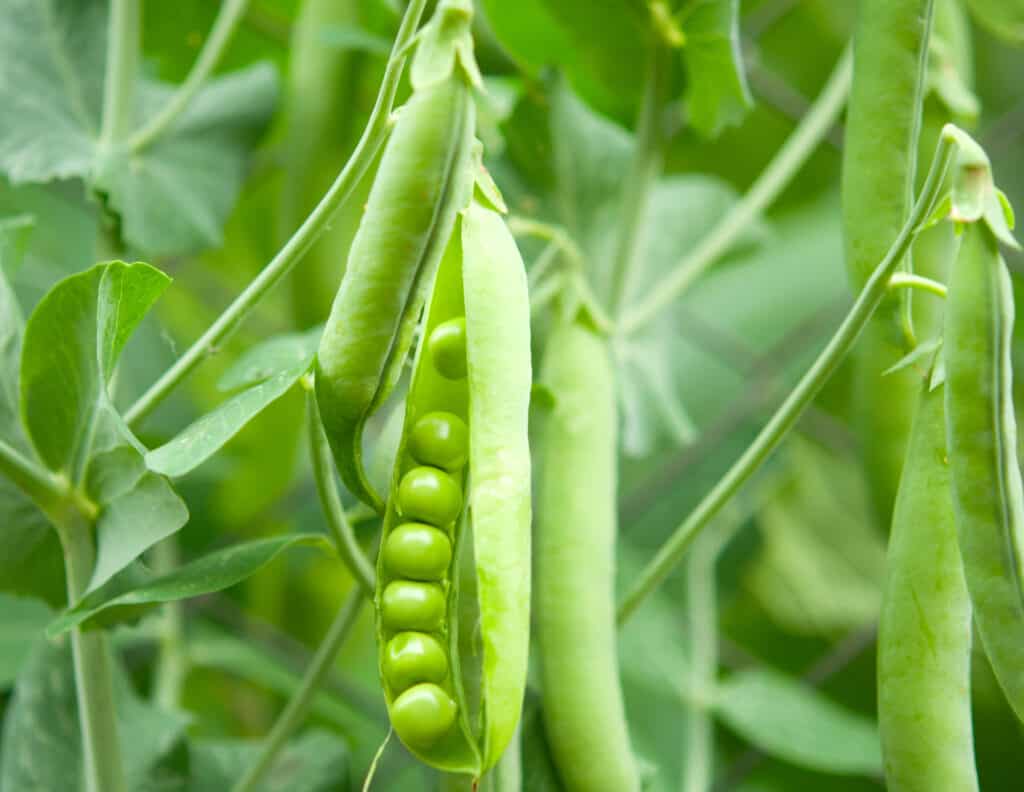
For most of the United States and Canada, peas should be planted in February, March, or April.
©iStock.com/ksena32
Growing peas is quite simple, but the window of opportunity is short. For most of the United States and Canada, peas should be planted in February, March, or April. They can also be grown in warmer areas during the fall or winter months. Peas are best enjoyed right after harvest. The longer you wait, the starchier they get.
Three varieties of peas meet most gardening and culinary needs: sweet peas, snow peas, and snap peas.
- Sweet peas (Pisum sativum sativum) have inedible fibrous pods with edible seeds inside.
- Snow peas (P. sativum variety macrocarpon) have flat, stringless edible pods with small peas.
- Snap peas (P. sativum variety macrocarpon ser. cv.) have fleshy edible pods with full-sized peas.
Where to Plant
Before planting peas, be sure to choose a sunny, warm spot and soil that drains well. For best results, the soil should have aged manure or compost mixed in ahead of time. Peas can still grow and produce if planted in partial shade, but they won’t taste as sugary or produce as many peas as those grown in 6-8 hours of sunlight.
As for preparing the soil, it is best done during autumn so that the amendments can decompose before springtime when you actually plant your peas. Well-draining soils are ideal for growing peas since they don’t like wet feet. However, make sure not to overwork the land by tilling too much and breaking down all of its structure. Planting on raised beds is also an option if traditional bedding isn’t available – either way, just remember that well-draining soil is key!
When to Plant
Peas also have nitrogen-fixing properties, which make this particular legume an excellent addition to any garden as it makes nitrogen available for other plants nearby too!
©VH-studio/Shutterstock.com
When planting peas, consider the temperature of the soil. Peas planted in 40°F soil will germinate slowly compared to those planted in warmer soil that is at least 60°F. Peas planted in soil over 85°F will not germinate at all.
It’s important to take into consideration the potential for frost during this process as well – snow won’t harm emerging pea plants. But several days with temperatures below 20°F could cause damage and may require replanting. If you are worried about possible frost damage, you can try starting them off in a cold frame instead.
For a second harvest of peas, plant seeds again later on in late summer or early fall, around 6-8 weeks before your first predicted fall frost date.
Additionally, consider crop rotation principles when deciding where exactly to plant your peas. Try not to plant them in the same place more than once every four years. Peas also have nitrogen-fixing properties, which make this particular legume an excellent addition to any garden as it makes nitrogen available for other plants nearby too!
How to Plant
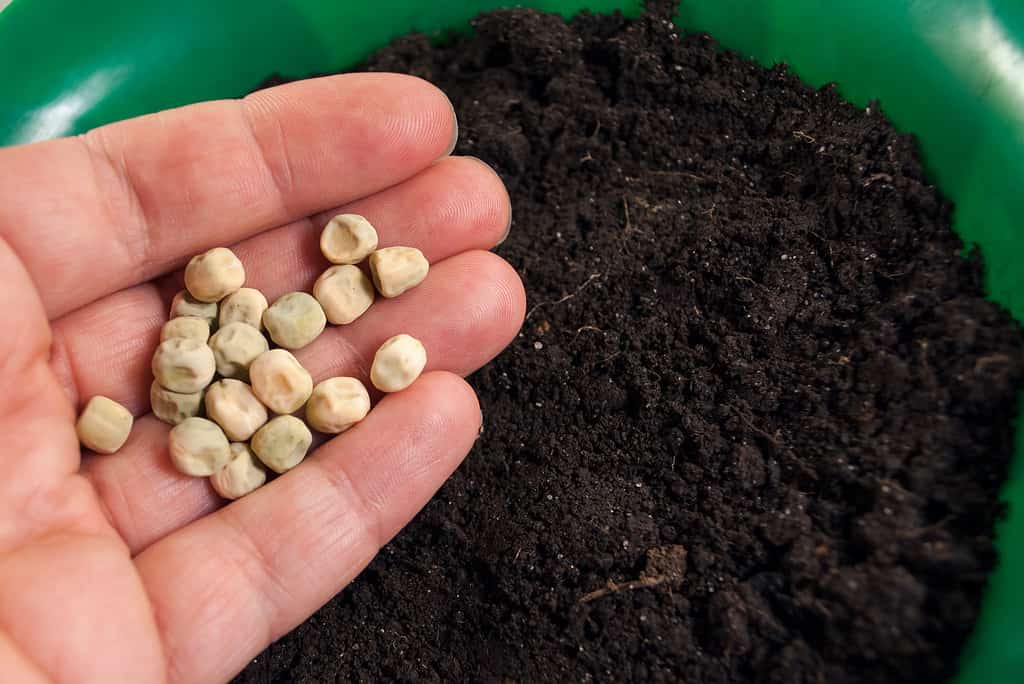
Once you’ve chosen your site for planting, remember that peas do not like their roots disturbed. As such, direct seeding is best recommended. Transplanting can be done if you start in biodegradable pots and transplant the entire pot into the garden, where it will eventually disintegrate.
When spring is long and wet, raised beds are a great option for planting peas as they ensure good drainage of water and soil aeration. To speed up germination time, you may want to consider soaking seeds overnight before planting them 1 inch deep and 2 inches apart – don’t forget to space rows 7 inches apart!
Bush types usually reach 18-30 inches tall and do not need staking. Pole types require additional support (especially above 2 feet), so build trellises or use pea sticks/twigs, etc., before the plant grows roots for maximum support during growth season.
How to Grow
If weeds become intrusive, gently remove them by hand or hoe/cultivate around them carefully to avoid disturbing their fragile roots.
©Elan Havrilyuk/Shutterstock.com
When watering your peas, be sure to do so sparingly. We want to avoid too much moisture, which can cause pea rot, but also make sure the plants don’t dry out. This is especially important because if your peas become dry, they will not produce any pods.
If weeds become intrusive, gently remove them by hand or hoe/cultivate around them carefully to avoid disturbing their fragile roots. It should be noted that sometimes pea leaves turn yellow due to the stress of hot weather, and in this case, providing partial shade during the afternoon and ensuring proper hydration should help resolve this issue.
Fertilizing is normally unnecessary. However, if you choose to do so, mulching deeply with biodegradable materials such as grass clippings or shredded leaves could be beneficial for plant growth and health. If you want to use a commercial fertilizer, use one without nitrogen but with phosphorus and potassium.
When to Harvest
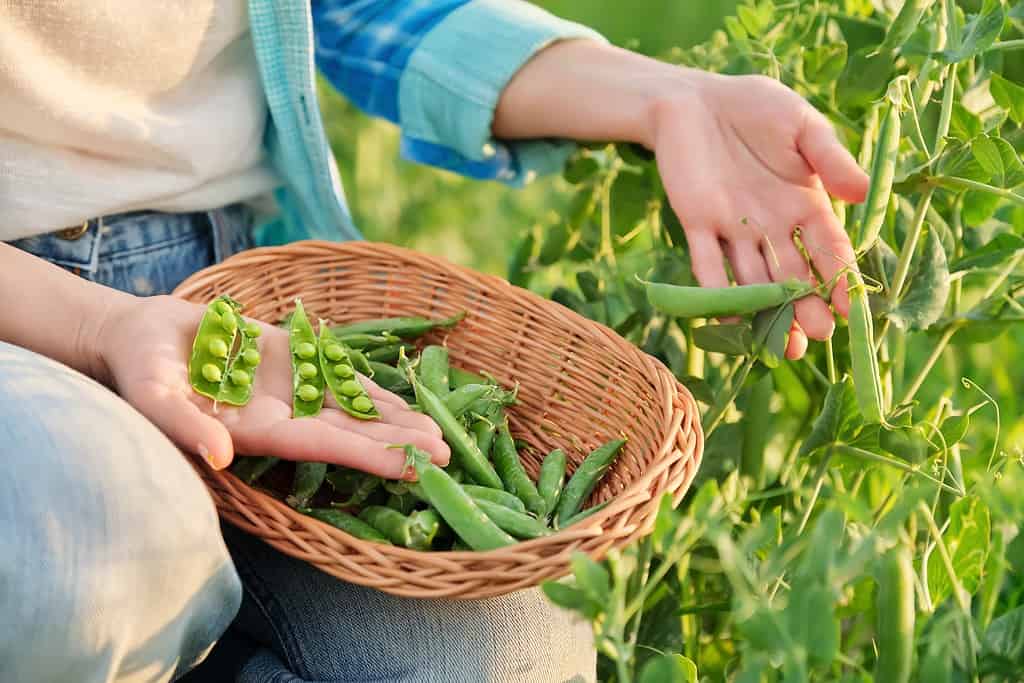
When harvesting peas, timing is everything. Most varieties of peas are ready to harvest 60-70 days after planting. As the flowers begin to bloom, keep an eye on the pods and check them daily for signs of readiness.
- Pick snow peas when you can see immature seeds inside the delicate pods.
- Snap peas should be harvested when they are plump and glossy with sweet-tasting peas inside.
- Sweet peas should be picked before the pods become waxy in texture – this means that they have matured too much and will not taste as good!
How to Harvest
When harvesting peas, it is best to do so in the morning after the dew has dried away. This is because they are crispiest at this time, and regular harvesting will encourage more pods to develop.
When picking peas off of the vine, use two hands. One hand should hold onto the vine while you pull pods off with your other hand in order to avoid any damage being done to the plant.
Peas that have just been harvested are at their peak flavor, but if you miss out on that period, don’t worry! You can still pick them, dry them and de-shell them for later use in winter stews. Mature plants usually stop producing and die back once hot summer weather arrives, so try not to let any ripe pea pods go unnoticed, or they may be wasted!
How to Store
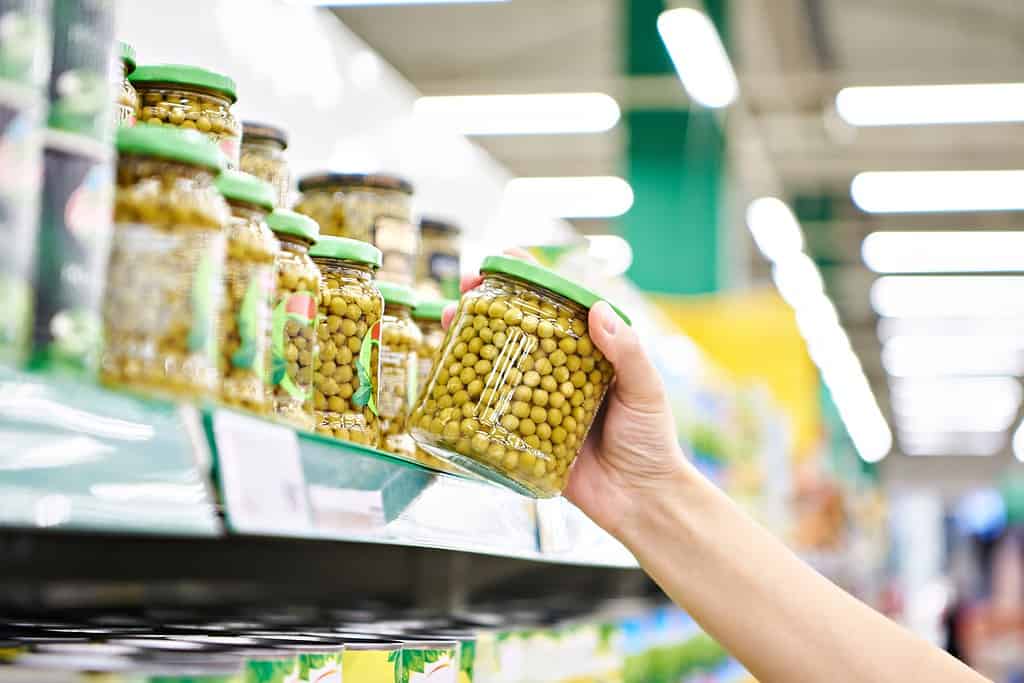
You can freeze peas for up to six months for longer-term storage.
©Sergey Ryzhov/Shutterstock.com
When it comes to storing your homegrown peas, you have a few options. For short-term storage in the refrigerator, place the peas in paper bags and wrap them in plastic for five to seven days.
You can freeze peas for up to six months for longer-term storage. To do this, remove the shell from sweet peas first and blanch them for two minutes before immersing them in ice water and draining off excess moisture. Finally, pack the cooked and cooled peas into sealed containers or freezer bags – be sure to trim snap and snow peas and pull out the stringy parts before freezing. With proper storage methods like these, you can enjoy your fresh homegrown pea harvest all year round!
Companion Planting
The list of companion plants for peas is varied and can provide multiple benefits. Mint, alyssum, chives, carrot, cucumber, corn, turnip, and radish, are all great options that will help attract bugs away from your peas or deter them completely. Some companion plants may even attract beneficial insects, such as lady beetles which can help control pest populations in the garden.
Additionally, many of these companions also share similar nutrient needs with peas, so they won’t compete for soil nutrients or water resources. With careful selection, you can ensure that each plant gets what it needs without having an adverse effect on other plants in the garden bed.
Summary of How to Grow Peas
| Pea Planting | Recommendations |
|---|---|
| Sun | Full sun to partial shade |
| Soil | Well-drained with plenty of organic matter tilled in during the fall |
| When to Plant | When the soil temperature reaches 60°F in spring, or six weeks before the hard frost date in fall. |
| Planting Measurements | 1 inch deep. 2 inches apart. Rows 7 inches apart |
| Fertilizer | Provide rich soil, phosphorus, and potassium; no nitrogen is needed. |
| Time to Harvest | Harvest 60-70 days after planting seeds |
| Storage | Store in refrigerator for seven days or freezer for six months |
| Companion Plants | Mint, alyssum, chives, carrot, cucumber, corn, turnip, and radish, |
The photo featured at the top of this post is © VH-studio/Shutterstock.com


How to Add Us to Google News


Thank you for reading! Have some feedback for us? Contact the AZ Animals editorial team.