
Are you considering adding some sage to your garden but need help figuring out where to start? Sage has various uses and is a welcome companion to many different types of plants. This article will examine the steps you’ll need to take to plant, grow and harvest sage in your garden successfully.
Keep reading!
Botanical Classification and History
Sage is a culinary herb, a medicinal herb, and a decorative plant. Salvia officinalis derives its botanical name from the Latin word salvare, which means “to heal” or “to save,” a nod to its health-promoting effects.
Sage has a long culinary and medicinal history. French sage tea was once abundant. Chinese tea was traded for French sage tea. Sage was one of the plants Charlemagne ordered planted on German Imperial farms in 812 AD, likely for its medicinal and trade value.
Sage was part of the official Roman pharmacopeia because of its healing properties, especially in digesting fatty meats. Chinese people used sage to treat colds, joint pain, typhoid fever, and kidney and liver problems.
Sage comes in many different types, and not all can be eaten. You can choose one of the following sage plants for your herb garden:
- Purple Sage
- Garden Sage
- Golden Sage
- Tri-color Sage
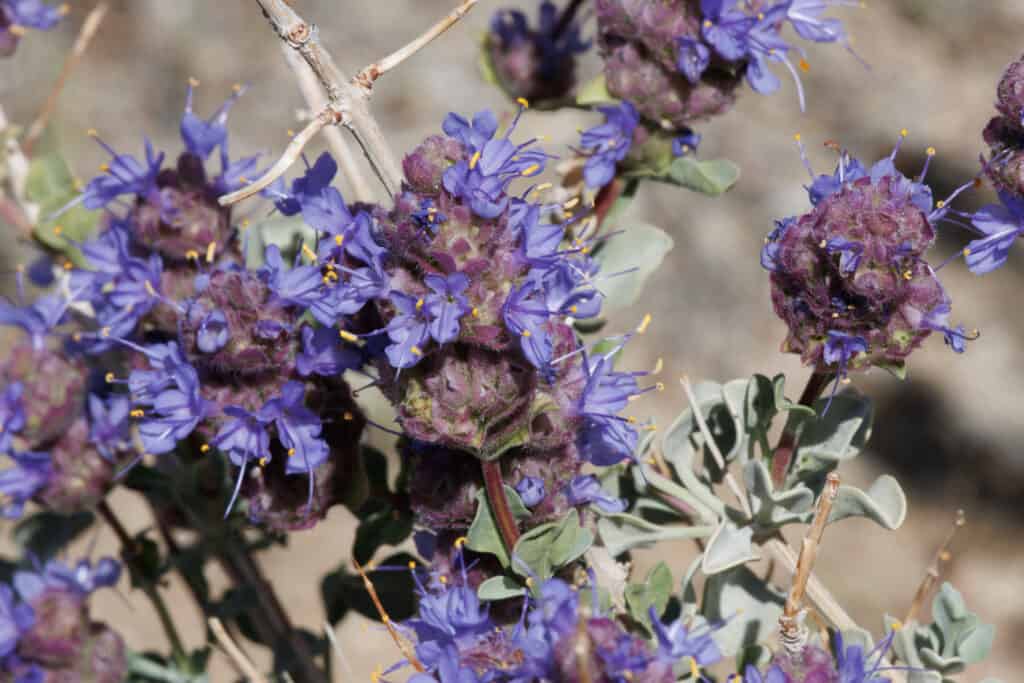
Purple sage is one of the sage varieties you can plant for your herb garden.
©iStock.com/Jared Quentin
The Growing Requirements for Sage
There are numerous conditions for effective sage growing, including the following:
Temperature and Humidity Requirements
Sages are a bit hardier. Temperatures ranging from 60 to 70 degrees Fahrenheit are ideal for sage plant development, although mature sage plants may withstand short cold periods. Sage likes a moderate humidity level.
Precipitation Requirements
Sage requires moderate water requirements and some drought tolerance. Keep the soil evenly moist for young sage plants, but don’t let it get soggy or too wet. When the top 1 to 2 inches of soil on sage plants already growing is dry, give them water. Don’t get the leaves wet when you water because that can lead to mildew.
Watering Requirements
You’ll need to water sage once or twice weekly for the first few weeks. Keep the soil roughly as wet as a wrung-out sponge. After the sage plant has established a strong root system, you may reduce watering to once weekly or two. Take care not to overwater!
Soil Composition and pH
Sage requires sandy, loamy soil that drains well. For best development, keep the pH between 6.0 and 7.0. If you’re growing for culinary reasons, keep your appetite strong; you’ll grow quicker but lose taste intensity.
Note: Add organic matter and sand to improve drainage when planting in clay soil.
Sunlight Requirements
Sage requires full sun to grow or at least six hours of direct sunshine daily for the finest taste. But, if you live in Zone 8 or above, your sage would benefit from some midday shade, particularly when it’s hot.
However, overshading may cause sage to etiolate and produce fewer leaves, so be cautious. Bright sunshine also helps to increase oil production.
Fertilizer Requirements
Sage plants are not heavy feeders; feeding them too much fertilizer might cause the taste to be washed down. In the spring, apply an organic fertilizer to plants or incorporate compost into the soil.
However, fertilizer application is influenced by soil type and fertility. So in this case, you can apply 1350 kg/ha of triple superphosphate (TSP) fertilizer before planting your sage and after harvesting apply nitrogen for side dressing.
Nitrogen encourages leaf growth and changes the color of crops, but don’t use too much. Overuse raises costs and pollutes waterways. Most herb crops are classified as leafy vegetables, and NPK fertilizer rates range from 1200 to 1500 kg/ha.
After each harvest, add 70 kg/ha of ammonium nitrate to the soil as a side dressing. If the pH is less than 5, you should use agricultural lime before planting seeds.
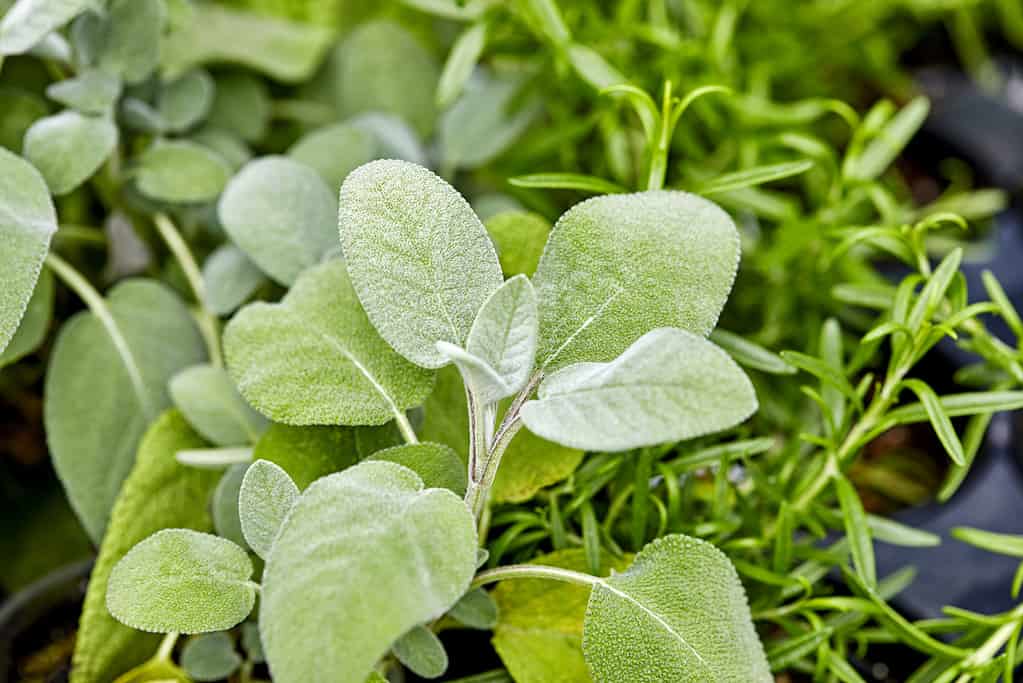
Feeding sage too much fertilizer might cause the taste to be washed down.
©iStock.com/wingedwolf
How To Plant Sage
The success of your sage plants depends on where you plant them, whether you bought them or started them indoors. Plant sage when the ground temperature reaches 65 °F, approximately 1 to 2 weeks before the year’s last frost.
If you opt to grow your sage from seed, keep in mind that it will most likely take several years to mature. If you start from seed, start them 6 to 8 weeks before the last frost under a plant light.
After three weeks, you may transfer the sage seedlings into the prepared soil. You can also propagate new plants by layering or taking other cuttings.
Here are some guidelines to follow for when it’s time to plant.
How to Grow Sage
You may start growing sage in a variety of ways. If you’ve never grown sage, you may either start with fresh sage seeds (which can be fickle) or buy a small plant from a garden shop and transplant it into your garden or a clay pot. If you have an established sage plant, you may cultivate a new one using cuttings or layering procedures.
Step 1: Prepare the Soil
Sage requires a rich, clay loam soil that drains well, has high in nitrogen for optimal growth and 6.0 to 6.5 soil pH. Try incorporating sand and organic matter if you’re working with clay soil. This helps with drainage and lightens the soil. Sage thrives with other perennial herbs like thyme, oregano, marjoram, and parsley.
Step 2: Plant the Sage
After preparing the soil, you may plant the sage in containers/pots or on the ground. You have the option of planting sage plants or seeds.
If you’re transplanting a sage plant in the ground, be sure to plant it at the same level it was in the pot. If you plant seeds, do so in late spring (in a bed or a container), 1/8 inch thick and 24 to 30 inches apart. It will take 10 to 21 days for them to germinate.
Step 3: Water Gently
- To keep the soil moist, sprinkle the sage plants with water while they are tiny.
- But, once mature, only water sage when the soil around the plant is dry.
- In fact, in certain regions, you won’t need to water your sage at all since rainfall will provide all of the moisture they need.
- Sage is a tough little shrub that tolerates drought well.
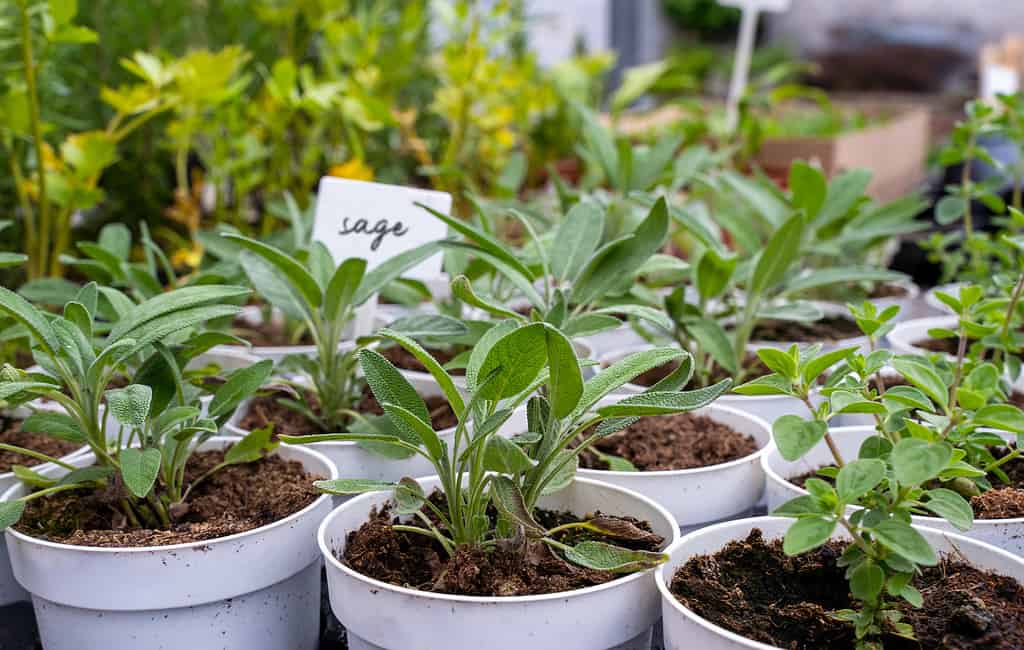
A great way to start growing sage is to buy a small plant from a garden shop and transplant it into your garden.
©iStock.com/creativeneko
Step 4: Provide Adequate Sunlight
Sage plants thrive in full sun but may also thrive in partial shade in warm climates. Sage will become leggy and flop over if exposed to too much shade.
If you keep your sage plant inside and don’t get much sunshine, you may replace it with fluorescent lights. Fluorescent lights should be placed 2 to 4 inches above the plants.
However, compact fluorescent, high output fluorescent, or high-intensity discharge (metal halide or high-pressure sodium) Sage plant growth lights perform better and should be set 2-4 feet apart from the plants.
Step 5: Prune the Sage in Early Spring
Pruning the older, woodier stems in early spring, after the threat of freezing has passed but before new growth has truly begun. It is recommended approximately a third should prune each stem.
Step 6: Prevent Mildew
Mildew is one of the few issues that sage farmers face. You may prevent it by closely monitoring the plants during hot, humid weather and regularly thinning them to encourage air circulation.
You may also try mulching the soil surrounding the plant with stones, which would help any moisture drain faster. If mildew appears on your plant, sprinkle it with sulfur spray or horticultural oil.
Step 7: Control Pest
Sage is not normally a pest target, although it may be attacked by spider mites, thrips, and spittlebugs. If you spot any pests, use an organic insecticide (such as pyrethrum) or an insecticidal soap to keep them at bay.
Step 8: Replace the Sage Plant Every Three to Five Years
After three to five years, the sage plant will grow woody and straggly and need to be replaced. You may start again with a fresh plant or seed or utilize the old plant for cuttings or layering. Bend a branch of existing sage towards the earth to layer the plant.
Pin the branch to the ground 4 inches from the tip using wire. After around four weeks, roots will begin to develop. Afterwards, remove the branch and transfer the freshly created sage plant to another spot.
To use cuttings, remove the top 3 inches of a branch from an existing sage plant. Remove the lower leaves off the stem using a pair of scissors.
Soak the ends with rooting hormone before placing them in sterile sand. Allow 4 to 6 weeks for roots to grow before moving to a container and, eventually, the garden. As soon as new growth appears, plant cuttings should be taken in early spring.
Harvesting Sage
During the first year, harvest the sage sparingly, taking off leaves as needed. You may collect sage all year in the following years by cutting whole stems from the plant.
Sage is said to be at its finest shortly before the flowers open, normally around midsummer. Perform your last complete harvest two months before the first significant frost of the year. This allows any newly developed leaves to grow before winter arrives.
Dry the sage:
Sage is one of the few herbs that becomes more flavorful when dried. However, it must be dried promptly to prevent a musty flavor.
Tie a handful of sprigs together and hang them upside down in a warm, well-ventilated area away from direct sunshine to dry. After the leaves are dry, put them (crumbled or whole) in an airtight container.
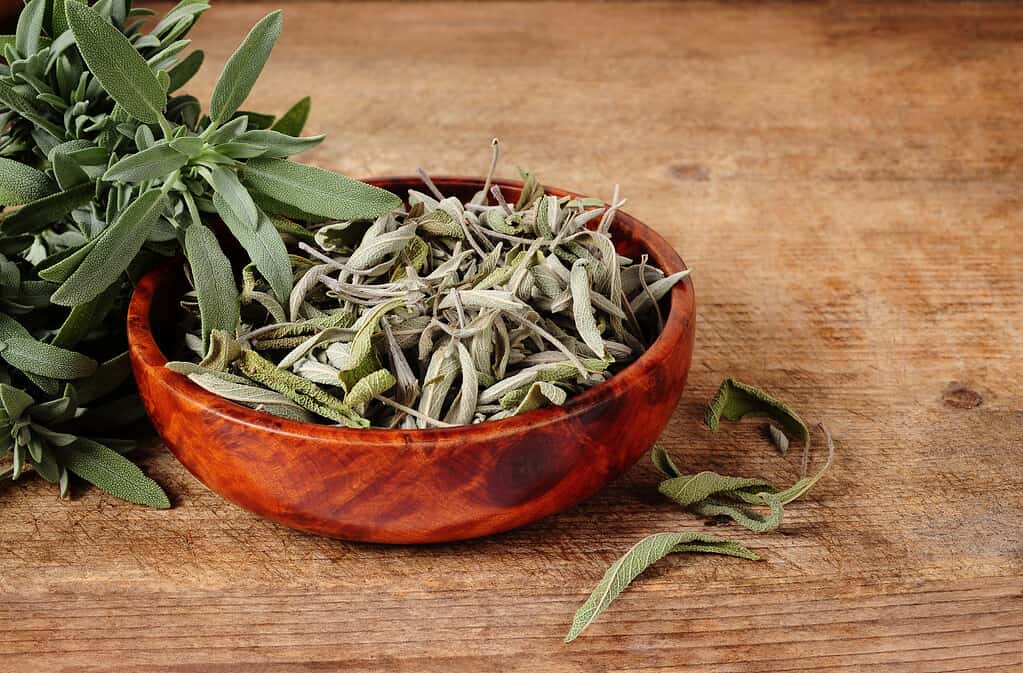
Sage is one of the few herbs that becomes more flavorful when dried.
©iStock.com/hydrangea100
Conclusion: How To Grow Sage
Sage is a year-round crop with multiple harvests. Growing sage from cuttings or seed during the winter and planting them in the spring can help get the plants established. There’s no reason not to add sage to your garden now that you know how to grow it. Sage is a perennial herb that will delight your taste buds for many years after you grow it in your herb garden.
The photo featured at the top of this post is © iStock.com/Bonnie McCann


How to Add Us to Google News


Thank you for reading! Have some feedback for us? Contact the AZ Animals editorial team.