
If you’ve got a hankering for some fresh, leafy greens straight from your garden, kale might just be the answer. But before you dive into a kale salad or sautéed kale, you need to know when it’s ready to be plucked from the earth. In this article, we’re going to unravel the secrets of kale harvesting and offer some savvy storage tips to keep your kale crisp and delicious.
Clear Signals Your Kale Is Ready to Be Harvested
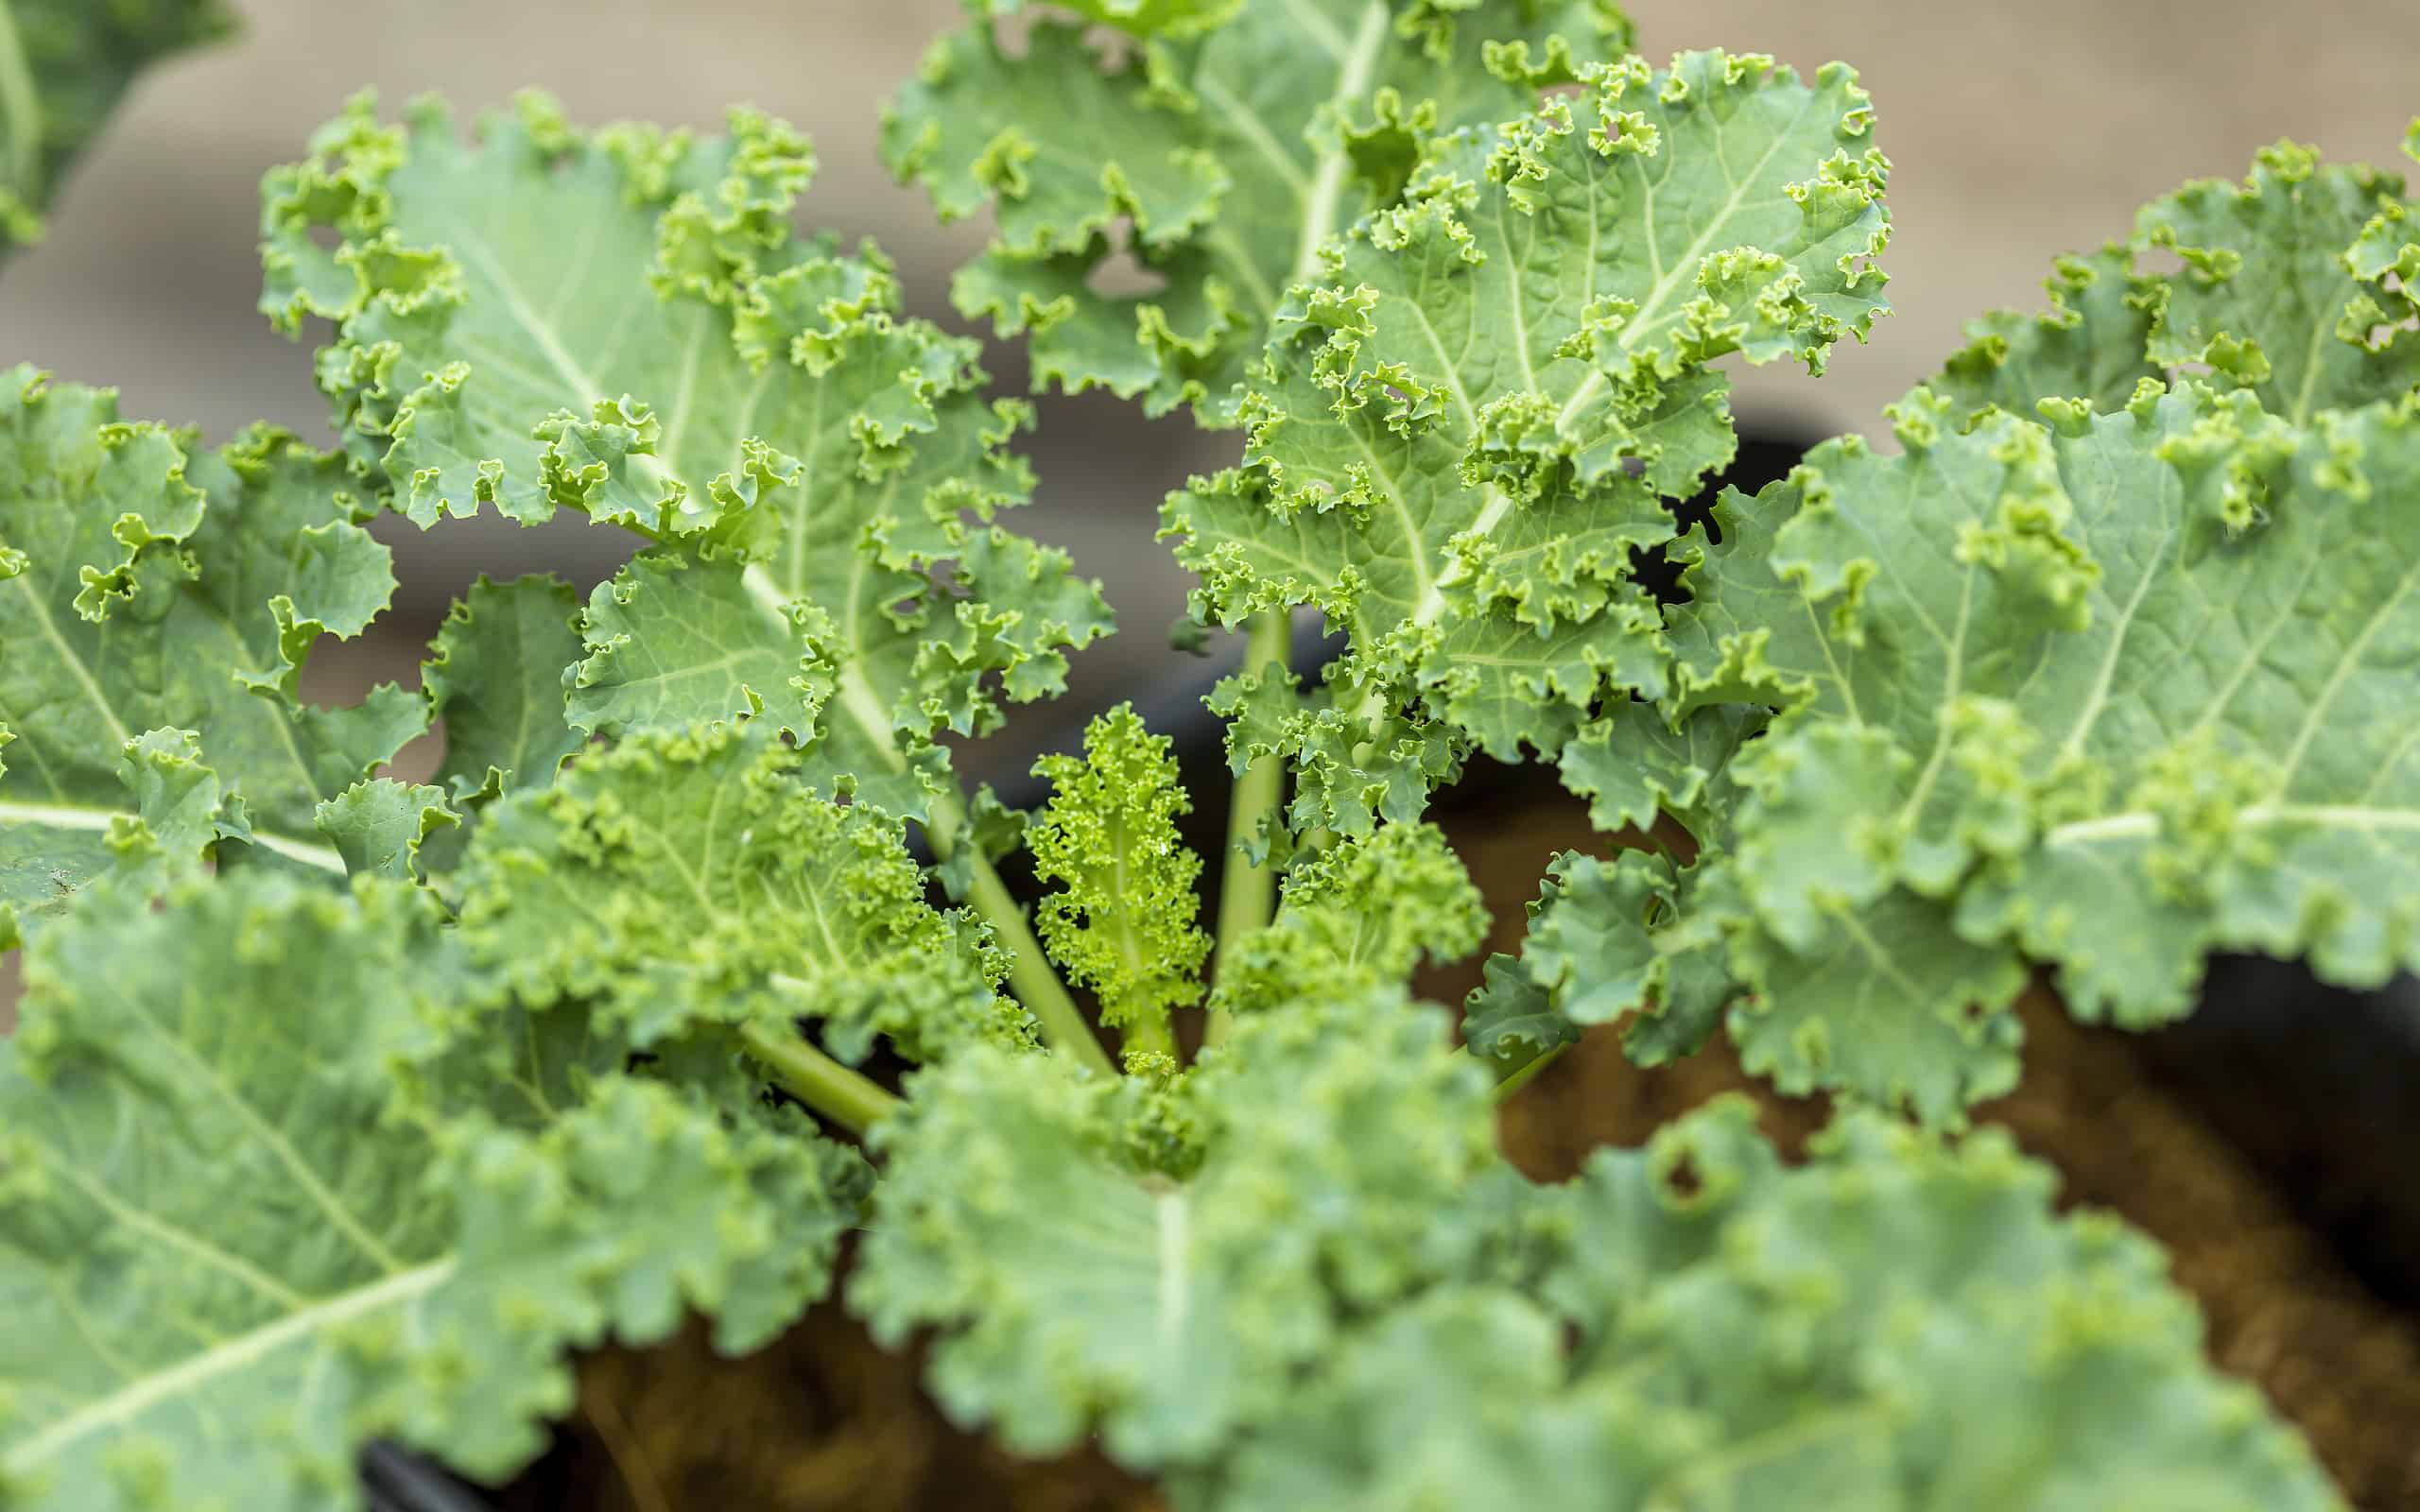
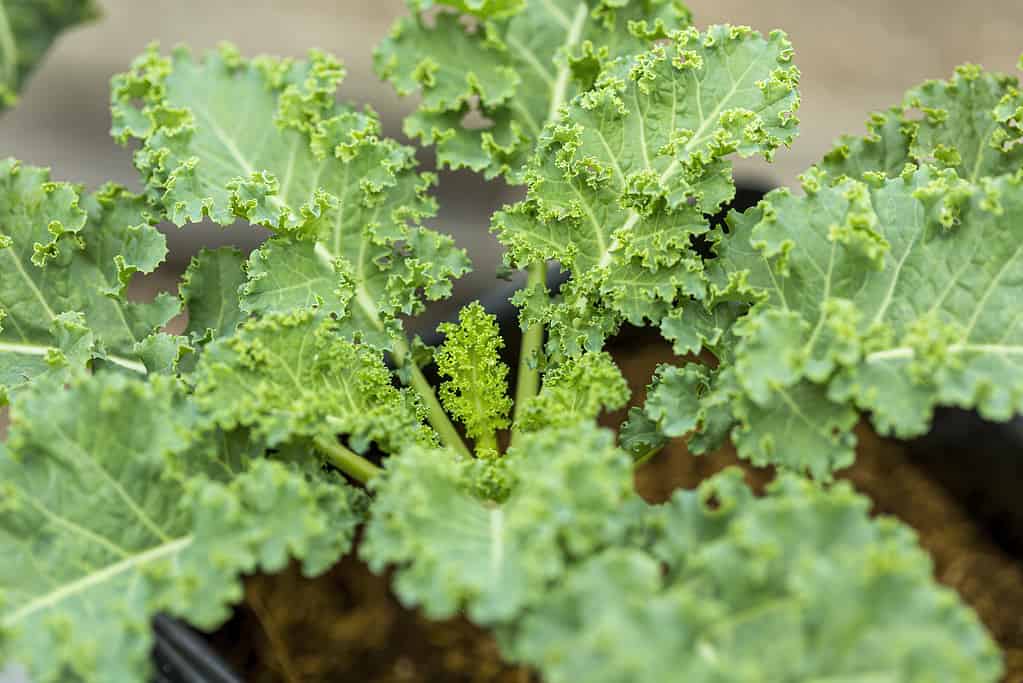
1. Leaf Size
One of the most crucial indicators that it is time to harvest your kale is the size of the leaves. Kale leaves start small and fragile on the plant, but as they grow, they get tougher and larger. Kale leaves are typically suitable for harvesting when they are three to four inches long.
Pay close attention to the leaves; they have a robust texture and a bright green hue. In contrast to the younger leaves on the plant’s outside borders, the older leaves growing closer to the plant’s heart typically get bigger and thicker. Kale should be harvested as soon as possible to avoid the leaves getting harsh and bitter.
Simply cut the leaves off the stem with a pair of clean scissors or garden shears, leaving a few leaves on the plant so it may continue to develop. A sustainable technique to guarantee a consistent supply of fresh kale throughout the growing season is to harvest the outer leaves while letting the inner ones continue growing.
2. Overall Taste
An essential sign that your kale is ready to be harvested is the overall taste of the leaves. Kale’s flavor is a reliable indicator of its readiness for picking. When kale is at its prime, the leaves are at their most delicious and tender state.
Freshly harvested kale has a sweet and slightly earthy flavor, with a mild bitterness. As kale matures, its taste can become increasingly bitter and the texture tougher. So, to determine when to harvest, it’s crucial to pay attention to the flavor. Younger leaves towards the top of the plant are frequently gentler and more delicious than older leaves closer to the plant’s heart, which may become bitter and fibrous if left on the plant for a lengthy period.
To check the taste, simply pluck a leaf or two and give them a try. If they have the desired balance of sweetness and mild bitterness, it’s a good indication that your kale is ready to be harvested. If you find the flavor too bitter or the leaves too tough, you may want to harvest the younger, outer leaves and allow the inner leaves to continue growing for a more enjoyable harvest later on.
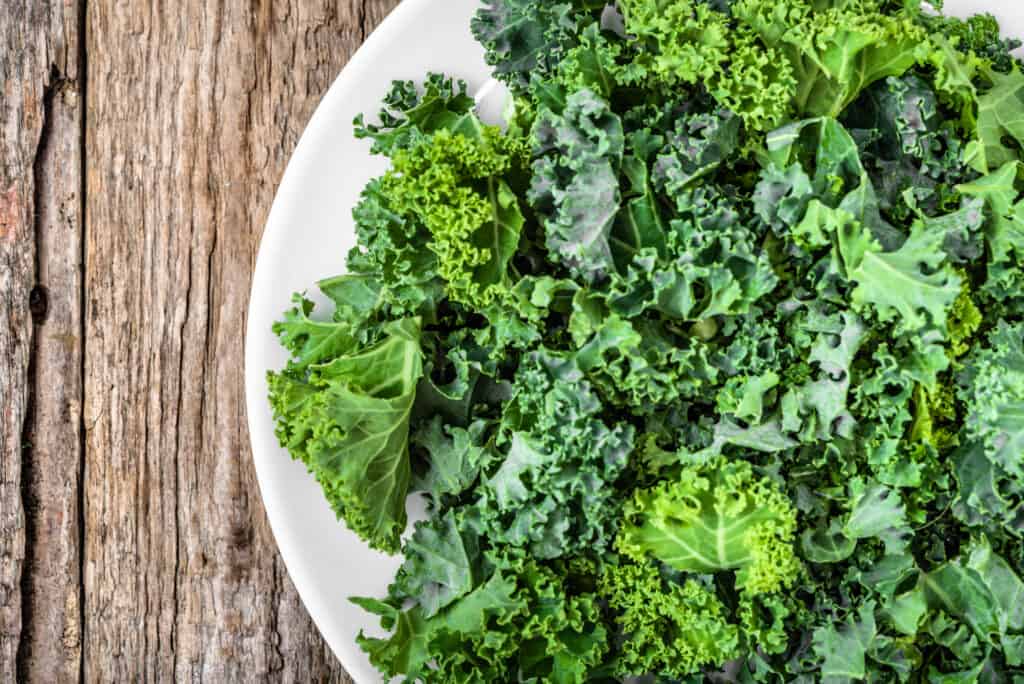
Kale should be slightly sweet and bitter when it is ready to be harvested.
©alicja neumiler/Shutterstock.com
3. Leaf Placement
An important indicator that your kale is ready to be harvested is the arrangement and placement of its leaves. Kale leaves grow in a distinctive pattern, and observing their positioning can give you valuable cues about when it’s time to harvest.
When kale is ready for harvest, the outer leaves, which are the oldest, will be situated at the bottom of the plant, close to the soil. These leaves are usually the largest and have had more exposure to sunlight, making them ideal for harvesting. They tend to be dark green and mature, indicating their readiness for consumption.
As you move towards the center of the plant, you’ll notice younger leaves growing in a tighter rosette. These inner leaves are still developing and should be left to grow for future harvests. Harvesting from the outside ensures a continuous supply of fresh kale throughout the growing season.
Inspect the outer leaves closely. If they are around six to eight inches long and have a vibrant green color, they are likely ready for harvest. Gently pinch or cut the stem of the leaf near the base to collect the leaves you want. Leaving a few leaves at the center of the plant allows it to keep producing.
4. Overall Age
An important factor in determining when to harvest kale is the overall age of the plant. As kale matures, its leaves go through changes in texture and taste, making it crucial to consider the plant’s age when deciding the right time for harvest.
Young kale plants typically have small, tender leaves that are quite palatable. However, for a more robust and flavorful harvest, it’s advisable to wait until the plant has reached a certain age. Kale leaves start to become more desirable for consumption when the plant is around two months old. The leaves are now a respectable size and have a tasty combination of sweetness and mild bitterness.
The plant’s leaves may get more bitter and harsh as it grows older. Waiting too long to harvest kale plants, particularly older ones, may result in unappetizing flavor and excessively fibrous leaves. To get the finest flavor and texture, it is essential to keep an eye on the kale’s age.
You may keep note of when your kale plant was originally planted or when it started to sprout to find out how old it is. Kale is typically ready for harvest eight to ten weeks after planting. However, this time frame might change depending on the weather and other growth circumstances.
5. Flower Buds
An important indicator of kale readiness for harvest is the presence of flower buds. Kale plants are considered to be at a later stage of maturity when they start to generate blossom buds. Understanding how these buds affect the quality of your harvest is crucial, though.
Due to its biannual nature, kale normally has a two-year life cycle. In its second year, the plant focuses on producing flowers and seeds, signaling the end of its edible stage. When you notice flower buds forming in the center of your kale plant, it means it’s transitioning into the flowering phase. These buds are generally found in the top, central part of the plant.
Harvesting kale after the appearance of flower buds can be less desirable because the plant’s energy shifts from leaf production to reproduction. As a result, the leaves may become tougher and more bitter, making them less appealing for culinary use. However, all is not lost; you can still harvest kale with flower buds.
To salvage the edible part of the plant, simply cut off the flowering stalk, removing the buds and the uppermost leaves. This will encourage the kale to redirect its energy back into producing tender, flavorful leaves. It’s crucial to monitor your kale plants regularly to catch the buds at an early stage if you wish to avoid their appearance altogether and continue enjoying fresh, delicious kale for an extended period.
The different signs that kale is ready to be harvested can be very helpful for farmers and novice gardeners alike.
©Thirawatana Phaisalratana/iStock / Getty Images Plus via Getty Images
Tips on Storing Your Kale Harvest
1. Refrigerate Your Kale
To keep kale fresh and increase its shelf life, refrigeration is a very efficient technique of storage. Kale can retain its flavor, texture, and nutritional content by being properly refrigerated, keeping it crisp and available for usage.
To store kale in the refrigerator, begin by preparing the leaves. After removing any harmed or yellowing parts, thoroughly rinse the kale under cold water to get rid of any dirt or debris. After washing, carefully shake off the excess water or pat the item dry with paper towels to avoid food spoiling due to excess moisture.
To further prevent moisture buildup, wrap the kale loosely in a clean paper towel. This helps absorb any remaining moisture and keeps the leaves from becoming soggy. After that, put the kale in an airtight container or a plastic storage bag. To establish a regulated atmosphere with less moisture, strive to eliminate as much air as you can while sealing the bag or container.
You may now put the kale bag or container in your refrigerator’s crisper drawer. The crisper drawer maintains a slightly higher humidity level than other parts of the fridge, which is ideal for preserving leafy greens like kale.
2. Freeze Your Kale
Freezing kale is an excellent method for extending its shelf life while preserving its nutritional value. This approach allows you to enjoy kale even when it’s out of season or in excess supply. Properly freezing kale is straightforward and can be a valuable addition to your kitchen routine.
To start, thoroughly wash the kale leaves under cold running water. Remove any damaged or discolored portions, as these can affect the quality of the frozen kale. After washing, blanch the kale briefly in boiling water for about two to three minutes. Blanching helps preserve the color, flavor, and nutrients while also destroying enzymes that can cause deterioration.
Next, quickly transfer the blanched kale into a bowl of ice water to cool rapidly and stop the cooking process. After the kale has cooled, properly drain it and wring out any extra moisture. Spread the leaves out on a baking sheet and freeze them separately before putting them in an airtight freezer-safe bag or container to prevent them from sticking together in the freezer.
Don’t forget to squeeze out as much air as you can before sealing the bag or container. By doing this, the chance of freezer burn is reduced and the kale stays fresher longer. Properly stored, frozen kale can last for up to six to 12 months.
3. Make Kale Chips
Making kale chips is a fantastic way to store kale and enjoy it as a tasty, crunchy snack. It also enhances the kale’s flavor and texture, keeping it fresher for longer and making it a favorite among health-conscious consumers.
Before you start making the kale chips, thoroughly wash the kale leaves under cold running water. To get rid of any extra moisture, gently wipe them dry with paper towels or a fresh kitchen cloth. Making sure the leaves are dry is essential since moisture might impede the crisping process.
The kale leaves should then have their tough stems gently removed, leaving just the soft leafy greens. The leaves can be shredded or chopped into bite-sized pieces. Pour just enough olive oil into a mixing dish with the kale to gently cover the leaves. After that, season with your preferred spices or seasonings, such as salt, pepper, garlic powder, or paprika, to add flavor.
Place the seasoned kale slices in a single layer on a baking sheet. It’s important not to overcrowd the tray to ensure even cooking. Bake the kale for 10 to 15 minutes, or until the leaves become crisp and faintly golden brown, in an oven preheated to about 325 degrees F. They may easily transition from crispy to charred, so keep a watchful check on them.
When ready, take the kale chips out of the oven and set them aside to cool. Enjoy your homemade kale chips’ lovely crunch and salty flavor after that. They can be stored in an airtight container for several days, making them a convenient and nutritious snack option.
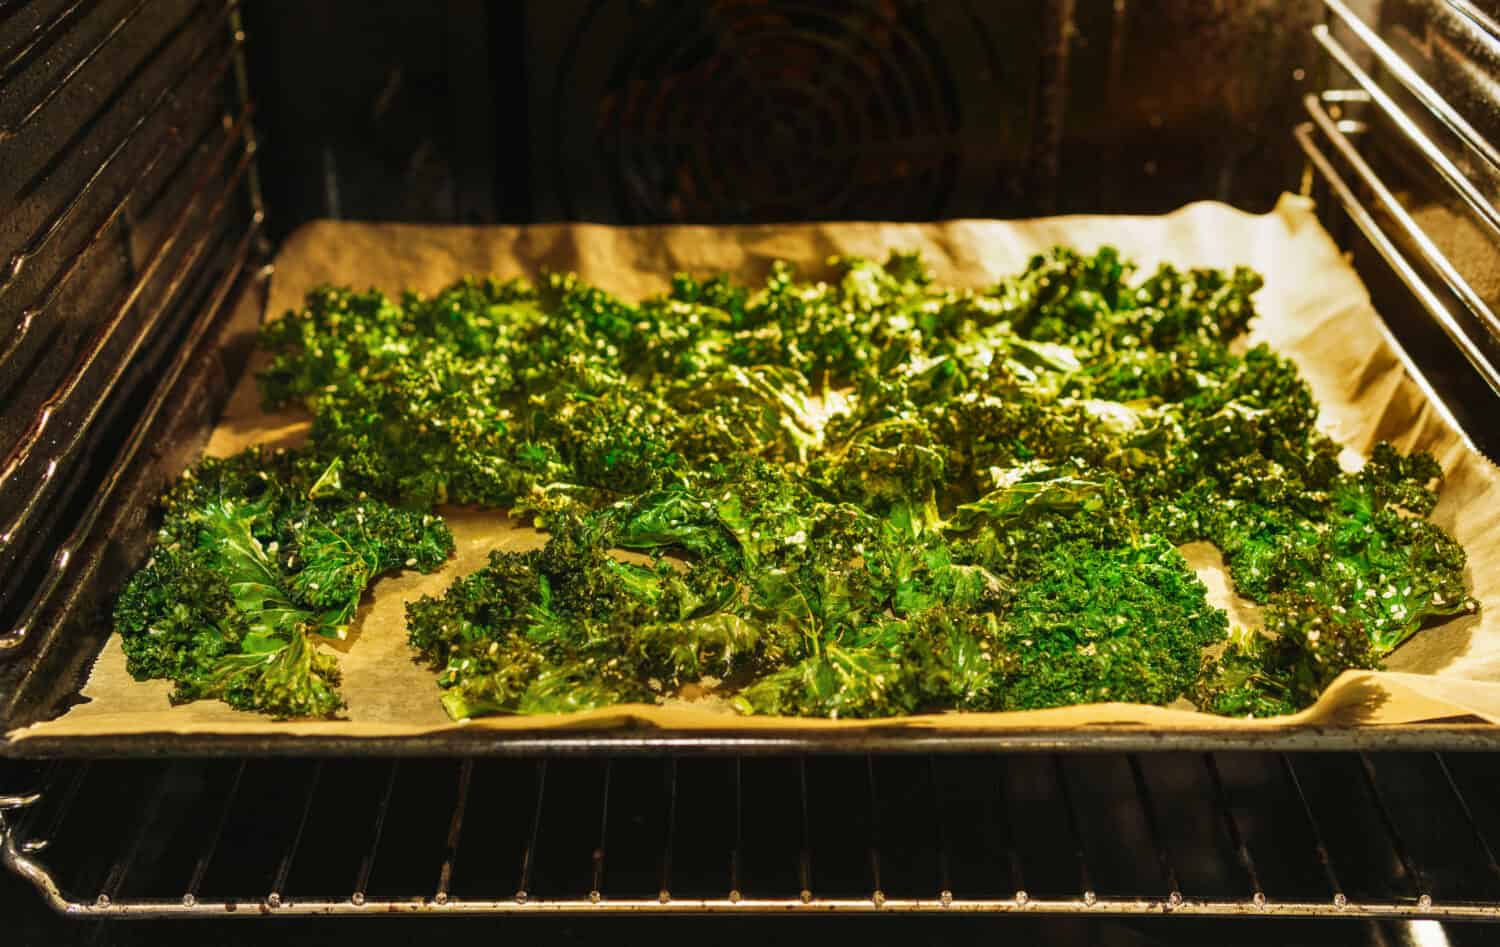
Kale chips make a very tasty snack, especially if you experiment with different seasonings.
©fotorauschen/Shutterstock.com
4. Make Kale Powder
A fantastic method for preserving kale and maximizing its shelf life is by creating kale powder. Kale powder is a flexible and practical method to keep this nutrient-dense leafy green for a long time without losing any of its nutritional benefits.
Start by giving the kale leaves a good wash under cold water to get rid of any dirt or debris before making kale powder. Make sure the leaves are totally dry after washing them because moisture might affect how well the powder will turn out. You may gently wipe them dry with paper towels or use a salad spinner.
After the kale leaves have dried, cut them into smaller pieces and discard the tough stems. These pieces should be equally distributed on a baking sheet and baked at the lowest temperature possible (typically between 150 and 170 degrees F). Maintain a little gap in the oven door to let moisture out.
The kale pieces should be baked for many hours, or until they are brittle and crunchy. The temperature of the oven and the humidity of your surroundings can affect how long things take to dry.
Once the kale pieces have completely dried out, remove them from the oven and allow them to cool. The kale should next be blended or processed in a food processor to a fine powder. The finished kale powder can be stored in an airtight container in a frigid, dark environment.
5. Pickle Your Kale
You’ll need fresh kale leaves, vinegar, water, salt, sugar, and your preferred spices or seasonings to begin preparing pickled kale. First, thoroughly wash the kale and cut it into bite-sized pieces. The texture can be improved by gently blanching the kale for one to two minutes in boiling water.
Next, prepare a pickling solution by combining equal parts vinegar and water in a saucepan. Season the mixture to taste with salt and sugar before bringing it to a boil. Dill, red pepper flakes, and garlic are just a few examples of the herbs and spices you might add for flavor.
Pack the blanched kale pieces into sterilized glass jars or containers, leaving some space at the top. Pour the hot pickling solution over the kale, ensuring it covers the leaves completely. Seal the jars or containers tightly and allow them to cool to room temperature.
Once cooled, transfer the pickled kale to the refrigerator and let it sit for at least 24 hours to develop its flavors.
Summary of Clear Signals Your Kale Is Ready to Be Harvested (Plus Tips on Storing Them)
| # | Signal | Storage Tip |
|---|---|---|
| 1 | Leaf Size | Refridgerate Your Kale |
| 2 | Overall Taste | Freeze Your Kale |
| 3 | Leaf Placement | Make Kale Chips |
| 4 | Overall Age | Make Kale Powder |
| 5 | Flower Buds | Pickle Your Kale |


How to Add Us to Google News


Thank you for reading! Have some feedback for us? Contact the AZ Animals editorial team.