
With each passing year, more aspiring gardeners are exploring ways to save money on groceries and maintain control over what’s in their food. Stevia has become a popular naturally-occurring sweetener that’s easy to grow at home. In this article, we’ll explore how to grow stevia and care for your plants to improve your harvest.
Let’s dig in!
What Is Stevia?
Stevia, scientifically known as Stevia rebaudiana, is a member of the daisy family (Asteraceae). This perennial plant grows in stalks with vibrant green foliage and small white blooms, reaching up to two feet at full maturation.
Sometimes called candyleaf or sweetleaf, stevia leaves are naturally sweet and delicious. This quality and its low-calorie nature make it a popular alternative to sugar when processed.
Mass-produced stevia is ground into a fine, shelf-stable white powder. However, this plant can be harvested and dried to add to teas or to create a simple syrup for baking and cocktails.
How to Grow Stevia
Stevia will grow as a perennial in USDA zones 10-11 in humid, temperate climates that mimic its Brazilian origins. It will grow as an annual in other regions or can be overwintered in containers.
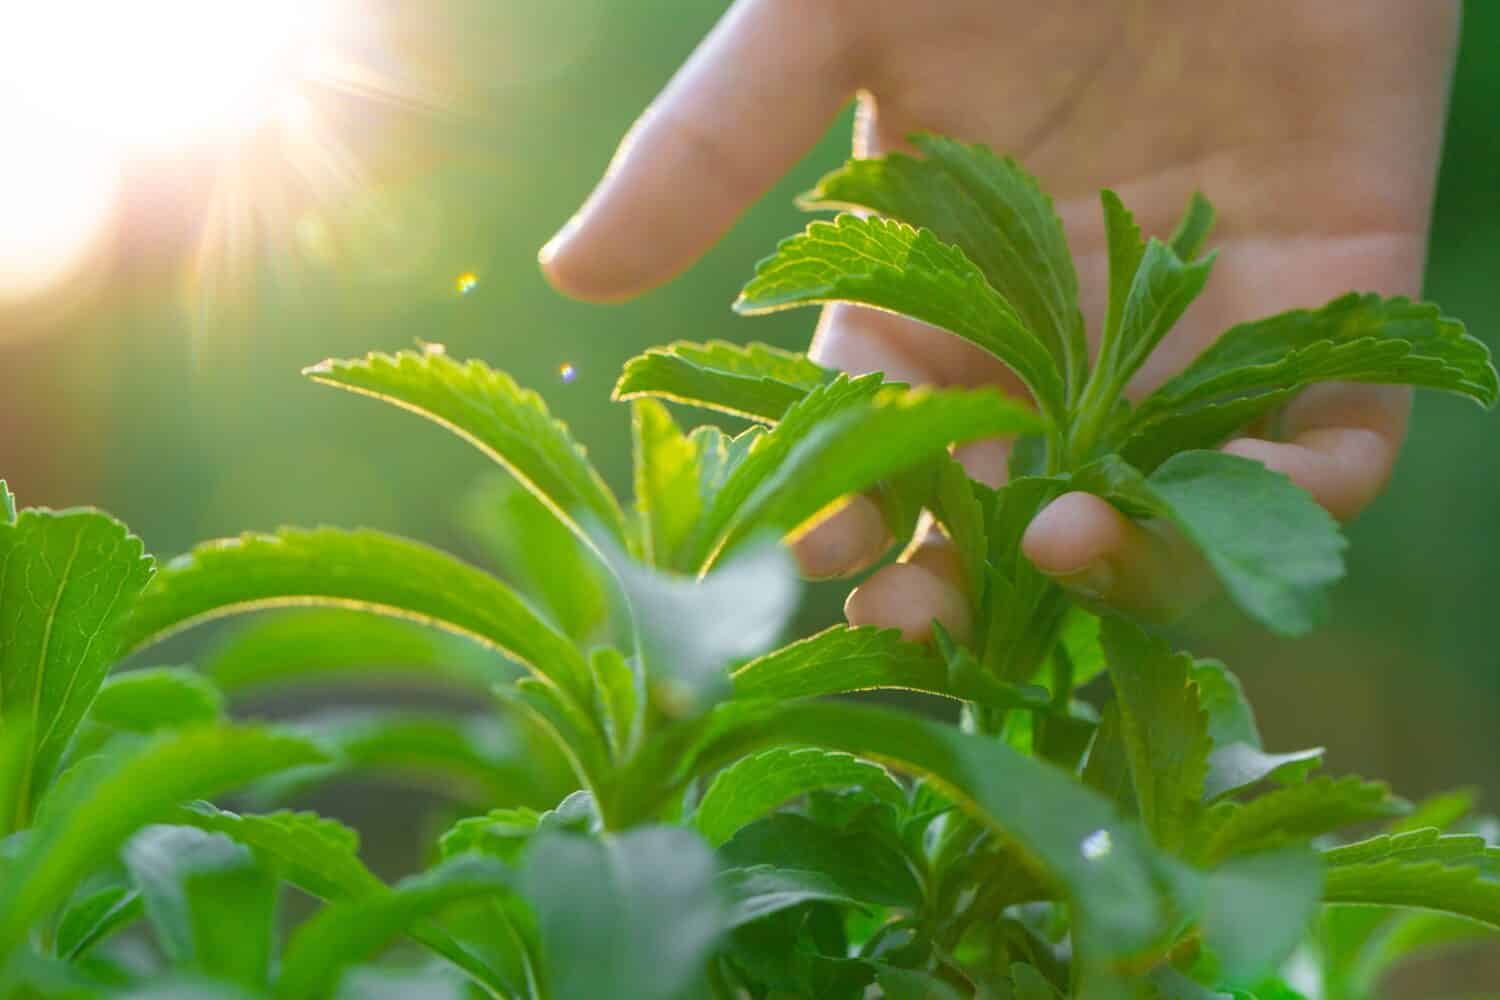
Stevia is easy to grow and low-maintenance.
©yul38885/Shutterstock.com
Here’s a helpful guide on how to grow stevia from seed:
1. Soil Preparation
Stevia grows best in loose, well-draining soil. Clear out any rocks or debris from the garden plot or add suitable drainage to a terra cotta pot. Mix in plenty of organic matter, like fertilizer or compost, for best results.
Like many herbs, stevia prefers full sun exposure to grow and flourish. Place your garden plot or pots in a suitable location.
2. Planting Method
Start your stevia seeds indoors 8-12 weeks before the final frost or plant directly in the soil after the frost risk is over.
Space your stevia seeds 6-12 inches apart, or prepare to separate and transplant your plants once they sprout.
Cover your stevia seeds with an inch of loose soil, give them a good soak, and keep the soil moist to promote growth.
3. Watering
Water your stevia plants regularly, testing the top inch of the soil for dryness. While your stevia will survive a few missed waterings, it prefers moist soil and humidity. Consider adding a plastic cover to your sprouts to retain moisture.
Keep in mind that potted stevia plants will require more frequent care and attention, as the soil will dry out quicker.
4. Care and Maintenance
Stevia is a low-maintenance plant that’s easy to grow and care for. If you plant it and water it regularly, you’ll get a good harvest.
However, regular pruning will help your stevia branch and prevent it from going to seed for a more bountiful harvest.
5. Harvesting
Trim your stevia regularly throughout the season for continual growth. Avoid letting your stevia flower to preserve the flavor.
Cut the plant stem to 4-6 inches at the end of the season and remove all remaining foliage.
6. Overwintering
After cutting back your stevia plant’s stem, move the pot indoors to a cool, dark place. Alternatively, you can use grow lights for a continued harvest throughout the winter months.
How to Propagate Stevia
Stevia is one of the easier herbs to propagate from cuttings. Choose a cutting that’s at least six inches long and remove the lower foliage from the stem.
For best results, dip the stem in the rooting hormone and plant it directly in the soil. Water gently until the roots are established.

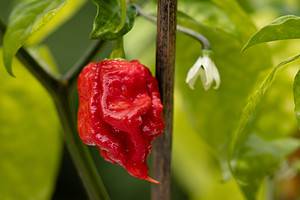
It’s important to cut back stevia before it goes to flower to get the best possible flavor.
©YuRi Photolife/Shutterstock.com
How to Dry Stevia
You can preserve your extra stevia by hanging it to dry and using the leaves throughout the winter season.
Follow this step-by-step guide to drying your stevia:
- Carefully cut the stevia plants at the stem, leaving a reasonable length for handling.
- Gather your cut stevia plants and bundle them together at the stem. Secure the bundle using a string or an elastic band.
- Locate a warm and dry area in your home with good airflow. Hang the stevia bundles upside down in this location.
- The leaves typically take around 6-8 weeks to dry completely. During this time, ensure the bundles are not exposed to any moisture.
- Carefully take down the bundles once the stevia leaves are dry and brittle. Remove the leaves from the stems, gently crumbling them with your fingers. Discard any tough or discolored leaves.
- Seal the dried stevia leaves in an airtight container and keep it in the fridge for the best possible lifespan.
While you can also dry stevia with a dehydrator or oven, the hanging method preserves its flavor better. Enjoy the delightful taste of stevia in your dishes, even during the colder months!
How to Cook and Bake With Stevia
There are several ways to use stevia for culinary purposes. Add fresh or dried leaves directly to a dish, or grind dried leaves into a fine powder for easy mixing.
Alternatively, create a simple extract by adding stevia leaves to a jar and covering them with vodka. Let the extract sit for 3-5 days, then filter out the leaves and reduce over heat.
Many culinary connoisseurs find that heating the stevia helps release the flavor better than simply adding dried or fresh leaves. Adjust your dosage accordingly if adding to a cold dish or drink.


How to Add Us to Google News


Thank you for reading! Have some feedback for us? Contact the AZ Animals editorial team.