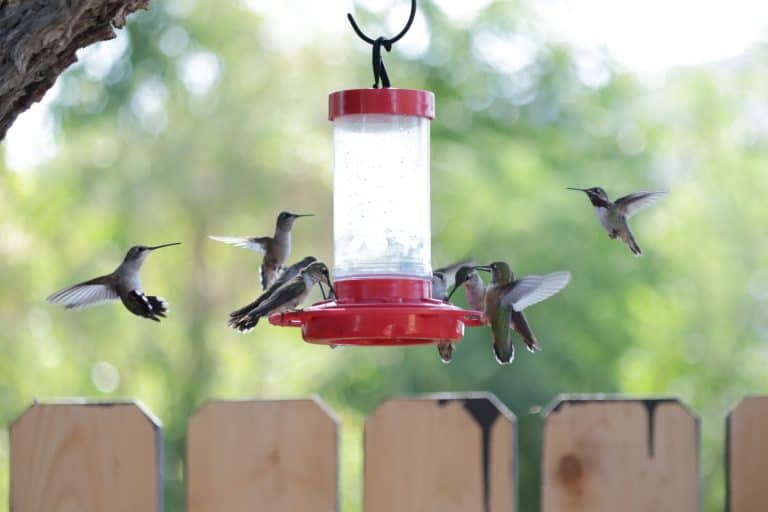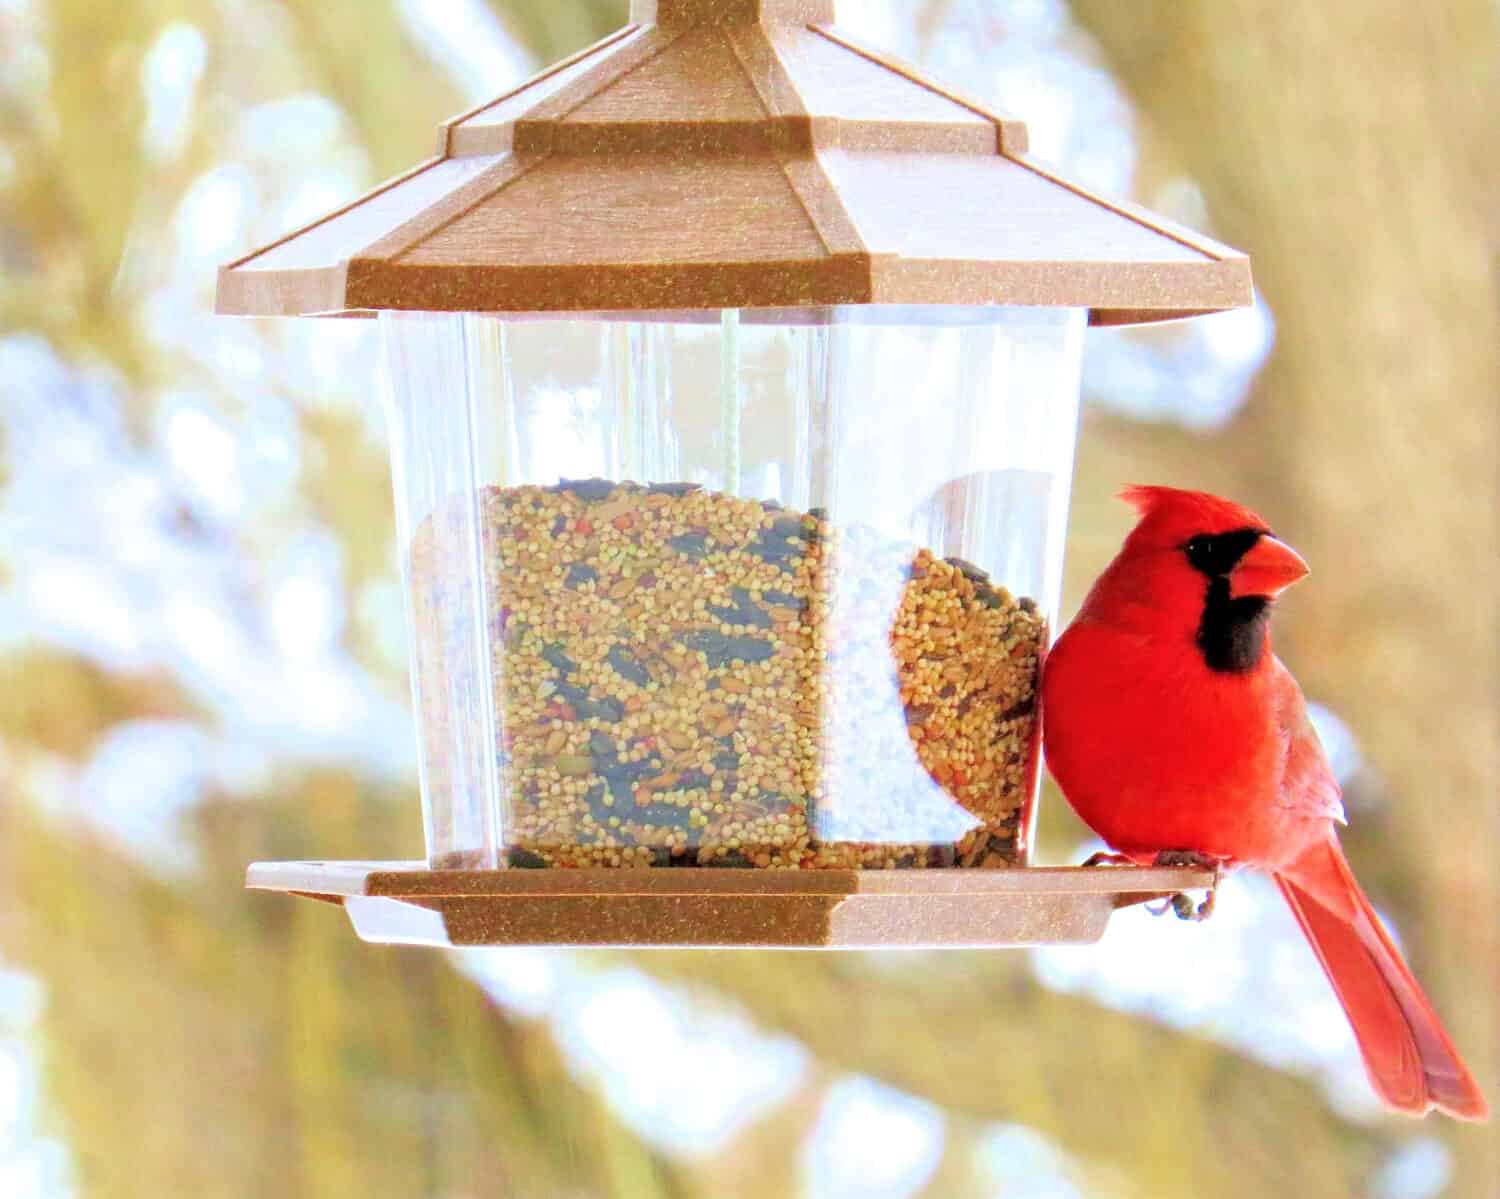

Bird feeders are a great way to bring a little life into your backyard or porch, and you don’t need a lot of space.
©vagabond54/Shutterstock.com
Have you thought about making your own bird feeder? It can be a fun project and one that lets you pick the perfect feeder to fit in with the rest of your garden. By making a homemade bird feeder, you can bring in lots of birds, and potentially get your family interested in the great outdoors.
While every project you make will be your own unique piece, these bird feeders below can serve as an inspiration.
Why Make a Homemade Bird Feeder?
There are many reasons to make your own bird feeder. Sometimes, it’s fun to partake in crafts. There are plenty of homemade bird feeders that are exciting for adults and children alike to make.
Homemade bird feeders also allow you to use up trash in a fun way, or prevent as much trash from going into a landfill. Instead of using cheap feeders that break year after year, you can make your own using trash in your own home, or fully biodegradable materials.
Other times, you can make bird feeders that fit your tastes better. The standard plastic containers can be cute but don’t always fit in your garden’s aesthetic. By making your own, you can be sure it matches, looks good, or even blends into the rest of your decorations.
Is it Difficult to Make a Bird Feeder?
Depending on the type of bird feeder you make, they can be very easy. Some are so easy you can make them with a class, children, or grandchildren. Many of these also use materials that won’t harm the environment as they break apart, which is an additional benefit.
If you want a specific and unique bird feeder, it can be a bit more technical and difficult to do. Ones involving shaping wire or cutting through glass are an example of more technical options. However, the difficulty level is up to you. It’s easy enough to get cute bird feeders that are easy to make, and if you want to try something new, you can go with a harder design.
What Do You Need Before Making a Bird Feeder?
Every project needs different items. For the most part, you will need things like string and birdseed. Other items that are pretty common to need are scissors, paints, paintbrushes, branches, sticks, and skewers.
Excellent Homemade Bird Feeders
Now that you’re ready and have your basic ingredients, let’s look at some great homemade bird feeders.
1. Bonded Birdseed Shapes Bird Feeders
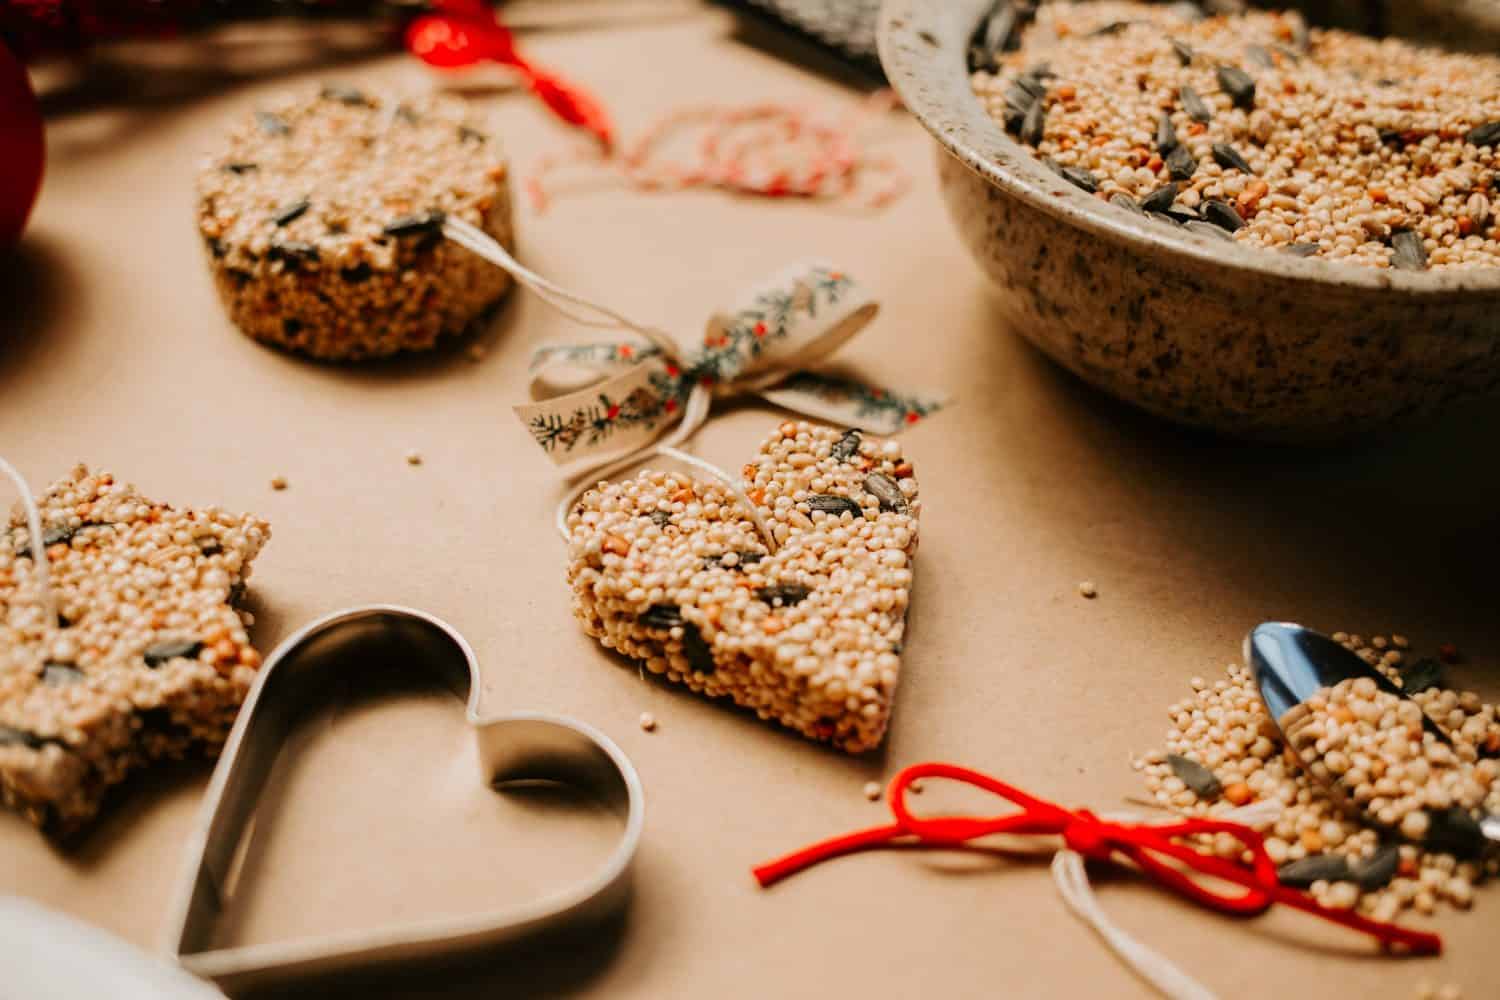
When you’re making holiday cookies, go ahead and make a few for the birds outside too.
©Megan Betteridge/Shutterstock.com
If you’re wanting temporary bird feeders for the winter season, there’s not much cuter options than making ones that look like Christmas cookies. These don’t use any peanut butter, so they are the perfect option for someone with a peanut allergy or a classroom project.
These make great class activities as you can have every student pick a cookie mold shape they think would be more attractive to birds. Then, every day, you can have them observe each of the cookies and see which ones the birds eat from. Experiment with different types of seeds, locations, and colored strings as well.
Steps to Make:
The ingredients for this recipe are:
- 4 cups of birdseed
- 3/4 cup flour
- 5 teaspoons gelatin (Two 0.25-ounce packets)
- 3 tablespoons corn syrup
- 1/2 cup water
- Skewer
- Plastic cookie cutters
- Cooking spray
All you do to make these cookies is mix birdseed, flour, and gelatin together. Then, you’ll mix some water and corn syrup until you get a nice, thick texture. Stuff a cookie cutter with the birdseed and stab a hole through the top to fit a string through.
Once the birdseed cookie is molded, take it out and set it out on a tray or a parchment paper. They will need to dry overnight.
Keep in mind this is just one recipe. If you aren’t quite happy with this one, feel free to look around for one that best fits your needs. You can also experiment with the ratios.
These are cute, but they aren’t always the best all the time. They are definitely more of a winter craft. In the summer, they can get too warm and melt. Rainy seasons will also cause them to melt, though they hold up to snow pretty well. If you are trying these in a different season, consider keeping them in shady areas and covered to protect them from the rain.
You may want to hang these close to the ground or just above another brand so your birds have something to sit on while they pick at the seeds. You could also hang a tray just underneath the cookies for a good perch. Or, for something more simple, stick popsicle sticks or skewers into the center of the cookies before they dry.
2. Popsicle Sticks Bird Feeders
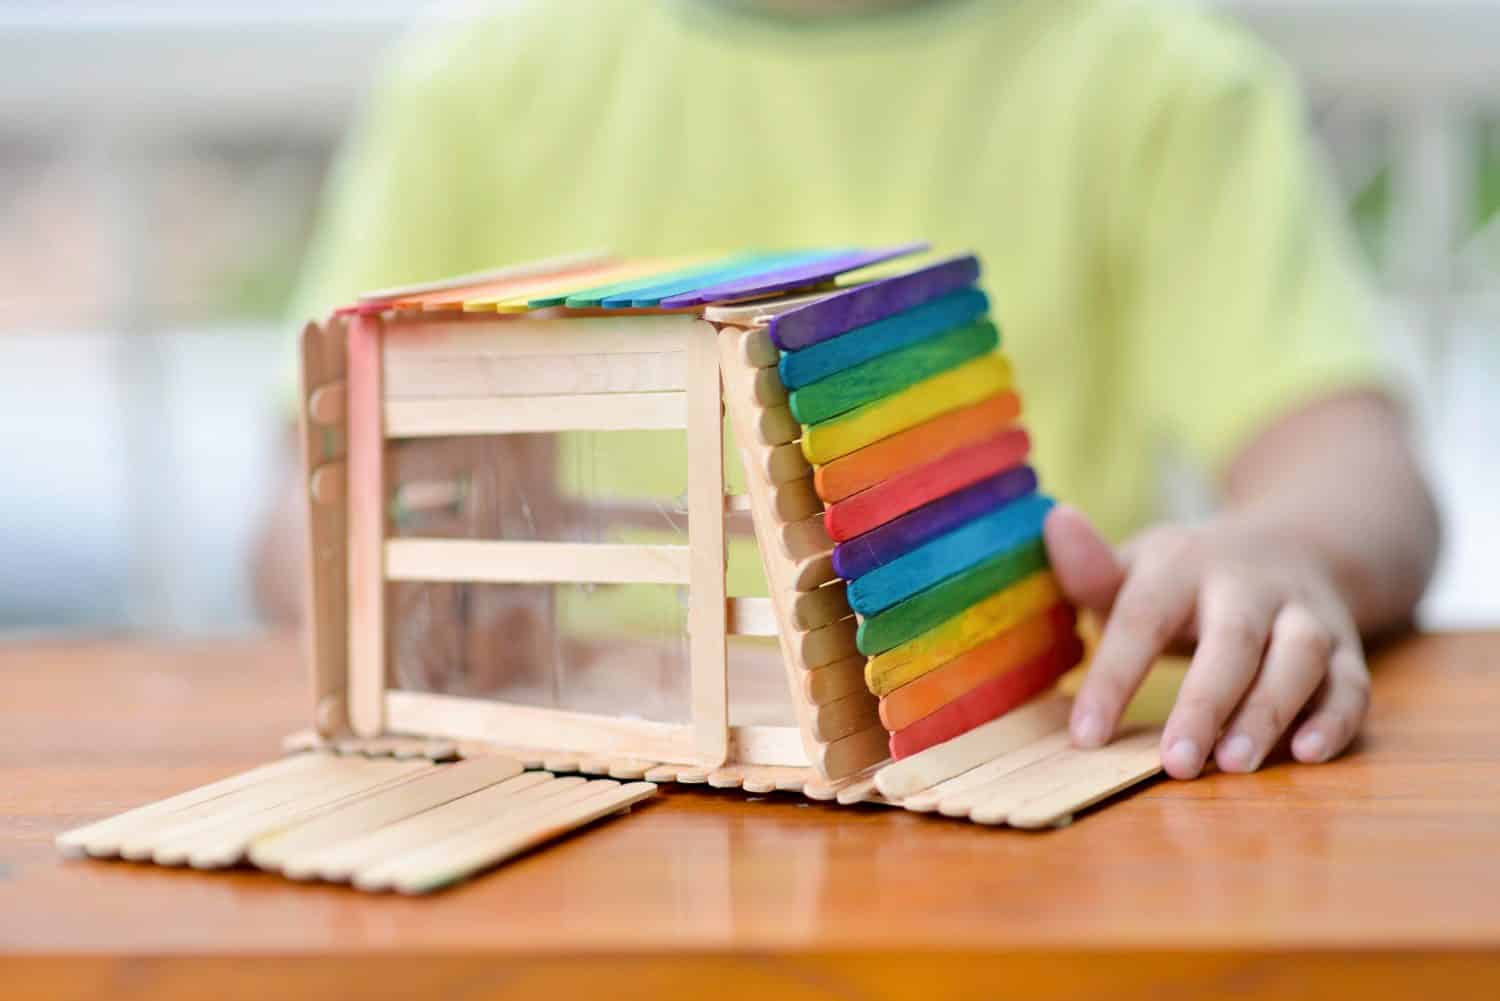
Popsicle sticks have all sorts of uses, including creating a fun bird feeder.
©Jeanette Virginia Goh/Shutterstock.com
If you have children who like to create things, you likely have popsicle sticks lying around from one craft or another. Take those leftover popsicle sticks and build a bird feeder. You can make some pretty unique bird feeders that look like houses, flowers, or all sorts of unique shapes. However, if you just want something simple, you can also make a simple box. There’s also the option to paint them if you don’t have the already painted sticks.
It’s important to leave areas the bird can perch on. If it’s a shallow box, consider placing a few sticks perpendicular to your box so that they have a good grasp. Anywhere you want a bird to feed from, add a stick.
If you want your bird feeder to last a long time, use a wood sealant and let it fully dry before putting bird seed into it. While paint doesn’t often do a lot of harm to birds, especially if you seal it first, it may be a good idea to leave the inside unpainted to be extra careful. That way, you don’t have to worry about birds accidentally eating the paint.
Steps to Make:
You don’t need much to make these bird feeders.
- Popsicle sticks
- Birdseed
- String
- Glue (hot glue or wood glue works best for long-term use)
- Paint and paintbrushes (optional)
- Sealant (optional)
Simply make a bird feeder in any shape you want. You will want to make sure the bottoms and the sides don’t have too many gaps, however, or you risk the seeds spilling out. After designing and painting your bird feeder, you can seal it if you want. Then, let the art dry, at least overnight, and hang it up in the area of your choice.
Depending on how many steps you are doing, this can take a few days until it’s ready. For example, you’ll want the glue to dry fully before painting. Then, you need the paint to dry before painting it again for a more solid color, or sealing the work. Once everything is done, it’s ready to go outside.
3. Bottle Bird Feeders
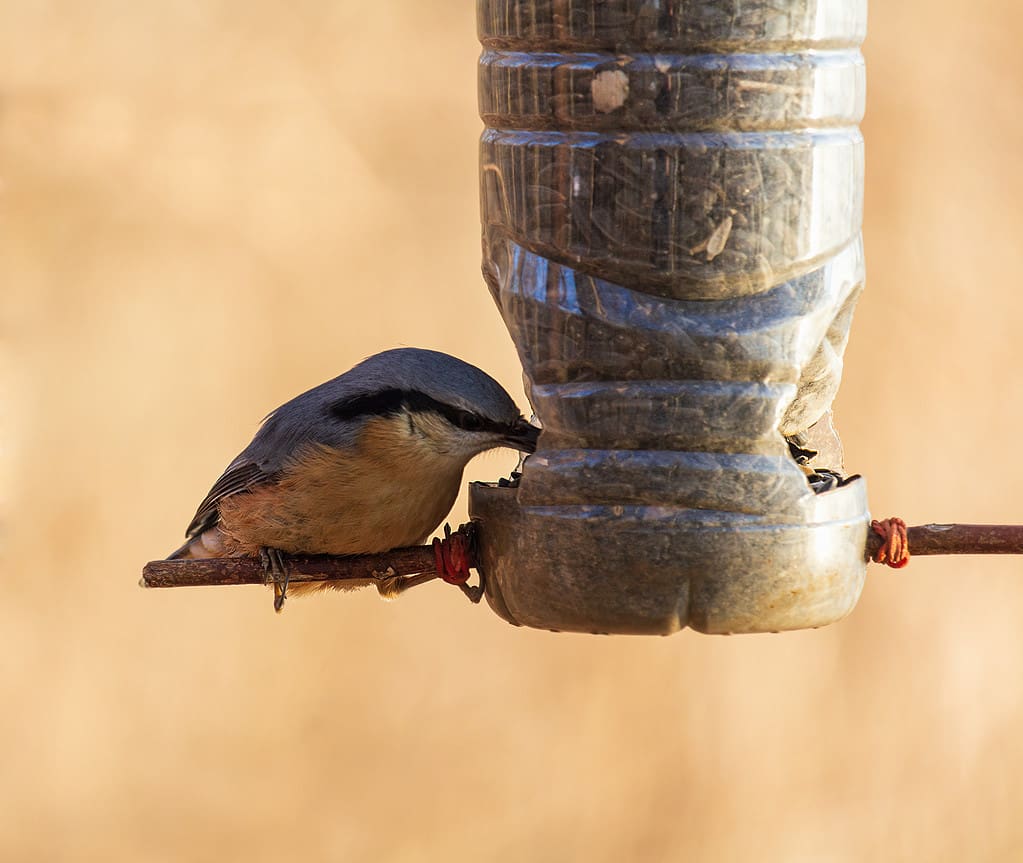
By using different sizes and shapes of homemade bird feeders, you get the chance to see different birds approach your yard.
©Fug4s/iStock via Getty Images
If you’re like the average American, you probably end up with a lot of plastic waste. Even if you’re good about it, it’s hard to avoid plastic all the time. Thankfully, if you go to make bird feeders, you can put some of those plastic bottles to good use.
You can use any bottle, including old water bottles, juice containers, gallon jugs, and soda bottles. Even cardboard juice and milk cartons can be used if you have some lying around.
These are simple to make. However, if you are making them with your child, you may want to make sure you cut the bottles beforehand. This stops them from injuring themselves as they try to cut through the tough plastic.
Try a variety of different-sized holes and shapes to see what birds prefer. Just make sure you don’t have too many openings too close to the bottom, or you won’t be able to put much birdseed into the container. For the big gallon jugs, you can make it easier on yourself and just cut off the whole top. If you want, you can then make two bird feeders out of one container.
It’s also important that you clean the bottles or cartons thoroughly before you start the project. This will help you not attract insects that could injure birds like wasps and ants. It also makes sure that birds don’t eat anything that could be harmful to them.
Steps to Make:
To make sure that you’re prepared to start this project, check that you have all your necessary items nearby.
- Plastic bottles
- Bird seed
- Scissors or a knife
- String
- Sticks or skewers
- Paint and paintbrushes (optional)
Cut the plastic bottle open in any way you choose. If you want them to look a little nicer, or unique, you can also paint them. Wherever you have holes where you want birds to feed, consider putting a stick or skewer through the bottom of the hole. This gives the bird somewhere to perch.
If you don’t want a stick, you can use large metal netting. This will give them space to pull out seeds from the holes, and it gives them a place to grip.
Then, string up the bottle, and hang it and you’re good to go. It’s not recommended you seal the top of the bottle if you want to use the bird feeder more than once, or it will be very difficult to refill them.
Glass bottles, like wine bottles, work well too. You just have to change it up a little. Instead of cutting out pieces, you’ll just turn over the bottle. Secure the side of the bottle to a solid piece of wood with a metal bracket, and then place another piece of wood or an open box to the bottom of the bottle.
The placement between the mouth of the bottle and the wood underneath it is the trickiest part. You want it close enough that only some of the seeds come out at once, but far enough apart that they don’t get stuck and clog the opening.
As a pro tip, make sure the bottle and the bottom piece of wood can be separated from one another. This allows you to refill the bottle more easily.
4. Tea Cup Bird Feeders
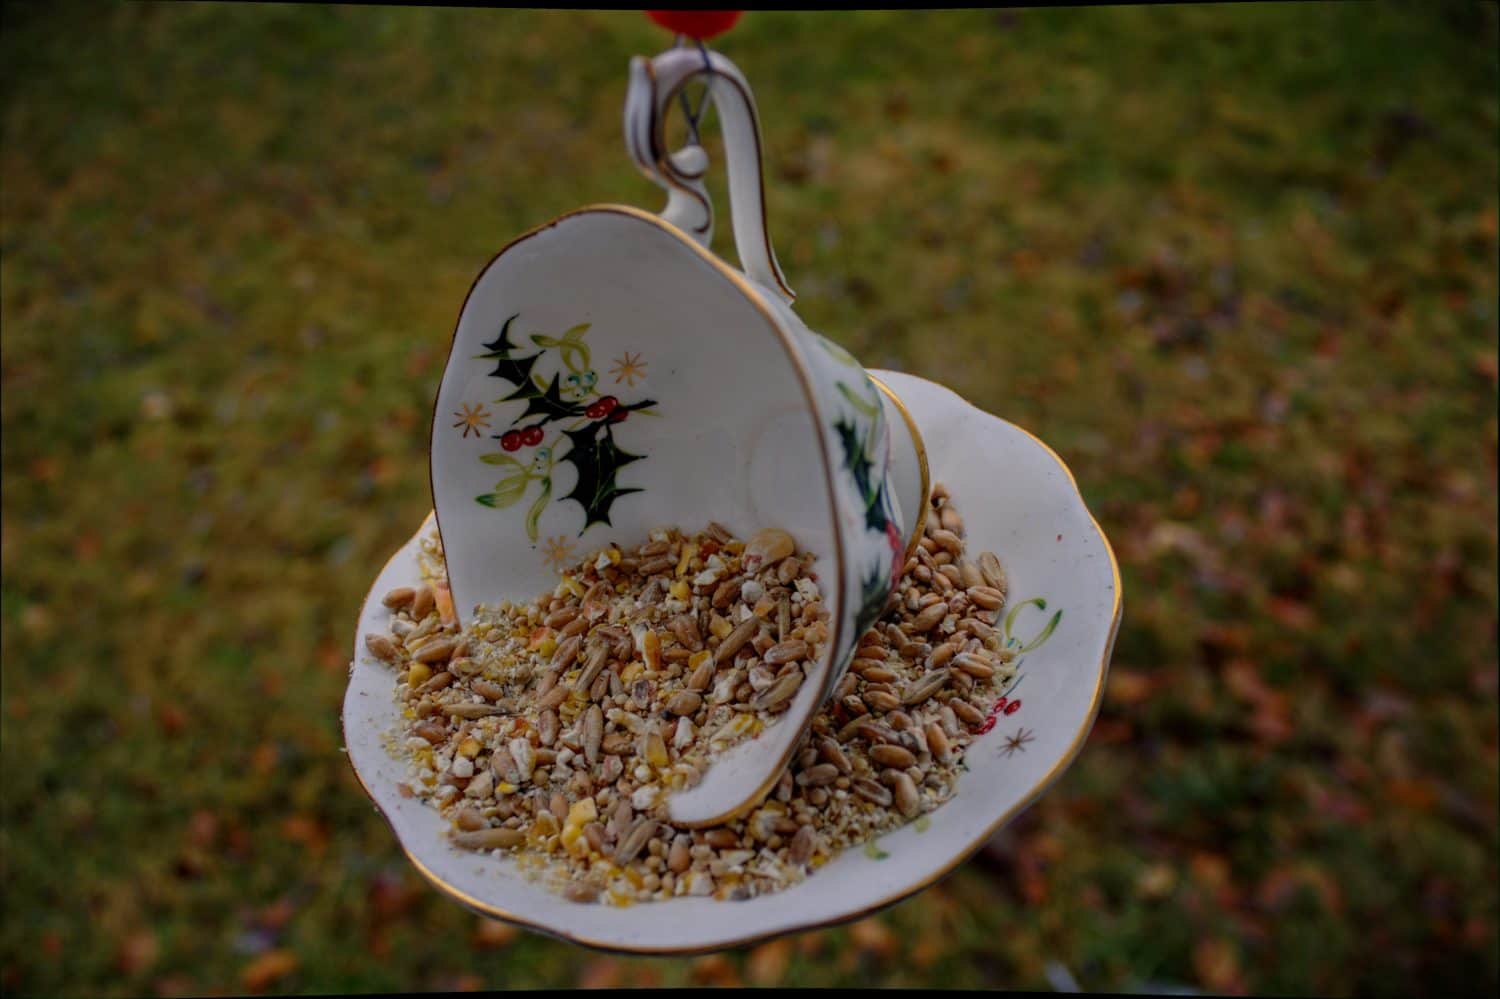
It’s easy and still cheap to make these beautiful bird feeders, especially if you visit thrift stores.
©Ssirounarev/Shutterstock.com
If you want a homemade bird feeder that doesn’t look homemade, a teacup and saucer is a simple method that looks elegant. You can use old tea cups you have hanging around, or go to a local thrift store and see what they have. This is also a great way to use mugs and plates that you’d otherwise have to throw away because of cracking or chipping.
While the matching design is nice, they don’t have to match. Find your favorite looks and combine them to get something that fits your tastes best. Maybe buy or try a few practice mugs first though. You’ll have to play around a bit to get the balance right so the seeds don’t all spill out when it is hanging up.
The best part is these bird feeders are ready as soon as you glue them together and hang them up. You don’t have to add any perches, and the designs already look nice. As a bonus, this is the perfect feeder for birds that like to hang upside down to feed, such as nuthatches.
Steps to Make:
You don’t need much at all to make these cups bird feeders.
- Cup
- Saucer
- String
- Glue (super glue or glue specifically for ceramics and porcelain)
- Birdseed
Clean your cup and saucer and allow to dry fully. Then, pick the area you want your teacup to sit. The best place is generally, in the middle, as the weight of the cup will help keep the homemade bird feeder centered as it hangs. If you don’t get it quite right, don’t worry. You can also just set it on a table as a feeder, instead of hanging it.
Once you pick a place, glue the two together. You’ll need glue at least on the lip and the edge of the cup that’s touching the plate, but you can add glue anywhere the two pieces are touching.
Give that a day or two to dry (based on the instructions on your glue), and then hang it up somewhere and you’re good to go. It’s a relatively easy bird feeder to make, so long as you’re able to get the placement of the plate on the platter right.
5. Lego Bird Feeders

Are you a child at heart? You can never have too many Lego designs.
©Bored Photography/Shutterstock.com
Legos are used to make some pretty epic designs that you can keep around your home and share with others. But have you ever thought of the other ways you can use Lego? If done right, your Lego collection makes for the perfect bird feeder.
Like popsicle sticks, the beauty of these plastic pieces is that they can be used to make any sort of bird feeder. They can make a simple, but colorful tray, or an epic, multi-layer buffet.
It’s a great way to add a touch of color and personality to your yard. It also adds a bit of whimsy.
Steps to Make:
There are not a lot of items that you need to make a Lego bird feeder.
- Lego pieces (as many or as few as you want, in any color, shape, or size
- Birdseed
- String (optional)
- Glue (optional)
Put together the Lego pieces in any way you want. Try to make multiple openings for birdseed to come out so that more than one bird can feed at a time. You also want to remember to make plenty of perches for all sorts of birds to hang from.
If you want to make sure the feeder stays together for a long time, you can glue every piece together. This is a good option for looser pieces or little plastic bricks that don’t fit as tight as the Lego brand would. For the most part, it’s just security and not a necessity.
You don’t have to hang this bird feeder. You can stick it on a table, log, or anything else. If you are going to hang it, you need to leave a space open to hang a string through.
6. Fruit Garland Bird Feeders
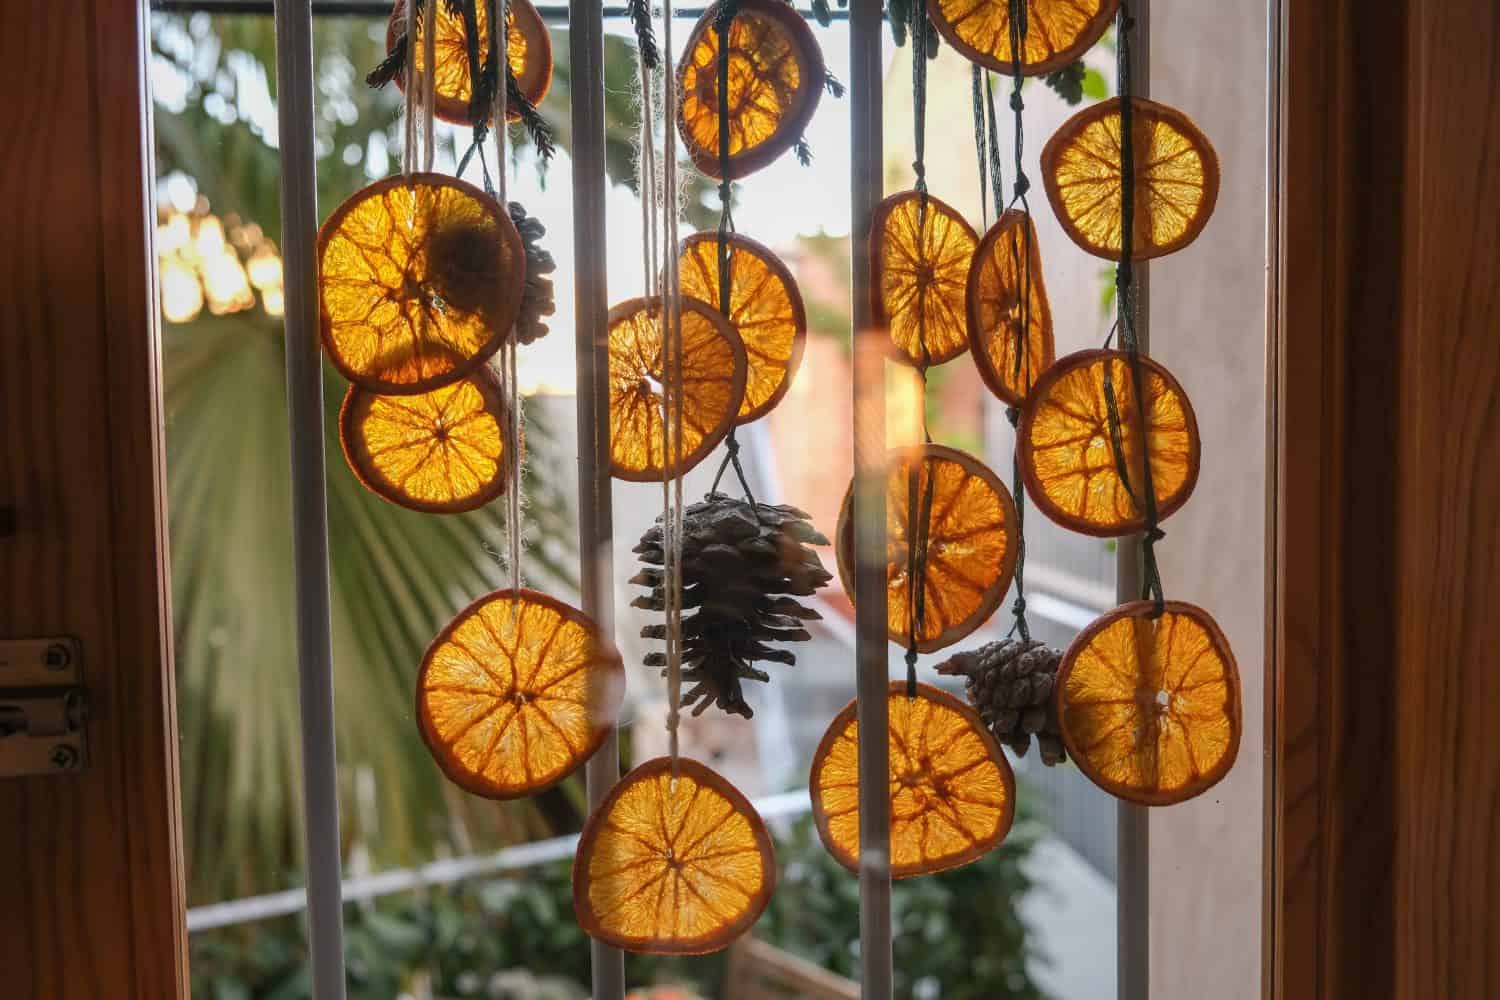
Garlands are perfect for the fall season and birds.
©Olena Voloshyna/Shutterstock.com
Garlands add a bit of fall festive flair to any home or tree. You may have some you hang up around your home. If so, why not carry the theme outside and create garlands for your birds? You can use a mix of fresh and dried foods, and all sorts of color combinations to make them pretty and attractive to the birds that will come and visit.
The best part of these is that they’re temporary and as colorful and large as you want them to be. Go with a simple popcorn and cranberry chain, or add colors with peas, carrots, apples, oranges, nuts, and berries.
Each one can be a foot or two in length, or long enough to trail across your entire yard. It’s really up to you and there aren’t many limits to what you can do, as long as you keep nutrition in mind.
Steps to Make:
- Fruits of your choice
- Grains
- Popcorn
- Peas
- Nuts
- Cheese
- String
- Chunks of suet
- Scissors
- Needle
Pick the foods you want to use. Try to focus on more nutritional foods, like fruits, vegetables, and nuts. While you can add cheeses, breads, and popcorn, they aren’t as nutritious and should be used frugally.
If you want to make the perfect garland, you can line up all your treats to make sure everything is as you want it. Using a needle, you can poke holes through the food and fish the needle through it.
If you are making these with kids, and you don’t want to give them a needle, you can have them choose the foods to put on, or to make the chain as you put the foods on string.
Once you are done, they are ready to hang. You can hang them vertically from a tree, or drape them from branch to branch.
Since these garlands have a lot of fresh fruit and vegetables, you’ll have to keep an eye on the garlands. Once they start to rot or mold, they’ll have to be tossed to make sure you don’t harm any birds feeding on them. If you want your garland to last longer, consider only using dried foods.
Summary of Homemade Bird Feeders for Your Home
| List Number | Bird Feeder | What You Need | Difficulty Level |
|---|---|---|---|
| 1 | Bonded Birdseed Shapes Bird Feeders | Gelatin, flour, corn syrup, water, skewer, string, birdseed, cookie molds (optional) | Medium |
| 2 | Popsicle Stick Bird Feeders | Glue, popsicle sticks or tongue depressors, birdseed, paint and paintbrushes (optional) | Easy |
| 3 | Bottle Bird Feeders | Some plastic or glass bottle, a knife or scissors, string, birdseed, wooden sticks, paint and paintbrushes (optional) | Medium |
| 4 | Tea Cup Bird Feeders | Strong glue, tea cup, serving saucer, birdseed, string | Hard |
| 5 | Lego Bird Feeders | Legos, birdseed, string, glue (optional) | Easy to Hard |
| 6 | Fruit Garland Bird Feeders | String, fruits, scissors, needle | Medium |