
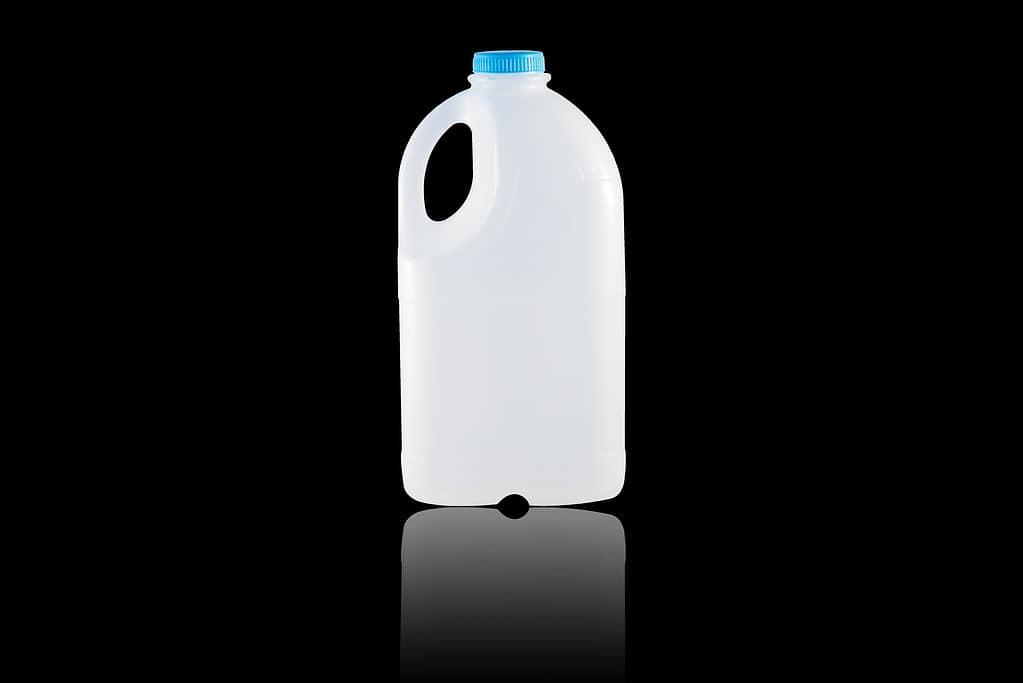
Upcycling plastic and paper containers into functional garden accessories is a great way to take care of the environment from your backyard. Upcycling cuts down on waste in more ways than one — you won’t have to buy a pot, planter, bird feeder, decor, or watering can at the store if you repurpose a milk jug for it. At the same time, you’re adding to nature by planting flora, providing a habitat for birds or insects, or creating a reliable food source for endangered animals.
Keep reading to discover 25 afternoon DIY milk carton crafts for your yard, broken into sections for plastic milk jugs and paper milk cartons. Remember to thoroughly wash the milk out of these receptacles before repurposing them!
Plastic DIY Milk Carton Crafts
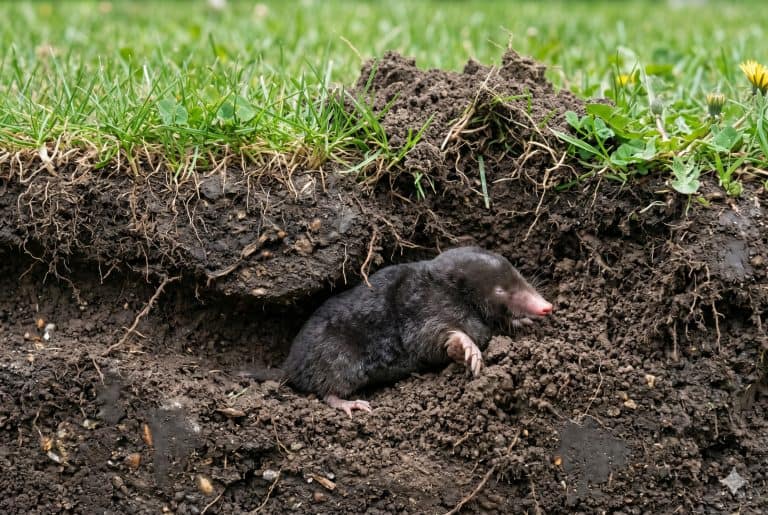
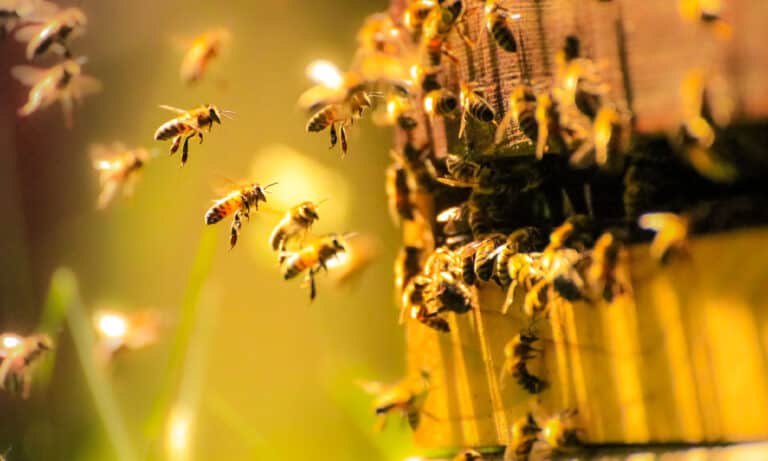
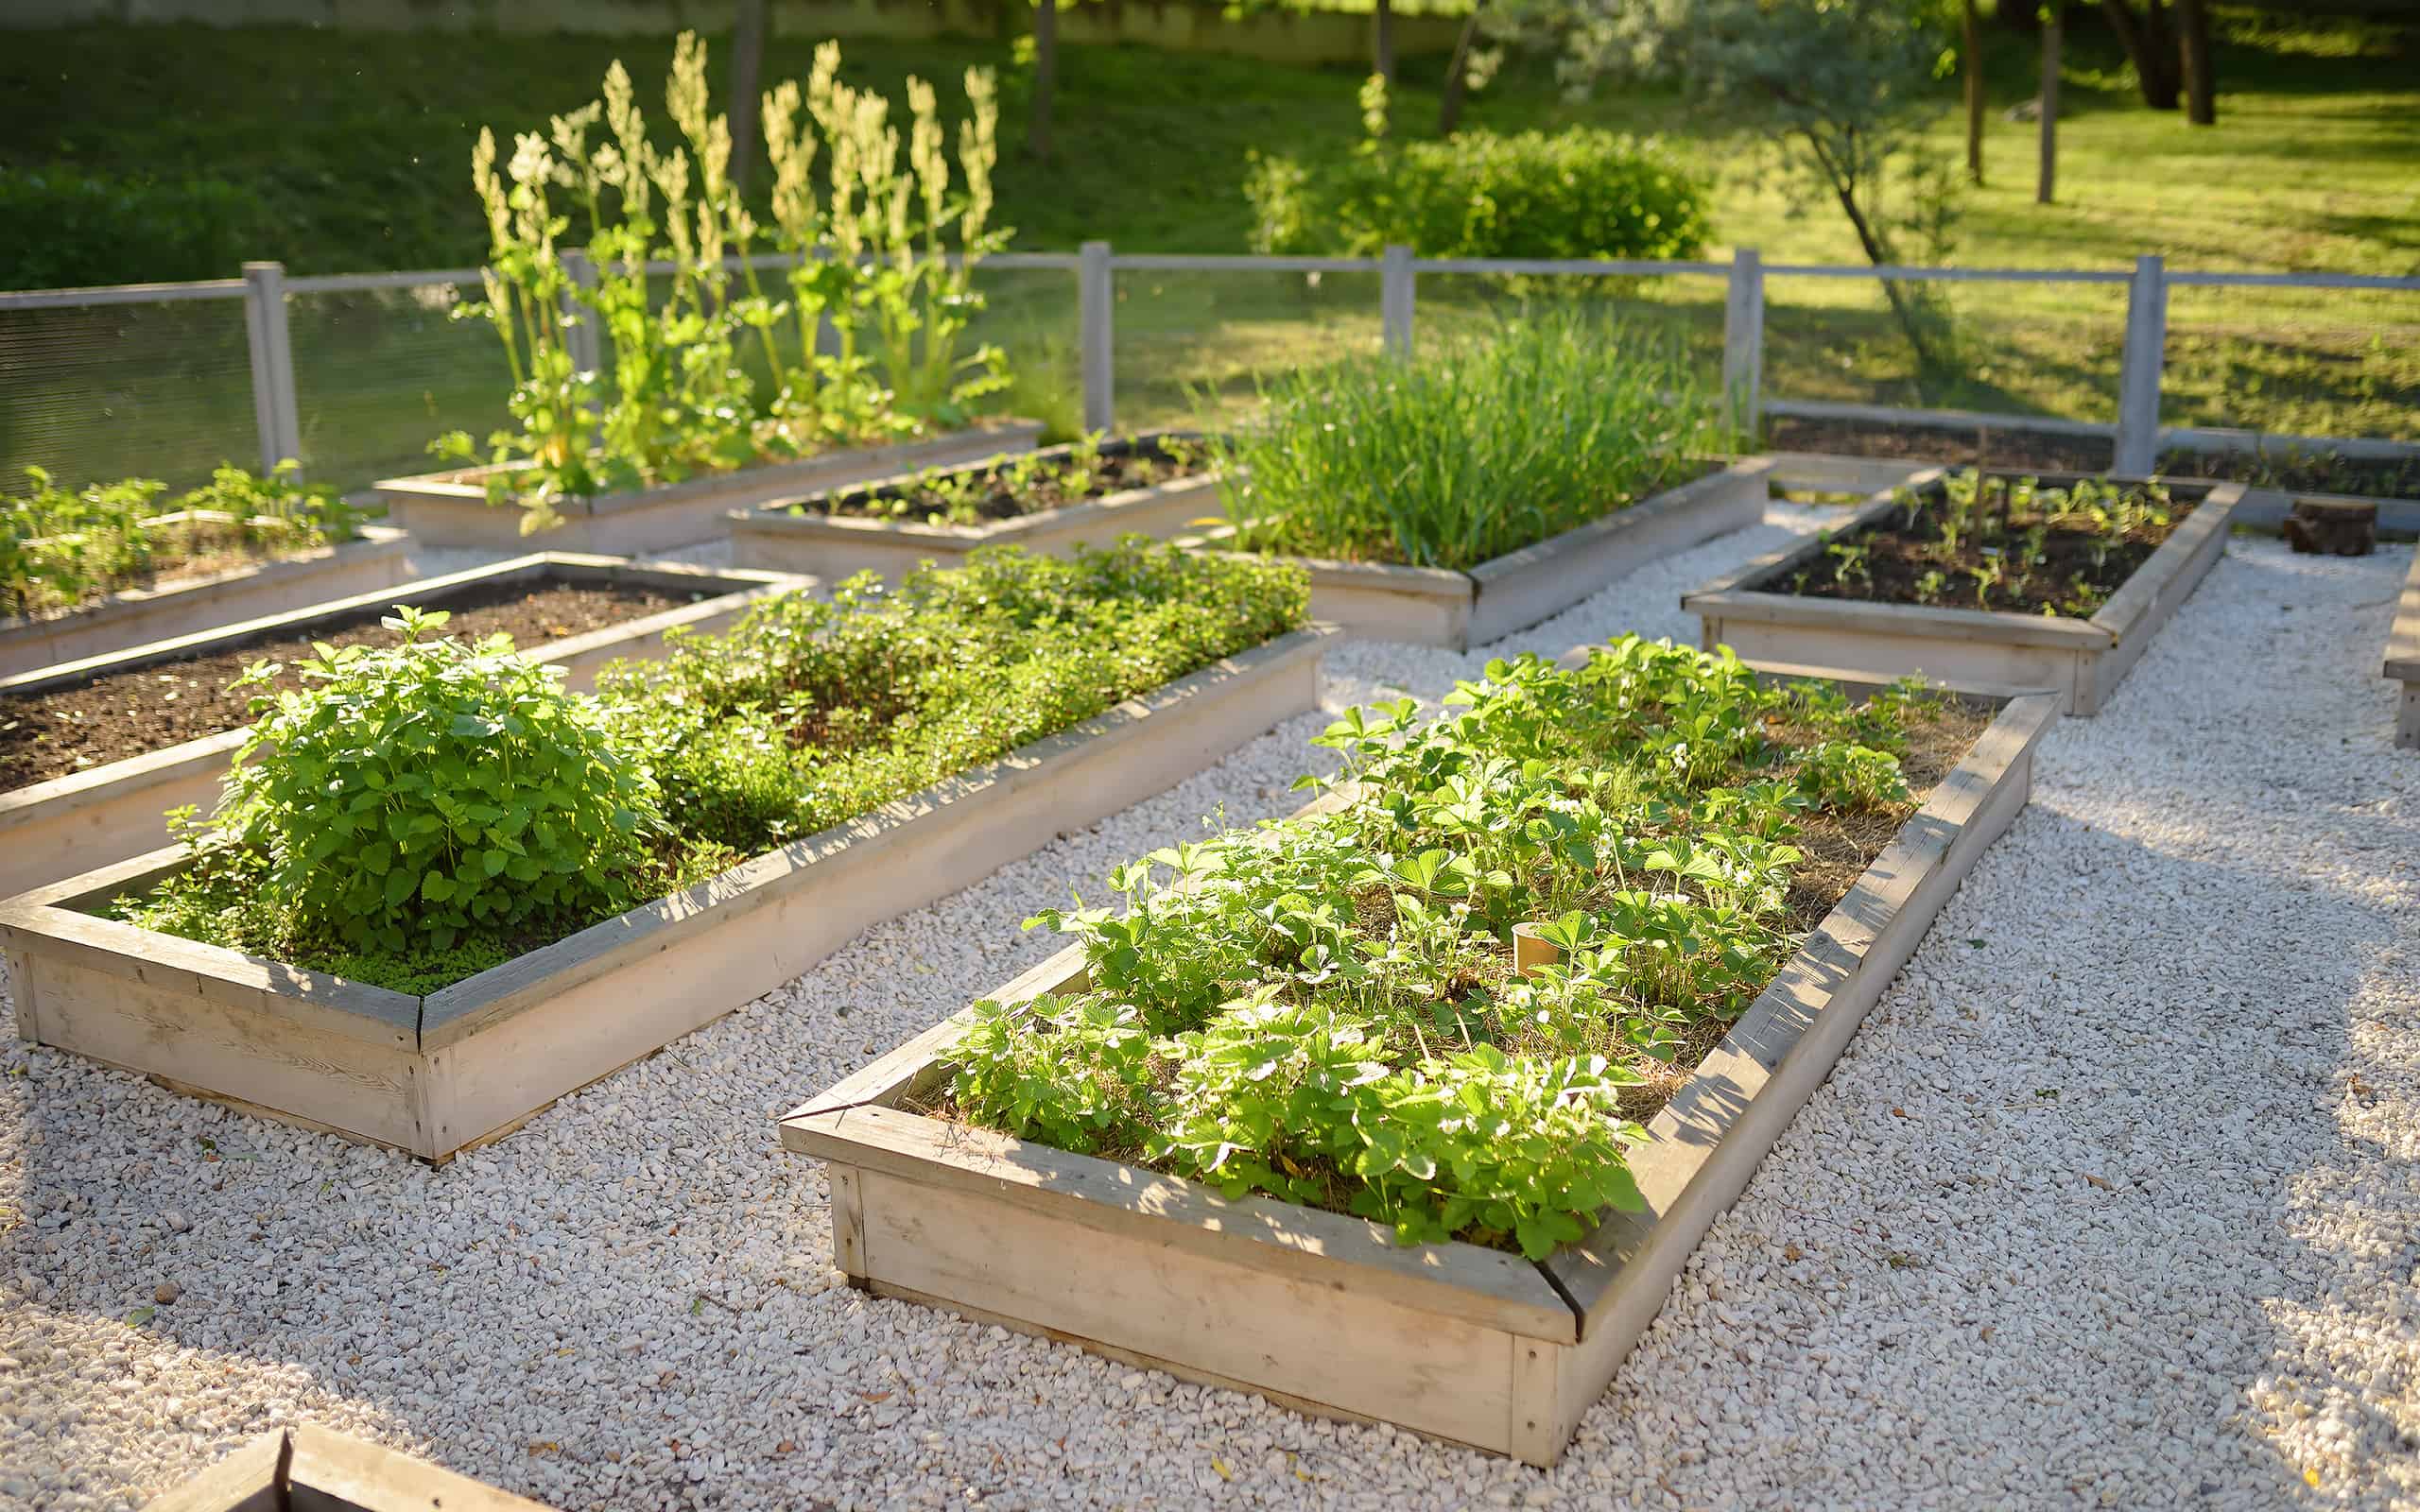
Reusing milk jugs as garden crafts helps the environment.
©Sorapop/iStock via Getty Images
Whether you have leftover milk jugs in pint, half-gallon, or gallon sizes, you can turn them into a variety of helpful garden additions like decorative lights, birdhouses, and hanging gardens.
Ghost Lights
During autumn, empty milk jugs can turn into ghosts with a permanent marker and a string of lights.
All you have to do is draw a face on the milk jug in marker — you can use paint over the top if you’d like to ensure accurate coverage. Then, cut a hole in the back so you can stick a string of lights in. Voila! You have your own ghost light. Make eight or 10 different faces to line your porch during Halloween.
Owls
If you need a new owl decoy for the pesky animals in your garden, look no further than a milk jug. It might not work as well as the realistic-looking decoy, but it’s a fun craft for kids and a cute addition to the backyard.
Paint the entire milk jug whatever color you’d like. Cut out a few pieces of felt: one for the beak, two for the wings, and a large square for the head. Glue the beak on the handle and then glue mason jar lids on each side behind the handle. Glue your wings to the side and the head feather piece to the top. Finally, add plastic forks on the bottom for talons.
Large Bird House
Milk jugs make perfect birdhouses — especially the gallon sizes. Poke a hole in the neck of the bottle under the cap and string some twine so the jug can hang from a branch. Then, cut or melt out a few spaces big enough for birds to get in through. Finally, fill the bottom with leaves, twigs, and grass to make it comfortable. Hang it somewhere you can see and let the native birds of your neighborhood enjoy their new home.
Herb Garden
If you don’t have enough space in your garden plot for a row of herbs, create your own with a wooden dowel rod and some pint-sized milk jugs. All you’ll need is a wooden rod that fits between the handle of the pint, some scissors, some soil, and some herbs.
Cut the top of the jug off so you have an open face — but leave enough room for the handle to sturdily hang on the dowel. Then, fill the empty jug with soil and herbs.
Vertical Garden Shelf
Similar to the herb garden, create your own vertical garden in backyards with no — or very little — green space. As long as you have a place to hang the jugs, you can plant dozens of different flowers, herbs, and vegetables in small jugs. Follow the same instructions as above to create the planters. Make sure you have a way to water these plants and give them the sun they need, too.
Watering Can
Whether you need a watering can with a spout or a sprinkle lid, a leftover milk jug will do the trick.
For a sprinkle lid, keep the cap of the milk jug and poke holes in it. Fill the jug, place the cap back on, and you have a watering can with a sprinkle top.
For a spout top, you’ll need to do a bit of light cutting. Draw the shape of the spout on the plastic first so you can follow a guide with scissors. Cut out the unnecessary top part and fill up your new spouted watering can. This open top is much easier than trying to pour from the narrow neck.
Compost Scoop
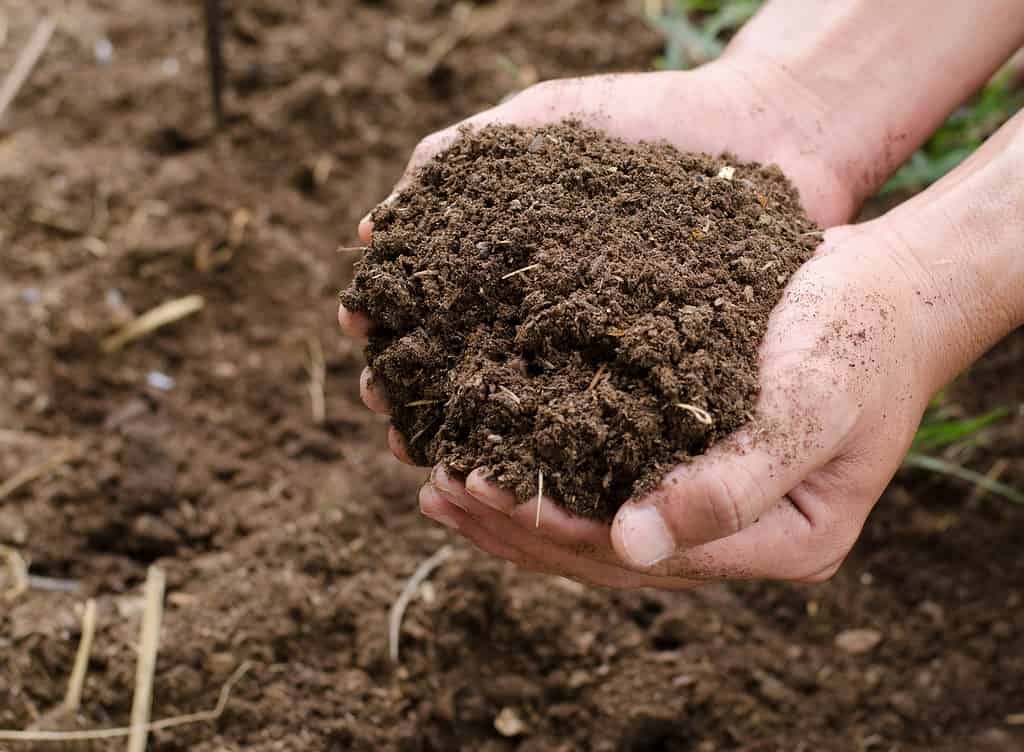
Compost is an excellent plant fertilizer.
©Singkham/Shutterstock.com
Because milk jugs have handles, you can upcycle them into handy tools for your garden and backyard. One such application is a compost scoop. This works best for half-gallon and gallon jugs.
First, lay the jug sideways. Draw with a marker a scoop shape with a few inches around the handle and the lid. Then, cut it out. In about five minutes, you’ve repurposed an empty milk jug into a sturdy scoop you can use for months on end.
Collars for Plants
Empty milk jugs make great plant collars because they protect your blooms from pests and act as a greenhouse to let more moisture and heat into the soil.
Before you cut your milk jug, determine the height and width you’ll need to secure your plant. Then, cut the bottom half inch off of the jug. Using the measurement you took of your plant, draw a circle around the neck of the jug as wide as you need it to be and cut out the circle.
Now you have a portable plant collar. You can adjust the width of the neck as your plant grows.
DIY Liquid Fertilizer Storage
This craft doesn’t even require materials. The easiest way to repurpose your empty milk jug is to use it as a storage container for another liquid.
After creating a liquid fertilizer (an easy combination of poultry manure, grass clippings, and water), use the milk jug to store it. You may need two milk jugs, depending on how much you make.
The milk jug also provides a way to spread the fertilizer — pick one of the two types of watering cans to make from a jug and you’re set. If you choose the sprinkle method, opt to make larger holes so the nutrients of the fertilizer come through.
Tarp Weight
Looking for a craft so easy, your one-year-old could do it?
Extra milk jugs make great weights for the gardens that need a little extra love. If you have a covered or tarped plot of garden that needs heavy weight on the corners to keep heat or moisture in and animals out, use a couple of milk jugs. Your kids might not be able to carry a heavy milk jug full of water, but they could help you place it and fill it up with the hose.
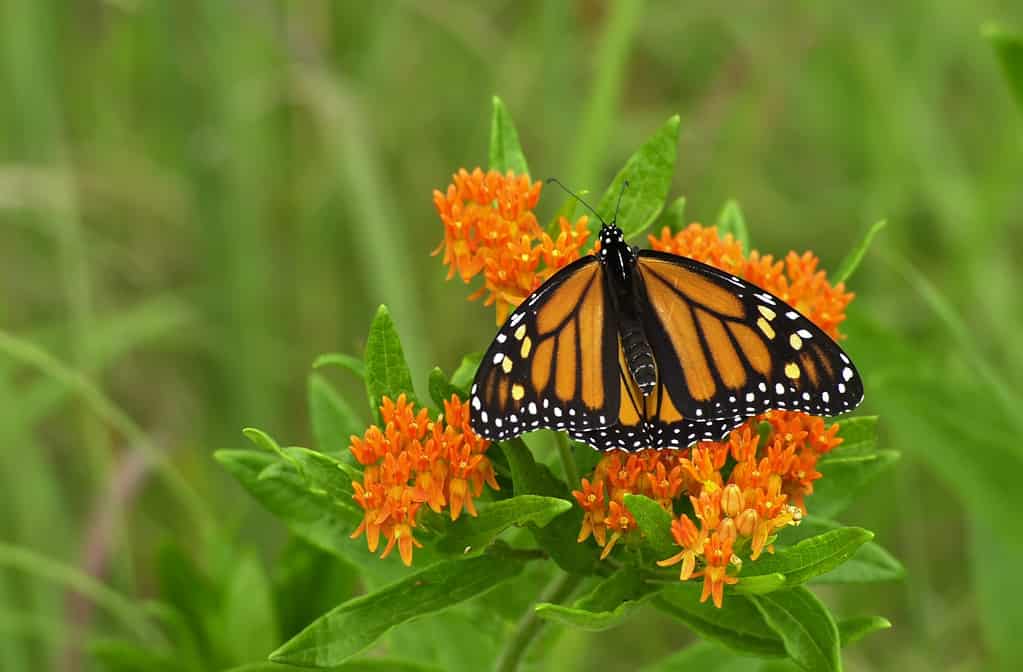
Butterfly Puddling Station
Butterflies don’t get everything they need from flowers. The sweet nectar provides energy, not nutrients. So, butterflies turn to puddles or soggy ground to collect the nutrients that help them stay alive.
Create a butterfly puddling station out of a plastic milk jug by first cutting the jug from the bottom to create a shallow dish. Aim to have about an inch of space. Then, fill it with soil or sand and one or two “perching” rocks — smooth stones on which butterflies could rest. Now it’s time to add what will attract the butterflies: water, a sprinkle of salt, and overripe fruit.
Attempt to keep the soil moist during hot days so butterflies have a reason to visit.
Toad Habitat
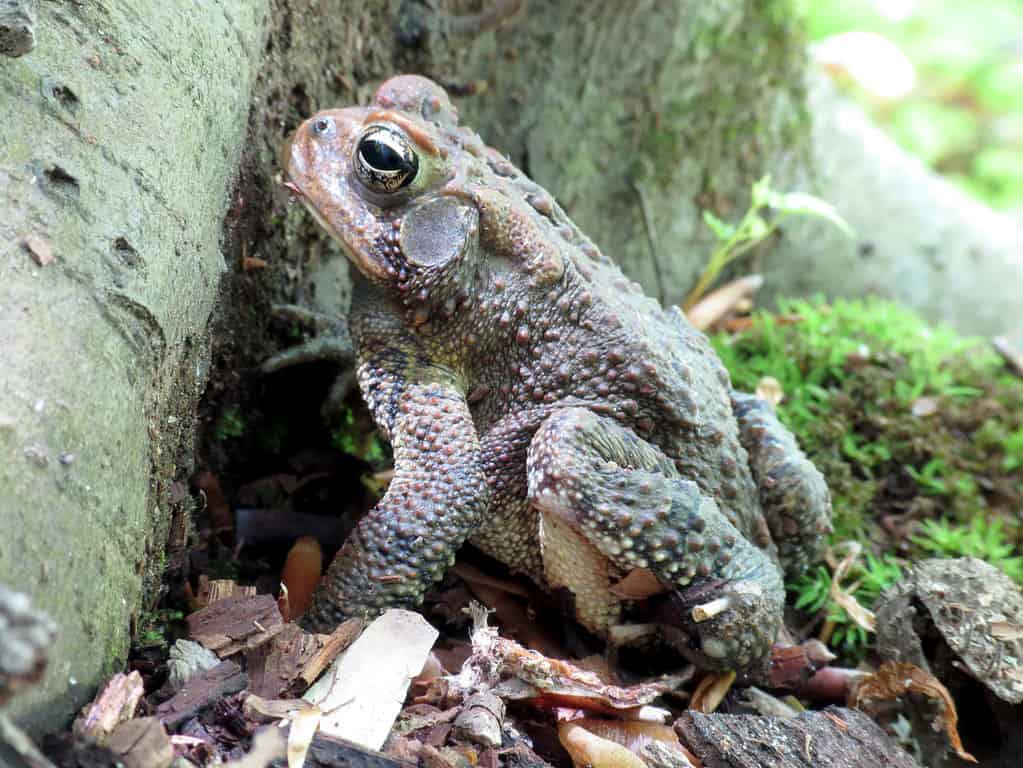
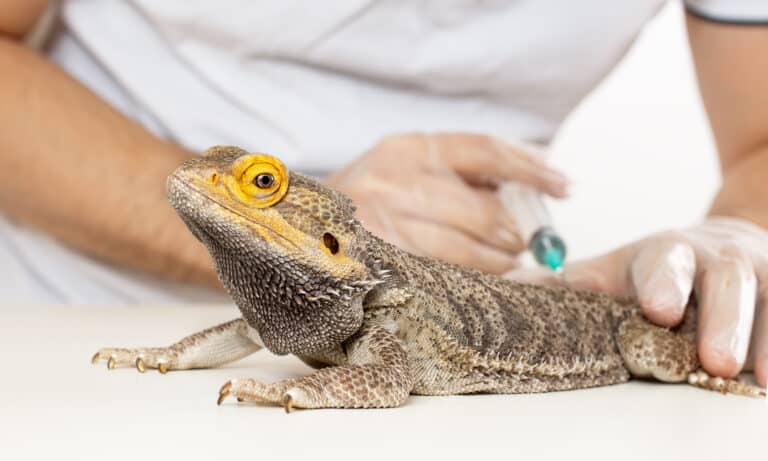
Milk jugs can make cozy toad habitats.
©Katja Schulz from Washington, D. C., USA / CC BY 2.0 – Original / License
During spring cleaning, you may inadvertently get rid of toad habitats when clearing out decaying and damp leaves from your lawn. Not to worry! With a milk jug and a few other simple materials, you can recreate a habitat that holds up to the elements and won’t ruin your lawn.
Using a gallon-sized milk jug, cut the jug two-thirds of the way to the neck so you end up with an open-topped bucket of sorts. Then, cut a “U” shape on one side for the door. Make it big enough that a standard toad can hop through comfortably.
Use newspaper, glue, and dry leaves to “wallpaper” the inside of the shelter. Toads like dark and damp places, and this will blot out the light that could shine through the transparent milk jug.
Find a damp, darker corner close to where insects congregate and flip the jug open side down. Soon enough, slimy friends will move in.
Hands-Free Berry Bucket
The handle on a milk jug comes in handy for a few crafts. For this DIY, you’ll want to cut the top of the jug off but leave the handle — similar to how you did for the spout-top watering can. That’s all you need to do! Now you can tie the handle around your waist or loop the handle into your belt for a hands-free bucket to collect berries.
Mini Greenhouse
You don’t need a massive greenhouse to start a garden. Just a few empty milk jugs.
First, drill or poke five to eight drainage holes in the bottom of the jug. Then, cut the jug in half except the handle. Make sure you leave the handle attached. Fill the bottom few inches of your jug with wet soil and sow your plant — whether it’s a flower, a seed, or a vegetable seedling.
Next, you’ll close the jug, tape it shut, and leave the lid off. This is how precipitation gets into the “greenhouse” and creates condensation. Place your greenhouse outside, and let the magic happen! If you create this in spring, take the duct tape off and open the greenhouse to give direct sunlight access. If there’s snow or a freeze, close your greenhouse up and cover it with a towel or blanket.
Rain Gauge
Another easy craft is to cut the top few inches of a milk jug off and set it outside in a clear, unobstructed place. This is important — don’t put it under an awning or tree canopy. When it rains, you can mark how much rain the jug collected to understand the rainfall in your area.
You can also take this a step further and repurpose the rain you catch as a source of water for your garden. Some homesteaders create complex systems to cull and catch a massive amount of rainwater in empty jugs to cut down on water use.
Bug Hotel
This is a great educational craft for kids. All you need are a milk jug, scissors, and some backyard leaves, twigs, and rocks.
On the opposite side of the handle, cut the majority of the jug’s face open. Keep the handle, neck, and lid on. Ask your kids to find pieces of nature from the backyard they like to decorate the hotel. Fill the jug with a variety of mosses, feathers, leaves, grasses, rocks, pebbles, and pinecones. Then, set it outside away from birds, pets, and rain.
After a few days, come back to the bug hotel and see how many different insects you can spot using the habitat.
Paper DIY Milk Carton Crafts
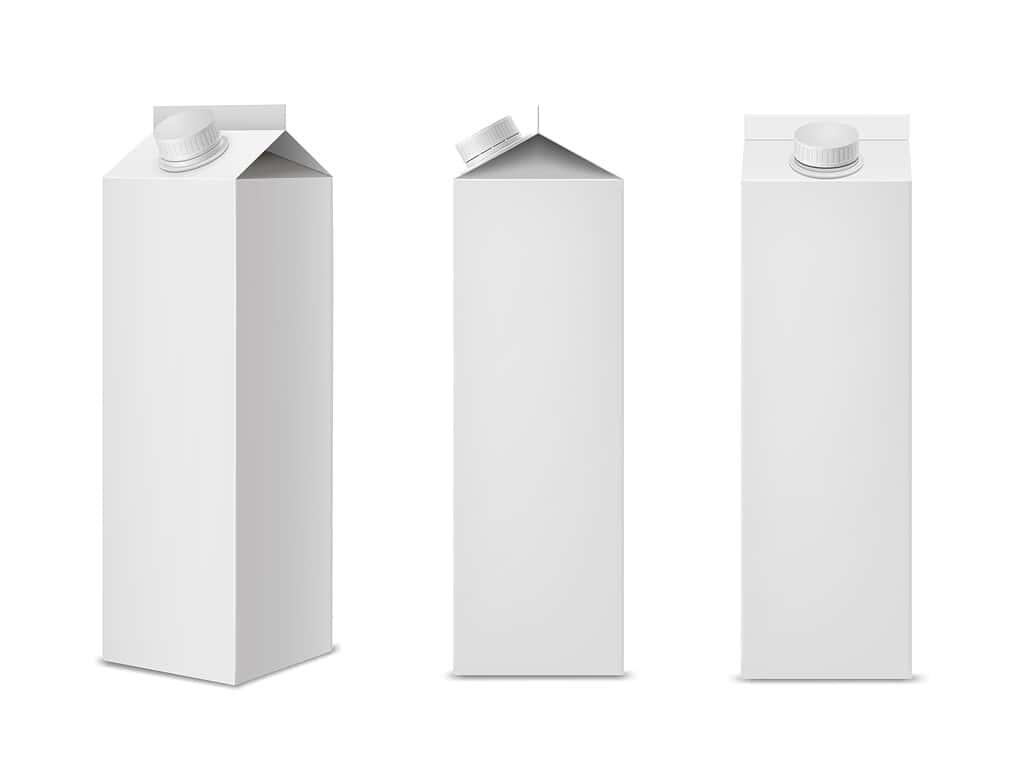
Paper milk cartons are easy to recycle for other crafts but might not hold up to external elements well.
©VikiVector/iStock via Getty Images
Plastic tends to hold up a bit better than paper when exposed to the elements outside. As such, the crafts below may weather significant wear and tear if your area has a storm, heavy rains, winds, or snow.
Bird Feeder
Empty milk cartons make easy bird feeders and great afternoon crafts for adults and children to do together.
Before decorating the bird feeder, cut out a few holes or “windows.” You can either cut out the same size rectangle on all sides of the carton or just one or two. Now, you can decorate the outside as you’d like. If you choose paint, make sure to pick one without VOCs, or volatile organic compounds because they can be fatal to birds.
Once you’re happy with how it looks, punch a hole in the top of the carton for a string and fill the bottom with bird seed. Go hang the feeder somewhere you can see it from inside and watch new friends flock to it.
Fairy Home
You’ve made homes for toads and insects out of plastic milk jugs, but where will the fairies go?
With a paper milk carton, you can create a fairy garden, a fairy home, or even a fairy hotel. These gardenscapes are a little different from the previously-mentioned homes, as they must have water to invite fairies.
Cut a circular or oval door in the face of your milk carton, and then add any windows you’d like. Using a bit of glue or tape, attach moss, leaves, or bark to the outside of the carton to decorate it. Inside, place acorns, mosses, lichen, leaves, flowers, and berries.
Windowsill Planters
Use a sideways milk carton to create mini planter boxes, perfect for windowsill gardening.
Place the milk carton on its side and leave the lid on. Next, cut out the entire side of the milk carton so you have an open side. Then, rim the edges with duct tape. At this point, you should add six or seven drainage holes on the bottom of the planter. You can poke holes through with a screwdriver head, scissors, or a spare key.
Depending on what you choose to plant, your soil usage will differ. Herb seedlings from the store need about an inch of soil below and another inch on top of them. Seeds will vary by plant. Sow as the directions intended.
Bird House Feeder
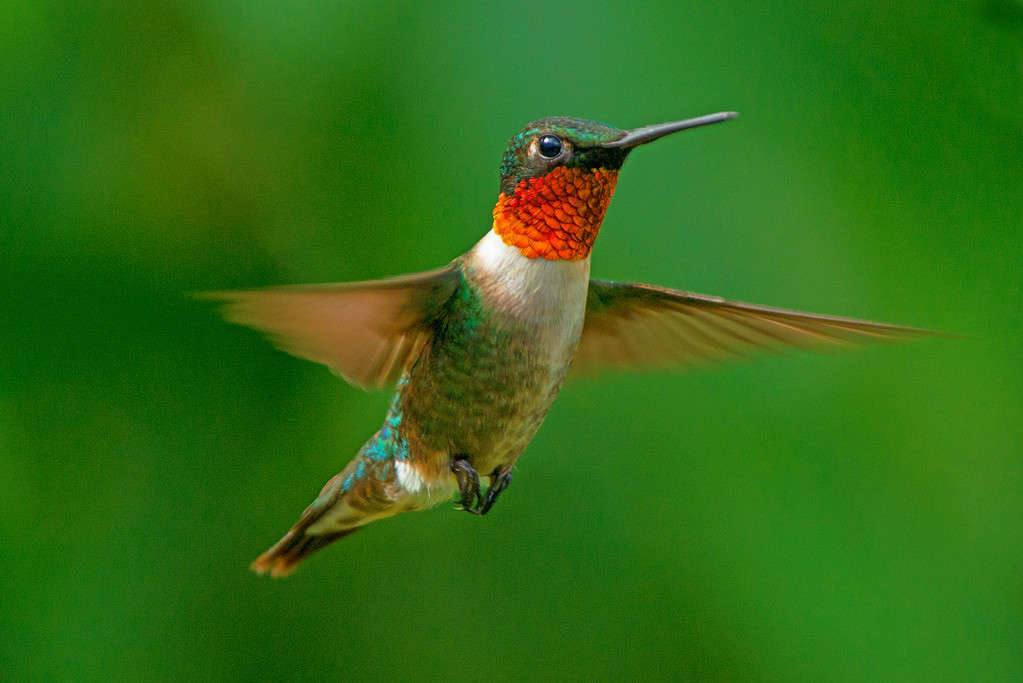
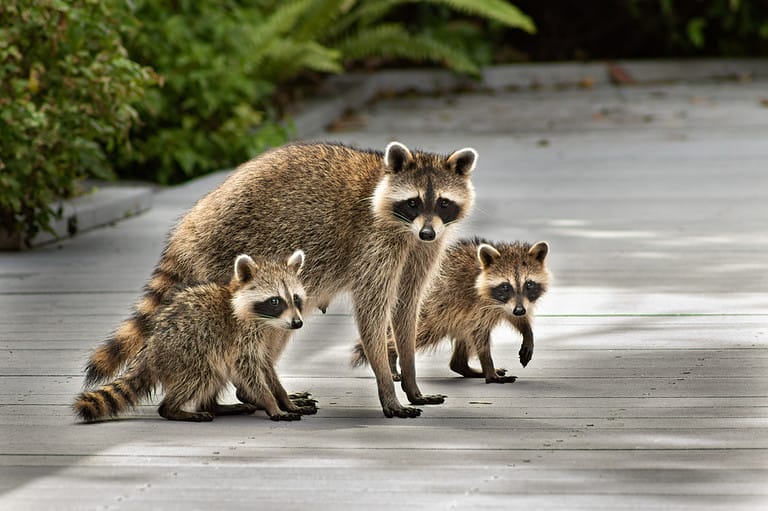
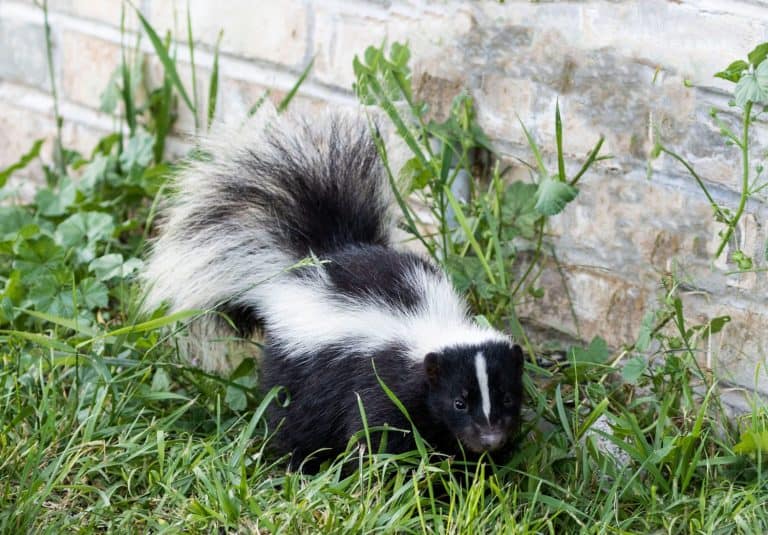
Bird feeders and homes provide habitats for endangered animals.
©CarolinaBirdman/iStock via Getty Images
You can create a two-in-one home and restaurant for birds with leftover milk cartons on a rainy afternoon with ease.
First, punch a hole in the top of the carton so you have a place to thread through twine and hang the house from a branch. Then, cut out a doorway for the birds to come inside the house.
Next, combine three-fourths a cup of flour, a half cup of water, and three teaspoons of corn syrup to create a “glue” for the bird seed. Using a butter knife, spread the glue on the slanted parts of the carton and generously sprinkle birdseed on it. You can put layers on to ensure full coverage. The last step before you decorate the inside and outside is to poke a small hole under the doorway and fit a small twig in it. This will act as a perch.
Place a few soft pieces of bark, hair, leaves, or grass inside to make it homey. You can decorate the outside as you’d like.
Gingerbread Village
Once Halloween passes, it’s time to decorate for the winter holidays. Turn your leftover milk cartons into a light-up gingerbread village with a few pieces of construction paper and the same string lights you used for the ghosts.
First, cut out window shapes in the milk cartons. You don’t need to cut out doors unless you decide to decorate the inside of the carton too! You’ll also cut a small hole in the back of the cartons so you can slide a few bulbs of the string lights inside.
Then, use brown construction paper to cover the parts of the carton left after cutting. Once they’re covered in the “gingerbread,” decorate the village to your heart’s content.
When you’re happy with how it looks, stuff the lights into the backs of the village homes and turn them on. You now have an illuminated gingerbread village.
Seed Starter
During the winter, green thumbs are hard to shake. If you’re itching to plant seeds but the ground just hasn’t thawed enough yet, create some seed starters at home. Cut the tops of milk cartons off so you’re left with a square cup that has several vertical inches. Put about two inches of wet soil in and sow the seed or seedling as directions instruct.
Care for the seedlings until it’s warm enough outside that you can transplant them into your garden. While inside, keep the starters somewhere safe so family members or pets don’t interrupt the growing process.
Butterfly Feeder
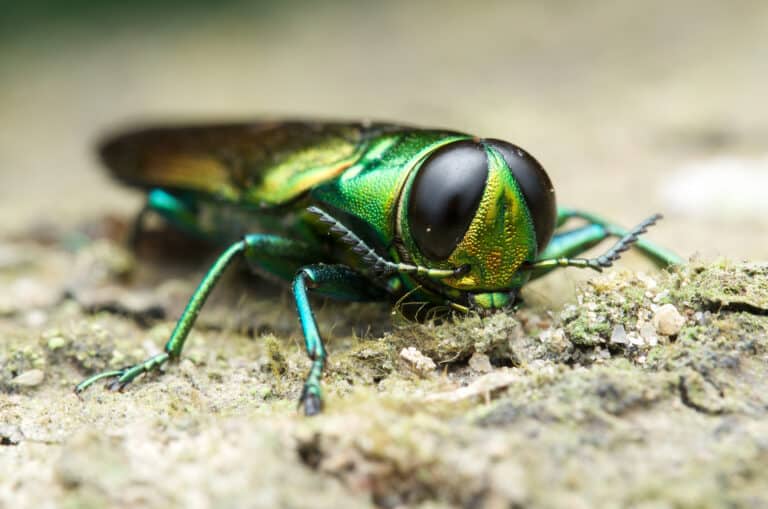
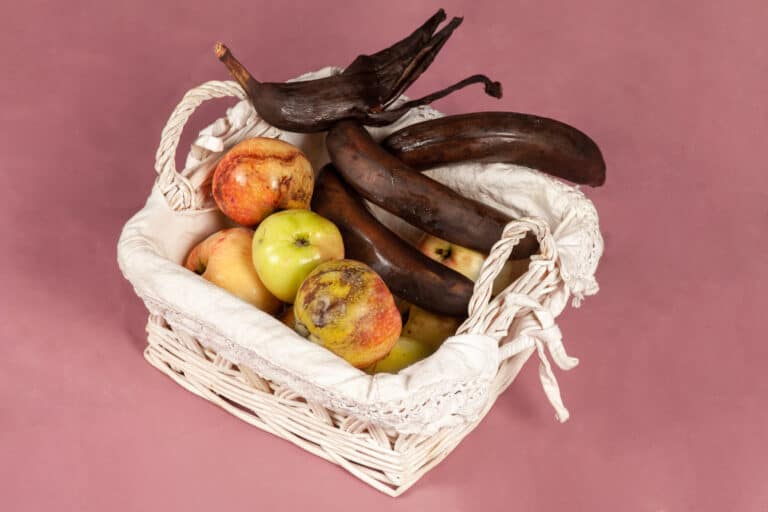
Overripe fruits make great food sources for butterflies.
©Michael Zurawski/iStock via Getty Images
Milk cartons make great butterfly feeders, especially when placed next to puddlers. First, punch a hole in the top of the carton so you have a way to hang it. Then, cut squares out of opposite sides (so you can see through).
Paint the outside of our carton with varying shades of reds, yellows, oranges, and pinks. You can even throw a little blue or purple on it.
Place a layer of grass or moss, and then a few smooth stones. Last, put a few slices of overripe fruit in the feeder.
Plant Labels
For a quick and easy craft that helps you remember what you planted where cut your milk carton into strips. On the blank side (usually the inside of the carton), write the name of the plant with a permanent marker. Leave room at the bottom to stick the strip into the soil a few inches.
Garden Organizer
If you have several unused milk cartons, you can create your own garden tool and seed organizer in no time.
Cut the tops off of the milk cartons. You can cut at varying heights if you have several different things that need organizing. Then, hot glue the sides of the halved milk cartons together so they create a sort of grid. Finally, fill the squares with what needs to be organized: seed packets, small gardening tools, gloves, and more!