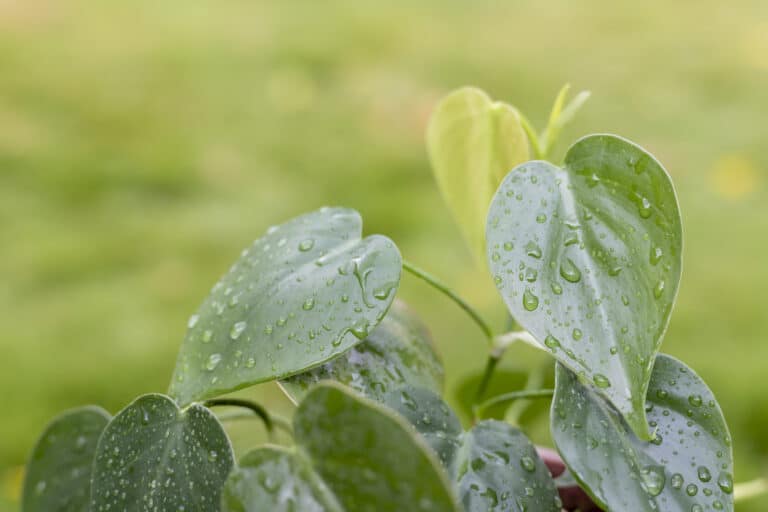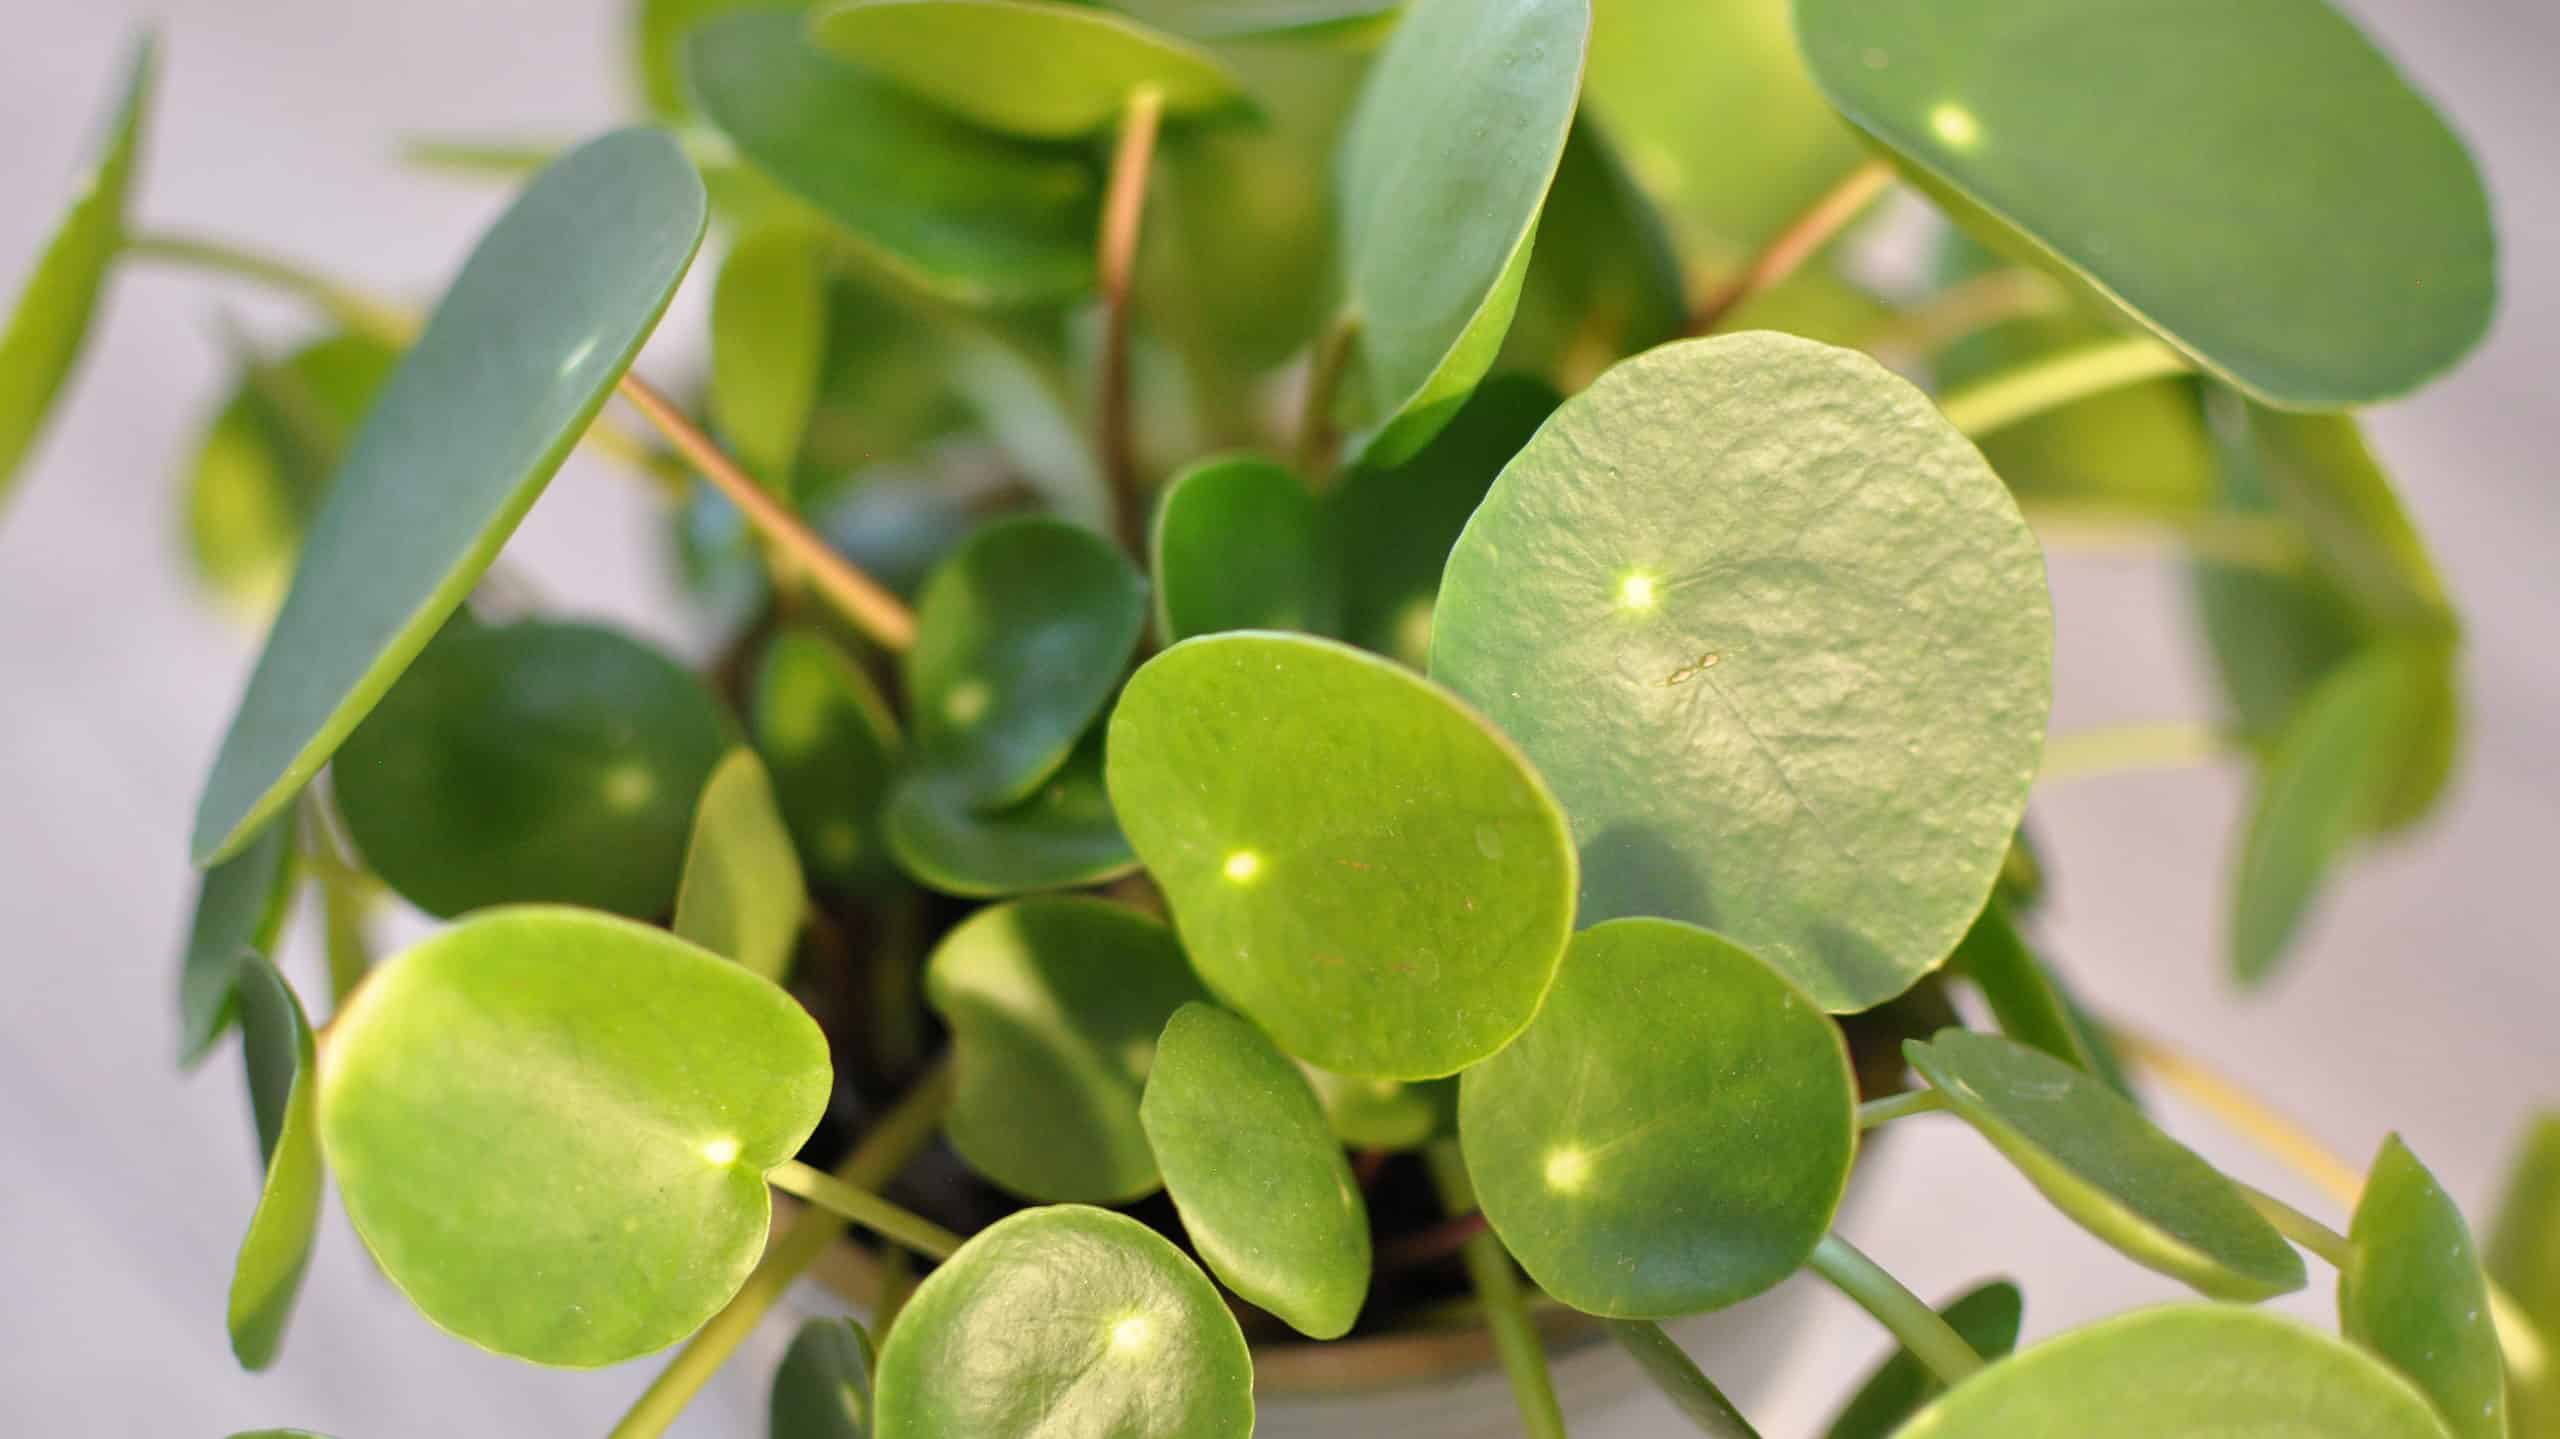

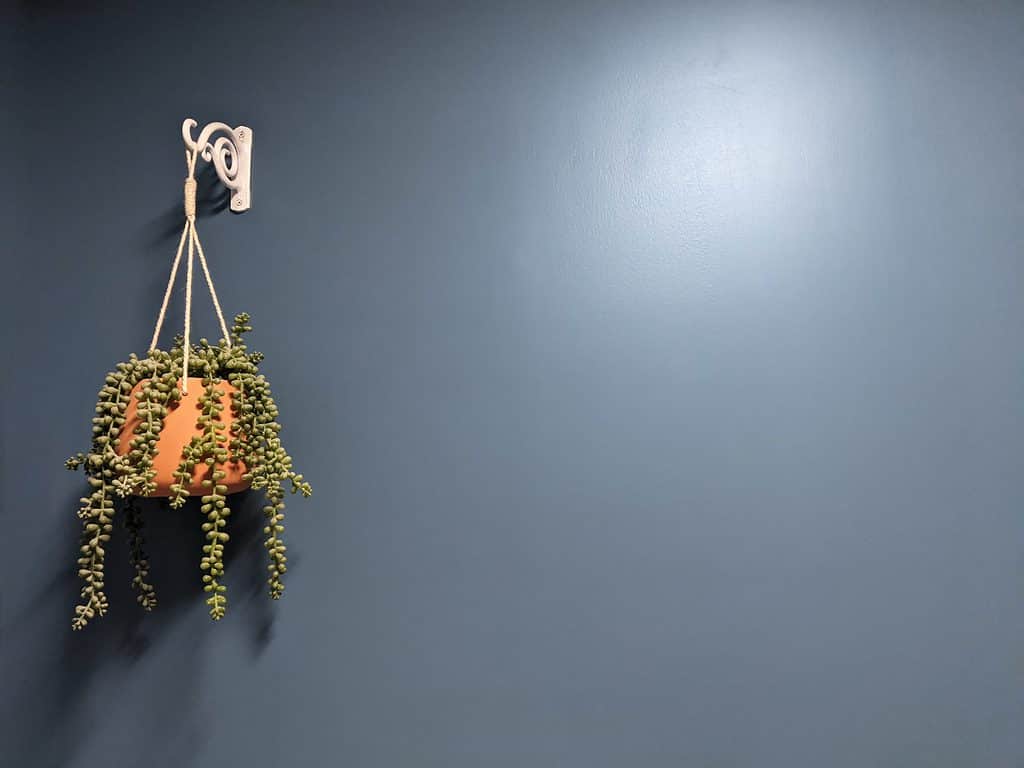
When you are prepared with the correct tools and knowledge, hanging a Chinese money plant (Pilea peperomioides) is a straightforward process. If you are ill-prepared, disaster can strike, so it’s better not to take any chances! Hanging your plant from a wall-mounted bracket or using a ceiling hook system requires a specific skill set. Keep reading to discover tips and ideas for hanging a Chinese money plant.
Hanging a Chinese money plant (Pilea peperomioides) is a straightforward process.
©Floris Verweij/Shutterstock.com
Preparation
By failing to prepare, you are preparing to fail, a quip attributed to Benjamin Franklin, could not be more accurate or relatable than when hanging Pilea peperomioides. The very first step in hanging your plant is determining where you want to hang it. Your Chinese money plant will need regular watering, so you’ll want to hang it in an easily accessible place and manner. A wall-mounted bracket is a good solution. However, hanging your plant from a high ceiling requires a little ingenuity. Having chosen where you will be hanging your plant, you need to gather the following tools and hardware:
- stud finder
- pencil
- screwdriver
- drill, with a bit 85% of the width of the hardware
- extension cord
- ladder
- decorative or functional wall bracket
- ceiling hook assembly
- screws
- toggle bolt
- hanging plant basket
- macramé plant holder
Once you have secured the materials, it’s time to locate wall studs or ceiling joists.
Hanging a Chinese Money Plant: Locating Studs and Joists
Prior to locating a wall stud or a ceiling joist, one should know what they are attempting to locate. A wall stud is a vertical beam that creates the structure and support in a wall. Wall studs are 2x4s or 2x6s, typically spaced 16 or 24 inches apart. Ceiling joists are basically horizontal studs that give structure and support to the ceiling frame, which is essentially a horizontal wall. Joists are also 2x4s or 2x6s. Though joists are often much longer than wall studs, their spacing remains the same, at 16 or 24 inches apart.
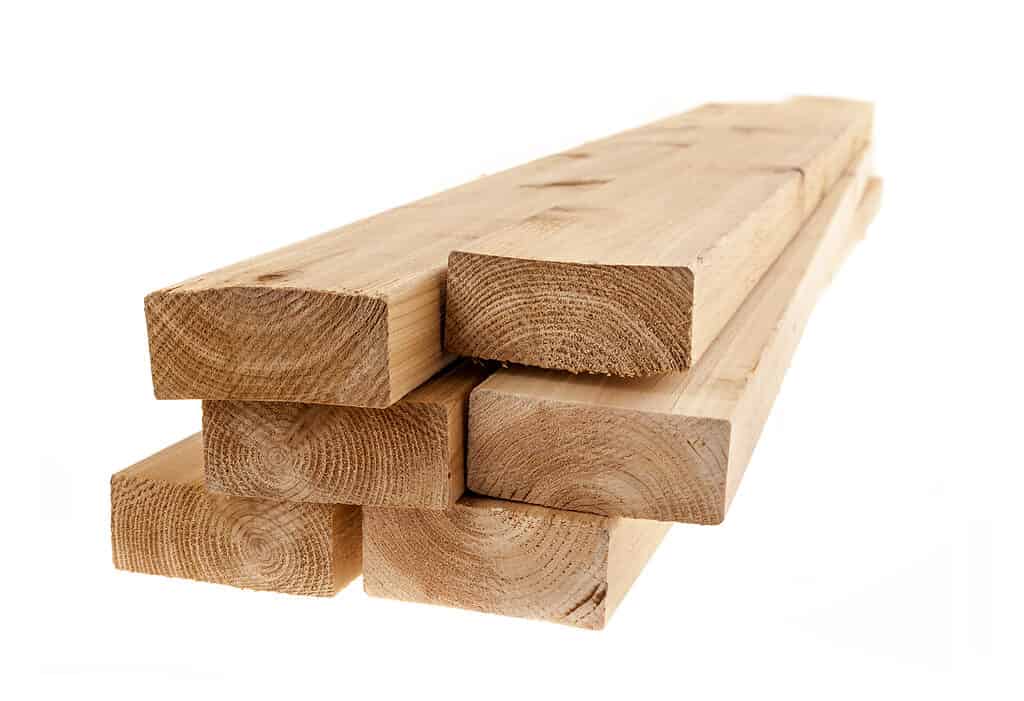
Wall studs are 2x4s or 2x6s typically spaced 16 or 24 inches apart.
©Elena Elisseeva/Shutterstock.com
Back in the good ol’ days, Grandpa would gently tap on the wall with a hammer to find a stud – a hollow sound indicating the lack of a stud, whereas a thud or less resonating sound indicated the presence of a stud. Finding a stud wasn’t terribly difficult for Gramps. Having a general idea of where the studs were located and how far apart they were spaced took some of the guesswork out of his job. Thanks to modern technology, all of the guesswork is gone.
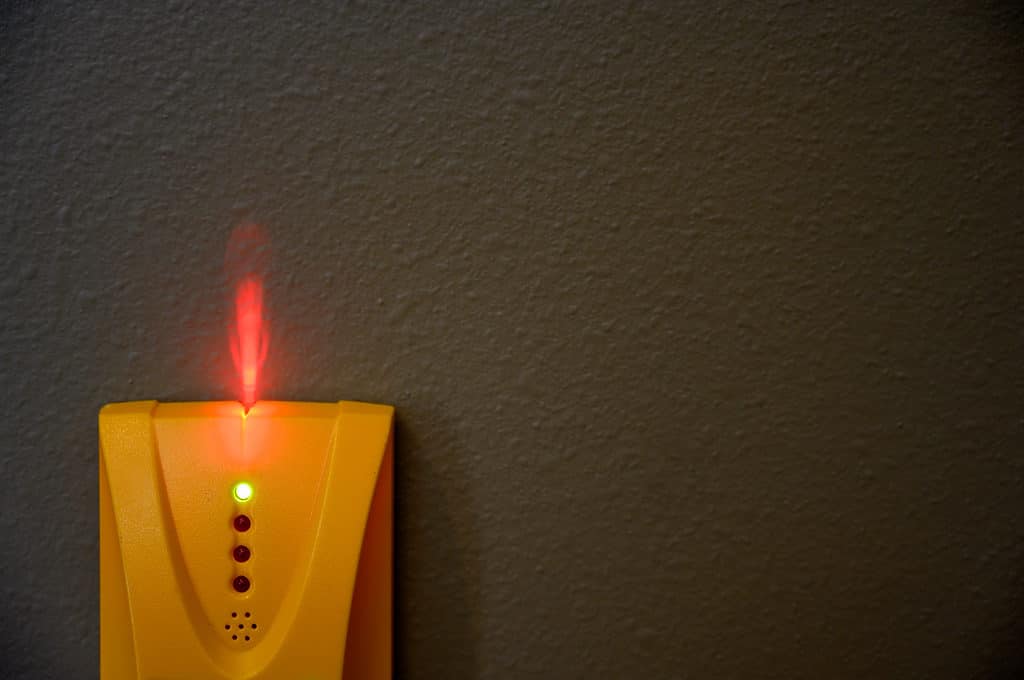
Thanks to modern technology, finding studs and joists is a breeze.
©Lost_in_the_Midwest/Shutterstock.com
Stud Finders
Electronic stud finders using laser technology make locating studs and joists a cinch. Electronic stud finders are widely available and relatively inexpensive. Consumer models cost under $20.00 US, though you can pay top dollar for professional models. A stud finder is a handy addition to your home tool kit. Once the stud is located, using the pencil, mark the place where the screws will go, by holding the wall bracket at the chosen height.
Hanging a Chinese Money Plant: Drilling
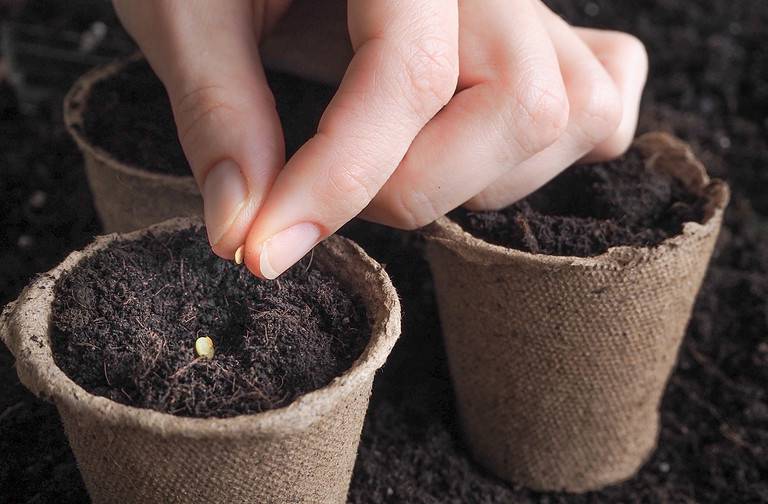
Though it’s tempting to try to mount the bracket by using a screwdriver only, you’ll want to drill a pilot hole. Pre-drilling keeps plaster and drywall from cracking and wood from splitting. Locate the appropriately sized drill bit, which should be no larger than the inside width of the screw, minus the threads, or approximately 85 % of the total width. Drill the pilot hole(s).
Once the stud is located, using the pencil, mark the place where the screws will go, by holding the wall bracket at the chosen height.
©Renata Ty/Shutterstock.com
Securing the bracket to the wall only takes a minute or two after the pilot hole or holes are drilled. If you are choosing a ceiling-mounted hook, the process is basically the same, except that you’ll be standing on a ladder. A toggle bolt is required when a joist is not accessible in the area where you wish to hang your plant. Toggle bolts require larger holes than screws, so be certain to have larger gauge drill bits handy.
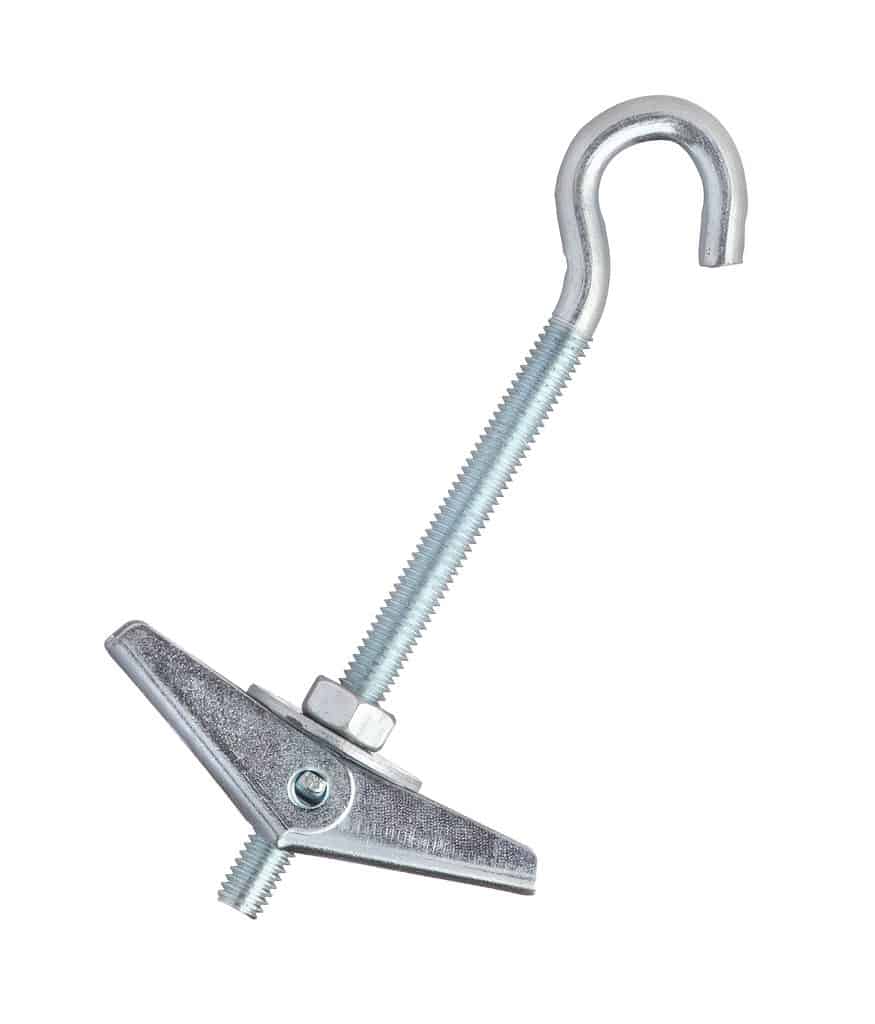
If there is not a joist in the area where you wish to hang your plant, a toggle bolt is required.
©Ktuec/Shutterstock.com
Using a joist or exposed beam provides better support, so if at all possible suspend your plant in that way. Drilling a pilot hole in a ceiling may require the use of an extension cord, depending on the height of the ceiling and the length of the drill cord.
Hanging a Chinese Money Plant: Planters
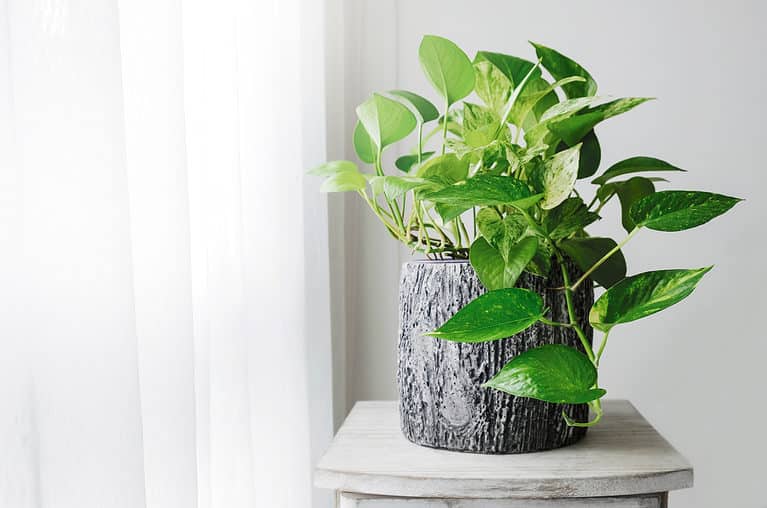
The bracket is secured to the wall and the hook is screwed into the ceiling joist, now it’s time to hang your Chinese money plant. You may be a minimalist who prefers a simple three-pronged wire hanging basket for your plant. After all, it’s the plant you’re showcasing, not the planter! Some people feel a decorative planter detracts from the beauty of the plant. If you’re in this camp, a simple wire hanger should suit you just fine.
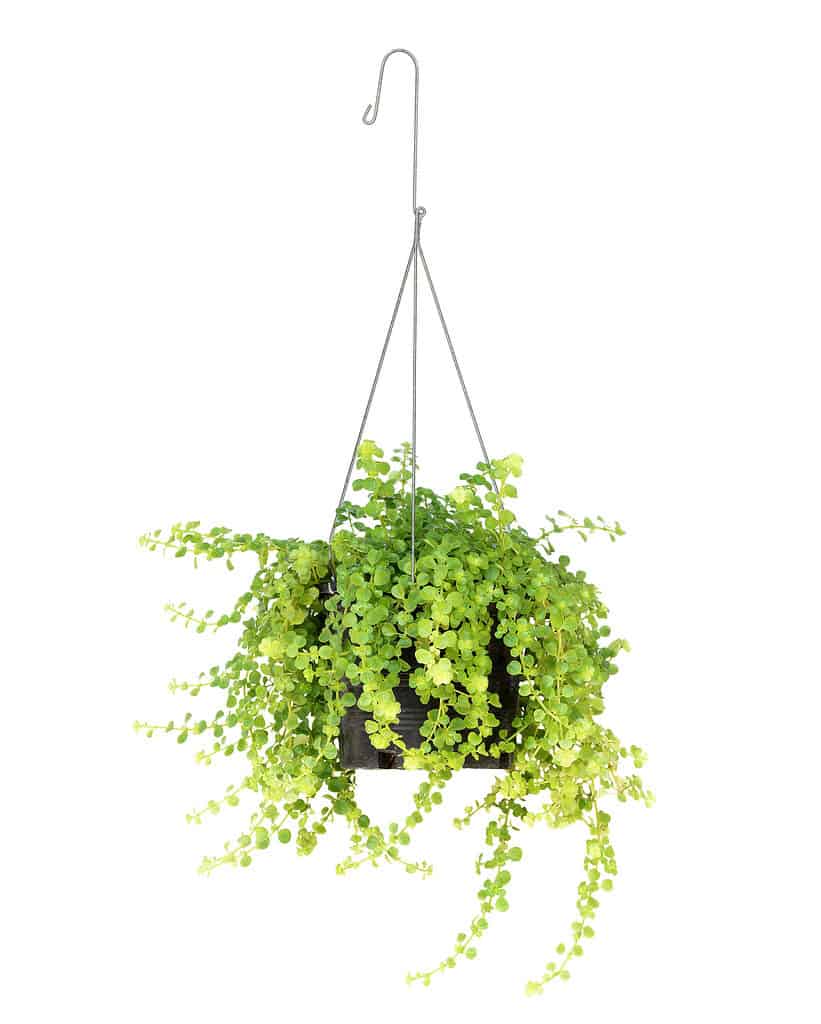
Minimalists may prefer a simple three-pronged wire hanging basket.
©Phichai/Shutterstock.com
Perhaps you’re more of an old hippie, nature’s child, or knot-tieing enthusiast who thinks a macramé plant holder is a vibe. Macramé offers endless possibilities for creating unique and colorful plant hangers. They can be purchased ready to hang, or, if you’re feeling adventurous, you can make your own! Macramé hangers can be used with plastic, ceramic, or terra cotta pots, making them more versatile than the standard wire plant hanger.
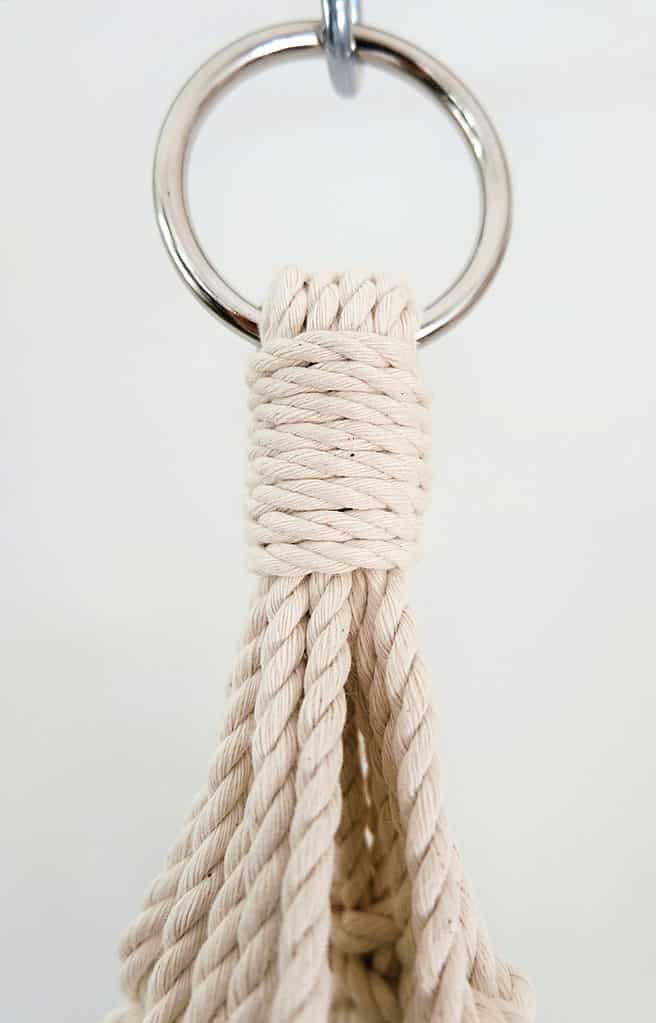
Macramé offers endless possibilities for creating unique and colorful plant hangers.
©TippyTortue/Shutterstock.com
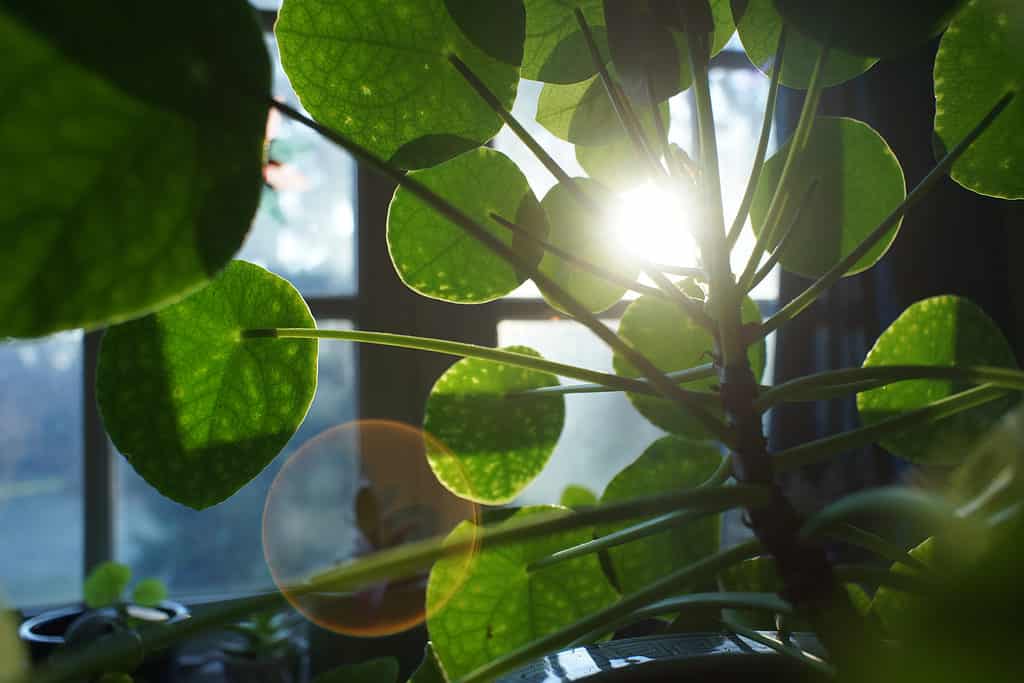
Regardless of whether you choose to hang your Chinese money plant from a wall or ceiling, and whether or not you choose a plain wire hanging basket or a macramé plant hanger, you can’t go wrong. You can learn more about Chinese money plants here.