
As you might imagine, crate training a younger dog is often easier than crate training an older dog. However, it is still completely possible to crate train an older dog – if you do it properly. There are separate considerations you’ll need to remember for an older dog that might never come up when crate training a younger puppy.
Crate training an older dog is often more of a spiral than a linear progression. It isn’t really a step-by-step process. Instead, remember these tips and remember that success is rarely a straight line.
1. Select the Right Crate
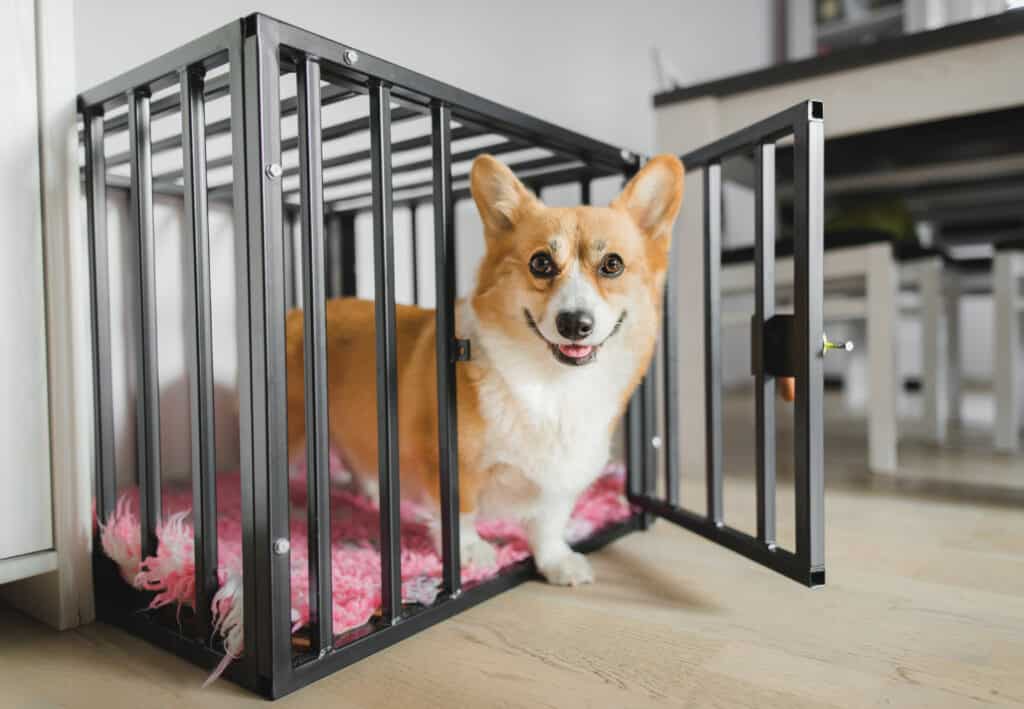
Crates should be relatively small. You’re making a “den,” not a room.
©Jus_Ol/Shutterstock.com
Before you even think about crate training an older dog, you need to select the proper crate. A crate should be large enough for your dog to stand up, turn around, and lie comfortably. A little extra room can be good, but a bigger crate is not better.
You should think of your crate as a “den.” It should be small and secure to promote rest – not big enough for your dog to run around.
Of course, the crate should also be secure. You won’t have to purchase a crate divider, as your older dog probably isn’t growing anymore.
2. Think Cozy

Consider what your dog normally lays on when choosing what to furnish the crate with.
©Bokehboo Studios/Shutterstock.com
Next, you’ll want to make the crate as cozy and inviting as possible. Blankets and bedding can be a good option for older, well-housetrained dogs. We don’t recommend them for puppies, as they tend to have accidents. However, for older dogs, you can usually prioritize comfort over cleanliness.
Consider purchasing a few slow feeders (like a Kong) and chew toys for your older dog. These will help them stay entertained while in the crate and can be anxiety-relieving. Familiar toys are also a good addition.
Don’t add water or food bowls. Water bowls tend to spill in the small space of the crate, and they can drench your dog’s bedding.
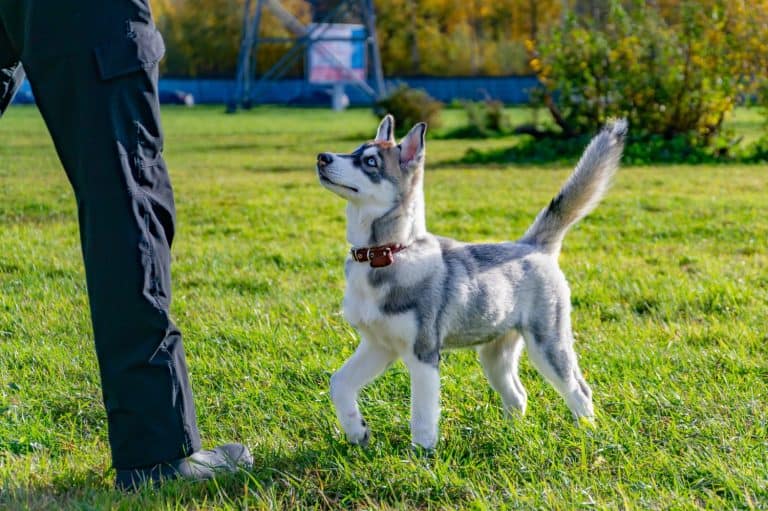
3. Allow Your Dog to Explore
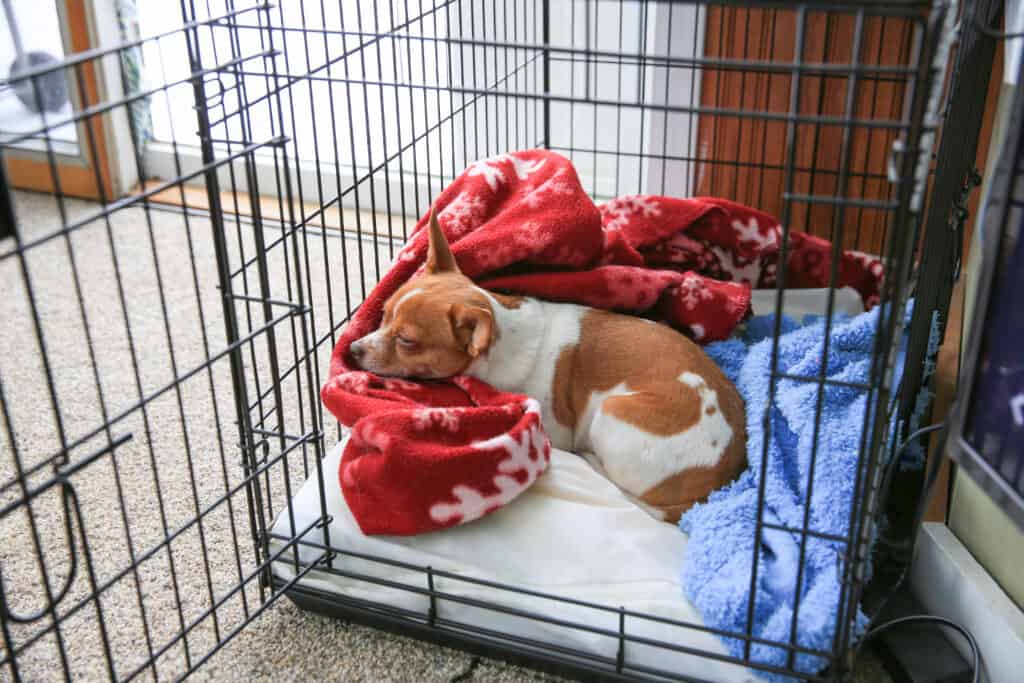
Puppies typically don’t need blankets, but these are a good addition to an older dog’s crate.
©Jennay Hitesman/Shutterstock.com
Once the crate is set up, you should allow your dog to explore it. Simply leave the crate door open so that your dog can enter it if they choose. Some dogs take to their crate right away, while others need a lot of time to warm up. At this point, any interaction with the crate is positive.
Don’t force your dog into the crate yet, as you might a younger puppy.
4. Positive Reinforcement
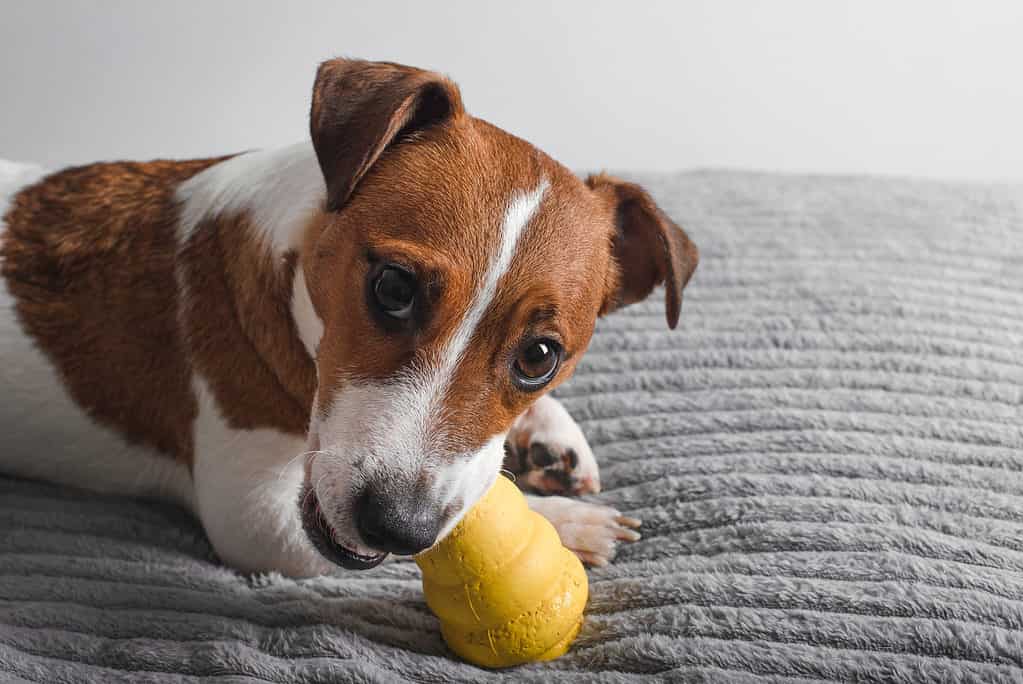
Favorite chew toys are a must-have for dog crates.
©Valeriya Dzyuba/Shutterstock.com
Start adding treats and praise to the crate to encourage interaction. If you purchased any puzzle feeders, begin filling them with food and adding them to the crate. It’s okay if your dog enters the crate, grabs the Kong, and then leaves. The point is to make them associate the crate with the positivity of the filled Kong.
Any time your dog enters the crate, praise them. Don’t use the crate as punishment, as this completely ruins the point of the positive reinforcement. The crate is a calm place your dog can escape to – not a time-out area.
5. Feed in the Crate
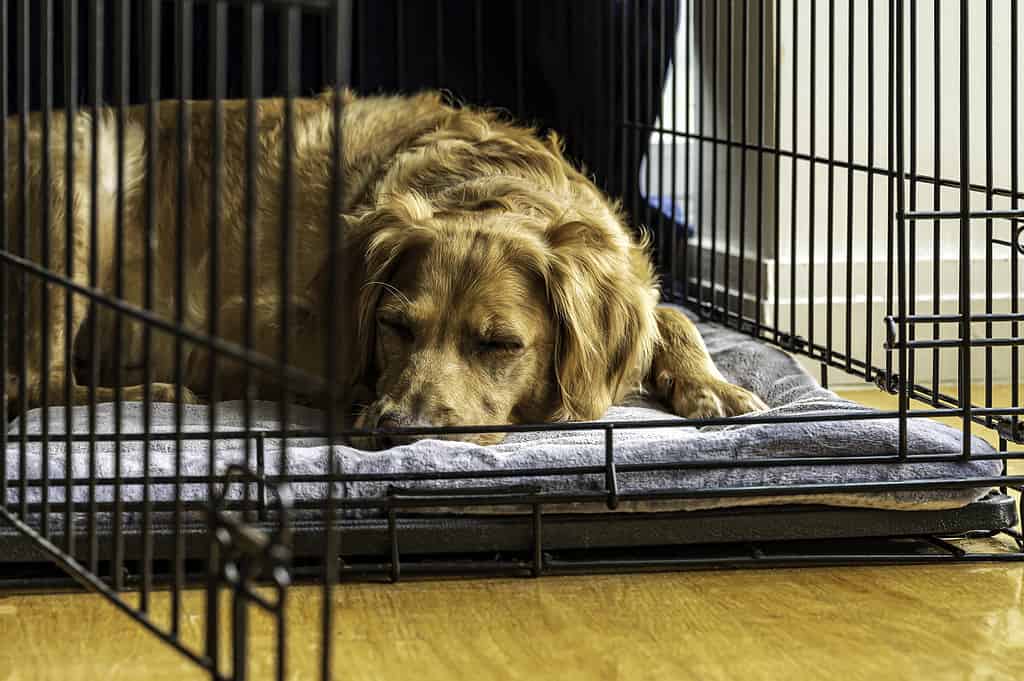
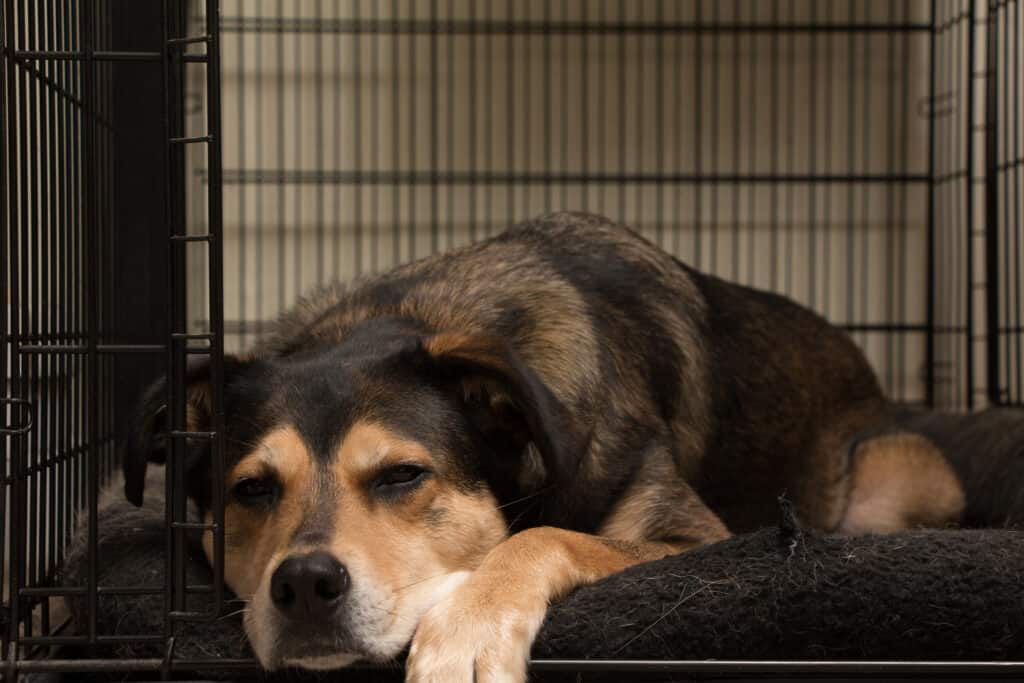
Let your dog rest in their crate whenever they want to, but be wary of forcing them in in the beginning.
©Christine McCann/iStock via Getty Images
As soon as the crate is set up, begin feeding your dog in the crate. This process prevents accidents during feeding time, especially if you have children or multiple dogs. It also helps with the positive reinforcement aspect of crate training.
If your dog won’t enter the crate at all, simply start by placing the food bowl right outside of the crate. As your dog becomes more comfortable, slowly push the food bowl further and further in (over several feeding sessions, not while your dog is eating).
Eventually, your dog should enter the crate, and then you should give them their bowl. However, initially, we’re using the food bowl as a lure to make the dog interact with the crate.
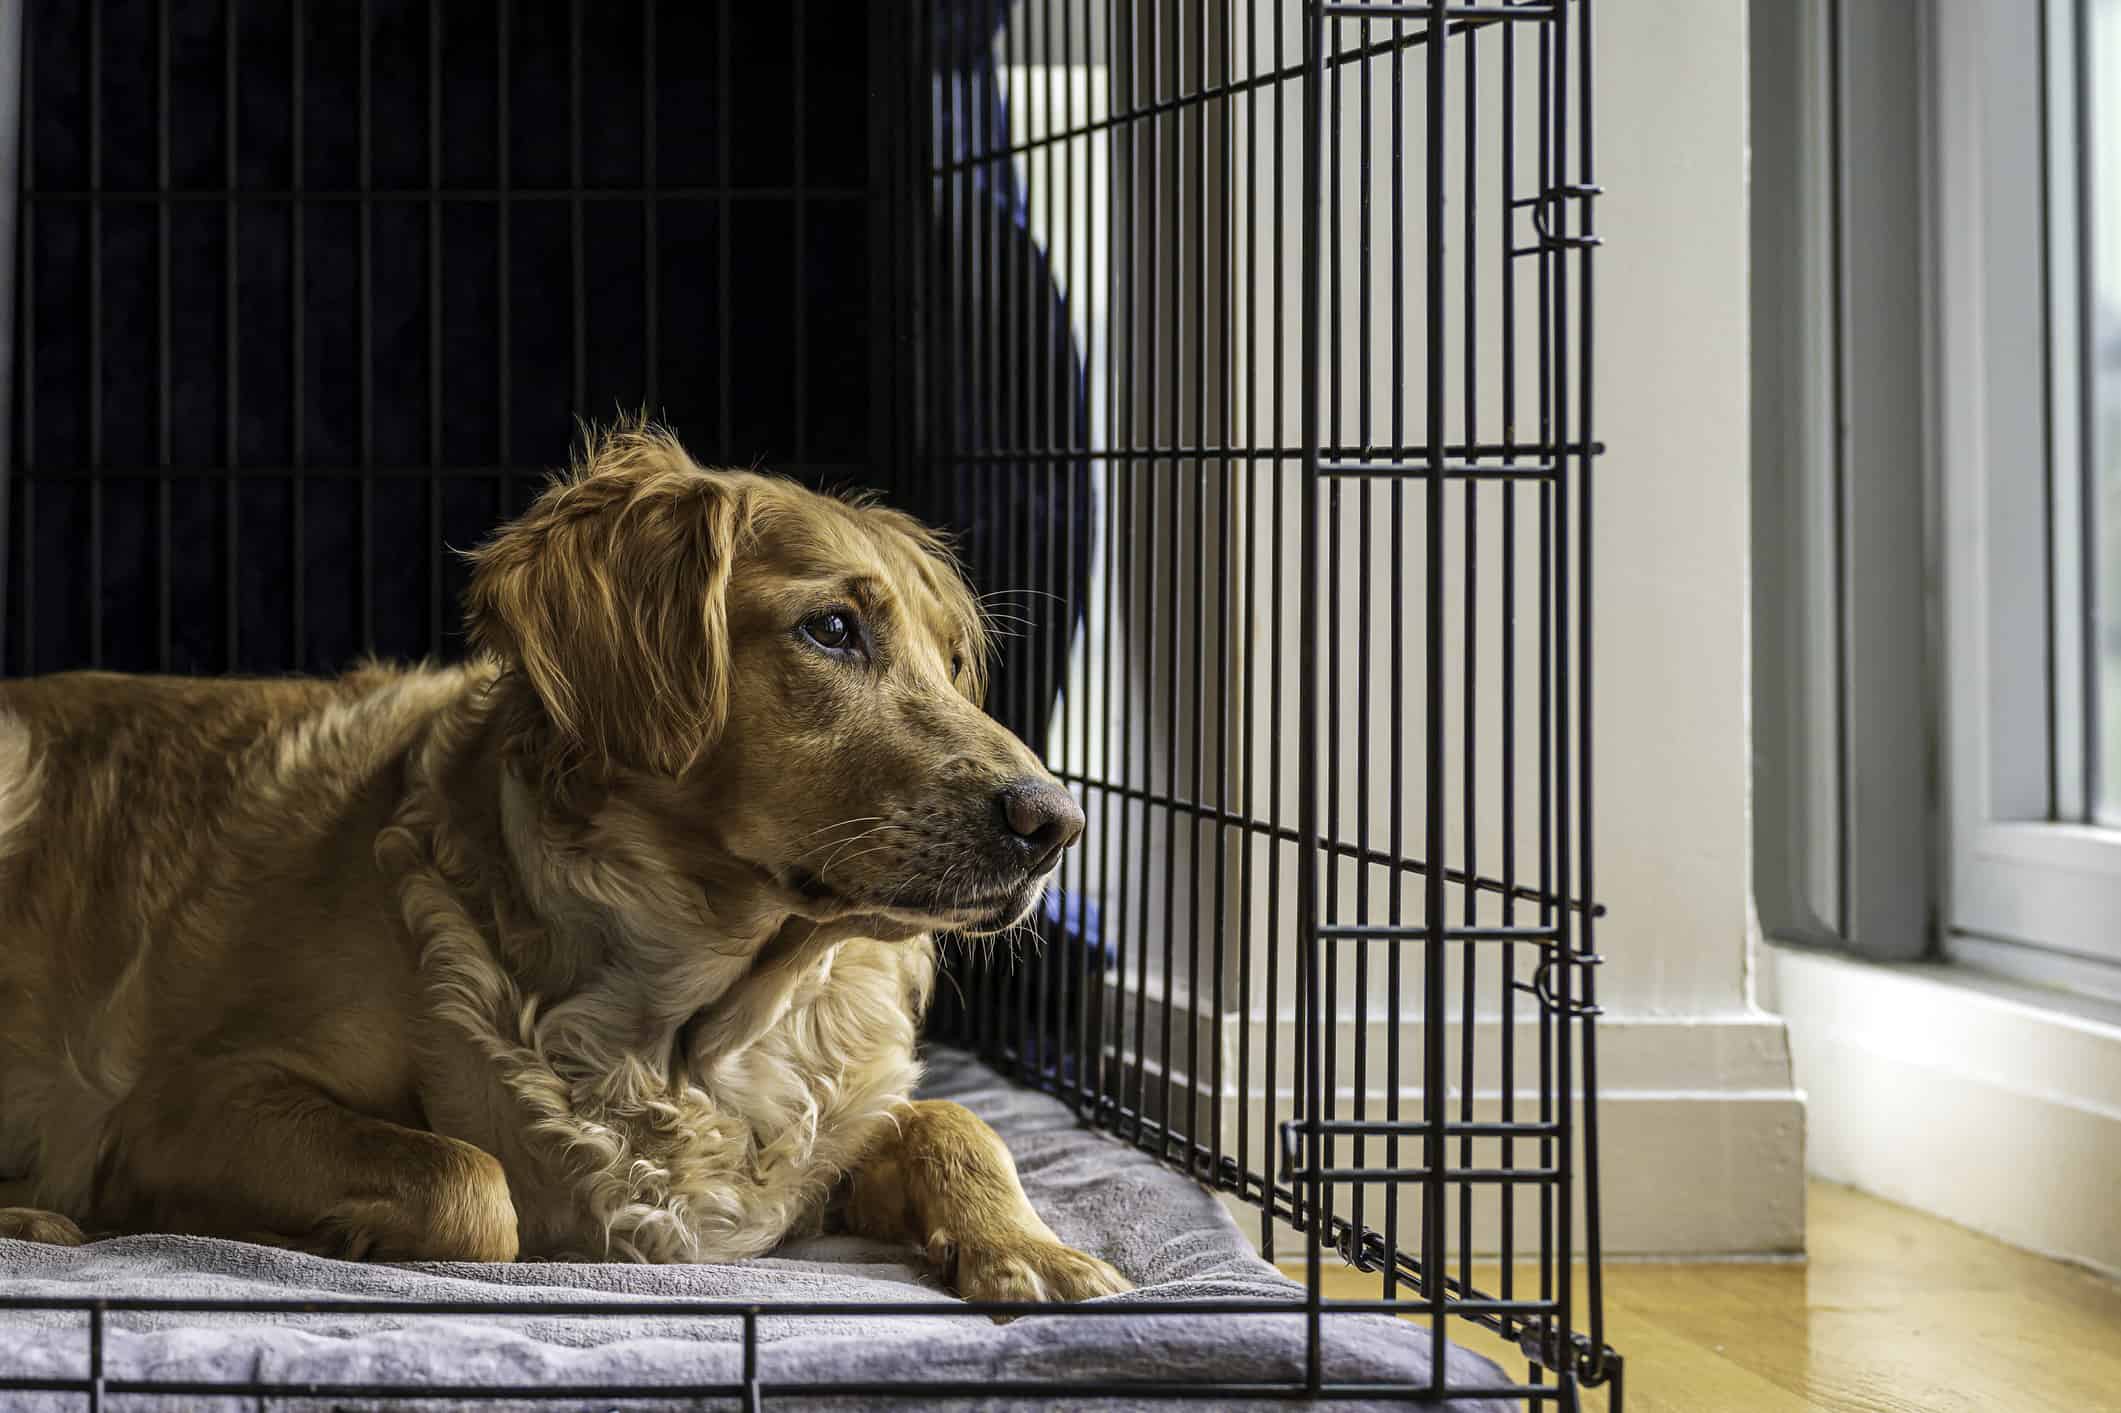
6. Start Putting Your Dog in the Crate
Start closing the crate door once your dog is comfortable with the crate like this one.
©Stephanie Barnes/Shutterstock.com
After following the steps above, your dog should slowly begin warming up to the crate. Once your dog is comfortable enough to go into the crate (when lured by their food bowl or a treat), you can start closing the crate for a short time.
Often, this is best done when the dog is eating. Put their food bowl at the end of the crate and close the door behind them when they enter. Stay nearby and open the crate when they are done eating. Preferably, the dog should hardly even notice the closed door. If your dog does whine, ignore it until they’re done eating.
We don’t want to teach that whining makes you open the crate door.
For the best chance of success, don’t close the door until your dog has eaten in their crate several times. It’s a long process, but slower steps set the dog up for success.
7. Teach the “Crate” Command
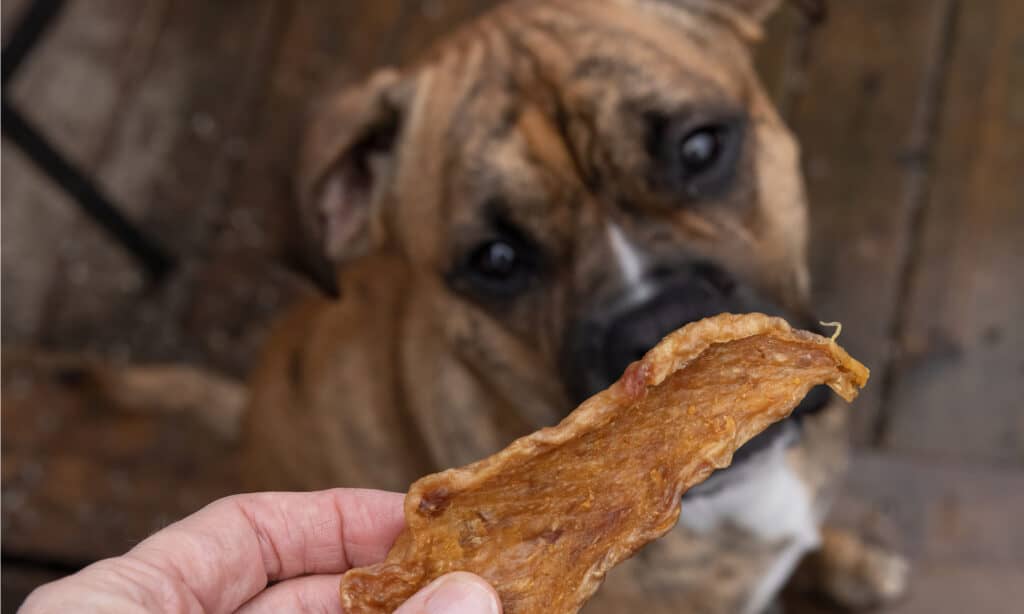
High-value treats like jerky can be a great luring option if your dog won’t enter their crate on command.
©sarah Tee/Shutterstock.com
You should begin teaching them a “crate” command at this point. Start by luring them into their crate with a filled Kong or long-lasting chew. When they enter, say “crate.” Let them exit as they wish.
If everything is going well, next tell them “crate,” but don’t give them the treat until they enter. Your dog should associate “crate” with a yummy snack in their crate, which should make them enter. If your dog doesn’t, you may need to practice luring them in a few more times.
8. Expand Crate Time
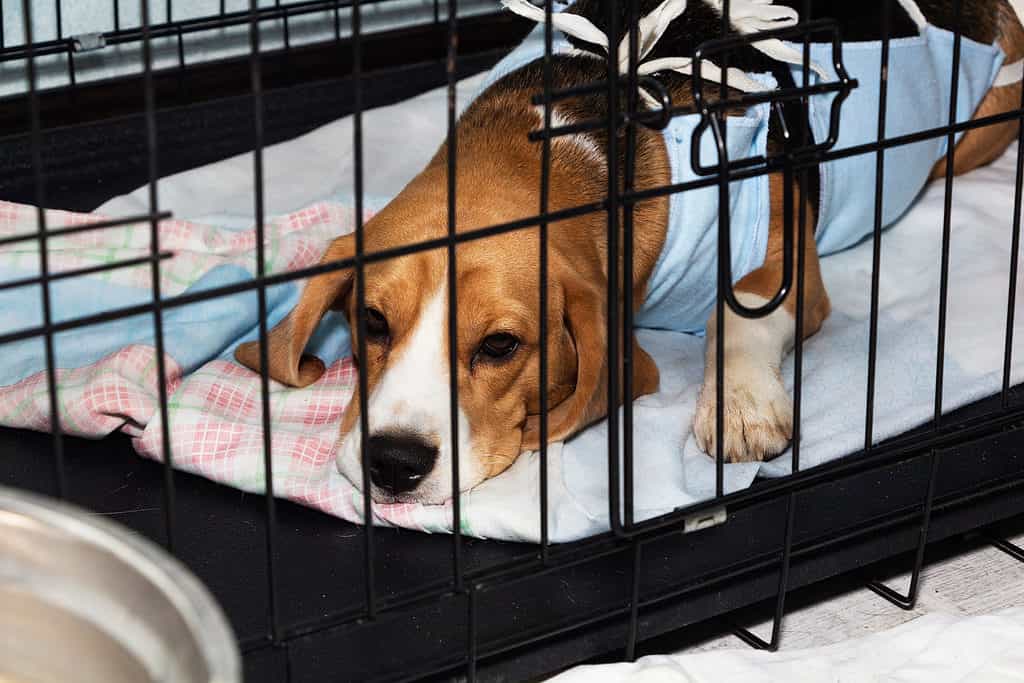
Crate training is important so your dog can calmly remain in a crate after surgery.
©Mikhail Sedov/Shutterstock.com
Once your dog eats in their crate without complaint, it’s time to put them in the crate at other times. You can start by giving them the “crate” command or luring them into their crate if they haven’t mastered the command yet. Start with only five minutes with you out of the room.
You want your dog to associate the crate with alone time. Plus, if you’re nearby, you may encourage winning and barking. If your dog cannot see you, they often relax faster.
Ignore any whining or barking until the five minutes is up. You should not interact with your dog to tell them to stop whining or barking. Any interaction at this point may be seen as a positive to your dog.
As your dog relaxes into crate time, extend it. You can start by only adding one minute. Once your dog reaches ten minutes, add two or three minutes as your dog tolerates it. Next, add five minutes at a time until you reach an hour.
9. Keep the Crate Available
Even after your dog is properly trained, you should ensure that the crate is always available. A crate is partially for you to confine your dog when you’re away, which helps keep your dog out of trouble. However, a crate is also a safe haven for your dog, and they should always be allowed to enter this safe haven.
For instance, your dog may want to enter their crate when you have company. They may enter it to “protect” their food from other dogs. They may just have a bad day and want some alone time.
Everyone should know to leave the dog alone when they are in the crate. This includes trying to “cheer up” the dog with petting. Your dog should know that they will be left alone when in the crate.
Be sure that children do not bother the dog when it’s in the crate, too. The dog won’t have any other way to escape if the child stands before the door. Plus, if the dog is in the crate willingly, they will likely have food or be irritated. All of these things increase the odds of the child being bitten.
Place the crate out of the way so children won’t pass it or see it regularly. A crate should be a safe haven, so putting it where there is lots of traffic defeats the point.