
Welcome to our complete guide on how to grow cane begonias indoors! Whether you’re a seasoned gardener or just starting out, this article will provide you with all the essential tips and tricks for successfully nurturing these beautiful plants in the comfort of your home.
What is a Cane Begonia?

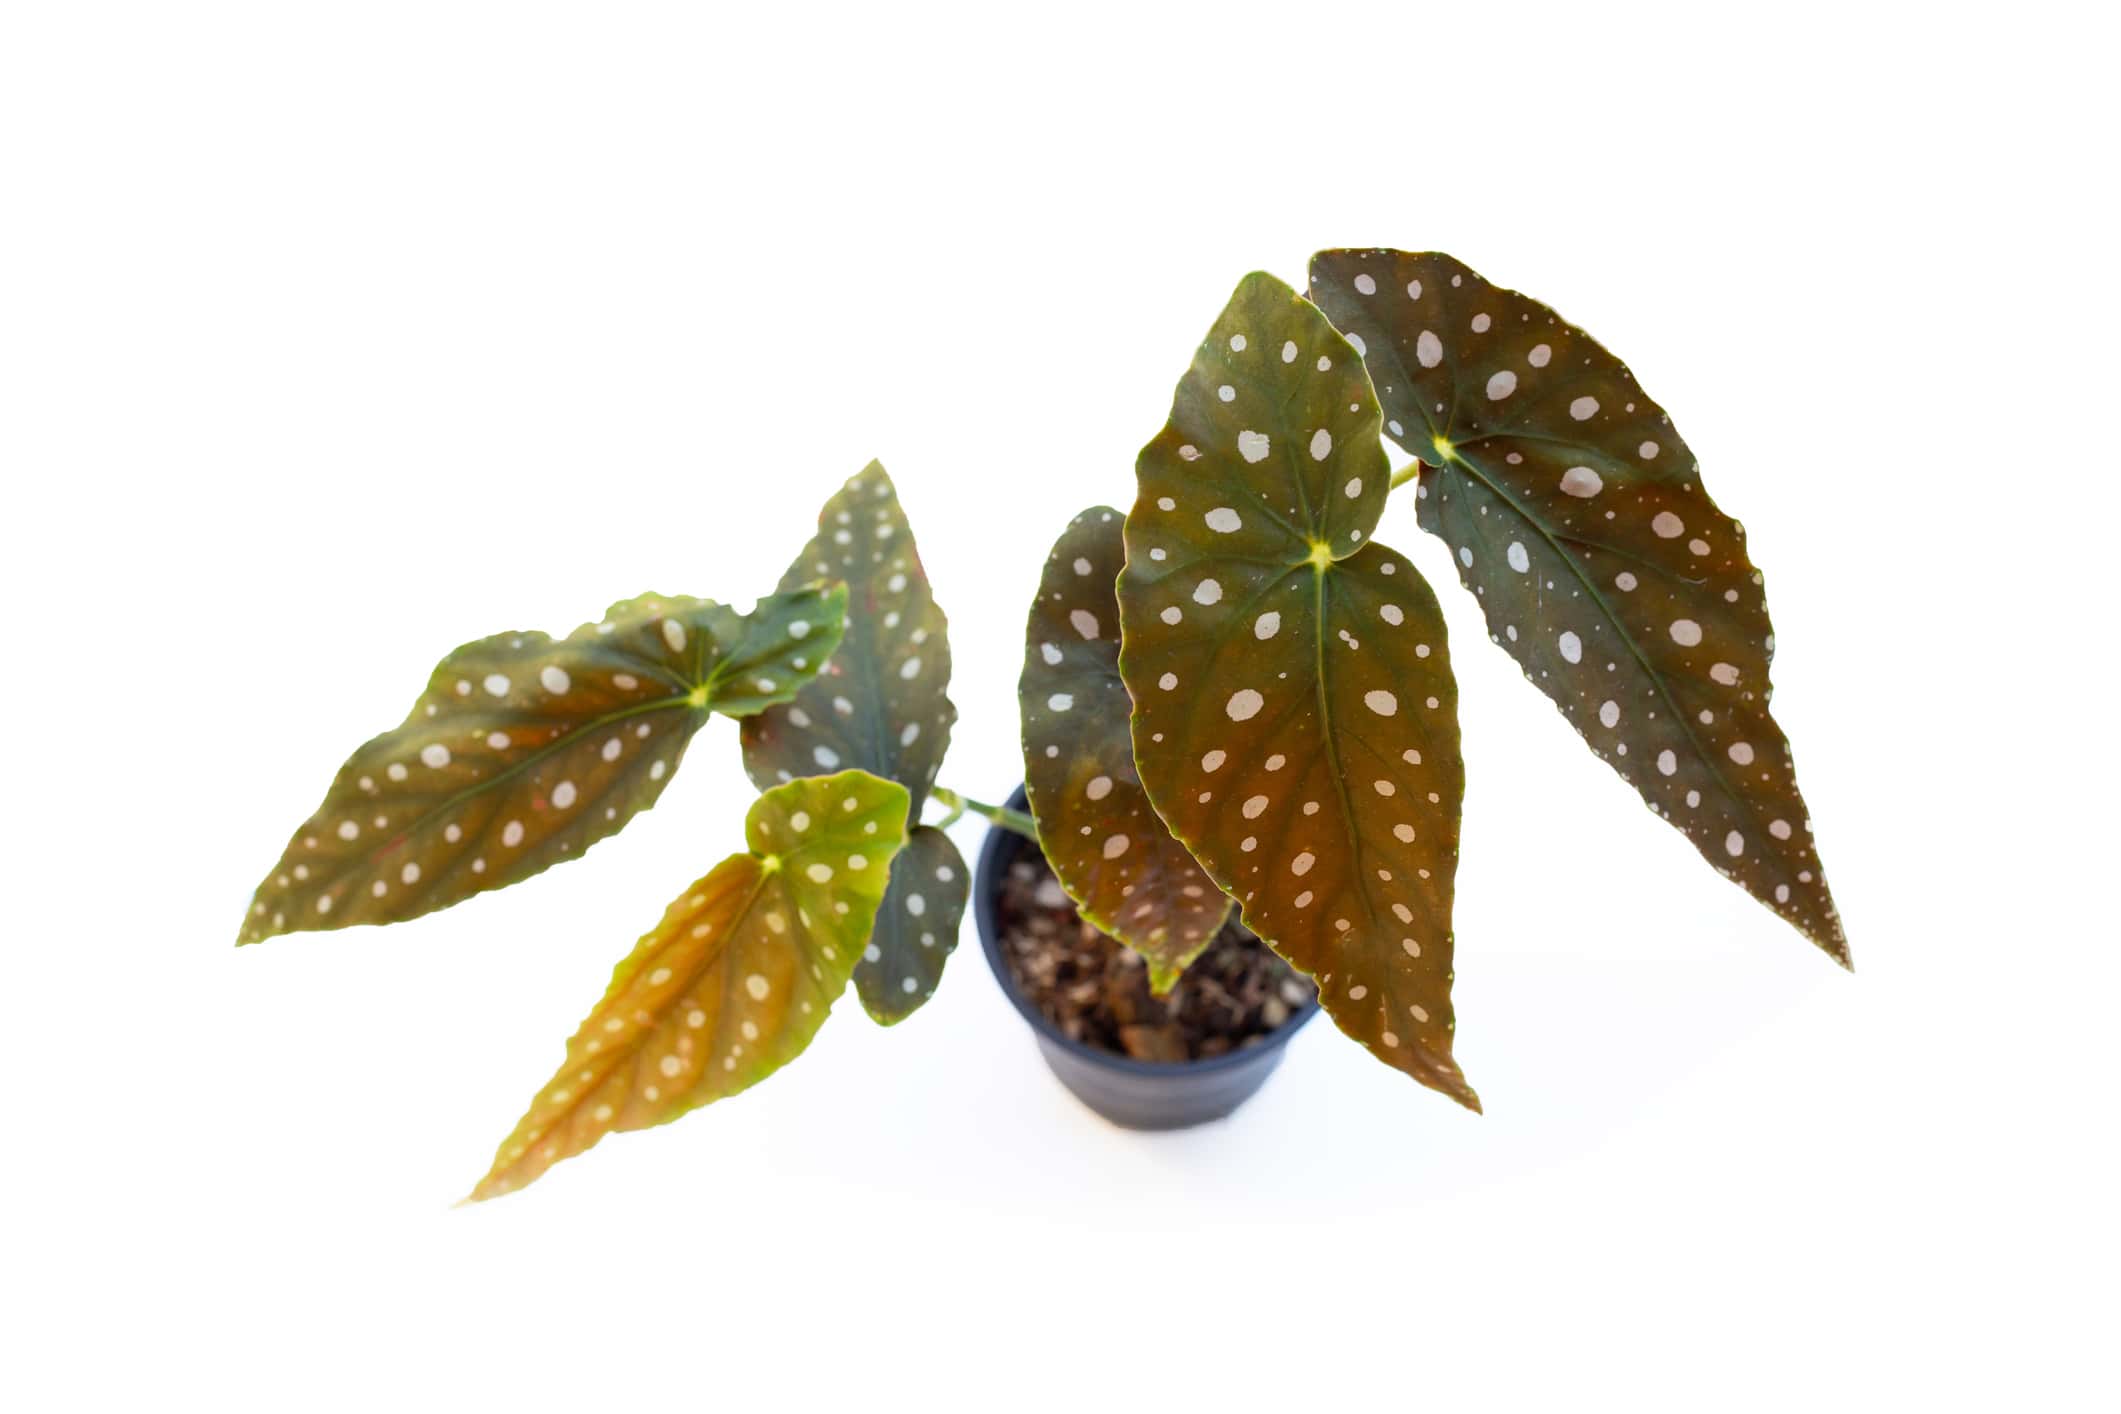
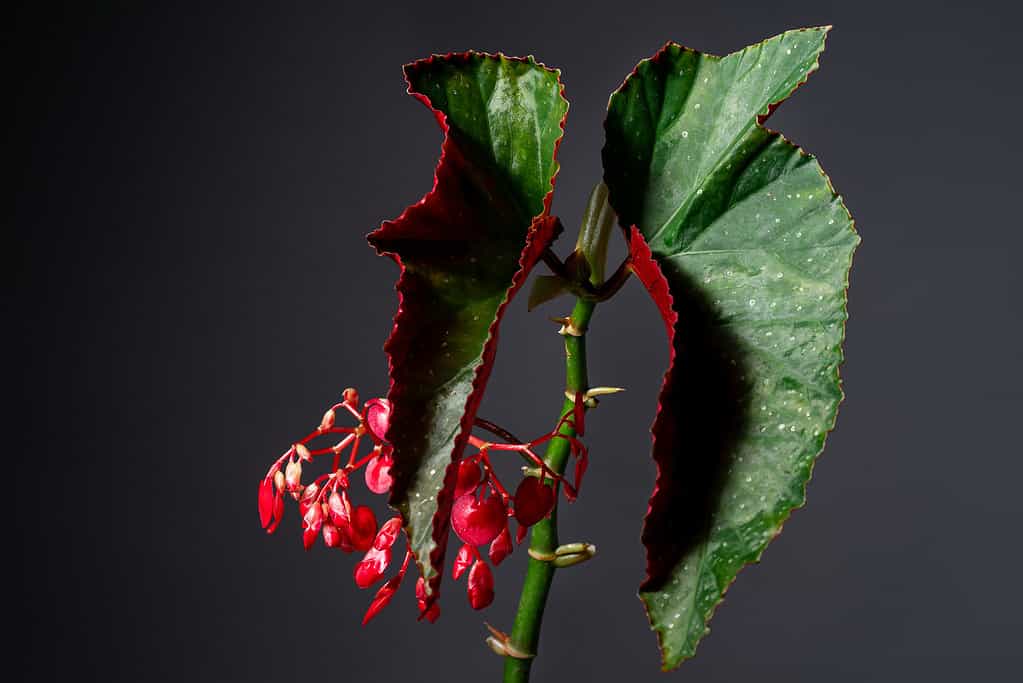
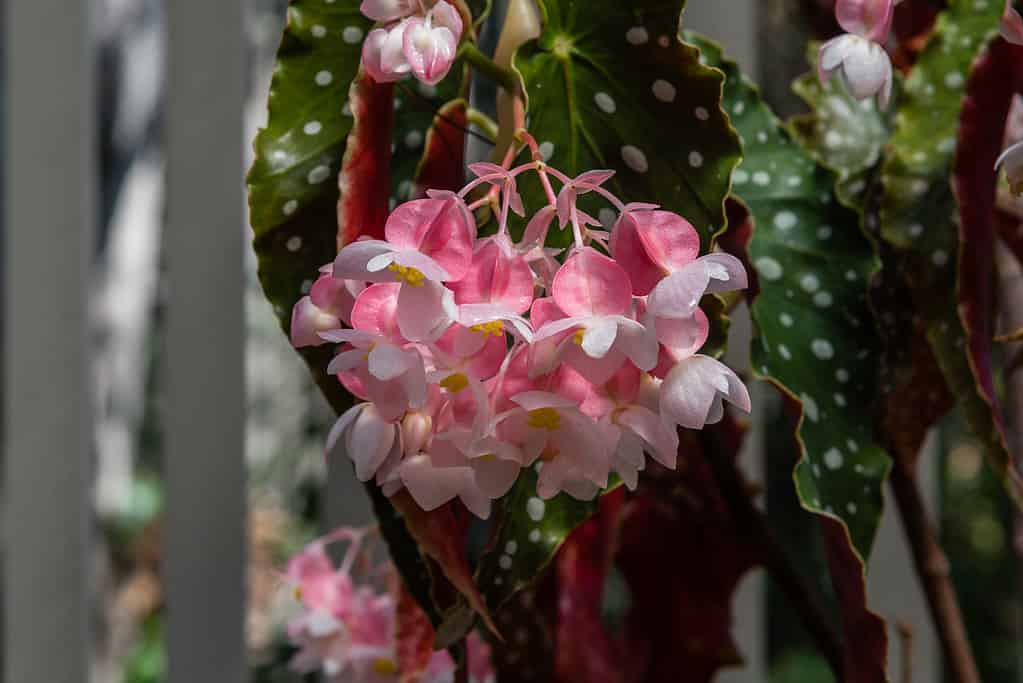
You can grow cane begonias indoors easily if you follow these instructions.
©Photography by Adri/iStock via Getty Images
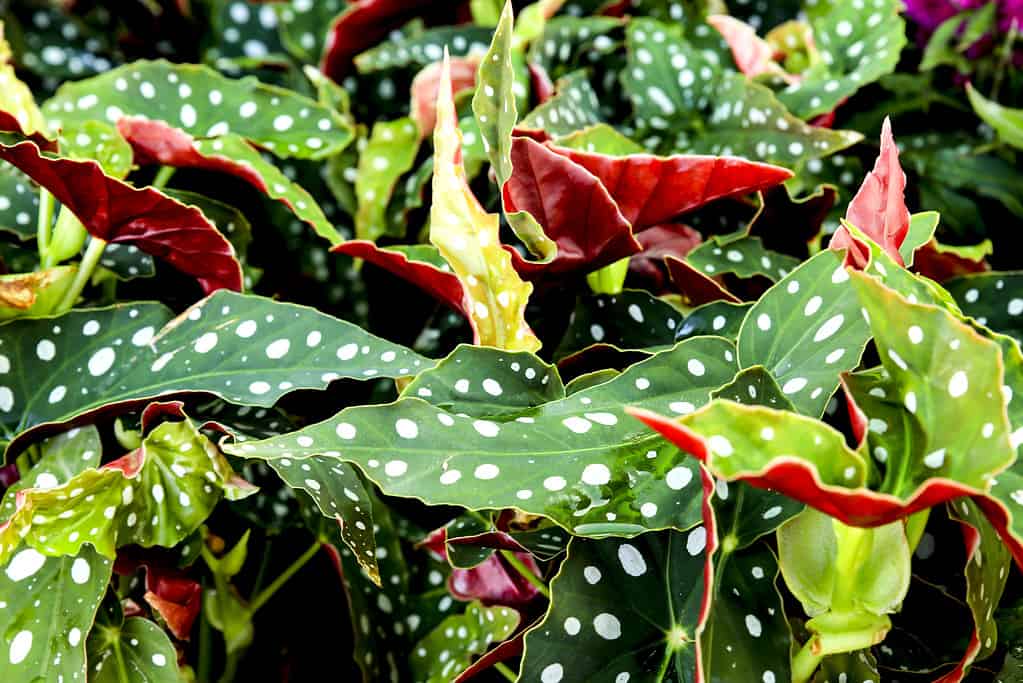
Cane begonias have been a favorite among gardeners for a long time. Not only are they easy to take care of, but they also produce beautiful flowering blossoms. How to grow cane begonias indoors is easy. In fact, they can grow up to 10 feet tall indoors! These plants are perfect for people just starting out in gardening, as they can provide a sense of accomplishment and confidence. Additionally, their silvery-spotted leaves and purple tones from both the topside and underside of the leaves make them an attractive sight.
There are approximately 81 species of cane-type begonias and about 2,000 different cultivars, making it hard to identify them. While these plants are mostly grown outdoors in areas with no frost, they can also be kept indoors as a houseplant. Horticulturists gave the first can begonias the name “Angel Wings” because of their giant spotted wings.
How to Grow Cane Begonias Indoors—Lighting
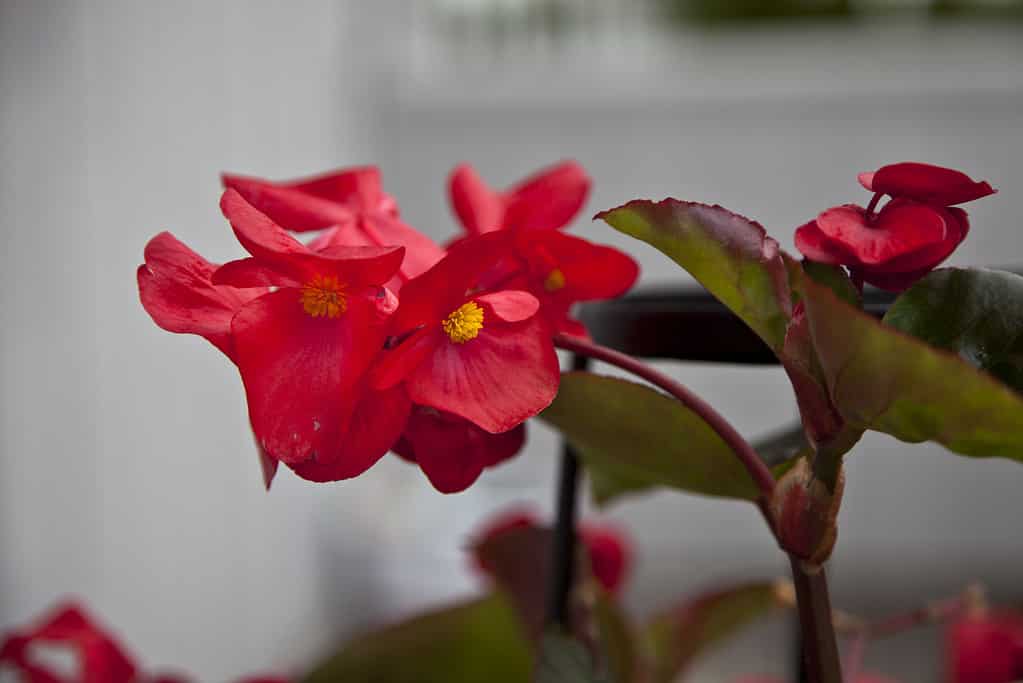
If you grow cane begonias indoors, be sure to provide bright lighting so you can enjoy flowers!
©Stephen Pawlawski/iStock via Getty Images
Begonias, like most indoor houseplants, like bright indirect light. You can place your can begonia on the windowsill of a north or east-facing window or 12-36 inches away from a south or west-facing window. If the plant has a direct view of the sky and the sun is directly shining on the leaves, it is probably too bright. When there is an eave, porch overhang, or tree outside dappling the light, that is usually ideal.
If you prefer to grow your cane begonia with an artificial grow light, it needs a minimum of 2,500 lux. The ideal light will provide 10,000 to 15,000 lux. This level of light is especially important if you want your cane begonia to flower year-round. More photosynthesis will generate more leaves and blooms. It will also give the plant extra strength to fight off pests and diseases.
Water
begonia albopicta likes to be watered when 50 percent of the soil is dried out. This is the trickiest part when trying to grow cane begonias indoors. You have to resist overwatering.
©skymoon13/iStock via Getty Images
When the top half of the potting soil dries out, your cane begonia needs to be watered. How frequently you should water your plant will depend on various conditions, such as the type of pot, soil, light, and humidity levels. To check if the top layer of soil is dry, you can use a chopstick. Push the chopstick into the bottom of the pot and remove it. If there is no soil left on the top part of the chopstick, it is time for watering. To avoid fungal infections and root rot, make sure your begonia is growing in a container filled with well-draining soil.
How to Grow Cane Begonias Indoors—Potting Soil
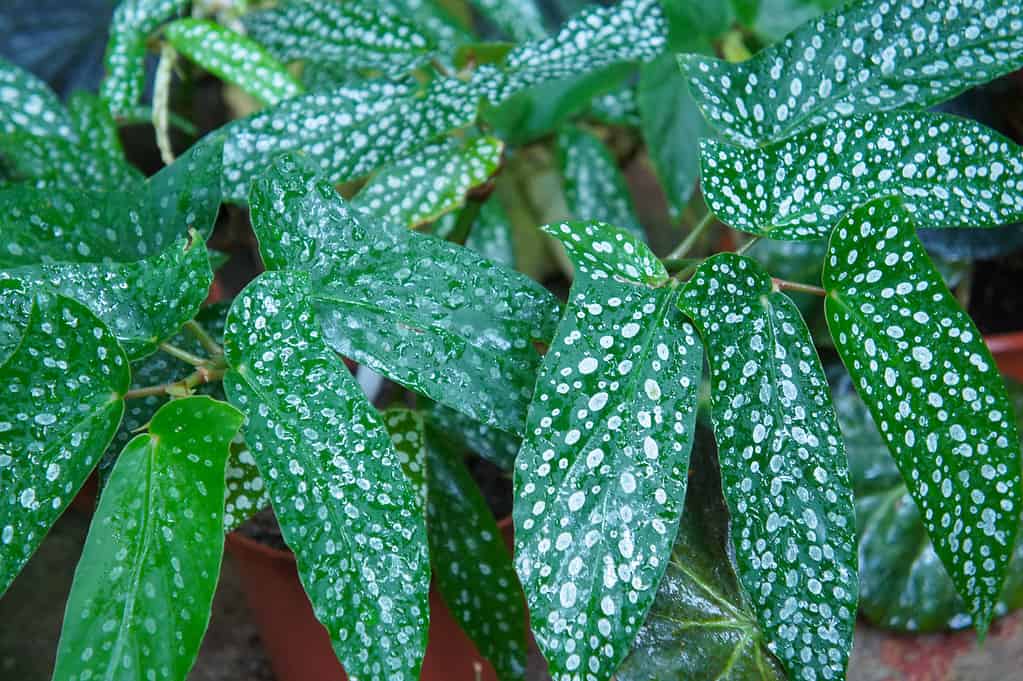
Begonia dregei thrives in a well-draining potting soil that does not stay soggy.
©Tatiana Buzmakova/iStock via Getty Images
For the best results, using potting soil that is oxygen-rich and drains well is the ideal choice for growing cane begonias indoors. This type of soil will help reduce the chances of overwatering and bacterial or fungal infections that can lead to root rot. You can purchase a high-quality potting mix that is good to use right out of the bag, or you can make your own by mixing commercial potting soil with inorganic amendments like perlite. The mixture should be two parts soil to one part perlite. This combination will create macro-pores filled with oxygen, keeping the soil loose and porous and reducing compaction. Choosing the right soil mix will assist you in successfully growing cane begonias.
Humidity
Begonia Lucerna is a big fan of average household humidity, around 50 percent.
©Mokjc/iStock via Getty Images
Cane begonias are medium-humidity plants. They like humidity between 30 and 50 percent. You can achieve this by regularly misting the leaves and using a humidity tray. A humidity tray is simply a shallow dish filled with pebbles or gravel on which you place your begonia pot. Fill it up with water, making sure that the water does not touch the bottom of your begonia’s container. As the water evaporates, it will create a humid environment around your begonia plant. This type of environment is ideal for promoting healthy growth and preventing pests from taking over your cane begonias.
You can also buy a cool-mist humidifier to increase the humidity around houseplants. These devices, along with a digital humidity gauge, can create ideal houseplant conditions for plants that love moist air.
How to Grow Cane Begonias Indoors—Temperature
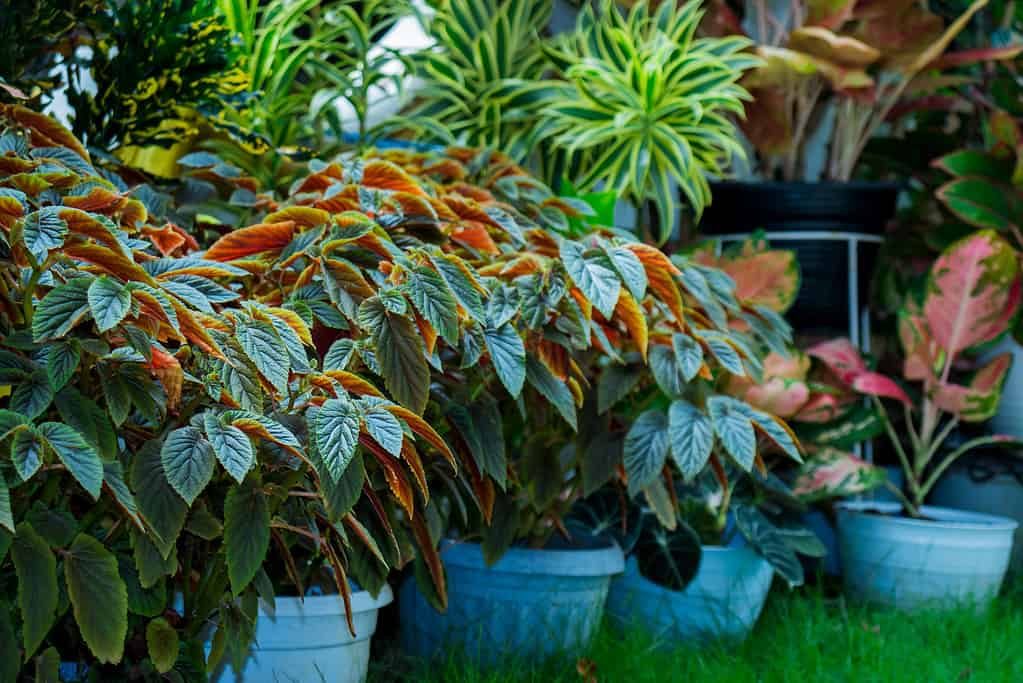
Begonia aconitifolia loves to grow outside during warm summers. Take them inside when temperatures start lowering to 60°F.
©Wirestock/iStock via Getty Images
Temperature is a key factor when growing cane begonias, as they can be easily damaged by temperatures that are too high or low. Cane begonias prefer temperatures between 60 and 75 degrees Fahrenheit. Avoid exposing your plants to direct sunlight or cold drafts, as these conditions will stunt the growth of the plant and make it more prone to disease.
If you live in an area where the temperature drops below 55 degrees Fahrenheit in winter, then consider placing the plant 8 inches from the window glass so it doesn’t get a chill. Cane begonias can go outside for the summer, but be sure to bring them in once the temperature gets below 60°F.
Plant Food
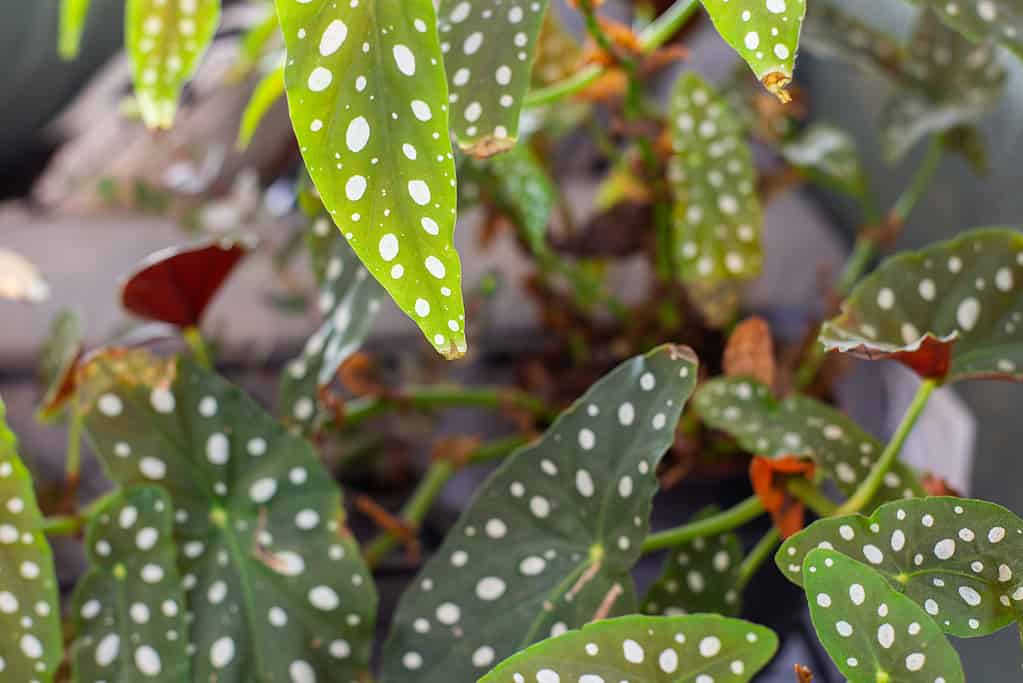
Begonia Maculata likes plant food every 30 days. When you grow cane begonias indoors, feed them only during the growing season, then let them go dormant.
©cerro_photography/iStock via Getty Images
To feed your cane begonia, use a quality liquid fertilizer. Mix one teaspoon of the fertilizer with a gallon of water and use it once a month. Refer to the instructions on the fertilizer package since too much can be detrimental. Fertilize your plant when it is actively growing, not when it is dormant. If you repot your begonia annually, do not fertilize it, as it will get nutrients from the fresh soil.
How to Repot a Cane Begonia
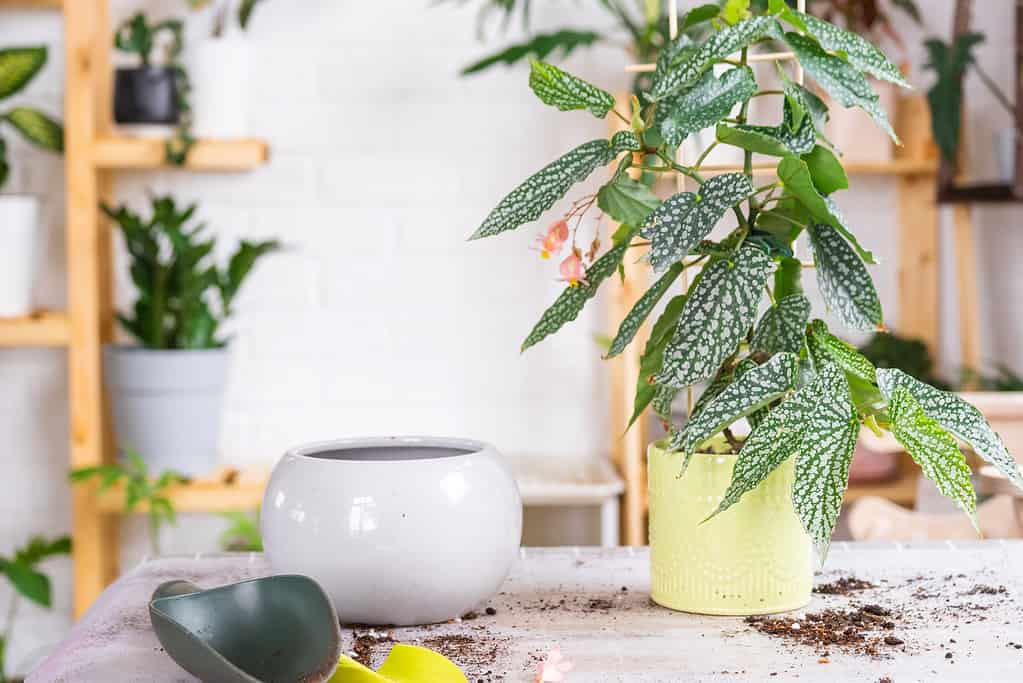
If you want to grow cane begonias indoors, they only need a bigger pot every few years.
©Ольга Симонова/iStock via Getty Images
If your cane begonia outgrows its pot, select a new planter that is only 2 inches larger than the previous one. Too large of a container will hold too much water, which is a recipe for root rot.
Remove the plant from its old pot and inspect the roots. This is a good time to decide if you want to divide the plant. If so, use a sharp knife to cut the plant into 12-inch sections. Each of these will go in a separate container.
Then, using fresh potting soil, plant the begonia in its bigger container. Press the soil down firmly and water the plant to remove air pockets.
Are Cane Begonias Toxic?
Cane begonias are usually not harmful to people, although some may experience nausea or diarrhea. The ASPCA states that the begonias are poisonous to cats and dogs due to the presence of calcium oxalites in their roots. This can cause vomiting and drooling.
How to Grow Cane Begonias Indoors—Pruning
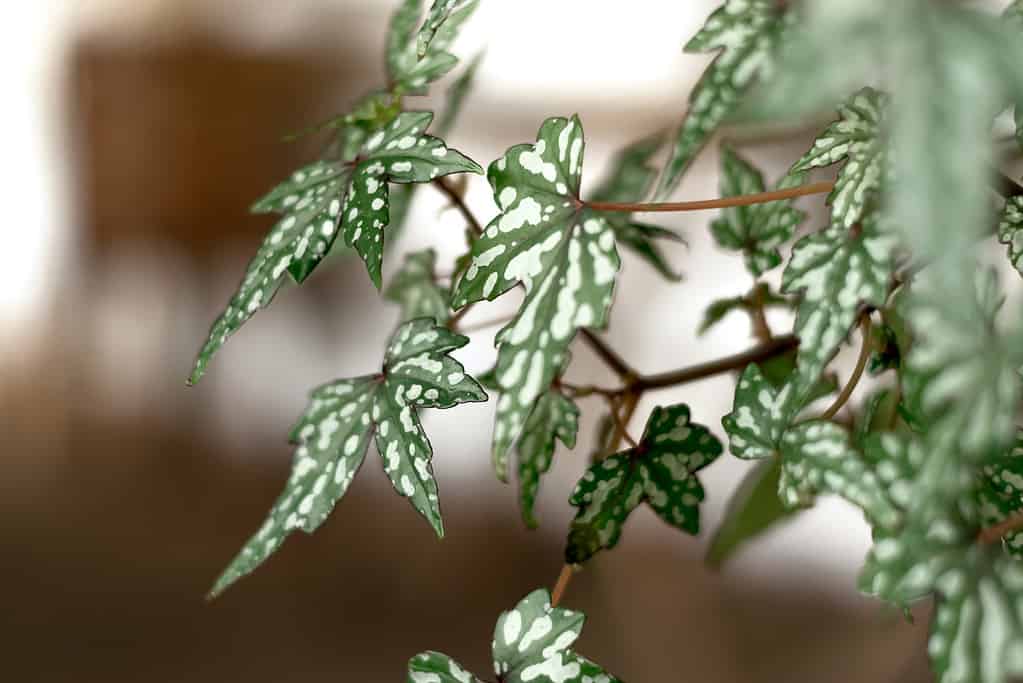
The lovely Angel Wing Begonia will produce flowers for 12 months if it has enough light.
©akrassel/iStock via Getty Images
If your cane begonia has diseases or pests, is exhibiting dry and brown leaves, or you want to propagate it, you may prune the plant. Pruning away diseased or dead parts is a great way to maintain the health of your begonia. If the plant is healthy, pruning is only necessary if you want the plant to produce branches below the cut. If you are looking to propagate a stem or leaf, pruning those sections is advisable.
Many people choose to prune their begonias to encourage a bushier look. Each place that you cut will grow leaves and stems below that cut. So, to encourage new branches further down, trim the plant regularly. If not pruned, cane begonias will grow very tall.
How to Grow Cane Begonias Indoors—Propagation
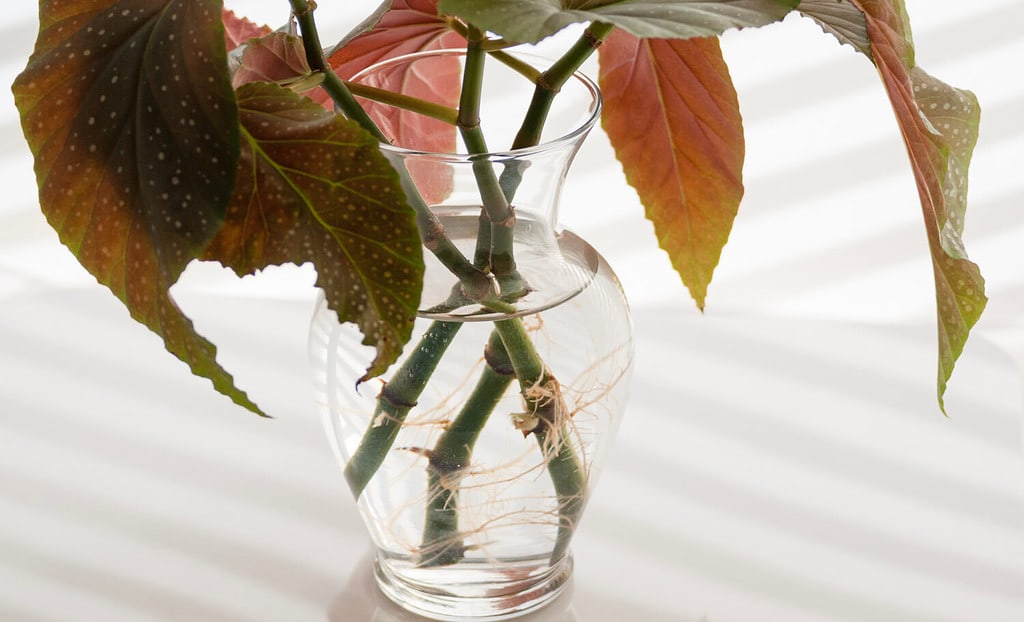
When you grow cane begonias indoors, you can get unlimited free plants by propagating them from stem cuttings.
©SGuillory/Shutterstock.com
One of the most fun parts of cane begonias is that they are fantastically easy to propagate. You can get free plants through stem cuttings in a glass of water, leaf cuttings, or by division. The easiest way is through cuttings of the tip of a stem. Here is the process:
- Select a cane that does not have any flowers on it.
- Cut off a stem that has 2 or more leaves and 2 or more nodes. Make your cut with sharp and sterile pruners directly under the bottom node.
- If there are any leaves on the lower part of the stem, remove them. You want bare stems and nodes in the water, nothing else.
- Place the cutting in a narrow-necked container of water. Be sure that both of the nodes are underwater and the leaves are above the water.
- Change the water every 3-5 days to oxygenate it.
- Roots will form in 14 days. Once the roots are 2 inches long, you can plant the stem in its own pot of soil.
Common Cane Begonia Diseases
One of the most important chores when you grow cane begonias indoors, is a weekly plant inspection. Look under the leaves and down each stem for pests.
©soniabonet/iStock via Getty Images
When you grow cane begonias indoors, perform a plant inspection at least once per week. This will help you catch plant pests very early while they are still a small, easy-to-treat problem.
Root Rot
Root rot is by far the most common disease that you will see on a cane begonia. You can tell that your plant has rotten roots by
1. Soft roots
2. Brown or black color on the root tips
3. Foul smell from the roots
4. Leaves dropping off of the stem
Root rot is caused by overwatering and can be prevented with proper watering practices and good drainage in your soil. If you think that you may have root rot, remove the plant from its pot and inspect it carefully for signs of decay before replanting it in fresh, well-draining soil.
Powdery Mildew
Powdery mildew is a fungal disease that manifests as white blotches on the surface of leaves. It is most common in areas with extremely high humidity and poor air circulation. If left untreated, it can cause yellowing and wilting of foliage, eventually leading to plant death.
The best way to prevent powdery mildew from occurring on your cane begonia is by ensuring proper ventilation around the plant. Keeping the soil slightly moist will also help reduce the chances of infection, but do not let it stay soggy or waterlogged.
Botrytis Blight
Botrytis blight, also known as gray mold, is a fungal disease that affects many types of plants. It can cause gray leaf spots and lesions to appear on the foliage, often accompanied by a foul smell from the roots. The leaves may drop off of the stem as well. In addition, you may notice dark brown or black discoloration on the root tips. If left untreated, botrytis blight can quickly spread through your plant and eventually lead to its death.
Cane Begonia Pests
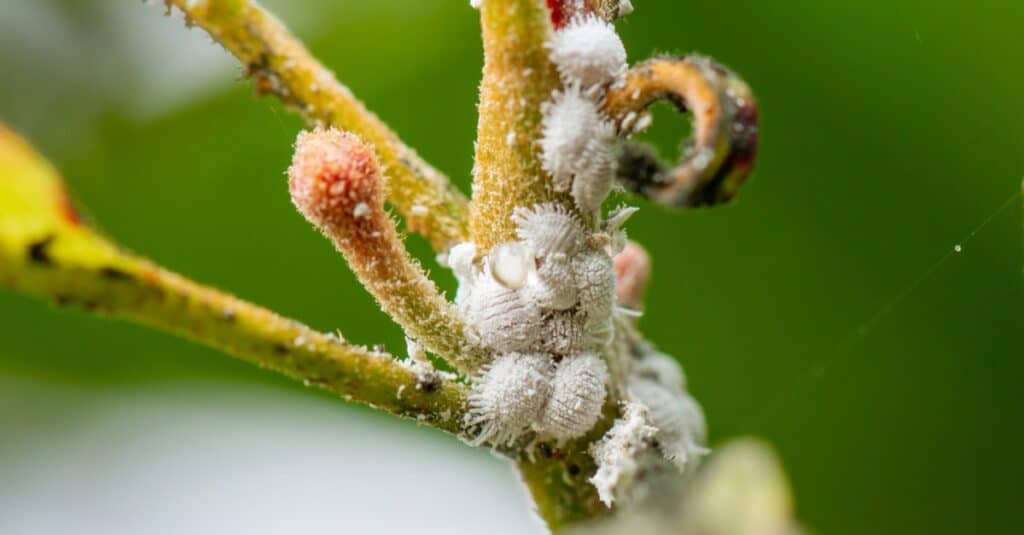
Mealybugs are insects with a white waxy coating. Keep your eye out for these pests when you grow cane begonias indoors.
©phomphan/Shutterstock.com
Aphids: Aphids are small, soft-bodied insects that feed on the sap of plants. They can be recognized by their pear-shaped bodies and range in color from light green to black. Signs of aphid infestation include distorted or curled foliage, yellowing leaves, sticky honeydew secretion on the plant’s surface, and clusters of eggs on the underside of leaves.
Mealybugs: Mealybugs are tiny bugs with a waxy, white coating. They feed on the sap of plants and can be recognized by their white, fuzzy appearance. Signs of mealybug infestation include yellowing or distorted foliage, sticky honeydew secretions on the plant’s surface, and clusters of eggs in cottony masses at the base of stems.
Thrips: Thrips are tiny insects that feed on plant tissue and excrete a black liquid waste known as frass. They can be recognized by their slender bodies and light grayish color. Signs of thrips infestation include yellow or white spots on the leaves, distorted foliage, and silver streaks along leaf veins.
Spider Mites: Spider mites are tiny pests that feed on the sap of plants. They can be recognized by their web-like silk strands and range in color from yellow to red. Signs of spider mite infestation include pale or discolored foliage, small white dots on the plant’s surface, and stippling on leaves and stems.


How to Add Us to Google News


Thank you for reading! Have some feedback for us? Contact the AZ Animals editorial team.