
Curious about growing mushrooms in spent coffee grounds? Well, you’re certainly not alone. Spent coffee grounds represent a huge source of agricultural waste. So, it make sense to want to find environmentally friendly ways to reuse them.
In this guide, we’ll talk about which mushrooms are the best candidate for this method of cultivation. We’ll also explain how the process works and detail the pros and cons. Finally, we’ll provide the steps to successfully grow mushrooms in coffee grounds.
Alright, let’s jump in!
What are the Pros and Cons of Cultivating Mushrooms in Coffee Grounds?
Before you get started, it’s important to know the pros and cons of this cultivation methods. It’s also important to know that not every species of cultivated mushroom will do well growing via this method.
Cons
One of the biggest cons to this method is that you can likely expect to have a slower colonization time and possibly smaller yields when growing with coffee grounds. This is because caffeine can partially inhibit the growth of mycelium and potentially reduce the overall yield. One study of oyster mushroom cultivation in coffee grounds found that caffeine inhibited mycelium growth on agar and liquid culture.
This study also found that increased levels of spent coffee grounds in a coffee ground and sawdust substrate slowed down mycelial growth and delayed or blocked fruiting. So, you’ll want to take these potential pitfalls into consideration when growing mushrooms in coffee grounds.
Finally, growing in pure coffee grounds, can have a high risk of contamination. This is due to the high nutritive content, fine particle size of the grounds, and poor aeration from compaction. Essentially, spent coffee grounds are a ripe breeding ground for bacteria who don’t mind a slightly acidic environment.
These two pitfalls together create a bad combination. Slowed growth of the mycelium and accelerated growth of bacteria means there is a lot less chance that your grow will work out and even less of a chance with subsequent fruitings.
Pros
However, it is an achievable endeavor with the right practices and the right species. Some commercial growing operations do participate in growing mushrooms, especially oysters, from pure or supplemented coffee grounds. A benefit of this cultivation method is that you can recycle a rather large waste product back into food production.
Additionally, when you use freshly brewed coffee grounds, you can skip the pasteurization step. This is because the process of making a cup of coffee already pasteurizes the grounds. We’ll talk about this more later, but please note that the emphasis is on using coffee grounds that are still cooling off or just cooled to room temperature.
Finally, coffee grounds, which contain an abundance of nitrogen and phosphorus, are a great source of nutrients for mycelial growth. As we mentioned in the con section, the high nutritive content of this substrate can be an advantage or a pitfall, depending on your hygiene practices and understanding of contamination risks.
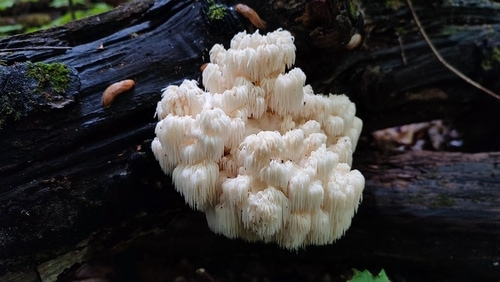
Which Cultivated Mushrooms Can Grow in Coffee Grounds?
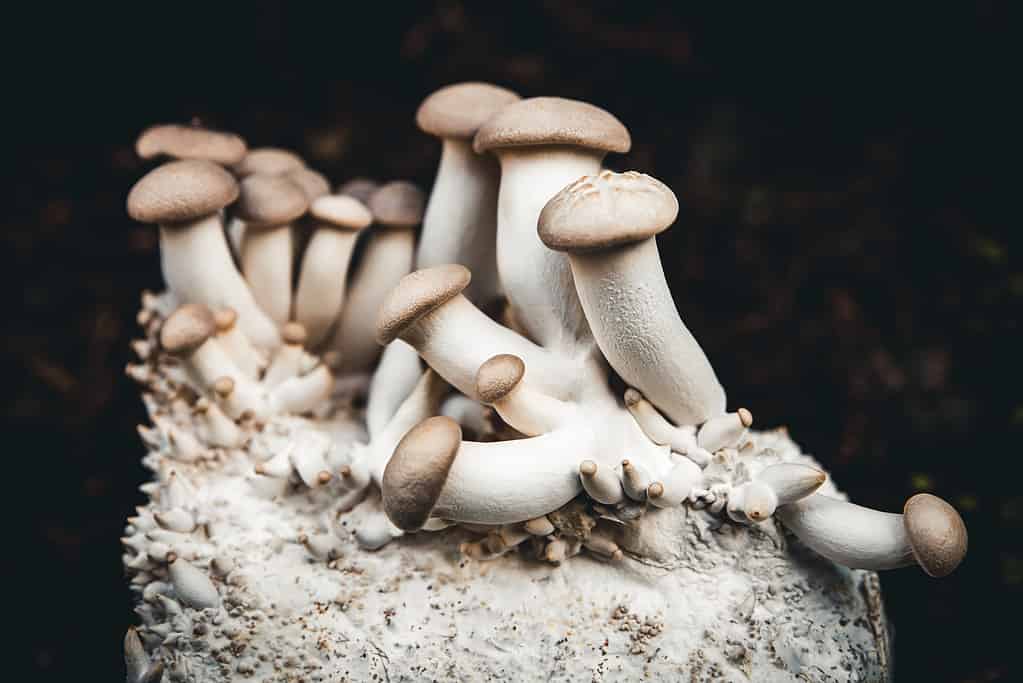
Young king oyster mushrooms growing on a grow block
©Miriam Doerr Martin Frommherz/Shutterstock.com
The following are some of the mushrooms that can potentially grow in coffee ground substrates:
- Wine cap mushrooms (Stropharia rugosoannulata)
- Oyster mushrooms (Pleurotus spp.)
- Shiitake mushrooms (Lentinula edodes)
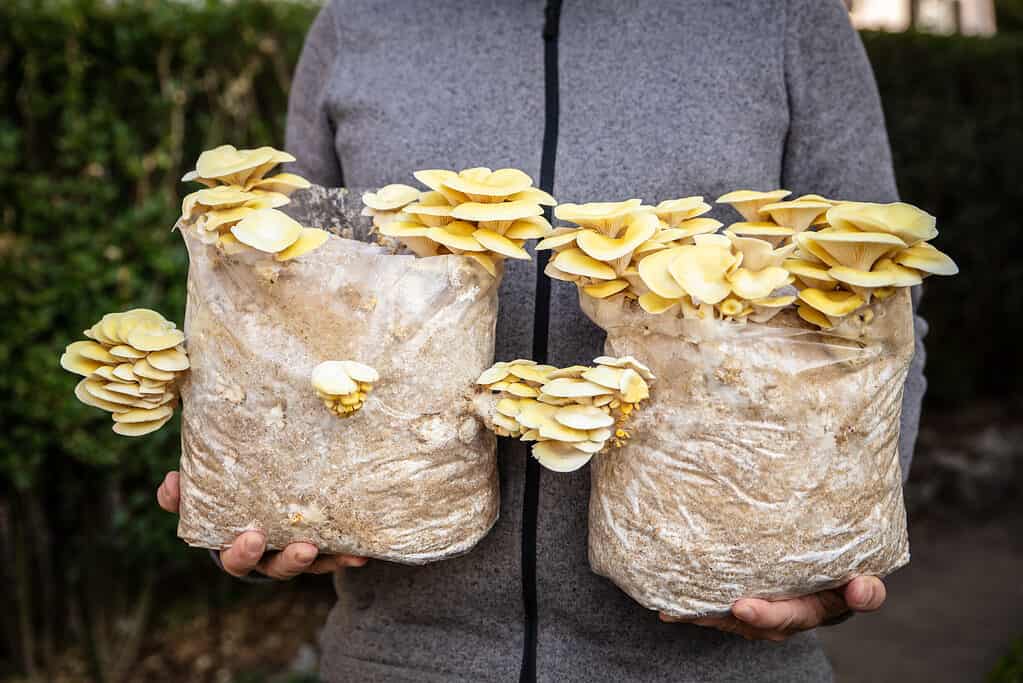
For this guide, we’ll focus on cultivating oyster mushrooms, specifically Pleurotus ostreatus, in coffee grounds. This is because oysters are one of the most adaptable cultivated mushrooms with aggressive mycelial growth on a vast range of different substrates. Since coffee grounds contain cellulose and hemicellulose, oyster mycelium are pretty content to colonize the substrate and produce flushes. Again, it’s important to note that you may see decreased colonization times and a potentially reduced yield size with this cultivation method.
How to Grow Oyster Mushrooms in Coffee Grounds
Fungiculture at home.
©Miriam Doerr Martin Frommherz/Shutterstock.com
You may read the coffee grounds are an excellent substrate for cultivating a variety of mushrooms due the ease of accessing them, their high nutritive content, and the fact that they’re already pasteurized. Some sites, however, fail to mention the contamination risks of using spent coffee grounds that aren’t fresh. Once the coffee grounds cool to room temperature, a host of microbes can begin the work of colonizing this substrate.
If you pick up a batch of spent coffee grounds from your local coffee shop that has been sitting in a bin all day, your risk of contamination is pretty high. Your best bet is to pick up coffee grounds immediately after they have the coffee has been brewed, ideally while the grounds are still hot. Or, brew your own coffee and inoculate the grounds as soon as it cools down. If you clean down your work area with alcohol wipes, wear gloves, and use a face mask, you can continue to decrease the risk of contamination by other microbes.
Ultimately, coffee grounds aren’t our first pick of substrate for growing mushrooms, but if you’d really like to use this method, your best bet is definitely cultivating oysters. Below, we’ll describe the process of cultivating oyster mushrooms in coffee grounds that reduce the risk of contamination by other microbes. Additionally, we also recommend adding in 20% straw into your substrate, rather than just using pure coffee grounds. By doing this, you add structure and increased aeration to your substrate, which increases the colonization speed of the mycelium and supports better yields. It also can help reduce the risk of contamination from other microbes by providing a leg up on the colonization of the substrate by the oyster mushroom mycelium.
Set up a Cultivation Area
First, you’ll need to set up your area to cultivate your Pleurotus ostreatus mushrooms in your 80% coffee grounds, 20% straw substrate. You have a few options, and you should note that the more hygienic and variability controlled your station is, the higher likely you have of success. You can always opt to purchase a grow tent or chamber from a mushroom growing company. Some of these set ups are temperature, humidity, and CO2 controlled, allowing you to adjust these conditions for incubation and fruiting. If you don’t have access to these types of set ups, you can use a closet to avoid exposure from an HVAC system and air travelling across large spaces. Ideally, you’ll want to fully sanitize this space prior to bringing in your materials.
Obtain Pleurotus ostreatus Spawn
To inoculate your substrate, you’ll need to acquire Pleurotus ostreatus spawn. You can make your own, but for beginners, it can be helpful to purchase spawn first. You can purchase spawn from reputable mushroom growing sites. For this application, P. ostreatus spawn in sawdust will work fine. The bagged sawdust block will arrive completely colonized with mycelium. For this species, the mycelium should be white. The spawn weight should represent 10% of the total substrate.
Pasteurize the Straw
Adding straw to your substrate is optional, but it can definitely help add structure and aeration to the coffee grounds. This can be especially helpful for containers that have more than 2 pounds of coffee grounds. This is due to the compression that occurs with pure coffee ground substrates over 2 pounds. As the substrate becomes denser, aeration decreases, and you risk of anaerobic contamination increases.
So, you may want to add 20% straw to your mixture for better results. For example, if you’re using 2.5 pounds of coffee grounds, then you’d want to add 1/2 pound of straw to the substrate. Remember, it’s vital that to pasteurize it first or buy bags of pasteurized straw from a reputable mushroom growing site. If you do choose to pasteurize the straw yourself, you can use the followings steps:
- Prep the straw by chopping it into 2-4 inch sections and place into a permeable bag such as a mesh bag or pillow case.
- Heat a stock pot (or pots, depending on how much straw you’re using) to 160-170 degrees Fahrenheit.
- Fully submerge the straw into the water for 1 hour, keeping the temperature steady the entire time.
- Drain the straw to reach appropriate field capacity, meaning when you squeeze the straw, it should produce only a few drops of water.
- Once the straw is cool enough to touch, using gloved hands, add this mixture to your coffee grounds and distribute evenly. You should do this in your growing area that is set up and as clean as possible. If you haven’t already, you’ll should wipe down all surfaces with 70% isopropyl alcohol (be careful around the stove and/or flame) and put on a face mask when adding the pasteurizes straw to your coffee grounds.
Inoculate the Substrate and Incubate
Finally, it’s time to inoculate the substrate with your oyster mushroom spawn. The inoculation should happen as soon as possible after adding in the pasteurized straw. You have a few option for transferring the spawn into your growing container (whether that be a lidded bucket or tote, a plastic bag with an air filter patch, etc). You’ll want to add the spawn into your substrate as quickly and cleanly as possible to reduce the risk of contamination from microbes during the transfer process. Follow the below steps:
- With gloved hands and a face mask on, bring the spawn bag into your work area and position it as close as possible to the substrate container.
- Cut a slit across the top of the bag and quickly dump the substrate into the container, distribute evenly, and then secure the lid over the container, In the case of using a bag with a filter patch, roll and tape your bag shut and then shake up to distribute the mixture. Note that if using a container, the lid shouldn’t create a completely airtight seal as you do need some fresh air exchange.
- Keep in your inoculation area with temperatures between 70-75 degrees Fahrenheit for at least 2-3 weeks. Remember, the presence of coffee grounds, especially at high ratios can slow down the growth of mycelium. You may find colonization takes 10-20 days longer than the aforementioned average inoculation period for Pleurotus ostreatus. The humidity needs to also be between 80-90%, which should mostly be controlled by substrate being at field capacity and the inoculation environment being mostly sealed.
- After at least 2-3 weeks, the substrate should be thoroughly colonized by white mycelium.
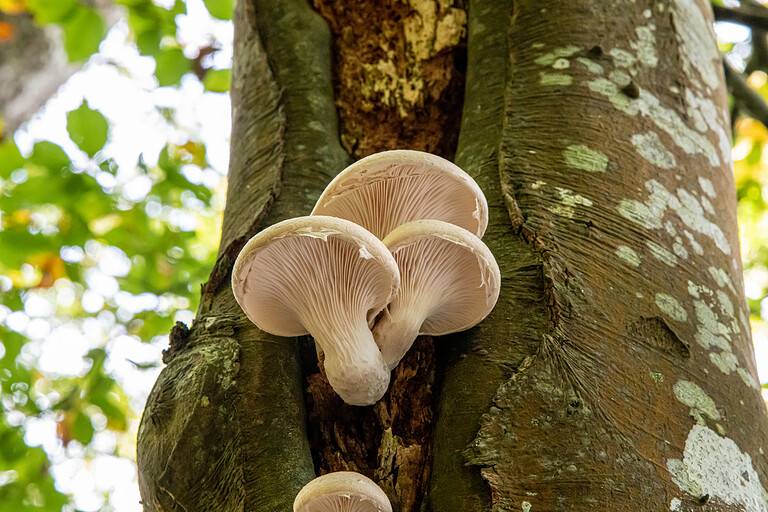
Fruiting Oyster Mushrooms in Coffee Grounds
Cultivated oyster mushrooms.
©iStock.com/lenoo
After the substrate is fully colonized, you can trigger the fruiting phase. Trigger fruiting requires environmental changes. For Pleurotus ostreatus, exposure to light, increasing oxygen flow, and lowering the temperature can achieve this.
Ideally, you’ll want to provide indirect light, a temperature of 65-68 degrees Fahrenheit (depending on the variety of P. ostreatus), and increased oxygen by cutting a few holes along the side of the bag or drilling holes into the sides of the bucket or container. These holes will allow your oysters to side flush. The humidity needs to continue to remain high for fruiting. You can mist water around the openings of the container twice a day to maintain the humidity range. Be careful to not directly spray any forming mushrooms, as this can lead to spoilage.
Once you trigger fruiting, you should see mushroom formation in under a week. Ideally, you should harvest your oyster mushrooms when the caps begin to roll upwards from the margin and expand outwards. Don’t wait until the mushrooms have become entirely flat, as they have become quite mature at this point and won’t be as tasty. Plus, when you wait too long your house will be full of spores.