Interested in growing mushrooms at home? Cultivating oyster mushrooms is a great place to start for beginners as the genus Pleurotus has highly achievable growing requirements. If you want to cultivate a truly lovely and unique-tasting species of oysters, you can try your hand at cultivating pink oyster mushrooms.
Read on to find out how to grow pink oyster mushrooms at home!
What are Pink Oyster Mushrooms
The pink oyster mushroom (Pleurotus djamor) is a tropical fungus in the Pleurotaceae family. This warmth-loving mushroom is endemic to tropical and subtropical regions of the Americas and Asia. They feature stunningly salmon-pink, delicate caps and taste a bit like bacon to some people. These features make them quite the hit with chefs and adventurous home cooks.
Pleurotus djamor is primarily saprobic, deriving its nutrients from decaying organic matter. You may be able to find this mushroom growing in dense clusters on dead or dying tropical hardwoods such as palm trees and rubber trees. They also can grow on various species of bamboo. In subtropical regions, they frequently grow on oak and beech trees.
Oyster mushrooms are particularly well-suited for cultivation. This is because Pleurotus species tend to aggressively colonize a variety of substrates in a relatively short period of time. Below, we’ll talk about the specific details and considerations of growing pink oyster mushrooms.

As their name suggests, pink oyster mushrooms feature lovely salmon-pink caps. When cooked, they retain this gorgeous color.
©luchschenF/Shutterstock.com
How to Grow Pink Oyster Mushrooms
If you’re new to the wonderful world of mushroom cultivation, growing oyster mushrooms is an excellent introduction. This mushroom genus tends to be rather forgiving in the cultivation process. It also doesn’t usually require sterilization for the successful colonization of substrates due to the vitality and speed of their mycelium. Their mycelium can typically colonize substrates, such as cellulose-dense straw, at a much faster rate than competitor microbes.
You should note, however, that pink oyster mushrooms are a bit more fragile than other commonly grown oysters such as Pleurotus ostreatus and P. columbinus. So, a bit more effort is needed to support their growth. But overall, if you’re looking for a low-tech, beginner-friendly mushroom growing experience, pink oyster mushrooms are a fine choice.
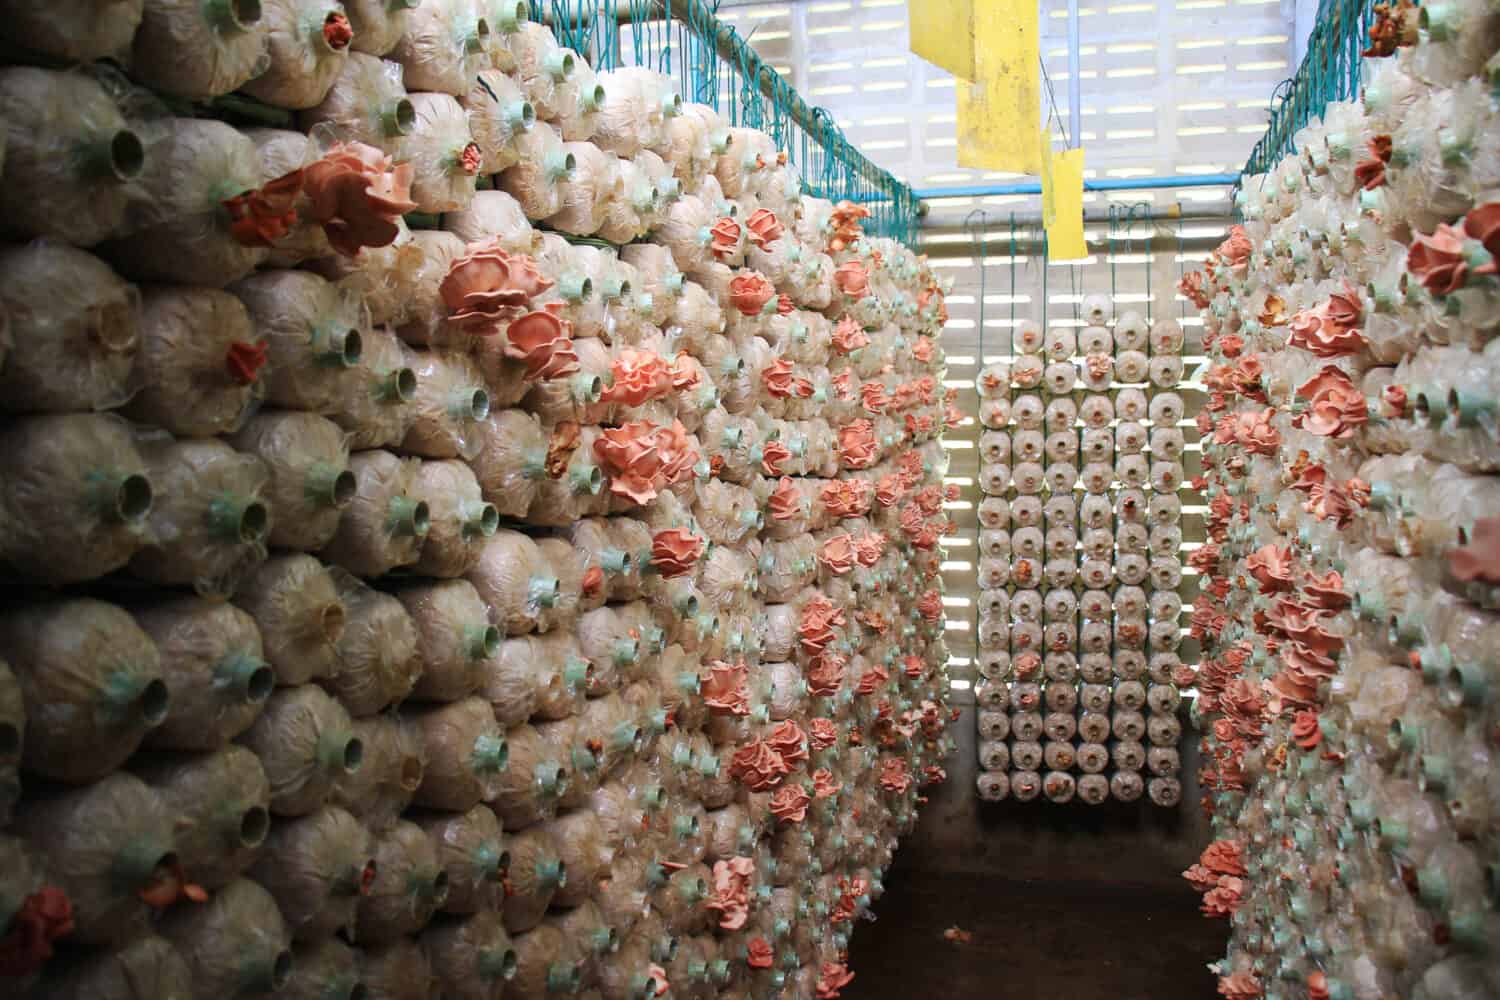
You have several effective methods available for cultivating pink oyster mushrooms.
©ARTFULLY PHOTOGRAPHER/Shutterstock.com
Obtain and Prepare the Substrate
Like its close relatives in the Pleurotus genus, Pleurotus djamor can grow on a range of substrates. The substrate is the nutritive organic material that the mycelium of a fungus colonizes, gaining enough nutrients to form mushrooms. While you have a variety of options for substrates, it’s important to understand that the more nutrient-dense and easy-to-colonize a substrate is, the higher risk you’ll have of contamination by competitor microbes. So, if you opt to use something like supplemented hardwood sawdust, you’ll need to sterilize the substrate to greatly reduce the risk of contamination.
To keep things simple for beginner growers, we recommend that you either purchase an already sterilized sawdust block or pasteurize your substrate at home. Pasteurization is less intensive than the sterilization process. It doesn’t eliminate all microbial life in the substrate but still greatly lowers the risk of contamination. It allows for the pink oyster mushroom’s mycelium to have an advantage.
Pre-Sterilized Sawdust Blocks
If you go with this option, you can purchase sterilized supplemented sawdust blocks either ready to be inoculated or already inoculated with Pleurotus djamor mycelium. If you choose to purchase a non-inoculated block, you’ll need to make sure you have the necessary materials for successful, sterilized inoculation. We’ll go into detail about that process later on in this guide.
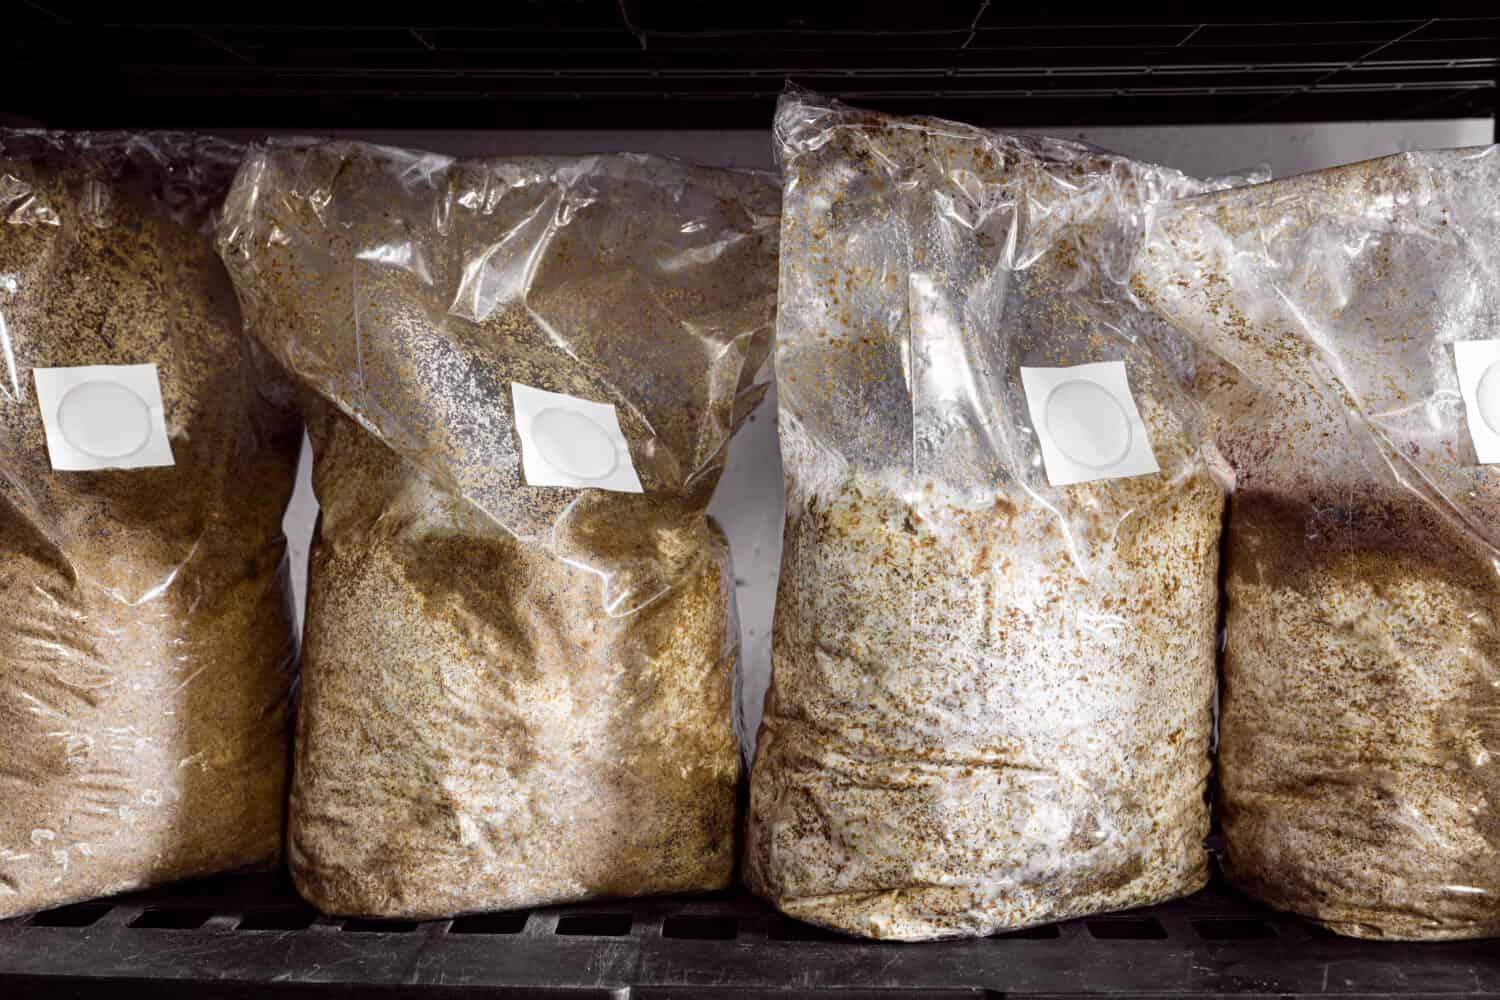
You can purchase pre-inoculated bags of substrate containing
Pleurotus djamormycelium.
©Miriam Doerr Martin Frommherz/Shutterstock.com
Non-Sterilized Substrate
The other option you have for indoor cultivation of Pleurotus djamor is to pasteurize a cellulose-rich, lower nutrient-dense substrate such as straw. Oat and wheat straws are particularly popular choices for pasteurized substrates. You’ll want to plan to inoculate this substrate with P. djamor spawn as soon as the internal temperature of the straw is about 75 degrees Fahrenheit. This spawn is a substrate, liquid or solid, that has pink oyster mycelium growing in it.
To pasteurize, you have a couple of different options, but we recommend hot-soaking your straw in water at 160-170 degrees Fahrenheit for an hour. To do so effectively, make sure all of the straw is fully submerged in the hot water bath for the entire duration of the pasteurization. It’s crucial that the entirety of the straw is submerged to effectively give the mycelium an advantage and greatly reduce the risk of contamination. You’ll also want to chop the straw into 1-3 inch sections to vastly improve the speed and ease of mycelium colonization.
How to Grow Pink Oyster Mushrooms: Inoculating Substrates with Spawn
Unless you buy a ready-to-fruit kit, you’ll need to inoculate either a sterilized or pasteurized substrate with Pleurotus djamor spawn. You can make your own spawn by developing a spore culture, but this can be quite tricky for beginners and requires a high degree of sterility. Instead, we recommend starting out by purchasing a liquid culture of P. djamor mycelium for inoculating sterilized bags. For pasteurized substrates, you’ll likely want to go with purchasing colonized grain or sawdust spawn.
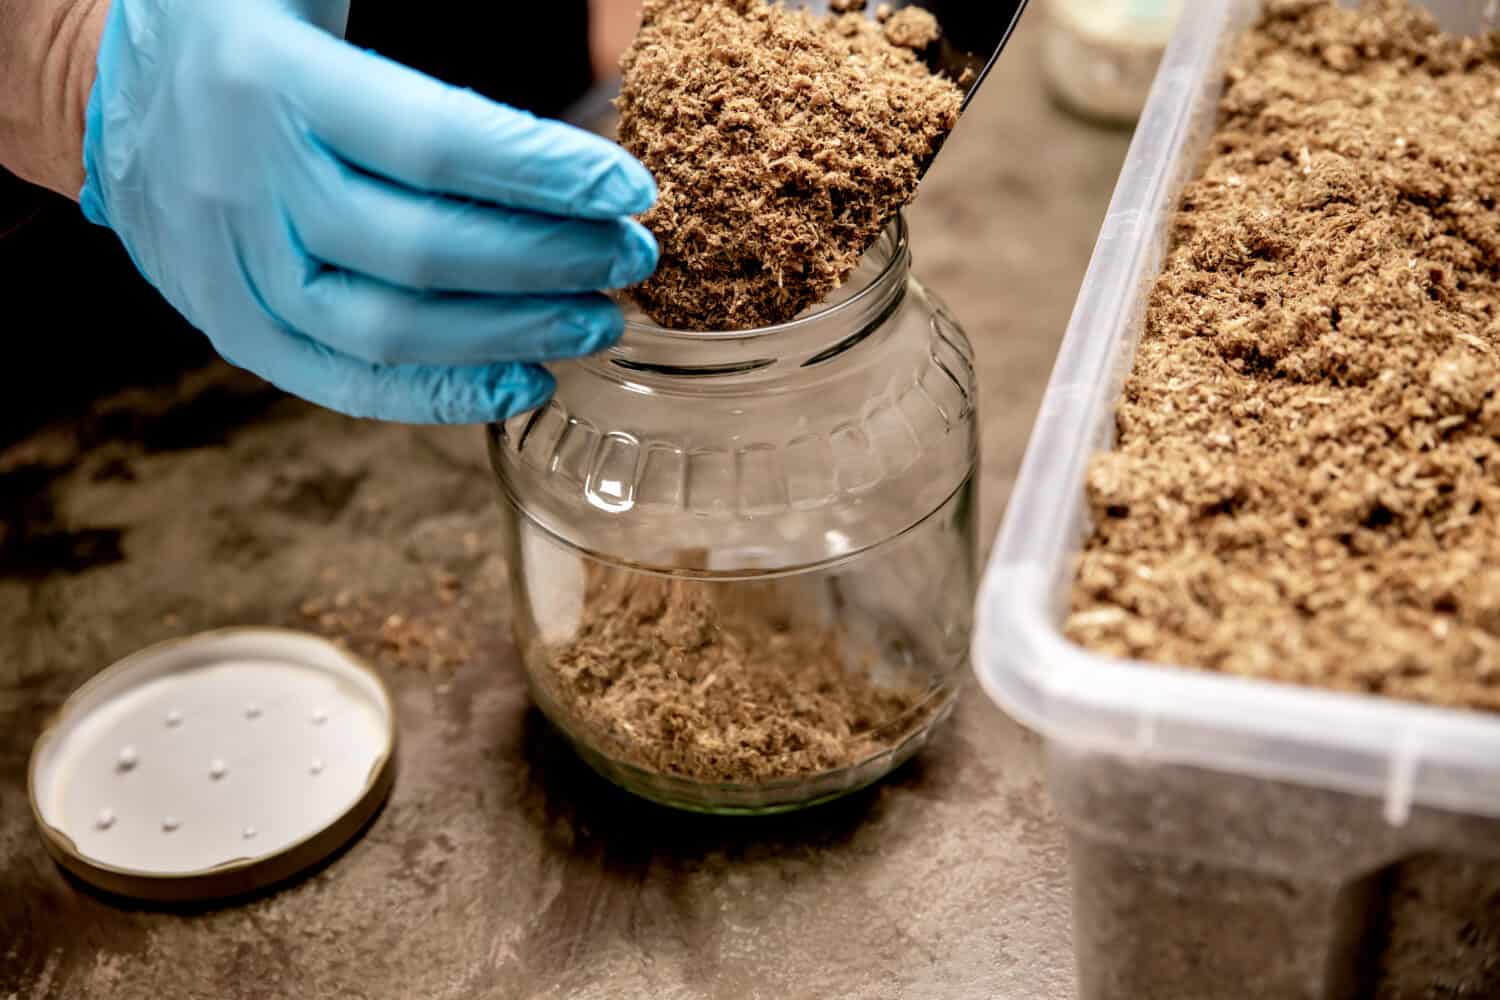
Being sanitary is key when inoculating spawn.
©Miriam Doerr Martin Frommherz/Shutterstock.com
Inoculating Sterilized Substrate
To inoculate a sterilized substrate, you’ll need a setup that greatly reduces the risk of contamination when inoculating. If you purchase a sterilized substrate for P. djamor, it’ll likely come in a bag that is sealed except for a filter patch that typically blocks airborne microbes down to .2 microns while allowing gas exchange. These bags also typically come with a self-healing injection port that allows you to inoculate the bag with liquid culture via a syringe.
To inoculate a sterilized grow bag via Pleurotus djamor liquid culture, complete the following steps:
- Set up an inoculation area that is as sterilized as possible. This can range from working on a thoroughly clean stainless steel table in front of a laminar flow hood that blows filtered air over the work area, using a still air box, or setting up in a thoroughly cleaned closet. Wearing gloves, and a mask, and wiping down areas with isopropyl alcohol is an important part of reducing contamination risks.
- Shake the syringe thoroughly to evenly distribute the culture.
- When preparing to inoculate from the syringe, make sure to uncap your sterile needle only in front of the flow hood, in the still air box, or in your thoroughly cleaned closet space. In a closet-type setup, you may want to further reduce the risk of contamination by flame-sterilizing the needle with a lighter or alcohol lamp.
- Push 1-2 drops of inoculant out of the syringe to allow cooling of the needle.
- Insert the needle into the self-healing port and push all of the culture into the bag.
- Shake up and move the substrate around in the bag to help distribute the inoculant.
How to Grow Pink Oyster Mushrooms: Inoculating Pasteurized Straw
If you choose to use pasteurized straw as your growing substrate, you’ll likely want to inoculate it with colonized grain or sawdust spawn. You could either inoculate a sterilized sawdust block via liquid culture through the above steps and use that as your spawn, or you can purchase an already colonized jar or block.
To inoculate pasteurized straw with grain or sawdust Pleurotus djamor spawn, follow the below steps:
- Let your pasteurized straw cool to an internal temperature of 75 degrees Fahrenheit before inoculating.
- Once pasteurized, you can place it into an isopropyl wiped-down tub or bucket for mixing the straw with the spawn.
- Typically, you’ll want to add about 10-20% spawn to the total amount of substrate. For Pleurotus djamor, we recommend using about 20% spawn since the mycelium isn’t as vigorous as other commonly cultivated oyster species. The more spawn you use, the less the chance of contamination.
- Using gloves, thoroughly mix in the colonized spawn sawdust or grain into the straw substrate. You’ll want to evenly distribute the mixture as much as possible. You can leave the mixture in this container or transfer it into whatever container or bag you’ll want the mycelium to fruit from.
- Lightly cover the container or close the bag to prevent lots of airflow, but you don’t want to fully seal it as this will prevent carbon dioxide from being released as the mycelium colonizes the substrate. It’s a good idea to use containers or bags that are clear so you can check for contamination and visually confirm when the substrate is fully colonized.
Incubation Period
Once you have inoculated your substrate, it’s time for the inoculation period to begin. During this phase, the mycelium fully colonizes the substrate over a period of weeks. For Pleurotus djamor, you can expect the inoculation period to take only about 2-3 weeks. As the mycelium ages, you’ll notice it changing from white to a light pink color. You’ll need to maintain the incubation temperature for this species between 68-80 degrees Fahrenheit. Once the mycelium fully colonizes the substrate, it’s time to trigger fruiting.
How to Grow Pink Oyster Mushrooms: Fruiting Phase
To trigger fruiting, you’ll need to meet some environmental conditions that cause the mycelium to form the initial stages of the mushroom, often called pins.
To trigger the fruiting of Pleurotus djamor, you will need to have waited until your substrate has been fully colonized by mycelium. Then you will need to first poke or drill holes into the sides of the bag or container. This will accomplish allowing additional airflow and will provide holes for the mushrooms to fruit from. Except for the case of king oyster mushrooms (Pleurotus eryngii), people tend to encourage oyster mushrooms to side fruit in dense clusters.
The following are the light, temperature, humidity, and air exchange requirements for inducing fruiting in Pleurotus djamor:
- Light levels between 750-1500 LUX
- Temperature range between 75-95 degrees Fahrenheit
- A relative humidity range of 85-90%
- Fresh air exchange which should cause CO2 levels to reach about 500-1500 ppm in the fruiting room
You should notice pin formation within 1-2 days of triggering fruiting. Make sure to spray water around, but not directly on, the holes to keep the humidity range between 85-90%. The pink oyster mushrooms should be ready to harvest 5-7 days from pin formation.

Pink oyster mushrooms require a temperature range of 75-95 degrees Fahrenheit to trigger fruiting.
©socrates471/Shutterstock.com
Harvesting Pink Oyster Mushrooms
Pink oyster mushrooms are ready to harvest when the caps begin to flatten out and the margins curl upwards. You can remove the mushrooms from the fruiting bag or container by cutting or twisting them off from the base in clusters. Pink oyster mushrooms are prolific fruiters and you may be able to get them to harvest a second time. After the first harvest, simply place them back in the fruiting area and continue to spray the outside of the container or bag to keep moisture levels high. You’ll likely see another harvest in about 7-10 days. Note, however, that 2nd and 3rd harvests almost always produce less yield than the first one and contamination becomes more likely with every flush.
Pleurotus djamor has a particularly short shelf life only about 2-3 days in the fridge. So, make sure to cook or dehydrate them as soon as possible!
The photo featured at the top of this post is © luchschenF/Shutterstock.com
The information presented on or through the Website is made available solely for general informational purposes. We do not warrant the accuracy, completeness, or usefulness of this information. Any reliance you place on such information is strictly at your own risk. We disclaim all liability and responsibility arising from any reliance placed on such materials by you or any other visitor to the Website, or by anyone who may be informed of any of its contents. None of the statements or claims on the Website should be taken as medical advice, health advice, or as confirmation that a plant, fungus, or other item is safe for consumption or will provide any health benefits. Anyone considering the health benefits of particular plant, fungus, or other item should first consult with a doctor or other medical professional. The statements made within this Website have not been evaluated by the Food and Drug Administration. These statements are not intended to diagnose, treat, cure or prevent any disease.
Thank you for reading! Have some feedback for us? Contact the AZ Animals editorial team.


