
Okra, also known as “lady’s fingers” or “bhindi,” is a beloved vegetable in many gardens and farms due to its versatility in culinary creations. Many Southerners enjoy fried okra as part of their cultural heritage. Harvesting it at the right time ensures you enjoy the freshest and tastiest okra. This vegetable is also a part of a healthy diet. This comprehensive guide will explore the top 12 signs gardeners and farmers should look for when determining when to harvest okra. Additionally, we’ll provide storage tips and techniques to prolong the shelf life of your okra bounty.
1. Size Matters
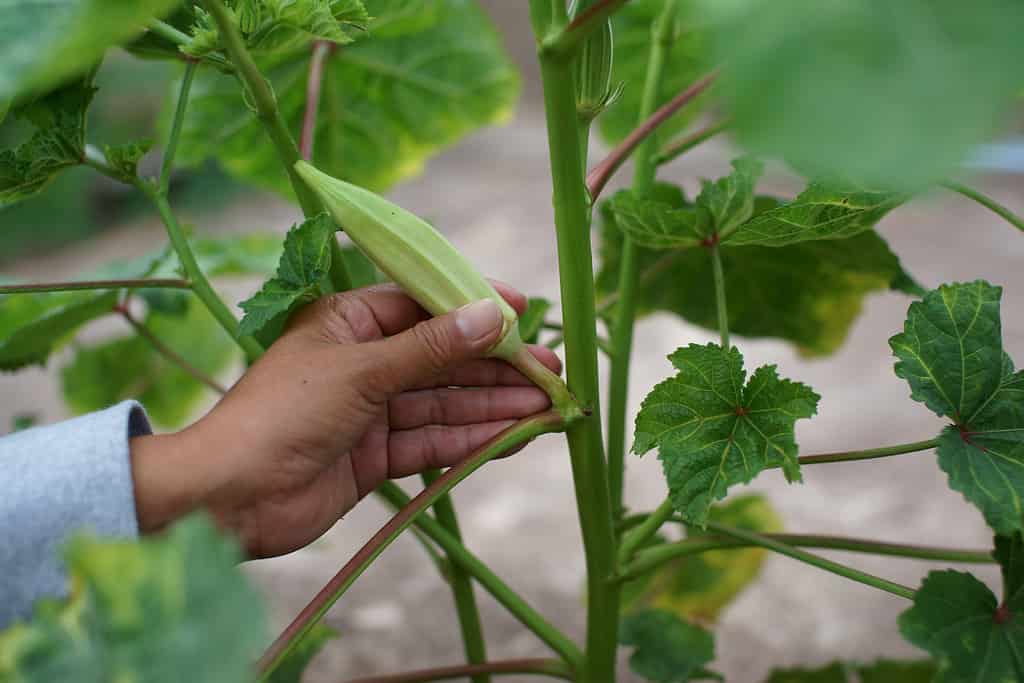
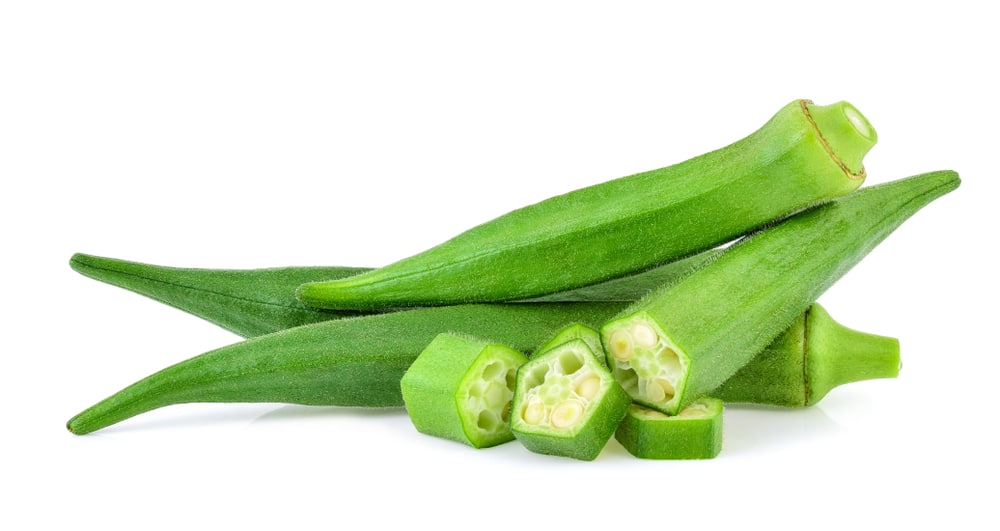
Make sure to harvest your okra before it is overgrown.
©Pk_camera/Shutterstock.com
Harvest okra when it reaches 3-4 inches in length. These smaller pods are tender and packed with flavor. Oversized okra tends to be challenging and less enjoyable. It can still be prepared with some effort, but you’re more likely to have an easy and satisfying meal when the ocra is at the perfect size.
2. Tender Pods
Feeling okra pods is an integral part of determining their ripeness.
©marcin jucha/Shutterstock.com
Gently squeeze the pods; if they yield slightly and feel tender, it’s time to pick them. Avoid harvesting if they seem hard, as they are likely overripe and may have a woody texture. Overripe pods are avoidable if you keep a close eye on your harvest.
3. Vibrant Green Color
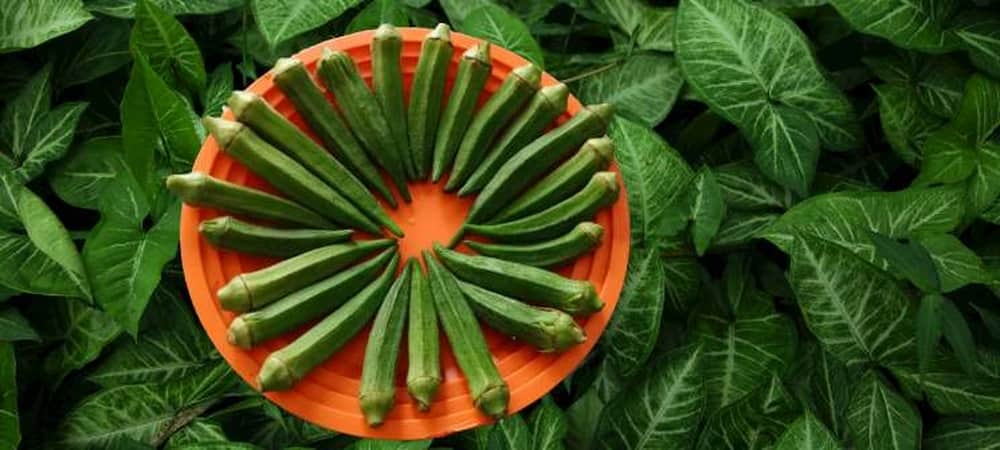
Ensuring the color is right helps you select ripe okra.
©Kajal savani/Shutterstock.com
Look for pods that are bright green. Dull or yellowing pods may be overripe and tough. A vibrant green color indicates peak ripeness and flavor. It is easy to differentiate the bright green, especially next to the yellowing pods.
4. Snap Test
A quickly snapped okra is sure to be ripe.
©akepong srichaichana/Shutterstock.com
Bend an okra pod; it should snap easily, indicating it’s at its prime for harvesting. If the pod bends without cracking, it’s not ready yet. Give it the time and care it needs to reach the proper stage of ripeness.
5. Young and Slender Stems
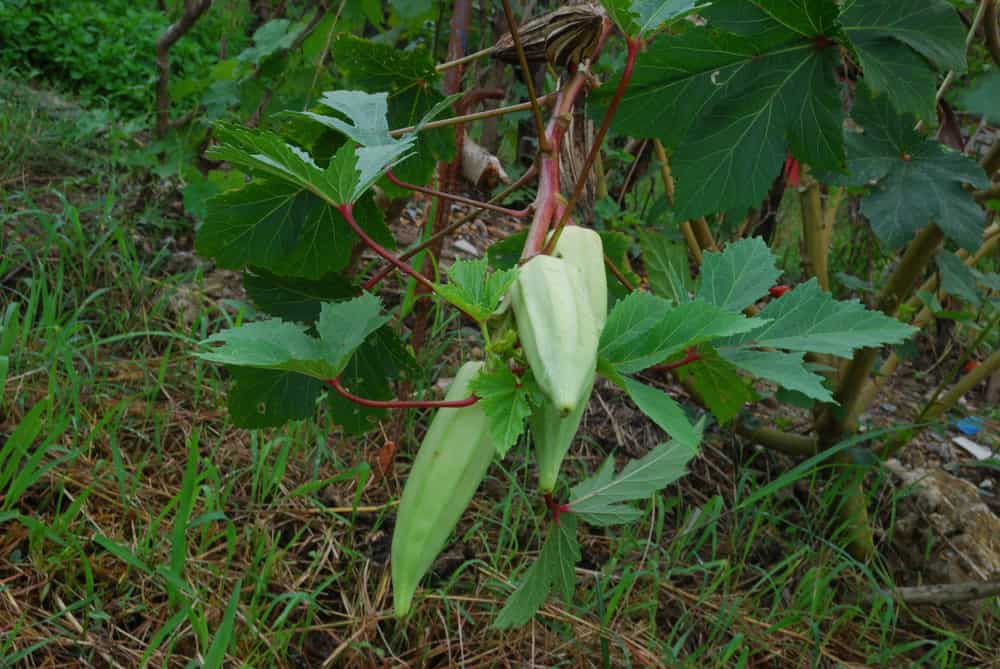
Thick stems are a sign of overripened okra.
©chutima chaimratana/Shutterstock.com
Choose okra with young, slender stems, as thicker stems can indicate overripeness. These slender stems are a sign of youth and tenderness.
6. Harvest Frequently

Regularly checking your okra helps ensure a timely harvest.
©Cazalli Imagens/Shutterstock.com
Okra can mature quickly, especially during the peak growing season. Check your plants every 2-3 days to ensure you get the perfect harvesting window, which can be as short as a few days.
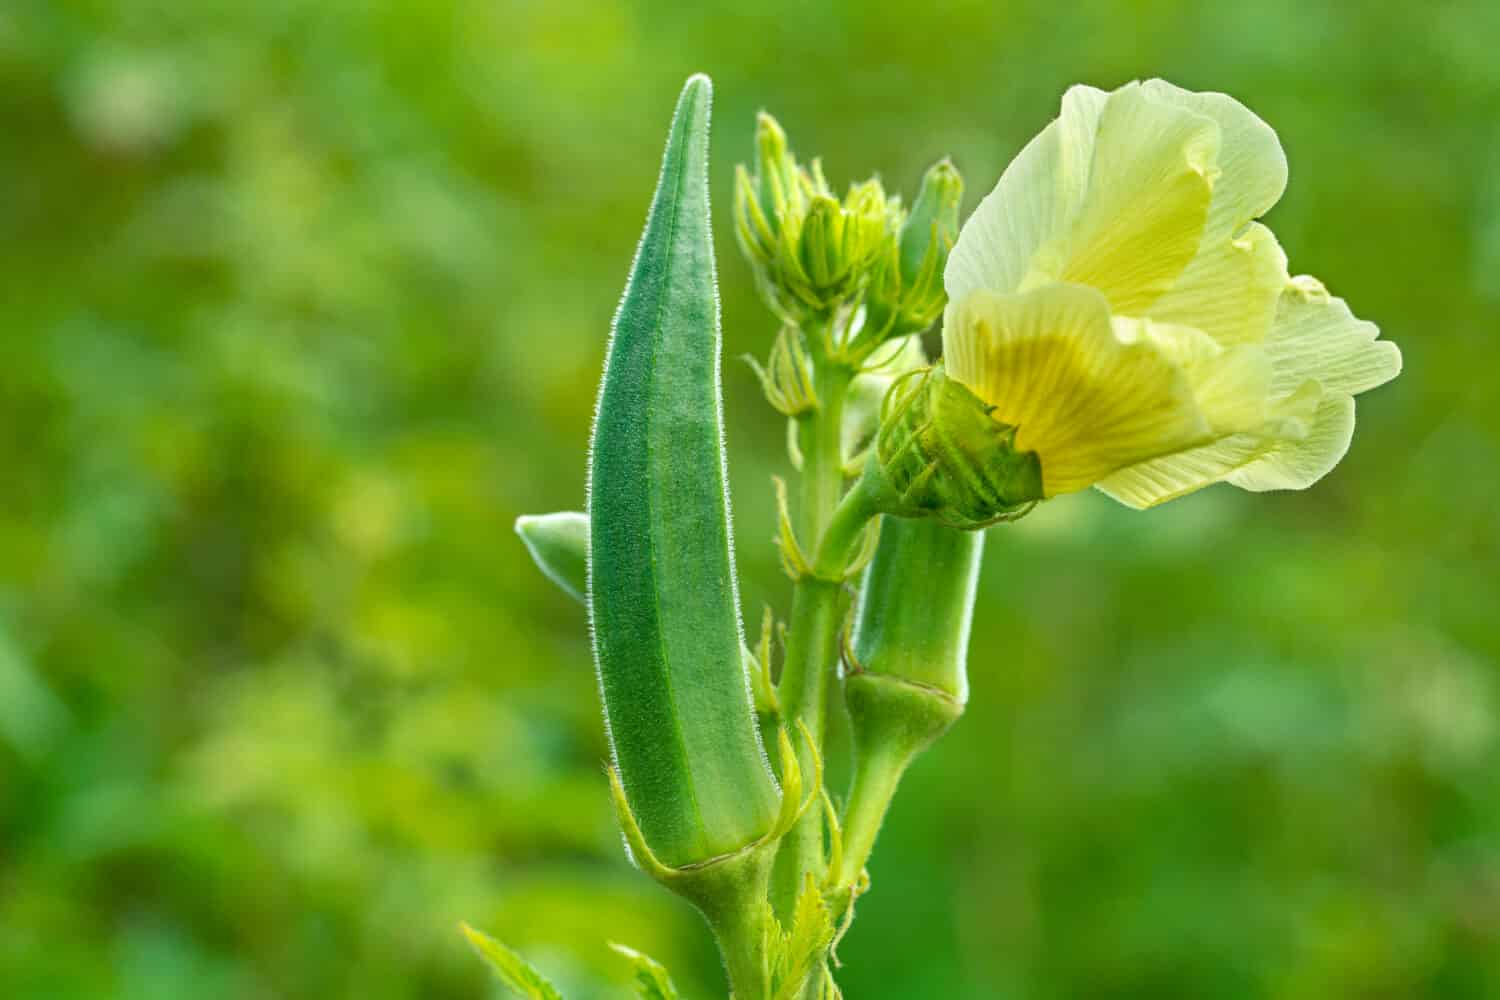
7. Flower Petal Test
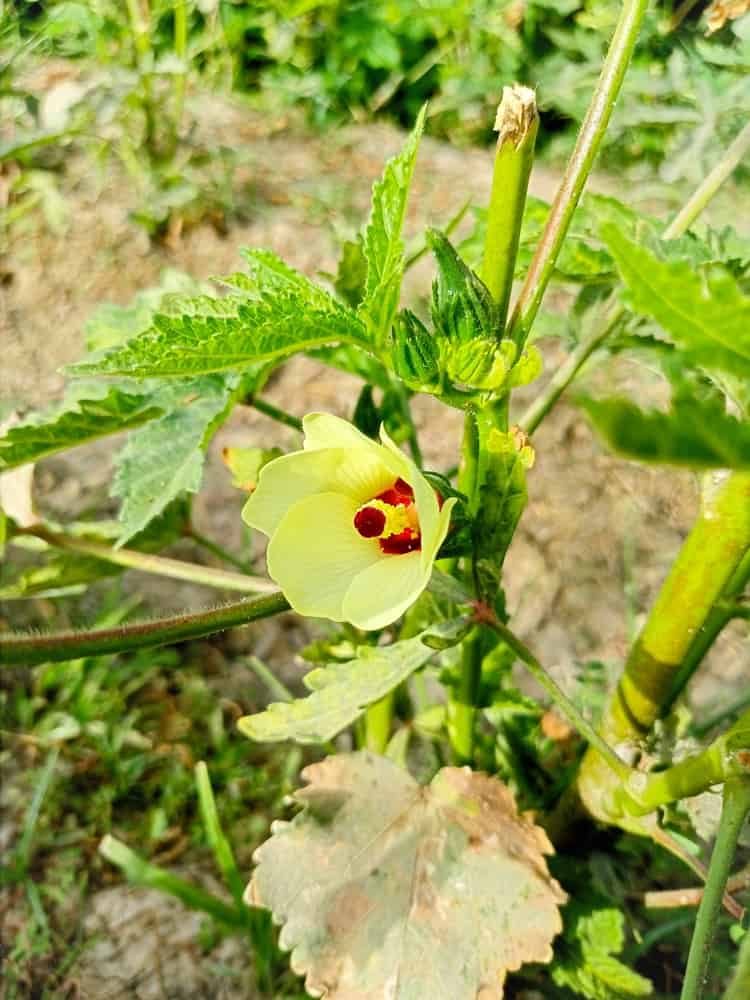
The okra is not ready for harvest if the flower is still attached.
©Lahore Qalandars7/Shutterstock.com
If the okra pods have bright green stems and the flower petals at the end have fallen off, it’s a good indicator that they are ready for picking. The absence of flower petals signifies that the okra is no longer growing. Avoid picking ocra that is still blooming, as it is still in the process of ripening.
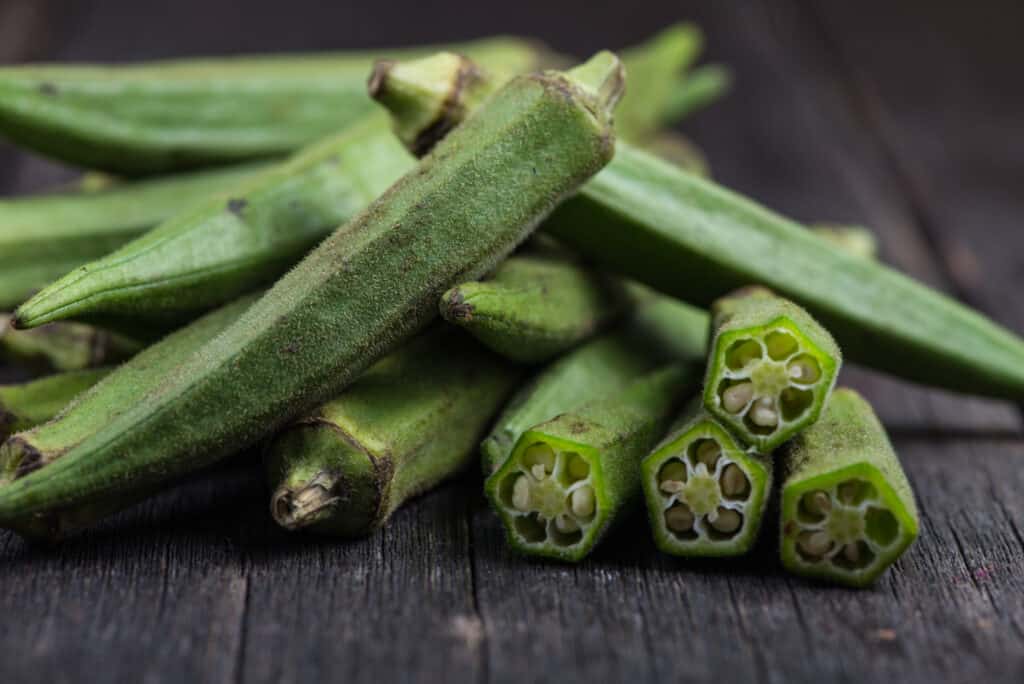
8. Glossy Skin

Get close and personal with your okra to ensure a proper skin.
©AjayTvm/Shutterstock.com
Opt for okra with a glossy, smooth skin. Wrinkles or blemishes can be signs of aging. The shiny appearance indicates freshness and tenderness.
9. Easy Cutting
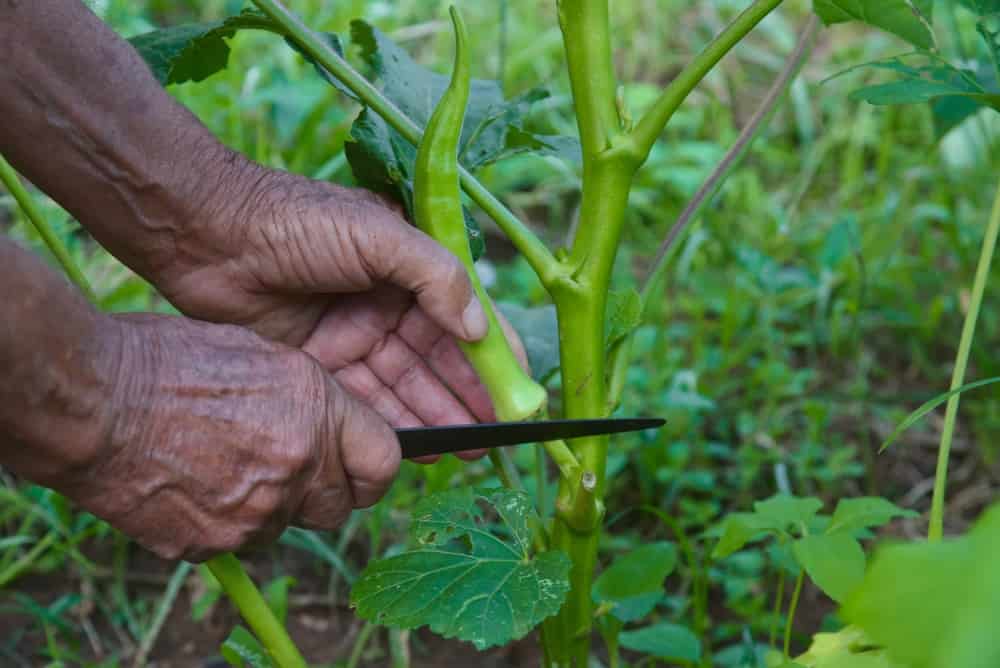
Okra should have a smooth cut when ripe.
©Saulo Ferreira Angelo/Shutterstock.com
When cutting okra from the plant, use a sharp knife or scissors to avoid damaging the plant. A clean cut ensures quicker healing for the plant and reduces the risk of diseases entering through wounds.
10. Harvest Early in the Day

Early risers harvest a tastier okra crop.
©swevers4284/Shutterstock.com
Harvest okra in the early morning when the pods are still excellent and hydrated. This maximizes their freshness and minimizes wilting. If helpful, you can scope out the best-looking ocra in the evening before the maximize your efficiency in the morning.
11. Snap the Tip
Okra requires much attention and an educated approach to ensure a ripe harvest.
©Pk_camera/Shutterstock.com
Another way to check for ripeness is to snap off the tip of an okra pod. If it snaps quickly and cleanly, it’s ready for harvest. If it bends or tears, it needs more time on the plant.
12. Taste Test

The final line of defense: a taste test
©Drazen Zigic/Shutterstock.com
If you still need to decide, taste a small piece of okra. If it’s tender and not overly fibrous, it’s time to harvest. The taste test is a foolproof way to ensure peak flavor, providing your friends and family will rave about your okra.
Transition to Storage Tips
Now that you’ve successfully identified when to harvest your okra, you must know how to store it properly to maintain its quality and flavor.
Storage Tips and Techniques:
* Refrigeration
Store freshly harvested okra in a perforated plastic bag in the vegetable crisper of your refrigerator. This helps maintain humidity levels and keeps the okra fresh for up to a week.
* Avoid Moisture
Ensure the okra is dry before storing it. Excess moisture can lead to mold and rot. Pat it dry with a clean cloth or paper towel before refrigerating.
* Freezing Option
For long-term storage, blanch okra in boiling water for 3 minutes, then plunge it into an ice bath, drain it, and freeze it in airtight containers for up to 12 months. Blanching preserves the okra’s color and texture.
* Use Paper Towels
Place a paper towel with okra in the bag or container to absorb excess moisture and keep it crisp. Change the paper towel if it becomes damp.
* Don’t Wash Beforehand
Wait to wash okra until just before using it, as moisture can cause deterioration during storage. Rinse it under cold water and pat it dry with a paper towel before cooking.
* Pickling Okra
If you have a surplus of okra, consider pickling it using your favorite brine recipe. Pickled okra makes for a delicious and longer-lasting treat, and it can be stored for several months in a cool, dark place.
Harvesting okra at the right time ensures you enjoy its delightful taste and texture in your favorite dishes. Growing your okra with complimentary crops supports an excellent harvest. With these twelve signs to guide you and the storage tips provided, you can savor the flavors of your garden-fresh okra well beyond the harvest season. Happy gardening and cooking!


How to Add Us to Google News


Thank you for reading! Have some feedback for us? Contact the AZ Animals editorial team.