
If you want to attract deer to your property, adding a deer feeder is one of the easiest ways. You can spend a lot on fancy feeders and deer feed at a farm supply store or make your own homemade deer feeder for a more budget-conscious option. Fortunately, there are easy-to-make plans that use common items. You can also add special features to make it more accessible or easier to fill.
Before making a homemade deer feeder, it’s important to research and understand local regulations. Setting up deer feeders for the purpose of hunting is illegal in some areas. Look up deer baiting laws before adding a deer feeder to your property.
Bucket Feeder

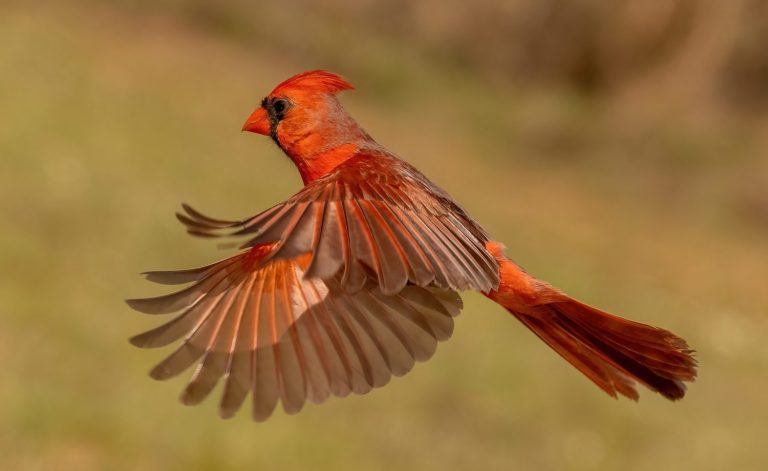
Deer often eat grass, corn, and other vegetation in the wild.
©EEI_Tony/Shutterstock.com
This is one of the simplest designs for a homemade deer feeder. You might even have all of the required materials already! It starts with a large bucket. A 5-gallon bucket will generally do the trick. If your bucket is smaller, you might find yourself refilling it often if it is very popular with the deer in your area. A larger bucket is heavier and can limit where you place the feeder.
Make a hole in the bottom of the bucket. This is where the feed will dispense so it should be pretty small. Once you have a hole in the bottom, insert a long dowel rod with a screw through it around 4 inches from one end. You may need to drill a pilot hole in the dowel rod, then screw the screw into the rod. The screw should be perpendicular to the rod with equal parts sticking out of either side of the dowel rod. This is meant to keep the dowel rod from falling through the hole in the bucket.
Insert the dowel rod into the hole with the screw on the inside of the bucket. The dowel rod keeps the feed from flowing freely through the hole to the ground below. A portion of the dowel rod should hang down below the bucket. When a deer knocks against this hanging portion, the rod swings slightly and lets some feed out of the bucket. The feed falls to the ground, where the deer can eat it.
Hang the bucket from a tree or other overhead location. Fill the bucket with deer feed and test it by pressing against the dowel rod slightly. The feed should fall out of the hole to the ground below. Make sure that the hole isn’t too large or the dowel rod won’t be able to adequately plug up the hole. The exact measurements will depend on the diameter of the dowel rod. If your hole is too big, you can use duct tape to make it smaller, although you may need multiple layers to make it strong enough.
PVC Pipe Feeder

Food can be harder for deer to find in the winter months when many plants are dormant or not blooming.
©Karel Bock/Shutterstock.com
Another popular design for a homemade deer feeder is to use PVC pipe to create a rigid feeder that is open on one end. You’ll need a few feet of a 6-inch diameter PVC pipe, a corresponding PVC wye, and a corresponding PVC cap. You can use a narrower diameter as long as all of your PVC components have the same diameter.
You can use any attachment medium for the PVC pipe that works for you. Cement is certainly the most durable and if you plan to keep your deer feeder up for a long time in the elements, it’s a good idea to make sure that it won’t come apart. Attach the wye to the main length of PVC and put the cap on the top. It’s a good idea to add a securing bolt that you can open and close to the cap. This keeps critters from getting in while still allowing you to open it to refill as needed.
You can also add attachment points by drilling holes into the top of the PVC pipe. Run a rope or straps through the holes and secure it to a large tree or other upright structure. While you can run the ropes or straps around the outside of the cylinder, it will be easily knocked over by animals or weather. Another great step is to paint the feeder with green spray paint. You can even add a camouflage pattern to help it blend into the surroundings. Just make sure to give it a few days to off-gas before setting it up. If not, the deer will avoid the feeder and the food inside due to the fumes.
Trough Feeder

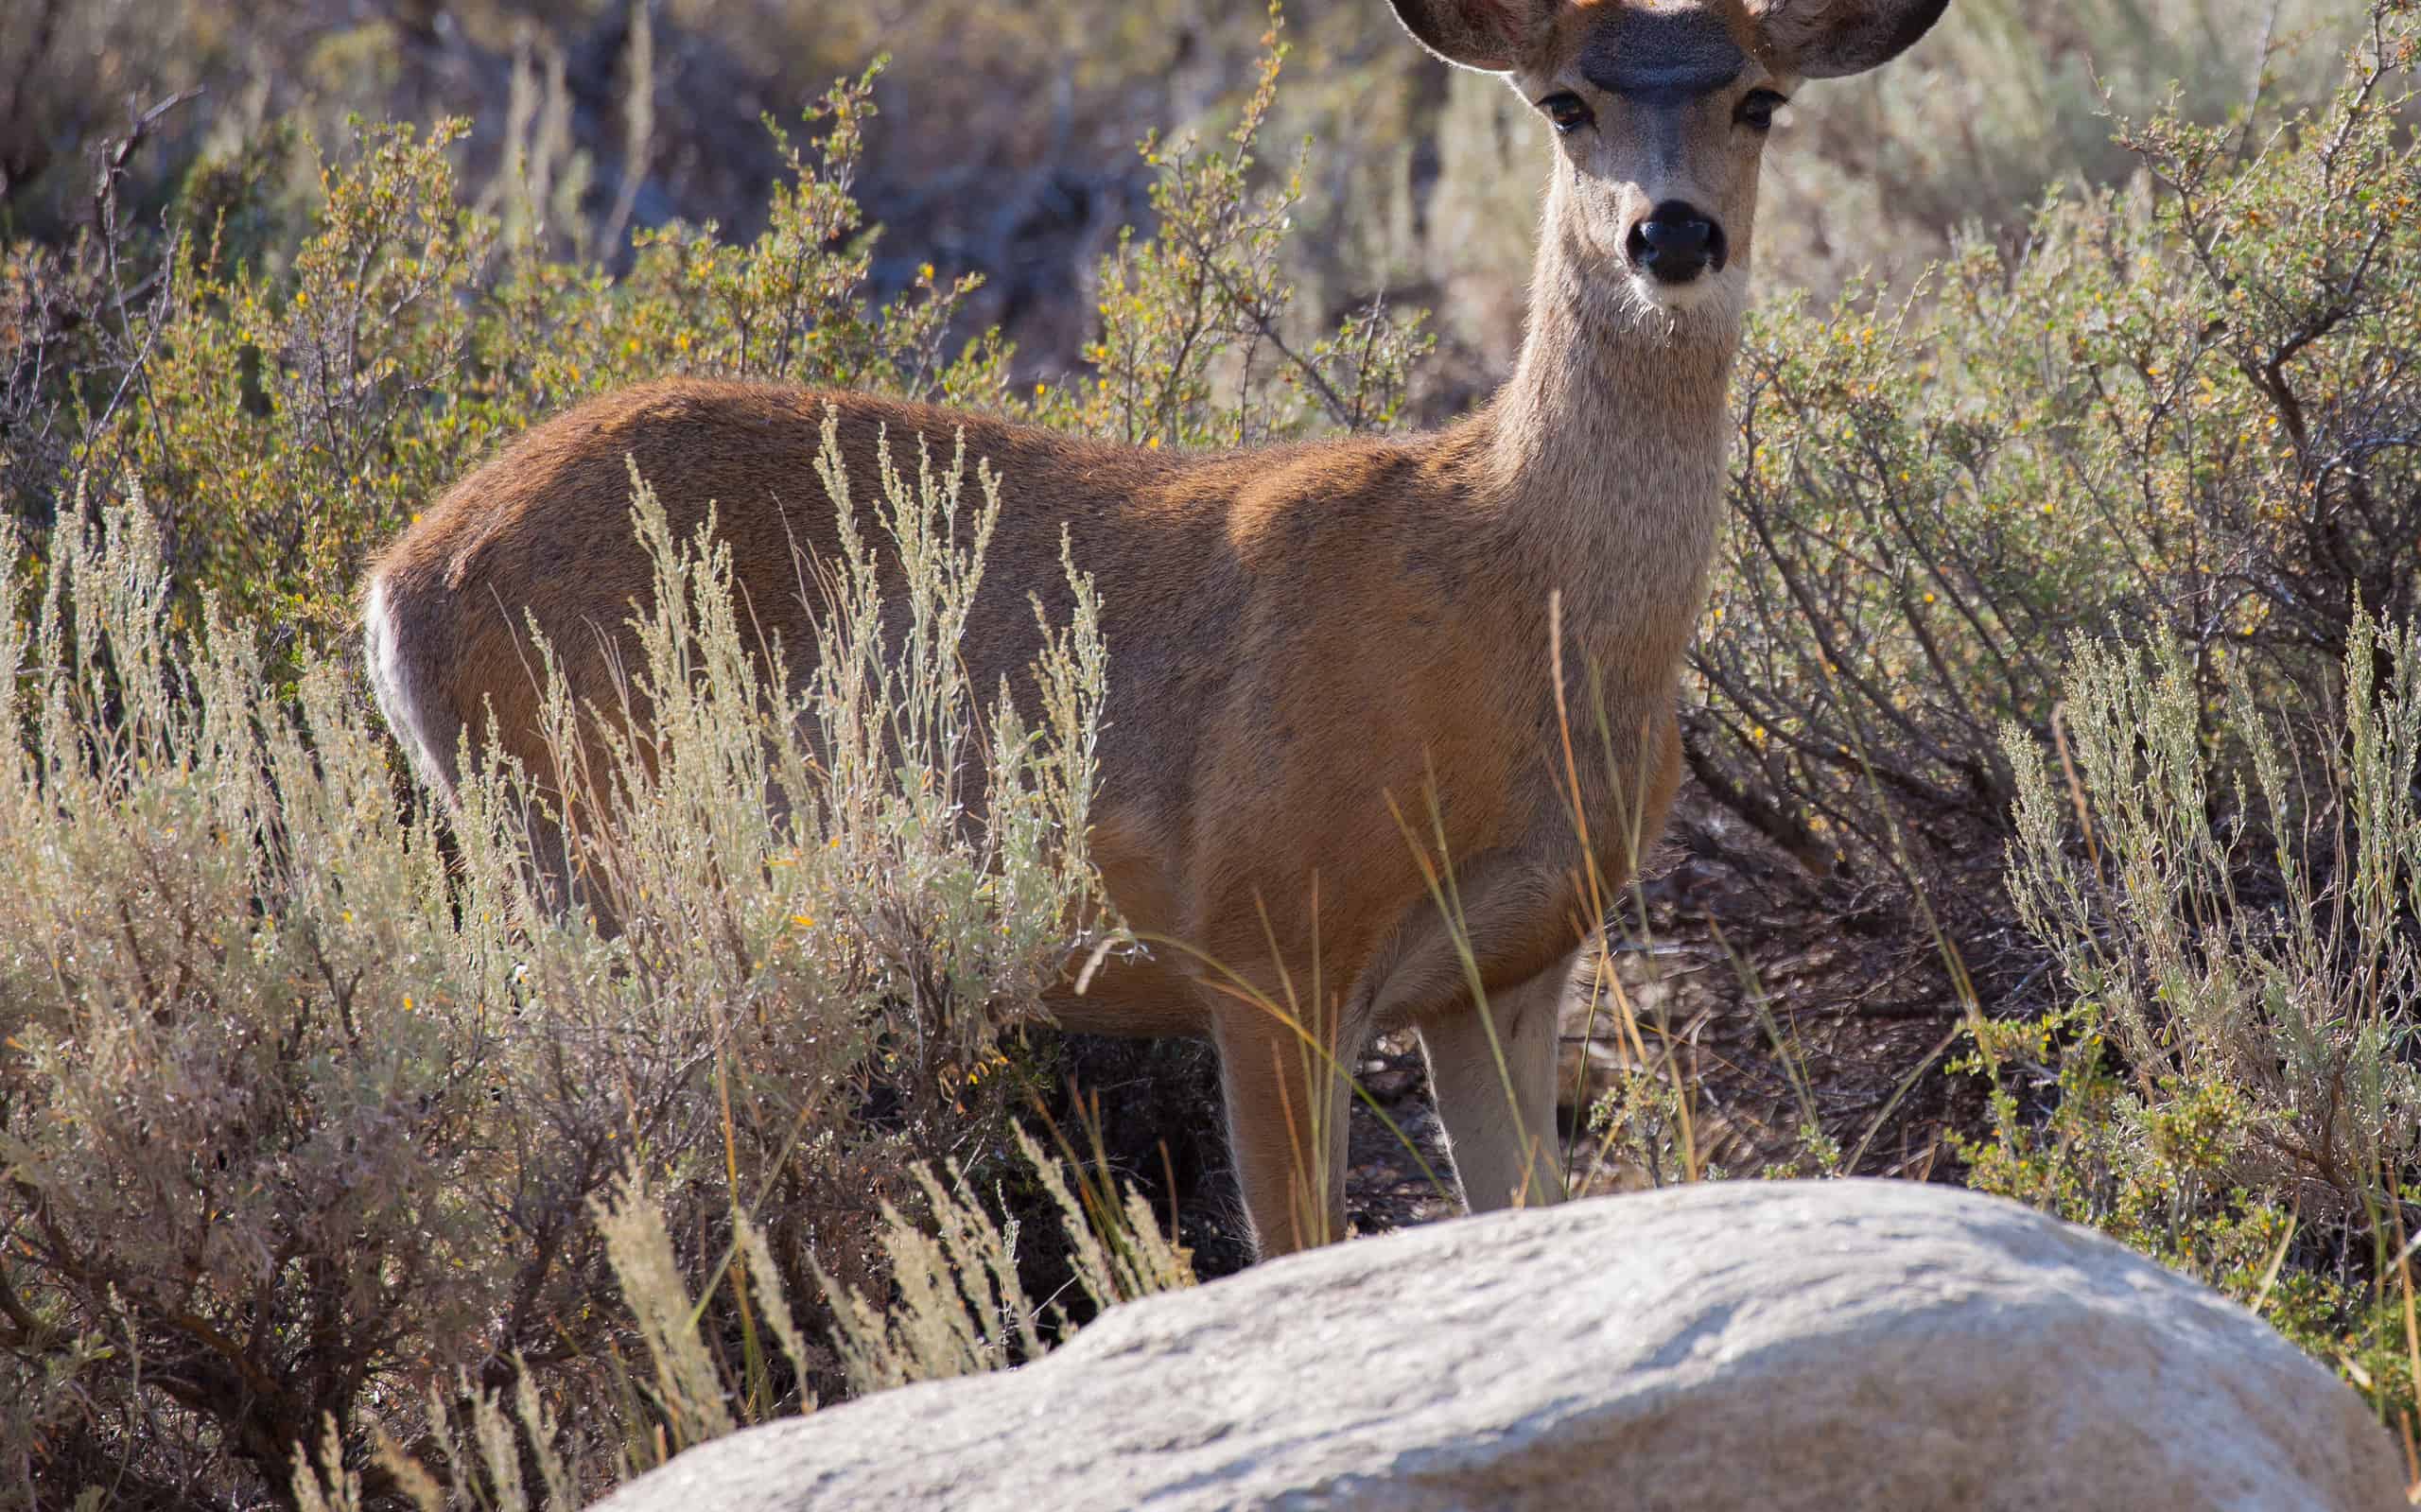
Deer won’t typically eat out of your hand unless they are very used to people.
©Smolina Marianna/Shutterstock.com
If you don’t have a way to set up or hang an upright feeder, you may need to opt for a trough-style feeder. This style might also be easier for young fawns to get to, although that also depends on the height of the trough. Making a trough feeder generally requires a bit more knowledge and tools, which is why some people opt for one that is already constructed. But if you want to make your own or customize a trough, you’ll need some lumber, wood nails and screws, and a drill.
The base is generally a rectangular trough. It should be at least a few inches deep so that you can add deer feed and have a lip that prevents the feed from being pushed off the edge. Add legs that are a couple of feet tall so that it puts the trough up at the deer’s level. It’s a good idea to extend the legs into the ground by at least a foot or more to keep the trough from toppling over in the wind and weather. For a more secure option, you can dig posts and fill them in with cement or a similar product, just like you would for a deck or fence.
To protect the deer feeder from the rain and snow, add upright supports for a roof or covering. Don’t enclose the entire feeder. Just add an angled covering at the top. If you don’t even a light rain will make the corn or feed wet and you’ll be left with a messy slop. Another modification for those who have particularly wet climates is to make the base of the trough removable. You can cut a piece of plywood to fit and rest on slats. If the feed gets too wet, just lift the plywood out and let it fall to the ground. Then, rinse the plywood and let it dry before putting it back. Add new feed and you’re ready to go.
Salt Lick

Some towns, such as Knob Lick, Missouri, are named for the presence of salt and other minerals in the environment that deer and other animals like to lick.
©Fulfilled Hope Images/Shutterstock.com
In addition to feed such as corn or commercial pellets, deer also like and need salt in their diet. Add a salt lick to help the deer in your area maintain optimum health. These can be a simple block of salt, purchased for this purpose. Get a large block for cattle, deer, and other wildlife. These often have other needed elements in them as well. Choose between a packed block or a loose salt from your local farm supply store.
Setting up a salt lick is easy and requires almost no materials other than the salt itself. You can fill in the holes of an old stump or log with salt and let the deer find it. Try to set it up so that it won’t tip over. You can also pour the salt substance directly onto the ground or in the dirt. Deer often get their salt intake in the wild by digging into the dirt and looking for this mineral.
Like with deer feeders, make sure that you know the laws in your area when it comes to hunting and salt licks. Some states include salt licks in baiting regulations. It might be illegal to hunt around salt licks which can act as bait for deer.