
As we approach the end of summer, it’s a great time to freeze this seasonal delight and enjoy it during the cooler days ahead. Preserving the taste of summer is simpler than you might think. Here’s a practical guide to freezing corn on the cob, allowing you to relish its deliciousness even when the leaves begin to fall.
1. Selection of Fresh Corn
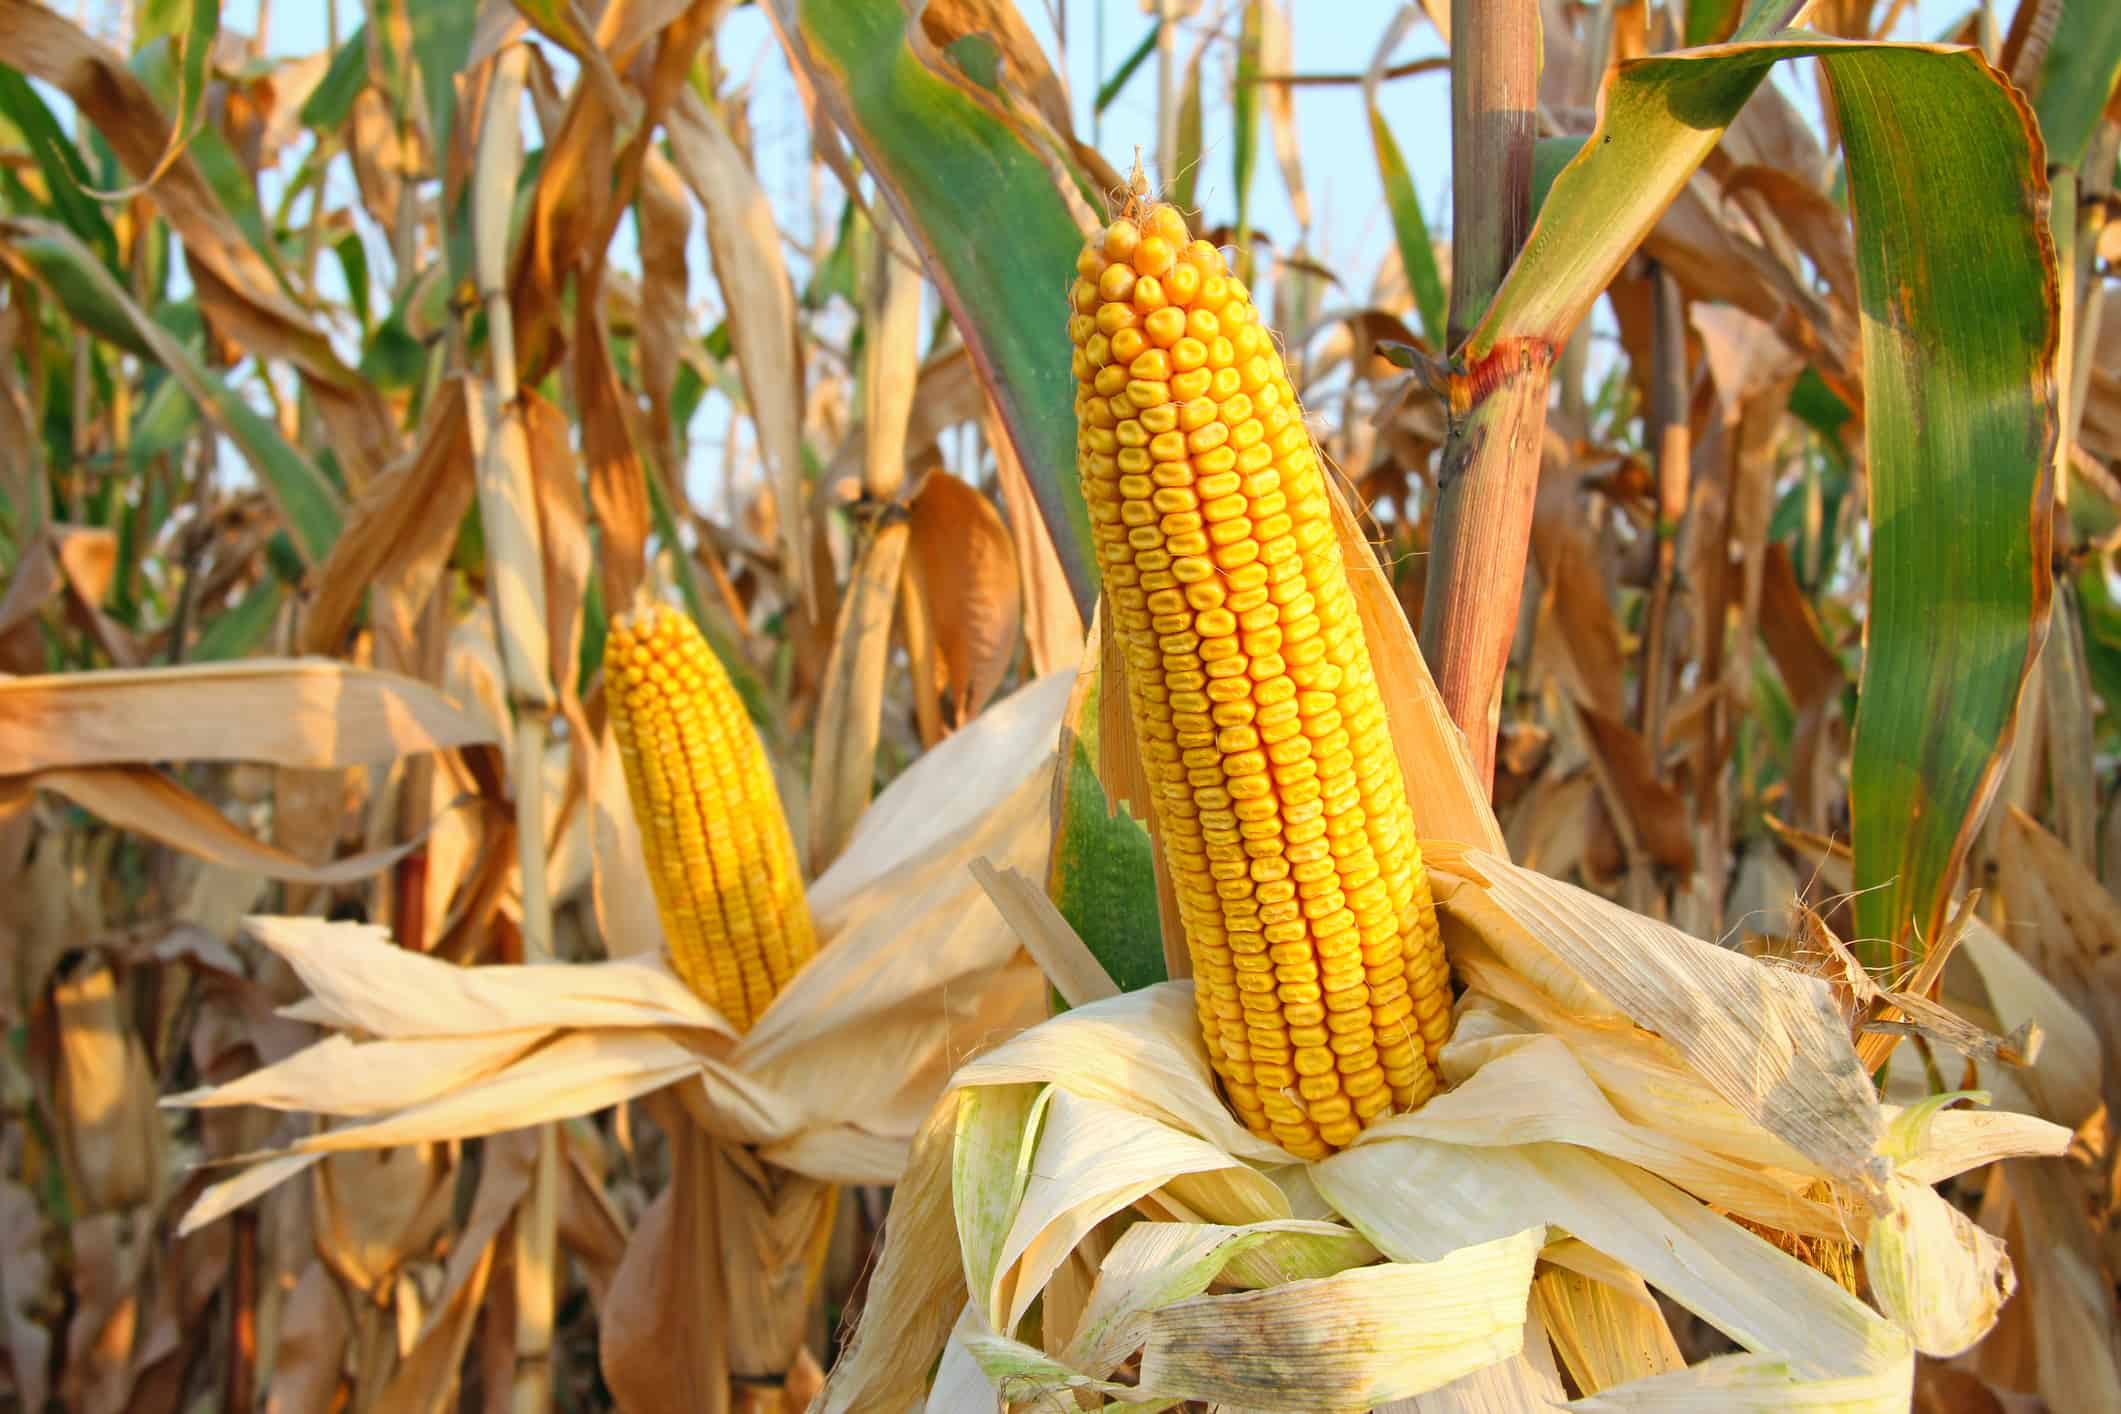
If your corn is of a higher quality when you freeze it, the better the results you’ll have in freezing it.
©iStock.com/branex
When you’re considering freezing corn on the cob, always start with the freshest produce. Look for cobs with bright green husks that are tightly wrapped around the cob. The kernels should be firm to the touch and plump in appearance. Remember, the better the quality of the corn you start with, the better the results after freezing.
2. Gathering Necessary Supplies
Before you dive into the process, gather everything you need to make the process smooth. You will need a large pot for blanching, a spacious bowl, plenty of ice, tongs or a slotted spoon for handling the corn, zip-top freezer bags or vacuum-seal bags for storage, a permanent marker or labels for dating and labeling, and a towel or paper towels for drying.
3. Corn Preparation
Begin by husking the corn, by removing the outer husk and the silken threads from each ear. This will ensure that the corn is clean and ready for blanching. Additionally, inspect each ear and trim any spots or blemishes using a sharp knife.
4. Blanching Process
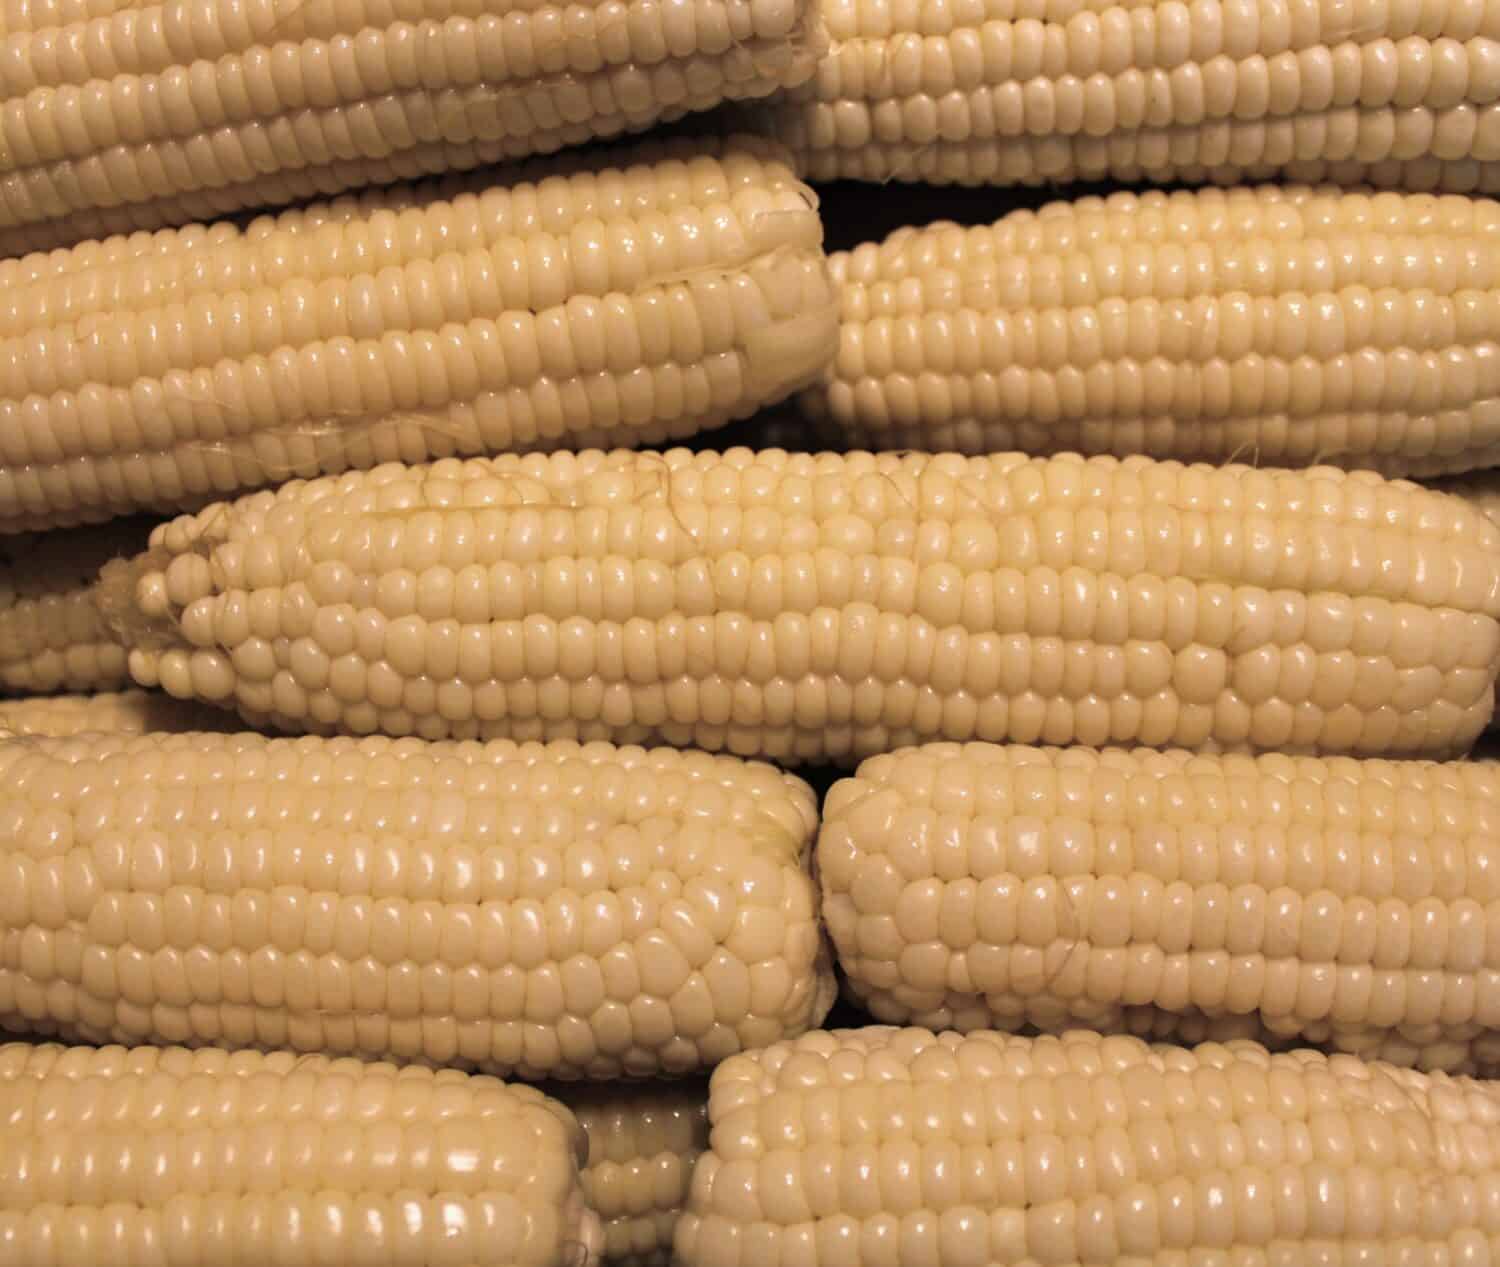
Make sure you first blanch your corn before freezing it.
©Sarah Macor/Shutterstock.com
Blanching is an essential step when freezing vegetables. It halts the enzyme activity which might otherwise degrade the flavor, color, and texture of the corn during storage.
- To start, fill your pot two-thirds full with water and set it on high heat until it reaches a rolling boil.
- Carefully place a few ears of corn into the boiling water, ensuring not to overcrowd them.
- Once the water returns to a boil, start your timer. Depending on the size of the corn ears, you will need to blanch them for 4-6 minutes (small ears for 4 minutes, medium ears for 5, and large ears for 6 minutes).
- Once blanched, use tongs or a slotted spoon to quickly transfer the corn to the bowl filled with ice water. This will immediately stop the cooking process.
5. Drying and Packing
After the corn has cooled in the ice bath for the same amount of time it was blanched, remove and pat each ear dry with a towel or paper towels. It’s essential to remove as much moisture as possible to prevent ice crystals from forming during freezing. Place the dried ears of corn into your chosen storage bags. If using zip-top bags, press out as much air as possible before sealing. If you have a vacuum sealer, that’s even better for preventing freezer burn. Label each bag with the date and contents.
6. Freezing
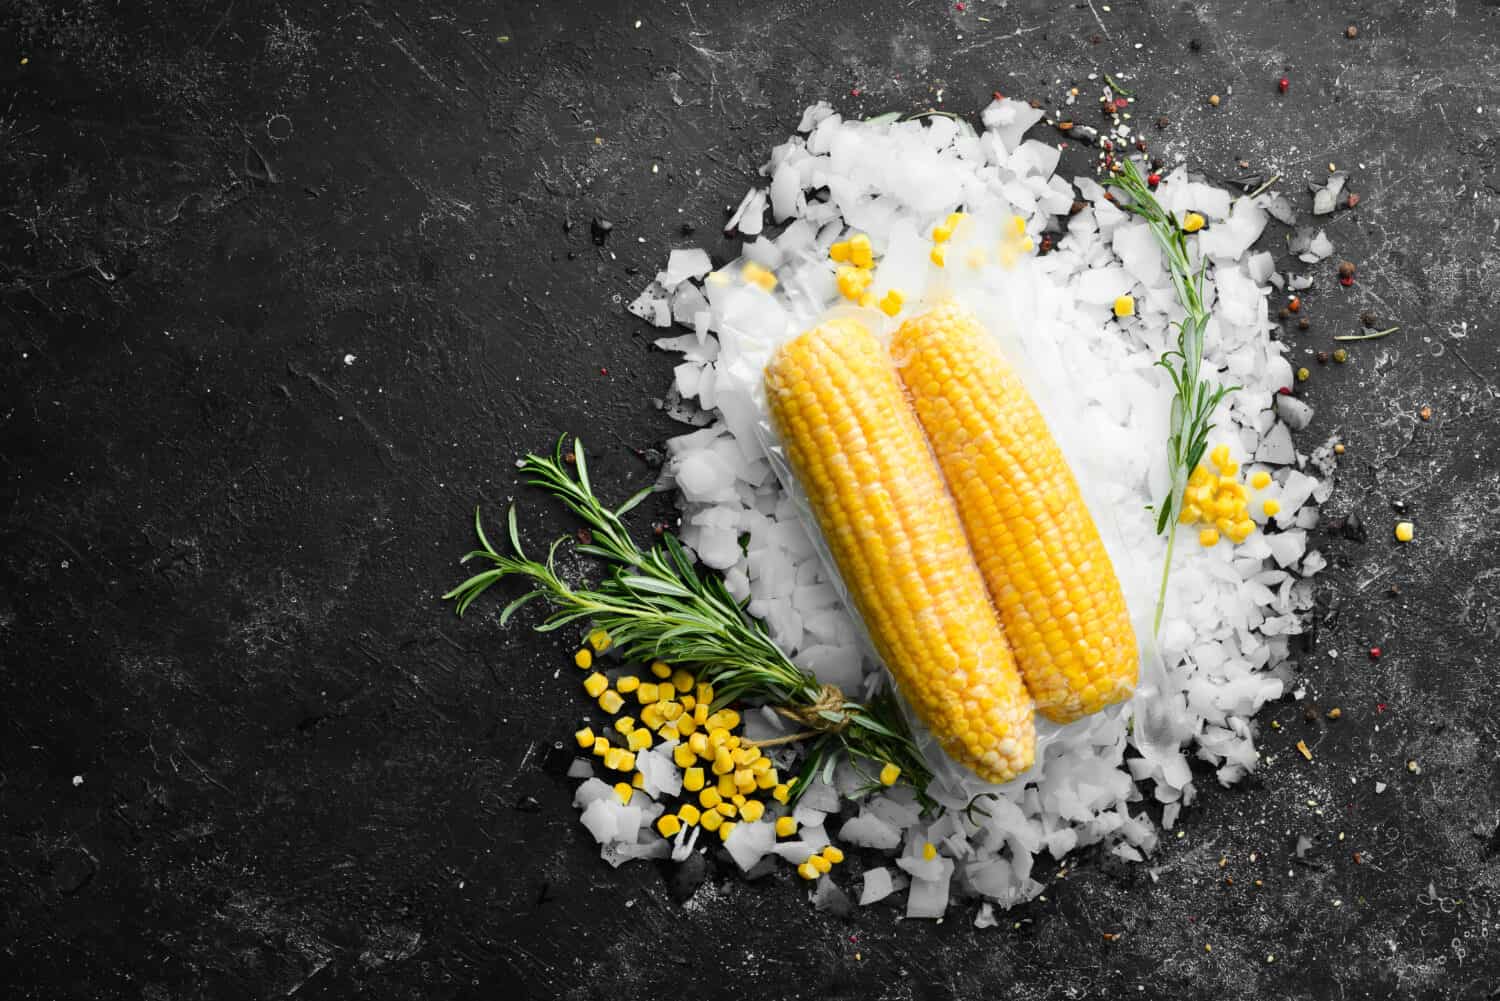
After you’ve sealed your corn, place the bag in a single layer in your freezer.
©YARUNIV Studio/Shutterstock.com
Place the sealed bags of corn in a single layer in the freezer. Once they’re frozen solid, you can rearrange them as needed. Properly frozen corn on the cob can retain its quality for up to 12 months, though for the best flavor, try to consume it within 6 months.
The photo featured at the top of this post is © iStock.com/Kwangmoozaa


How to Add Us to Google News


Thank you for reading! Have some feedback for us? Contact the AZ Animals editorial team.