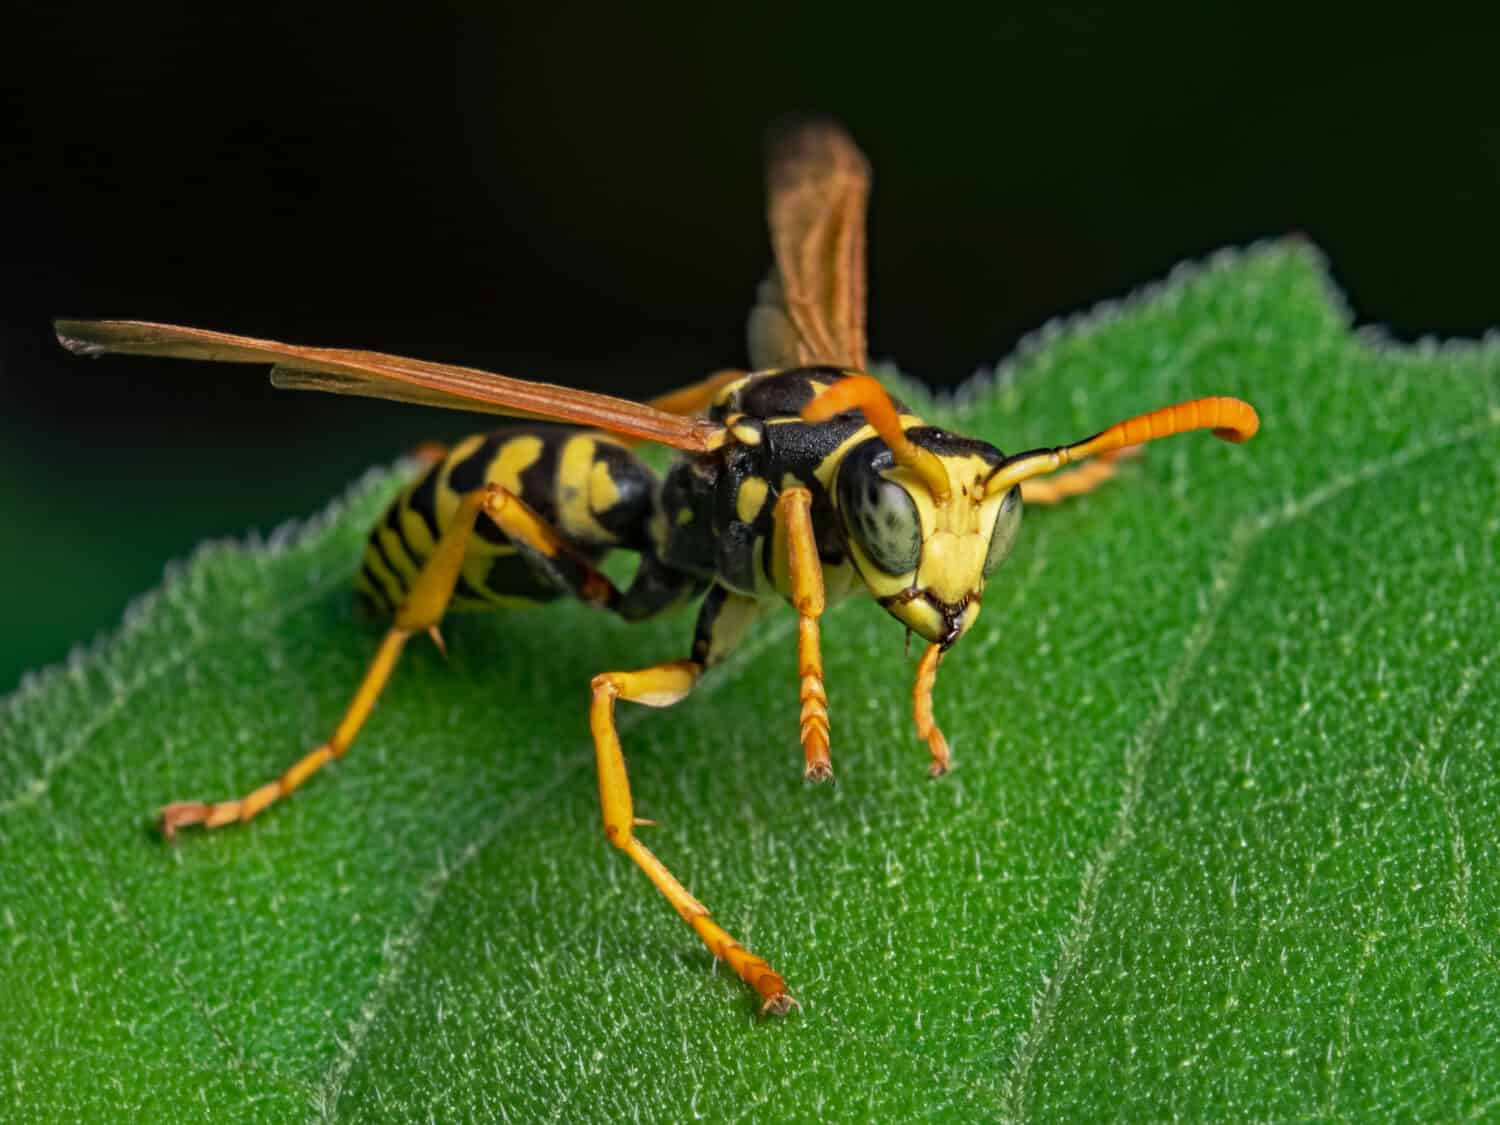

While wasps are beneficial pollinators that kill other insects harmful to vegetation, they still can be dangerous to humans and animals. Wasps can be a major nuisance and threat, especially if they’re near your home or all around your yard. You don’t want to worry about yourself, your loved ones, or your pets getting stung each time you leave the house or enjoy outdoor activities like barbeques, swimming, and lounging around.
Thankfully, creating a homemade wasp trap is an easy way to get rid of the insects and prevent them from creating nests in your yard. Keep reading to learn how to make the absolute best homemade wasp trap for your yard.
What Is the Best Homemade Wasp Trap?
The best homemade wasp trap is a plastic bottle that’s filled with wasp bait (a sugary, sweet substance like juice or jam) and hung at least four feet above the ground.
Most people will use an empty soda two-liter soda bottle to create this trap. By cutting off the neck of the bottle and taping it upside down in the bottle, you will create easy access for wasps to fly into the trap. Once you add bait to the bottom of the bottle and hang it in your yard, wasps will find their way into the trap and struggle to get out, eventually dying.
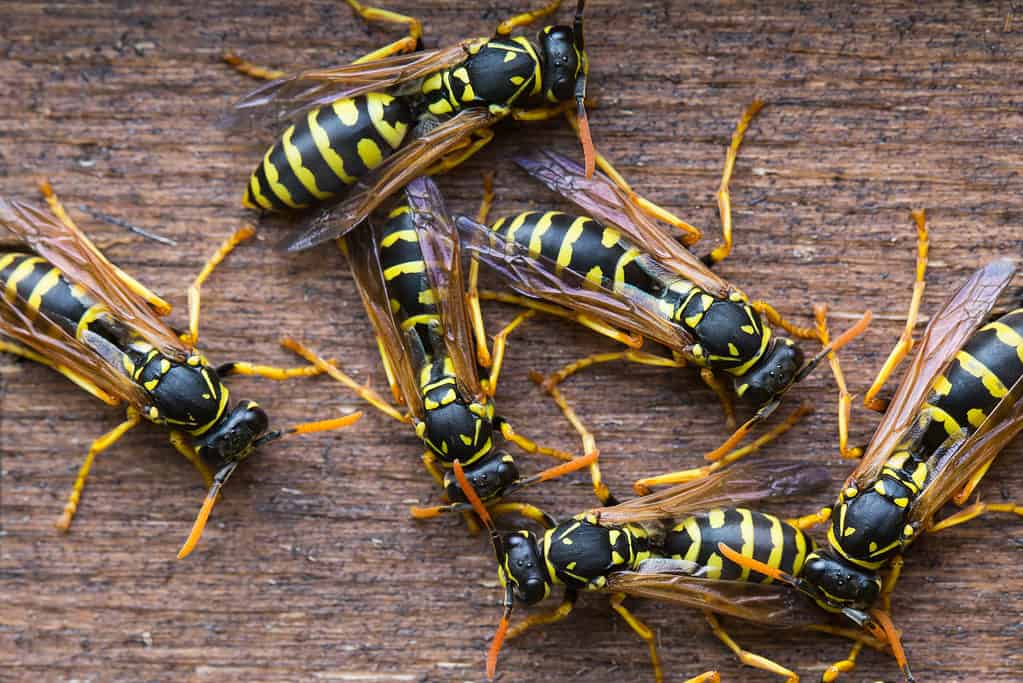
Wasps tend to gather together, especially if they’re creating a nest.
©FCerez/Shutterstock.com
How the Homemade Wasp Trap Works
The homemade wasp track works by — you guessed it — trapping the wasps in the bottle. The neck of the bottle, which you tape upside down in the bottom half of the bottle, acts as a cylinder that allows wasps to fly into the bottle freely but causes them to struggle to get out. Depending on the type of bait you use for the trap, the wasps might even get stuck or drown in the sugary substance.
How to Make a Homemade Wasp Trap: Step-by-Step Directions
Here are eight steps for creating the best homemade wasp trap.
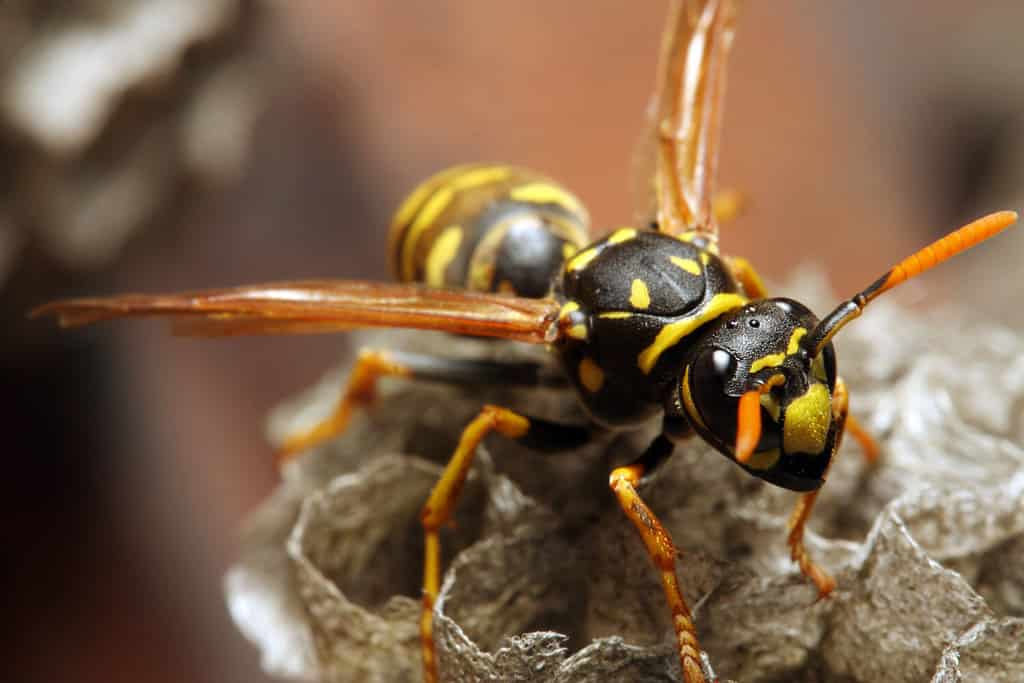
You can attract wasps away from their nests by offering sweet, sugary bait in your trap.
©Kletr/Shutterstock.com
1. Gather Your tools and Materials
First, you’ll want to collect the right tools and materials to make your trap. Here are some items needed to create a homemade wasp trap:
- Two-liter plastic bottle
- Marker
- Knife
- Scissors
- Tape
- String
- Something sweet (e.g., jam, juice, or sugar water)
- String/wire
2. Mark the Bottle Where You Want to Cut It
Using your marker, draw a line around the plastic bottle where you want to cut. This should be closer to the top (just under the neck of the bottle). Make sure the top piece is large enough to act as a cylinder for the wasps to fly into.
3. Cut the Bottle
Take the bottle cap off the top of your bottle, then use your scissor to cut along the line you created. If needed, use a knife to first poke a hole in the bottle so you can cut it more easily.
4. Tape the Neck of the Bottle Upside Down to the Bottom Part
After you’ve cut your bottle, fit the top part of it to the bottom part as an inverted funnel. Then, tape both parts together around the cut edges.
5. Create Bait for Your Trap
You can use jam, sugar water, or juice as bait for your trap. Many will also use honey, but this can attract honeybees, nonaggressive pollinators crucial to our survival. If you’re using honey and want to avoid trapping honeybees, you can include add a few drops of vinegar to deter them.
6. Add the Bait to the Bottle
Once the bait is ready, pour or spoon it into the trap (to the bottom of the bottle). Be sure to leave room between the bait and the entrance of the bottle so the wasps have room to fly in through the funnel.
7. Set or Hang the Trap
Poke two holes into the sides of your trap and lace string through them so you can hang the trap in your yard. Experts recommend hanging the trap about four feet above the ground (wasps are more likely to enter at this height). Make sure you do this away from your house or play areas in your yard, either on a tree limb or a fence post.
8. Clean and Reload Trap Accordingly
When you notice a bunch of dead wasps in your trap, empty it out (only if they’re all dead) and dispose of the insects. Do this by either burying them or closing them tightly in a plastic bag, then tossing the bag in the garbage. When necessary, refill the bait and repeat the process.
Following the above steps will ensure you can enjoy a wasp-free environment at little to no cost.


How to Add Us to Google News


Thank you for reading! Have some feedback for us? Contact the AZ Animals editorial team.