
Got more peppers than you know what to do with? No worries – we’ve got you covered! When those pepper plants go into overdrive, it’s time to dive into a world of spicy possibilities. From sizzling recipes to crafty creations, there’s a whole lot you can do with that bountiful pepper harvest. Let’s take a look!
1. Pickle Your Peppers
When you find yourself with a bountiful pepper harvest, pickling them emerges as an excellent solution to prevent waste while relishing the spicy goodness throughout the year. The process involves immersing fresh peppers in a mixture of vinegar, water, salt, and spices. Not only do pickling peppers extend their shelf life, but they also add a zesty flavor that enhances various dishes.
To start, gather an assortment of peppers – from sweet and mild to hot varieties – for a dynamic blend of flavors and heat levels in your pickled peppers. Wash and slice them according to your preference, whether rings, halves, or even whole for smaller peppers.
Next, prepare the pickling brine. Combine vinegar and water, adjusting the ratio to achieve the desired level of tartness. Add salt and select spices like mustard seeds, coriander, or garlic to infuse your peppers with extra dimensions of taste.
Bring the brine to a boil, ensuring the salt dissolves completely. Then, gently pack the pepper slices into sterilized glass jars. Pour the hot brine over the peppers, leaving a bit of headspace, and seal the jars tightly. As they cool, a satisfying pop of the lids indicates a successful seal.
Allow your pickled peppers some time to mature and absorb the flavors – about a week or two – before indulging in them. The tangy, slightly crunchy peppers can be enjoyed as standalone snacks, toppings for salads, pizzas, and sandwiches, or even as an accompaniment to cheeses and charcuterie.
Not only does pickling peppers offer an enjoyable and convenient way to savor your pepper surplus, but it also gifts you with homemade condiments that make for thoughtful and flavorful gifts. Just as well, the process is relatively simple and open to experimentation, allowing you to tailor the flavors to your liking.
2. Slice and Freeze Your Peppers
Slicing and freezing your peppers stands out as a fantastic method to make the most of your bounty. This straightforward process not only preserves the vibrant flavors and nutrients of the peppers but also ensures that you have a convenient supply for your culinary endeavors throughout the year.
Start by selecting a variety of peppers, ranging from sweet to spicy, to create a diverse collection that can add a pop of color and taste to your dishes. Wash them thoroughly and then proceed to slice them according to your preference – whether it’s rings, strips, or diced pieces.
Lay out the pepper slices on a baking sheet in a single layer. This prevents them from clumping together during freezing and makes it easier to portion them later. Place the baking sheet in the freezer and allow the pepper slices to freeze individually. This initial freezing step prevents them from sticking together and forming a solid mass in the storage container.
Once the pepper slices are frozen, transfer them into airtight freezer-safe bags or containers. Label them with the date for easy reference. This method not only preserves the freshness of the peppers but also ensures that you can take out just the amount you need without thawing the entire batch.
When you’re ready to use the frozen peppers, you can simply grab the desired quantity and toss them into your dishes straight from the freezer. This is particularly handy for soups, stir-fries, omelets, and other cooked dishes. The peppers retain their crunchiness and flavors remarkably well, making your meals just as delightful as when using fresh peppers.
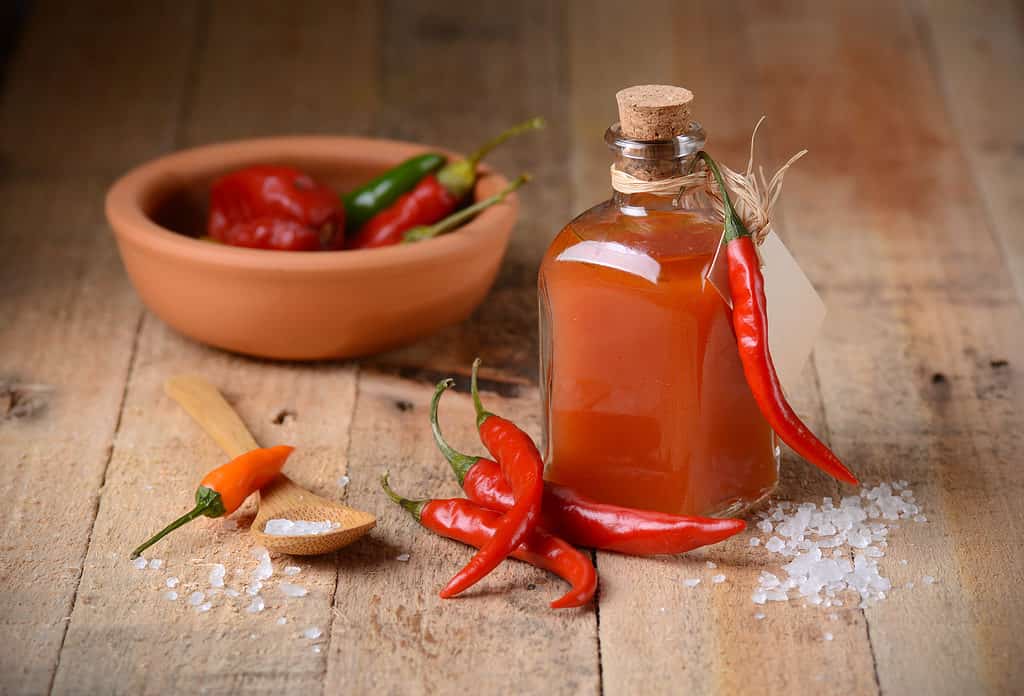
3. Make Hot Sauce
To begin, select a mix of peppers, ranging from mild to fiery hot, to achieve the desired balance of spiciness in your hot sauce. Wash the peppers thoroughly and remove their stems. You can leave the seeds in for extra heat or remove them for a milder sauce.
Chop the peppers and any additional ingredients you’d like to incorporate – garlic, onions, fruits, or spices – to enhance the complexity of flavors. Sautéing these ingredients in a bit of oil can deepen their taste before blending.
The next step involves blending the sautéed mixture with vinegar. The vinegar not only adds tanginess but also acts as a natural preservative. Blend until you achieve a smooth consistency, and don’t forget to work in a well-ventilated area as the spicy fumes can be intense.
Strain the blended mixture through a fine sieve to ensure a silky texture, removing any solids that could affect the sauce’s consistency. If you prefer a thicker sauce, you can skip this step.
Transfer the strained liquid back to the stove and simmer it gently to melt the flavors. Add salt to taste, remembering that flavors will intensify as the sauce cools.
Once the hot sauce is ready, pour it into sterilized glass bottles or jars. Allow it to cool completely before sealing. Properly sealed bottles can be stored in the refrigerator for several months.
Using your homemade hot sauce is a culinary adventure. Drizzle it over tacos, burgers, eggs, or pizza. Incorporate it into marinades, dressings, or dips for an extra layer of heat. Sharing your unique hot sauce with friends and family can also be a delightful gift that showcases your culinary creativity.
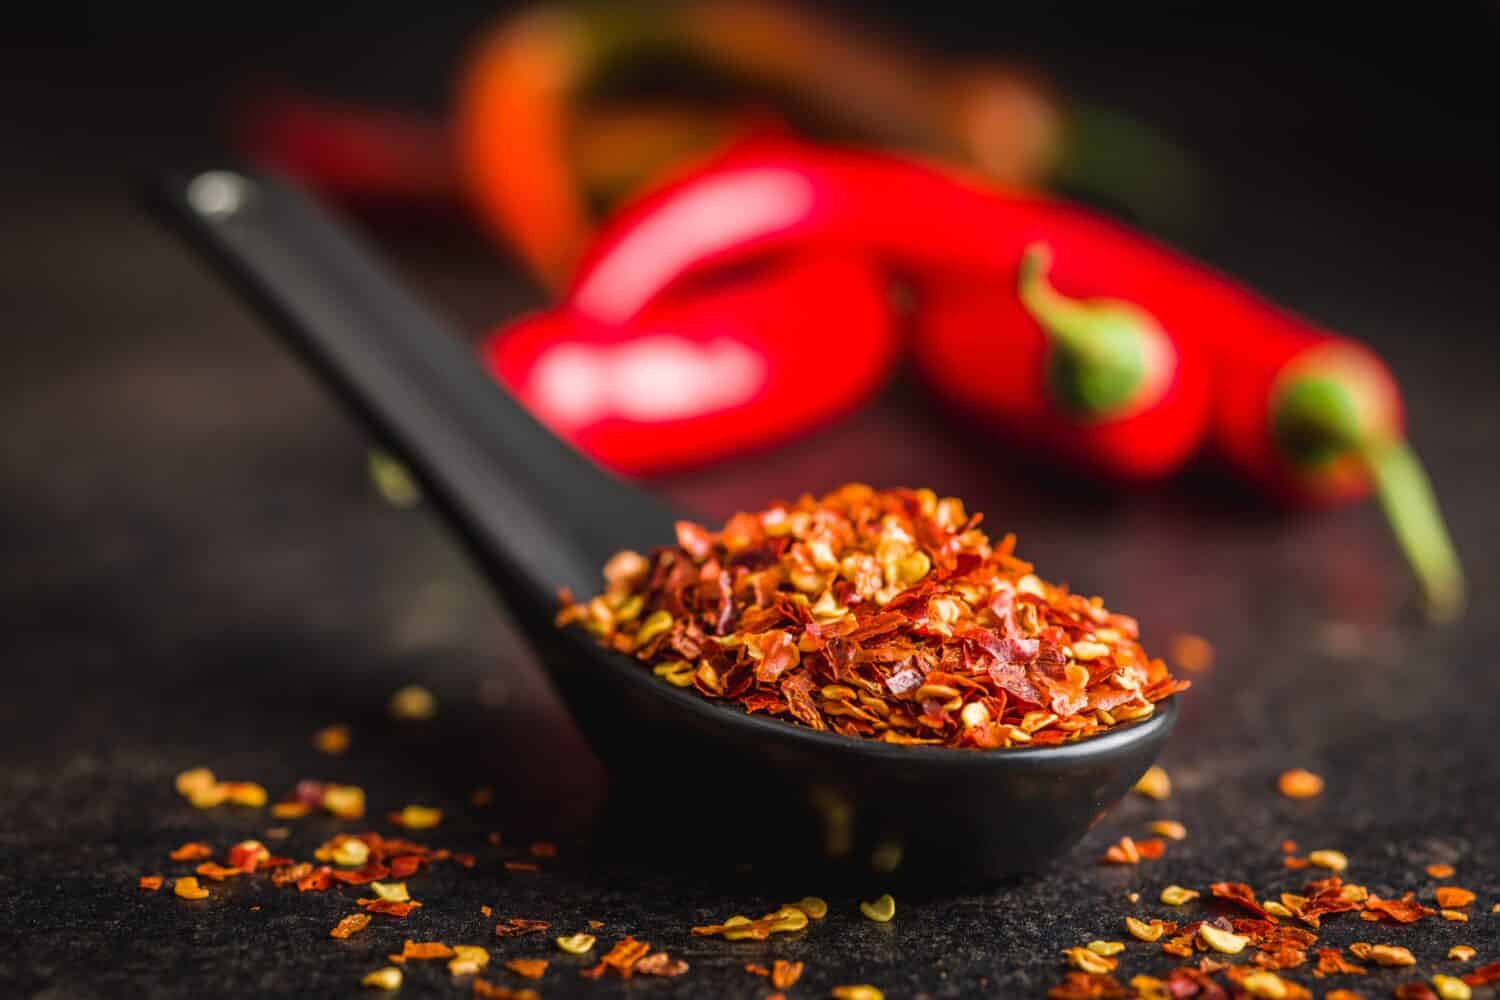
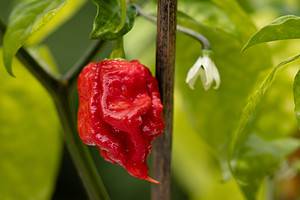
Chili peppers
are a great option for making hot sauce.
©al1962/Shutterstock.com
4. Make Pepper Jam
Another fantastic way to put those peppers to use is by creating your delectable pepper jam. This process not only helps prevent produce waste but also results in a versatile and flavorful spread that can elevate your meals to a whole new level.
Start by selecting a mix of peppers, including both sweet and spicy varieties, to achieve a balanced and dynamic flavor profile in your jam. Wash the peppers thoroughly, remove their seeds and stems, and finely chop them to facilitate even cooking.
In a pot, combine the chopped peppers with sugar, vinegar, and pectin. Pectin is crucial as it helps the jam achieve its desired texture. Bring the mixture to a boil, stirring frequently to prevent sticking. As the mixture boils, it thickens, and the flavors meld into a delightful medley.
Consider adding other ingredients to enhance your jam’s complexity. Diced onions, garlic, or even fruits like peaches or apples can introduce layers of taste. Spices such as ginger or cayenne can contribute an extra kick of flavor, perfect for those who relish a bit of heat.
Simmer the mixture until it reaches the desired consistency. This typically takes around 20 to 30 minutes, during which you’ll notice the jam thickening and the flavors intensifying. Remember to stir occasionally to avoid scorching.
Once the jam has reached the right consistency, remove it from the heat and let it cool slightly. Then, carefully ladle the hot jam into sterilized jars, leaving a bit of space at the top. Seal the jars tightly and let them cool completely before storing them in the refrigerator or a cool, dark pantry.
5. Oven or Air-Dry Your Peppers
The art of drying can be a wonderful solution that extends the life of your peppers while concentrating their flavors. Both oven-drying and air-drying are simple yet effective methods that yield versatile dried peppers perfect for adding a punch of taste to your dishes.
Oven drying is a relatively quick process that involves low heat to remove moisture from the peppers. Begin by washing and slicing the peppers uniformly to ensure even drying. Remove the seeds and membranes if you desire milder dried peppers. Lay the pepper slices on baking sheets in a single layer, allowing air to circulate. Set your oven to its lowest temperature (around 150 degrees F) and place the trays inside. Keep the oven door slightly ajar to facilitate moisture escape. Regularly check the peppers. They’re ready when they feel dry and brittle, which usually takes four to six hours.
On the other hand, air-drying takes more time but requires less active engagement. String the peppers together using a needle and thread, leaving space between them to encourage air circulation. Hang the strings in a well-ventilated, warm area away from direct sunlight. Over several weeks, the peppers will naturally dehydrate. When the peppers feel completely dry and have a leathery texture, they’re ready for storage.
Once dried, store the peppers in airtight containers in a cool, dry place. You can leave them whole, crush them into flakes, or grind them into powders, depending on your preference.
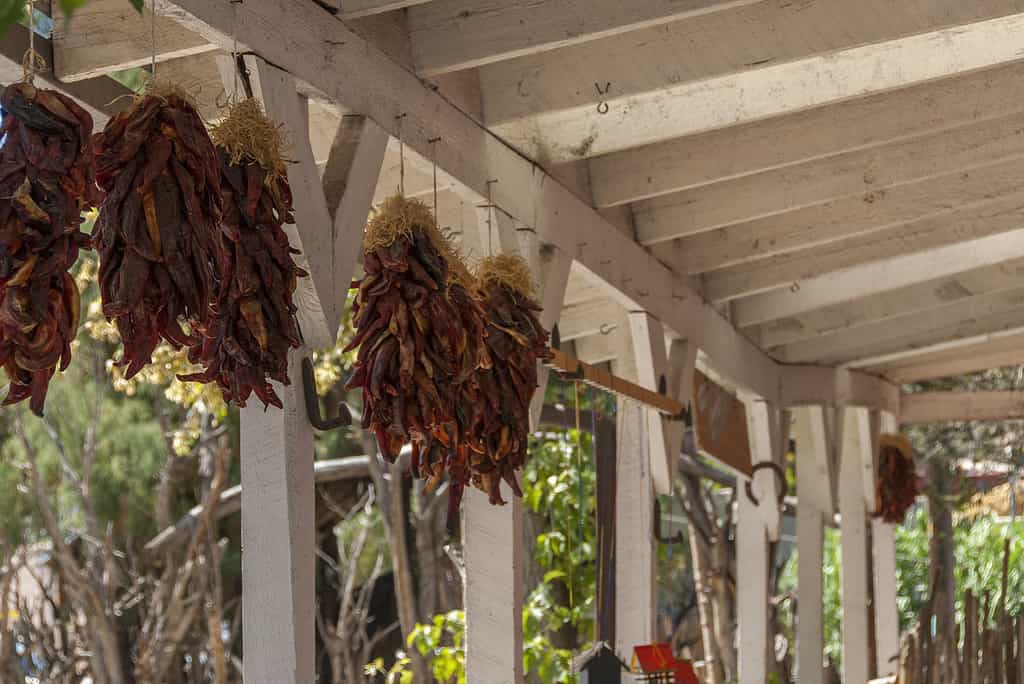
Air-drying peppers is a common practice in Mexico and many other countries.
©iStock.com/fredcorcoran
6. Make a Stir-Fry
When your garden blesses you with an abundant pepper harvest, preparing a vibrant stir-fry emerges as a fantastic way to savor the freshness and flavors of these colorful vegetables.
Begin by selecting a variety of peppers – red, green, yellow, or even spicy ones – to infuse your stir-fry with a spectrum of colors and tastes. Wash the peppers, remove their seeds and stems, and slice them into thin strips or bite-sized pieces.
Heat a wok or a large skillet over high heat and add a touch of oil. The sizzle as the oil heats up sets the stage for the aromatic journey ahead. Toss in the pepper slices and stir them quickly and continuously. The high heat ensures that the peppers cook rapidly, preserving their crunchiness and vibrant colors.
As the peppers start to soften and gain a hint of char, introduce additional ingredients to complement their flavors. Thinly sliced onions, minced garlic, and julienne-cut carrots are just a few possibilities. The art of stir-frying lies in balancing textures and tastes, so feel free to experiment with your favorite veggies and proteins.
You can incorporate protein sources like sliced chicken, beef, shrimp, or tofu to make your stir-fry a complete and filling meal. Add a splash of soy sauce, a drizzle of sesame oil, and a sprinkle of your preferred seasonings to enhance the taste profile. Keep the ingredients moving in the wok to ensure even cooking and flavor distribution.
Once the peppers are crisp-tender and the other ingredients are cooked to your liking, remove the wok from the heat. Serve your vibrant stir-fry over a bed of steamed rice or noodles for a hearty and balanced dish that celebrates the essence of your pepper harvest.
7. Try Making Stuffed Peppers
This culinary endeavor not only minimizes waste but also transforms your peppers into a delectable dish that’s both visually appealing and satisfyingly delicious.
Start by selecting a mix of peppers, ensuring they are firm and vibrant. Bell peppers work wonderfully, with their hollow interior perfectly suited for stuffing. Wash the peppers, cut off the tops, and carefully remove the seeds and membranes to create a hollow vessel ready to be filled.
For the stuffing, embrace your creativity. Cook up a mixture of protein, grains, and vegetables. Ground meats, rice, quinoa, beans, and even mushrooms can be combined to craft a delightful filling. Sauté these ingredients along with herbs and spices to infuse the stuffing with layers of flavor.
Stuff the prepared peppers with the filling, gently pressing it down to ensure a hearty portion fits within. Place the stuffed peppers in a baking dish, and if desired, top them with a sprinkle of cheese for a golden finish.
Bake the peppers in a preheated oven at 425 degrees until they are tender and the filling is cooked through, usually around 20 to 30 minutes. The aroma that wafts through your kitchen as they cook and simmer is simply delightful.
Once they are out of your oven, let the stuffed peppers cool for a few minutes before serving. The colorful exterior of the peppers perfectly encapsulates the savory goodness within, creating a presentation that’s as delightful as the taste.
Stuffed peppers can be a complete meal on their own, boasting a balance of proteins, grains, and vegetables in a single dish. Serve them as a hearty dinner, a satisfying lunch, or even as an appetizer for a gathering.
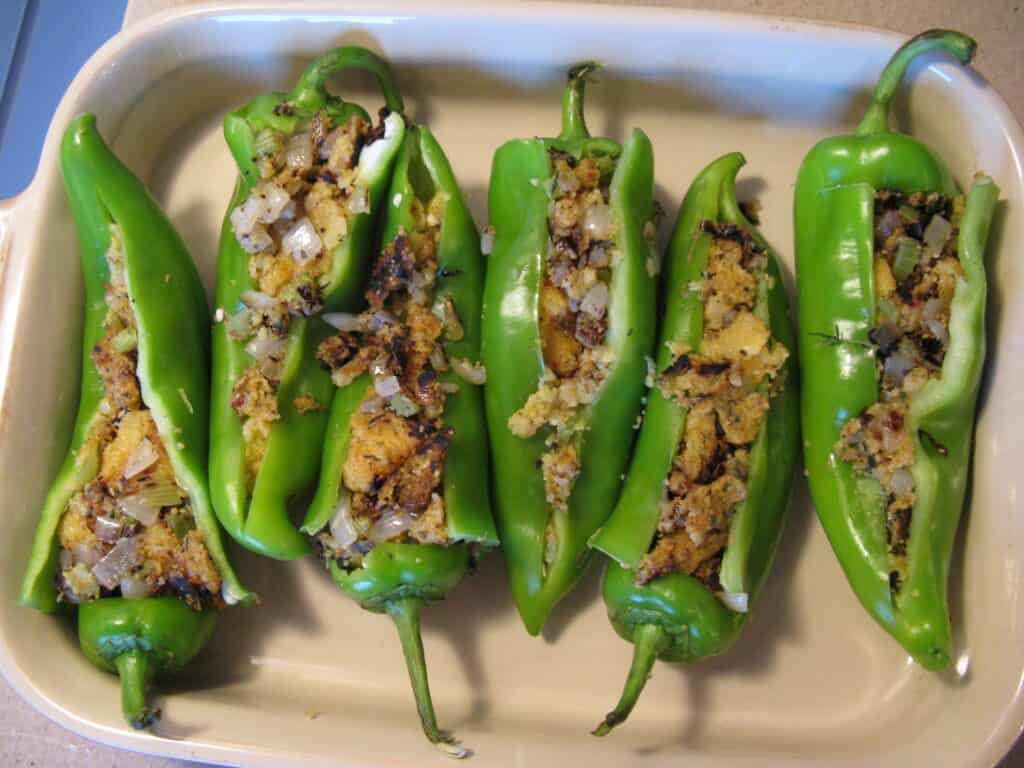
Stuffed peppers are a delicious option for using up a large pepper harvest.
8. Make Pepper Chips
To embark on this culinary adventure, begin by selecting an assortment of peppers – whether sweet, mild, or spicy – to craft a medley of flavors and colors. Wash the peppers thoroughly and pat them dry to ensure the chips turn out perfectly crisp.
Slice the peppers into thin rounds or strips, aiming for uniformity to promote even cooking. Removing the seeds and membranes can temper the heat for those who prefer milder chips.
Arrange the pepper slices on baking sheets in a single layer, allowing enough space for air circulation. Drizzle a small amount of olive oil over the slices and gently toss them to coat evenly. Sprinkle a pinch of salt and your preferred seasonings – perhaps a touch of paprika, garlic powder, or even a sprinkle of grated Parmesan for an extra layer of flavor.
Preheat your oven to around 200 degrees F and place the baking sheets inside. The low temperature ensures that the peppers dehydrate slowly, resulting in crisp chips rather than burnt ones. Keep an eye on them as they bake, flipping the slices halfway through to promote even dehydration.
The baking time can vary, usually taking around two to three hours. The chips are ready when they are dry, crispy, and slightly curled at the edges. Remember, patience is key to achieving that perfect crunch.
Once your homemade pepper chips are ready, let them cool before indulging. These chips can be enjoyed as a wholesome snack on their own or paired with dips and spreads for an extra layer of taste.
Summary of Great Ways to Get the Most Out of a Huge Pepper Harvest
| # | Pepper Harvest Ideas |
|---|---|
| 1 | Pickle Your Peppers |
| 2 | Slice and Freeze Your Peppers |
| 3 | Make Hot Sauce |
| 4 | Make Pepper Jam |
| 5 | Oven or Air-Dry Your Peppers |
| 6 | Make a Stir-Fry |
| 7 | Try Making Stuffed Peppers |
| 8 | Make Peppers Chips |


How to Add Us to Google News


Thank you for reading! Have some feedback for us? Contact the AZ Animals editorial team.