
Learning how to draw a sunflower is pretty easy, and it may be one of my very favorite flowers. Sunflowers are rustic, beautiful, and symbolic of summer – my favorite season of the year. Their seeds feed the birds and us; they’re also really tough, often blooming profusely with only a few spare drops of rain in the midst of a drought.
Drawing requires some patience, decent tools, and practice. I use Photoshop heavily for art, but I also use more traditional paper, pencil, and paint. This sunflower was created in Photoshop using a Huion HS611 drawing tablet – I love this tablet because it’s affordable and has solid construction. If you prefer using paper, I’ve got a supply list for you too. I mainly linked to entry-level sets because it’ll save you a bit of money.
| Supplies | Reason for Preference |
|---|---|
| Drawing paper of your choice | I tend to prefer a smooth Bristol because it’s versatile and works equally well for pen and ink as it does pencil. |
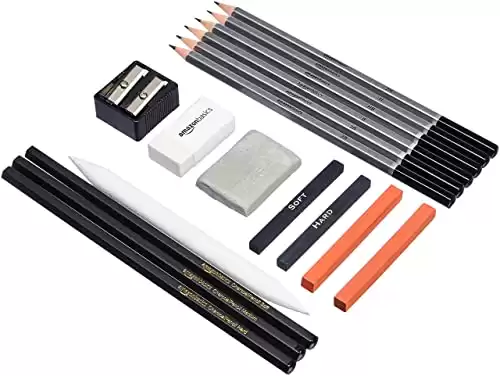
| Drawing pencils | You can sometimes get these at your local dollar store, but Amazon has a lot of great options. A basic set often comes with an eraser, blender, sharpener, and a few pencils. A plain No. 2 pencil works just fine too. |
| Colored pencils or Brush pens | You’ll need yellow, orange, brown, green, gray, and black for this project. Many entry-level sets come with a rainbow of colors. If you buy colored pencils, you’ll want to get a slightly nicer set than those made for grade school students. |
| Erasers | Both gum and moldable rubber come with most sets/ |
| Blending stumps or blending marker | These are a necessity for me. I may wind up with graphite all over my hands regardless, but my finger isn’t always as precise as a stump. The blending marker will help you blend the brush pen colors. |
| White gel pen | This gel marker helps you add highlights to your ink drawings, but I’ve also used a white pencil. Experiment. |
As far as which brand of paper, markers, or pencils — you don’t have to spend a lot of money, and when you’re just getting started. In fact, I don’t recommend it. Simply get an affordable set of drawing tools and experiment.
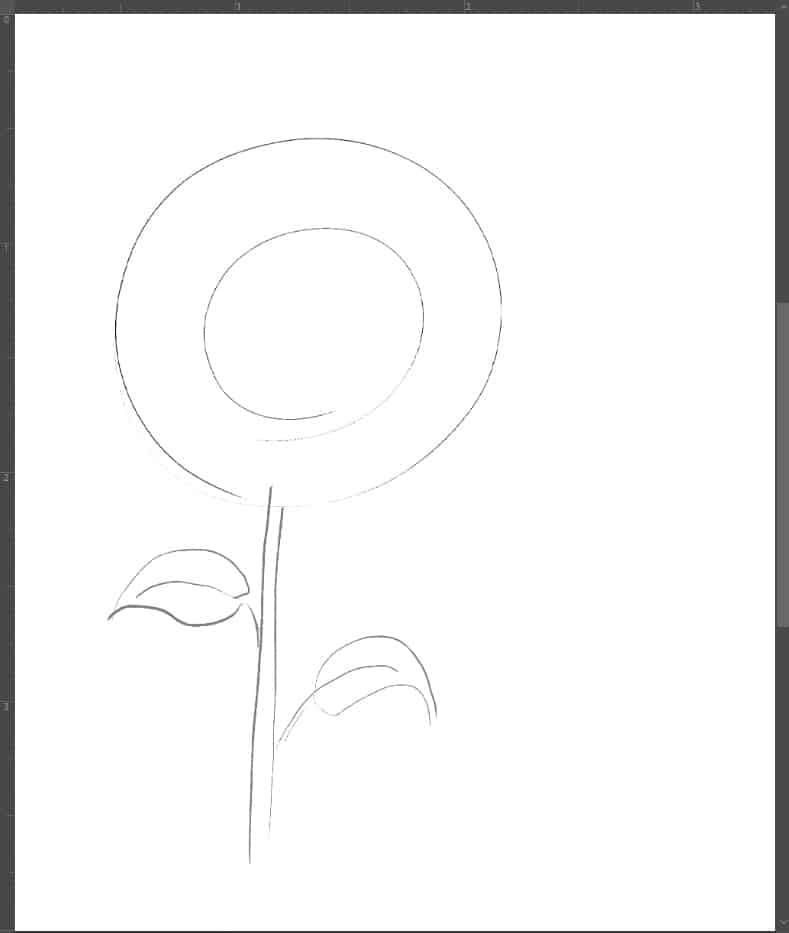
1. Give Yourself Some Structure
All art has structure. If you freehand everything without starting with something, you don’t always end up with the result you’re after. In this case, I started my sunflower drawing with two concentric circles* and the stem with a couple of leaves.
Draw lightly; you’ll be erasing some of this later.
* My grandmother, an award-winning artist and art teacher, always stressed that all things in nature are made up of a few basic shapes: ball, cone, cylinder, and cube. If you practice those, and shading, everything else will follow in time.
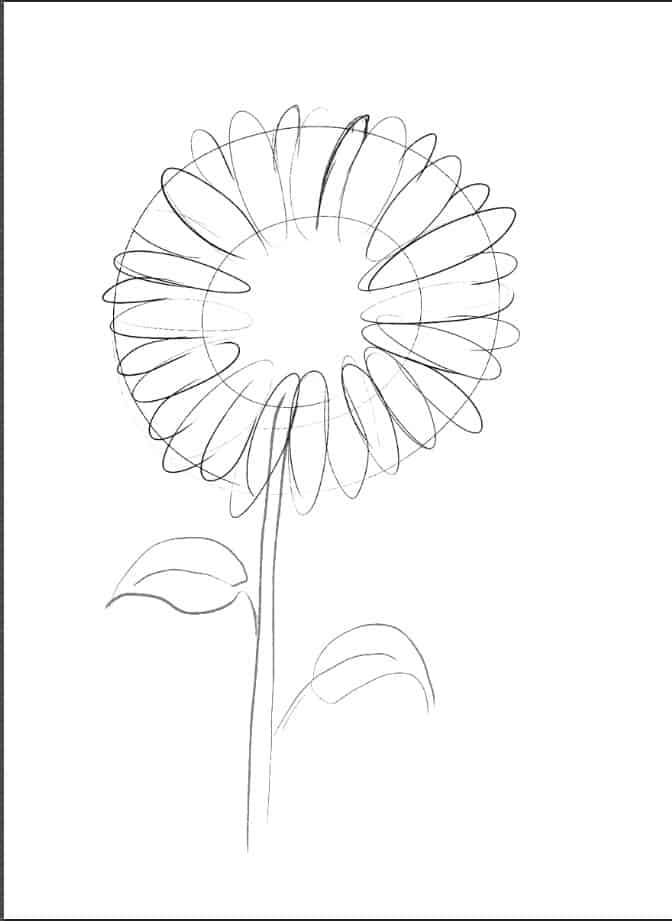
2. Sketch the Petals
The petals in your sunflower drawing don’t have to be perfect. In fact, that’s one of the really unique things about nature. Not everything is mathematically “perfect.” There are irregularities. A petal out of place, a freckle on one cheek and not the other, an ear with a weird bend in it… It’s the “out of place” things that make art more natural.
Start with the four cardinal directions — north, south, east, and west — and sketch petals there. Then start filling in the spaces between those until you’re relatively satisfied. Remember that you can always make changes later!
3. Erase Your Circle Outline and the Center of the Petals
Remember how I said to draw lightly? That’s so you can cleanly erase lines that you no longer need.
- Start by erasing the inside edge of the petals. Simply erase them until you reach the edge of the inner circle. This will become the area where the seeds will be located.
- Next, erase the inner circle.
- Finally, erase the outer circle.

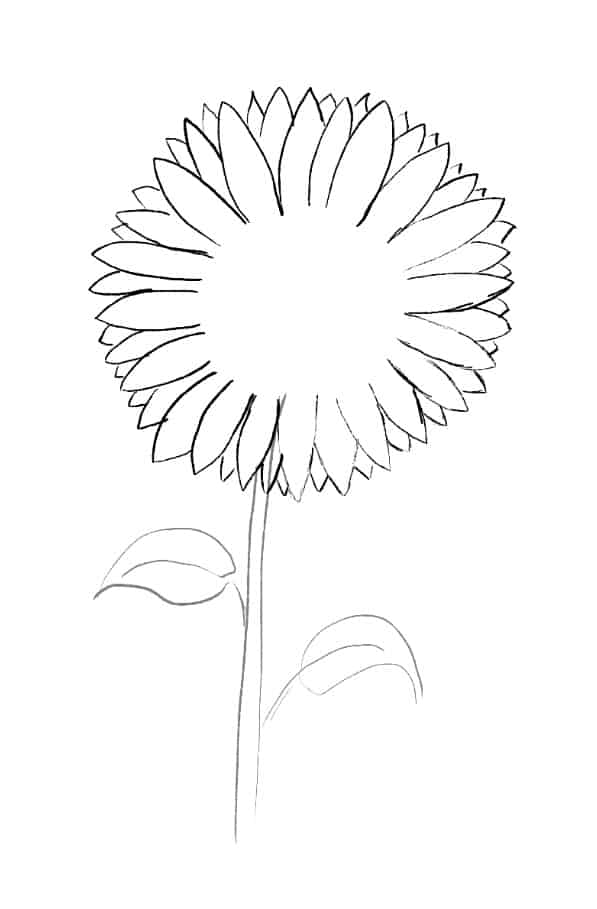
4. Clean up the Petals in Your Sunflower Drawing
Oftentimes, people don’t realize how much erasing happens when we’re drawing. That’s why sketches have to be so light. Artists don’t magically get to a great set of lines without sketching first.
For this part of my sunflower drawing, I added points to the ends of the petals and made them a little more symmetrical. I even added more petals to the edges (between the original petals) to give the flower more depth. Some sunflower varieties have more rounded petals, and some have an almost scalloped edge. I prefer the points because they remind me of wild sunflowers out in the fields.
Then I erased the old lines.
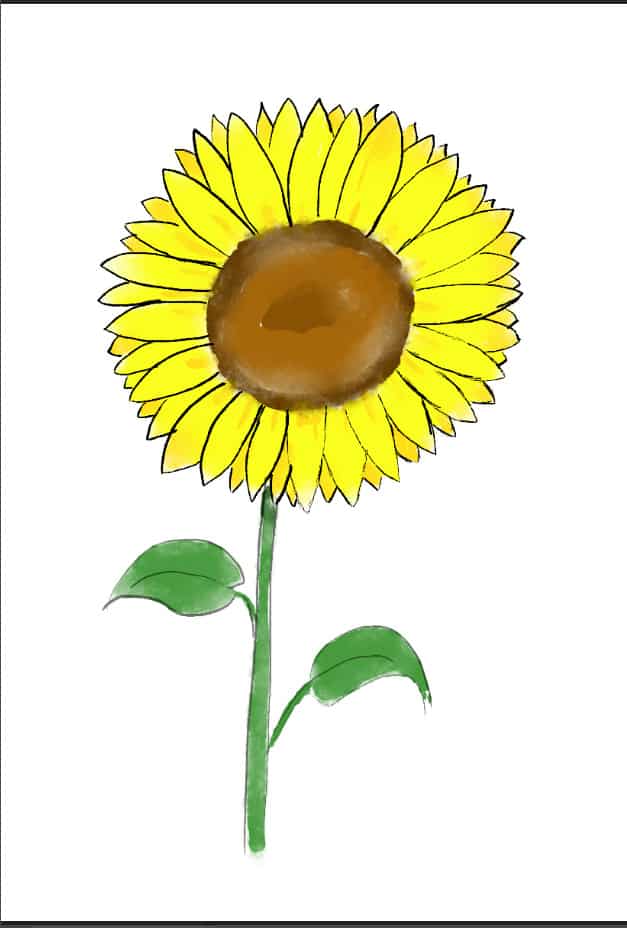
5. Add a Little Color to Your Sunflower Drawing!
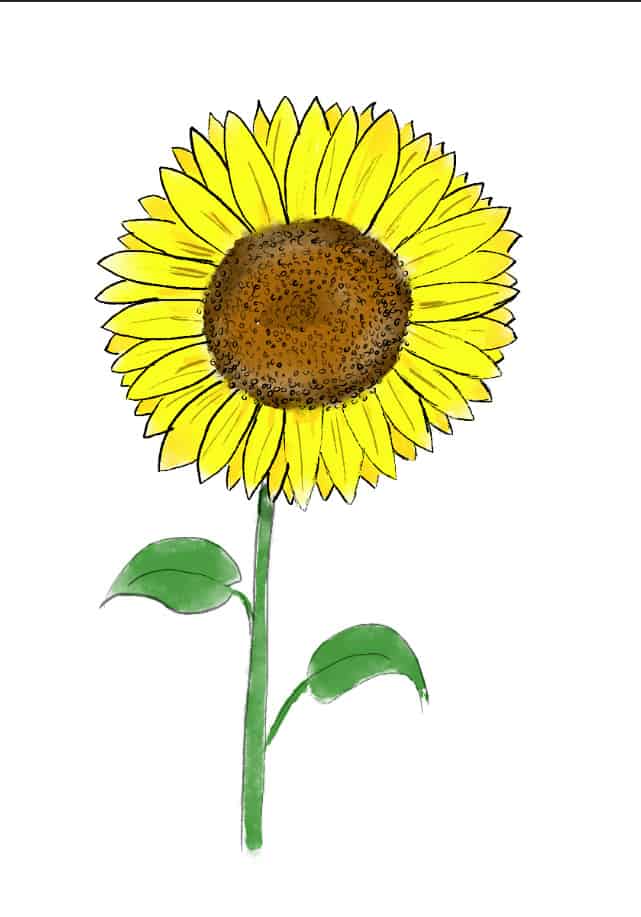
Sunflowers aren’t all one color. They are multiple shades of yellows, oranges, and browns. Depending on the variety, you may even decide to create a red sunflower drawing! For my drawing, I went for the classic sunshine-yellow sunflower. They’re one of my favorites because they herald the hottest part of the summer and stubbornly stand up to even drought in 105-degree weather.
Blendable water-based markers are wonderful for this. You can also get brush-tip pens that come with a blending pen. I highly recommend trying a few brands out.
The sunflower’s brown center has three shades of brown that I blended together. The outer edges and the very center of a sunflower are often darker than the area in between, so I used colors that reflect this fact.
The petals are also completed in varying shades of yellow-orange. Closer to the center, they’re a little darker orange, and some of the petals hidden in the back are darker too. It gives the whole sunflower drawing more depth, and we haven’t even added highlights yet.
If you’re doing this digitally, I used a Photoshop cartooning brush and a standard dry media blender. Experiment with colors until you have something you like. The “undo” button is my favorite invention after the graphics tablet itself.
6. Add a Few Details to Your Sunflower Drawing
Sunflower petals have wonderful character. They have differences in colors from the base to the tip and vein-like lines that run lengthwise. Take some orange-brown and lightly draw in a few of these veins in most of the petals.
Then, add the seeds to the center. They usually look like little circles until you get really, really close, so circles work great. I used black for those.
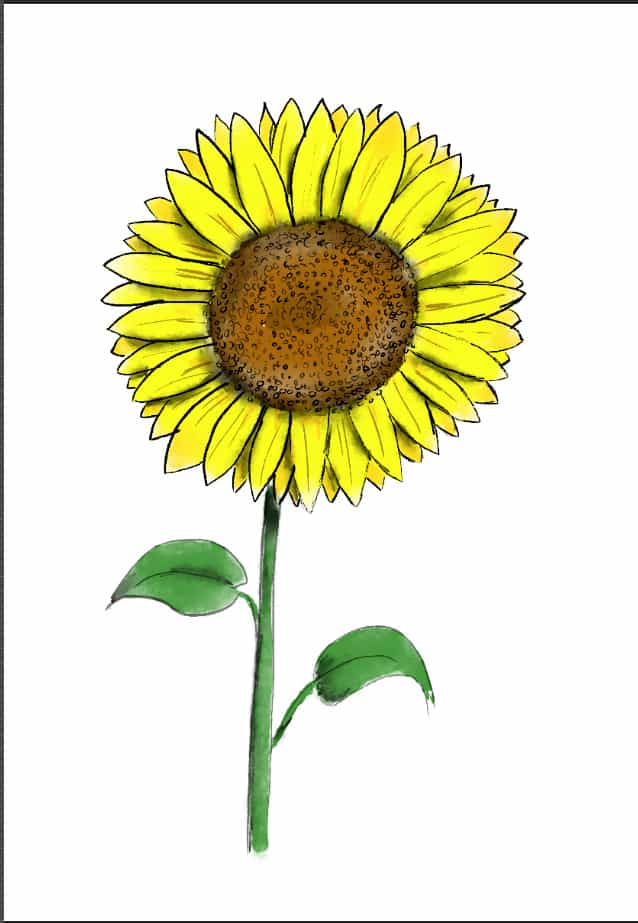
7. Add Some Shapely Shadows to Your Sunflower Drawing
Shadows provide shape.
I can’t tell you how many times I’ve heard this over the years. Whether it’s drawing or photography, the saying holds true. People often think that light is what gives shape to things, but it’s not. It’s the shadows cast by the objects when the light hits them that give them shape. So I suppose that lights and shadows give shape may be more accurate. Regardless, as you add shadows, keep in mind the origin of your light source. Where’s it coming from? The shadows fall on the opposite side of the light source. You’ll need to add highlights in the next step.
If you’re using brush pens, use the gray pen and blending pen to blend in a very small amount of gray. You can always add ink, but removing it is nearly impossible.
For digital artists, first set the layer where you’ll paint the shadows to “Multiply,” so you can see the details through the layer. Then, paint and blend the shadows.
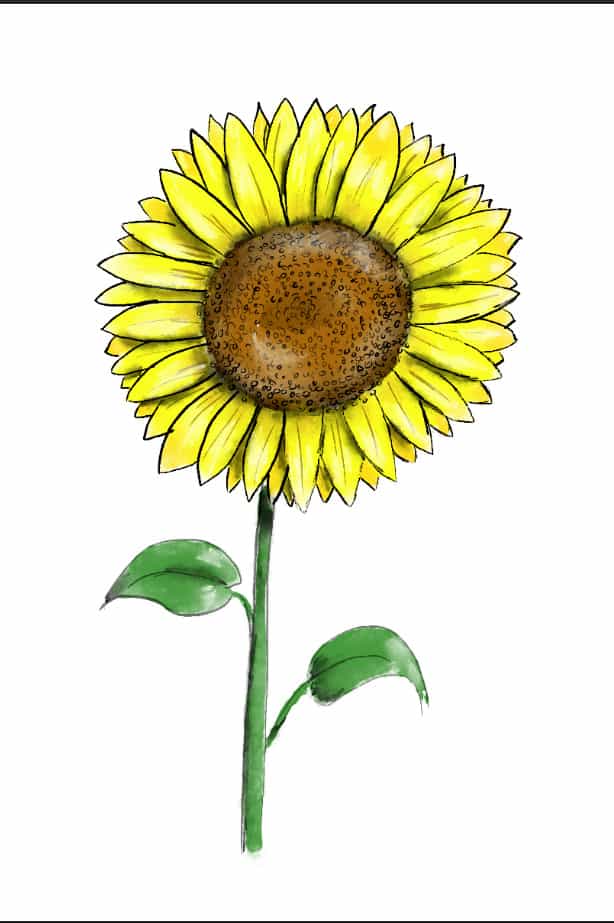
8. Now Make That Sunflower Drawing Pop
Sunflowers are relatively simple to draw, but making them pop is the hard part. In the last step, we added shadows to give a feeling of some shape. Now we’ll add highlights.
You’ll need to add highlights to the tips of the petals on the upper right side, a little bit to the right edges of the sunflower’s leaves, and the right side of the stem. In the sunflower’s center, add some to the top right and lower left.
Then, add some brighter yellow to the middle of the petal, where it bends away from the center. To the place where it attaches to the flower, add a darker orange and blend.
In Photoshop, I opened another layer for highlights and used white, then blended it in. I left the layer set as normal because white does not show up in a layer set to multiply. Once I added the highlights, I went back to the color layer for the petals and added yellows and darker oranges as appropriate.
For brush pens, make sure you have your white pen handy. These things are terrific for adding highlights, and if you use your finger to gently “smush” it a little, the ink will blend. You’ll also need a darker orange and brighter yellow.
Supplies
In the table at the beginning of this article, I explained the type of art supplies I was going to use for this project and why I prefer to work with them. For your convenience, here’s a list of affordable, high-quality products, all of which you can easily purchase at Amazon.
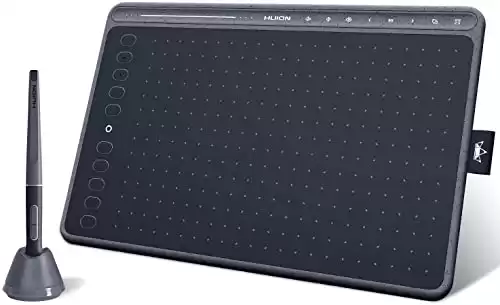
- This is the first graphics tablet equipped with 8 multimedia keys
- The multimedia keys are intuitive and can be used for a variety of artistic needs
- Can be connected with Android 6.0 (or later) phones or tablets via an adapter
- Battery-free stylus doesn't require a battery or charger
- Sleek and slim design available in 3 colors?
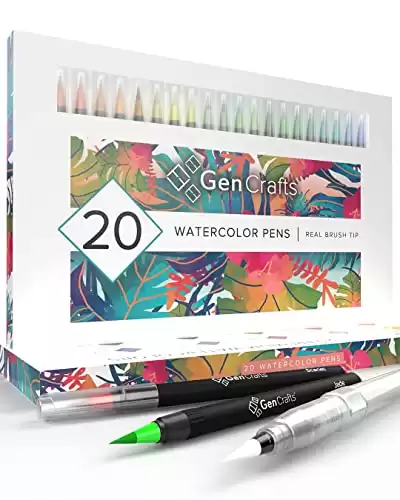
- Includes 20 brush pens filled with premium watercolor ink in 20 vibrant colors
- Budget-friendly
- Real brush tips allow you to create fine and broad strokes
- High-end, durable, well-crafted for all skill levels
- Portable, no-mess set includes a convenient storage case
- Designed for artists of all skill levels
- 17-piece set includes pencils, charcoal pencils, compressed sketch sticks
- Also includes a standard eraser, a kneaded eraser, a blender/smudge stick, and a dual-barrel sharpener
- Allows artists to experiment and combine different techniques
- Budget-friendly
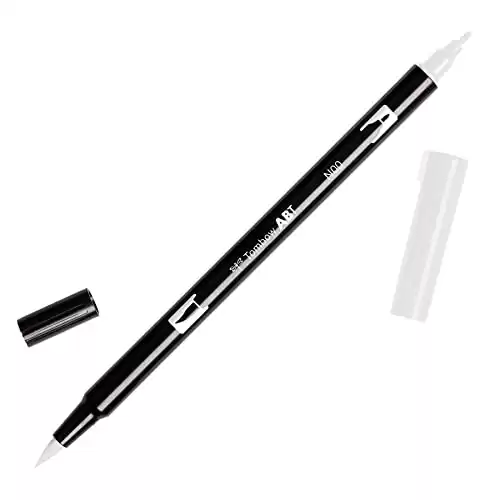
- Water-based, bleed-free pen
- Blendable
- Features nylon brush that works like a paintbrush
- Create fine, medium, or bold lines
- Self-cleans after blending
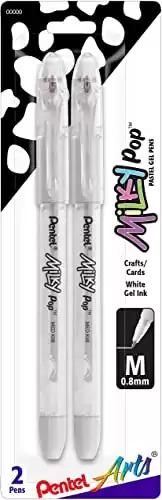
- Set of 2
- Add a pop of milky white color to any artwork
- Features smooth gel ink
- Works equally well on light or dark-colored paper
- Latex-free grip for comfortable drawing
The photo featured at the top of this post is ©


How to Add Us to Google News


Thank you for reading! Have some feedback for us? Contact the AZ Animals editorial team.