Learning how to draw a wolf takes patience. Wolves are intense and possess a high level of intelligence that most dogs lack. You can see it in the way they seem to look into you. Even though its body type is that of a dog, there’s a general scruffy-yet-beefy appearance that you need to keep at the forefront of your mind as you work.
A few favorite supplies and links to inexpensive versions are at the page’s bottom. Of course, as you draw, you’ll develop a few favorites too, but these will help you get started.
| Supplies | Reason for Preference |
|---|---|
| Drawing paper | Pick a paper you like. Ideally, it should be thicker than notebook paper because it must withstand the stress of erasing and redrawing. |
| Drawing pencils | Save money, buy a cheap set for learning, then invest in nicer pencils as you get more experience. |
| Watercolor or colored pencils | Gold for the eyes, black, brown, cream, reddish brown. |
| Erasers | Two kinds: the standard rubber type and the moldable putty type. |
| Blending stumps or blending pencils | You can use your finger; however, I find that the blending stumps and pencils give me more control. |
| White gel pen or white pencil | These are necessary for the final highlights. |
| Watercolor paint brushes | Small detail brushes are what I would use for this. |
1 — Create Structure to Build an Outline for Your Wolf Drawing
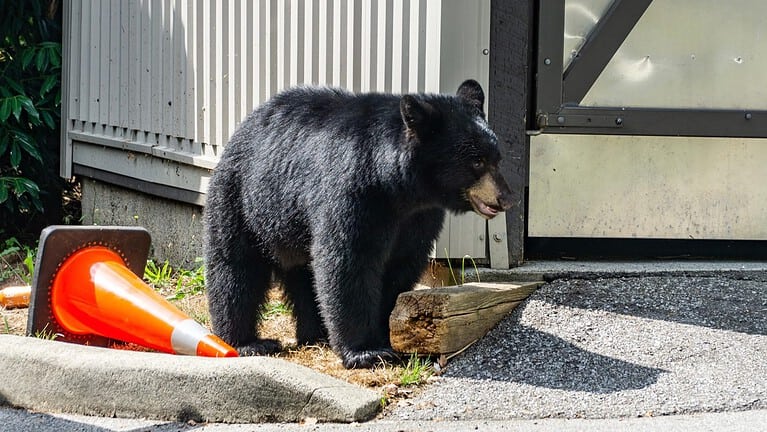
Begin with a few basic shapes, but draw lightly. These are not permanent, and you’ll have to remove them. The body and rump are two large circles, where the body is the larger. Next, make the head sort of oval because its fur sticks out all around its cheeks. Then, triangles form the ears’ shape, followed by a slightly distorted square for the snout and a triangle again for the chin.
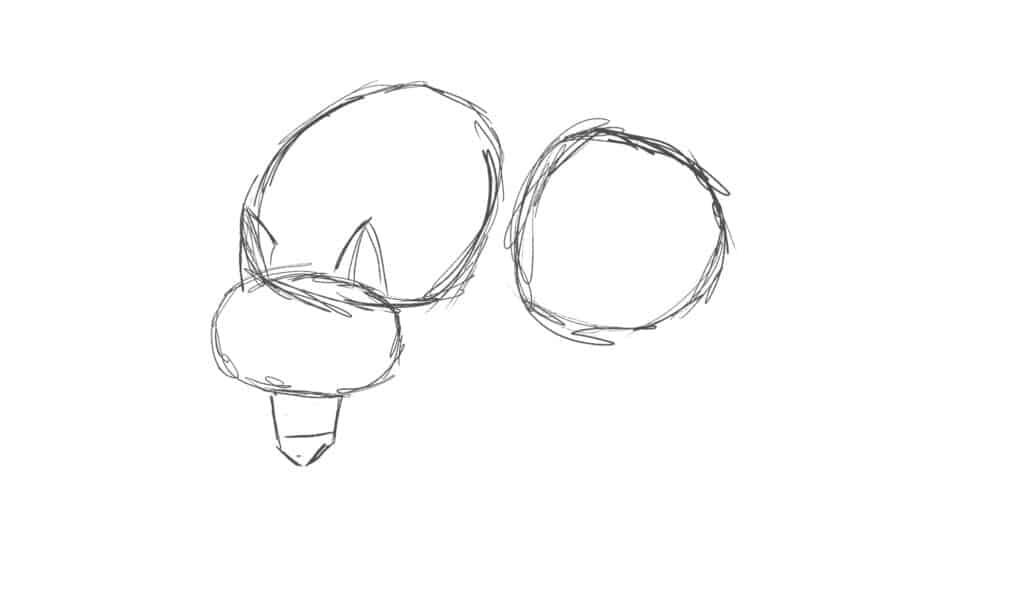
Next, add its legs — in a skeletal fashion. Quadrupeds have almost all the same joints in their legs as we do in our arms and legs. The difference is that they are all elongated. Some are missing what we call either a thumb or big toe, but animals in the Canidae family have dewclaws — the thumb/big toes. Some have dewclaws that are only attached by skin, while others are fully functional claws. The point was simply that while bodies change appearance, the underlying structure is still recognizable from one mammalian species to the next.
2 — Sketch the Outline for Your Wolf Drawing
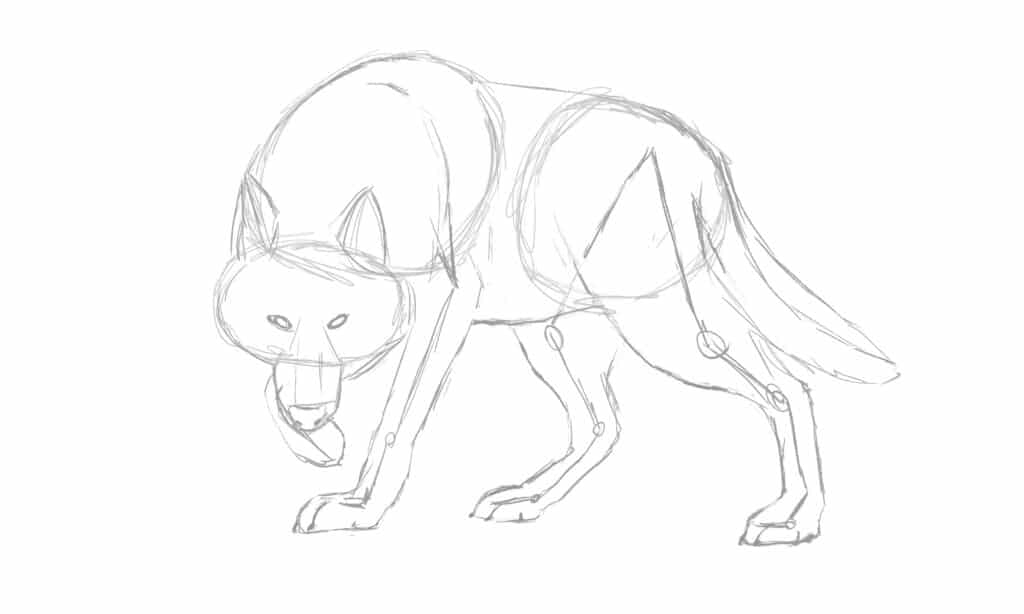
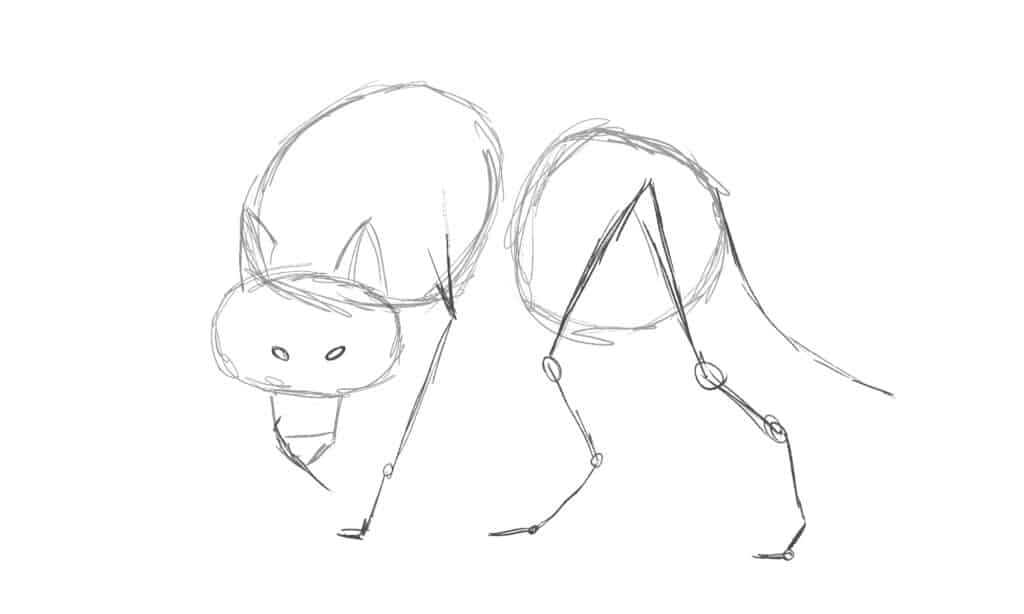
The first thing to do is create a rough outline of your wolf using the basic shapes as a guideline. If you feel, like I did, that the torso circle didn’t quite cover enough ground to give the impression of a powerful animal, adjust your outline. Make it look like you think a wolf should look.
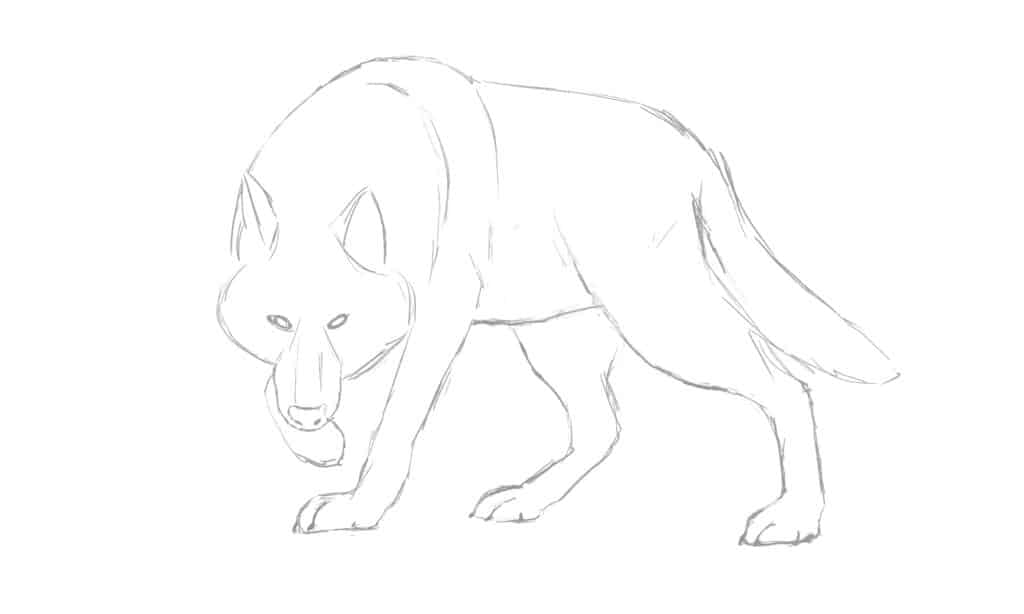
I strongly recommend looking up photos of wolves to get a better idea of their body language and overall appearance. The more detail you want in your wolf drawing, the more study you’ll want to do.
Once you have an outline you like, clean it up by removing the basic shapes. You may even want to redraw the outline slightly darker, but that’s a preference.
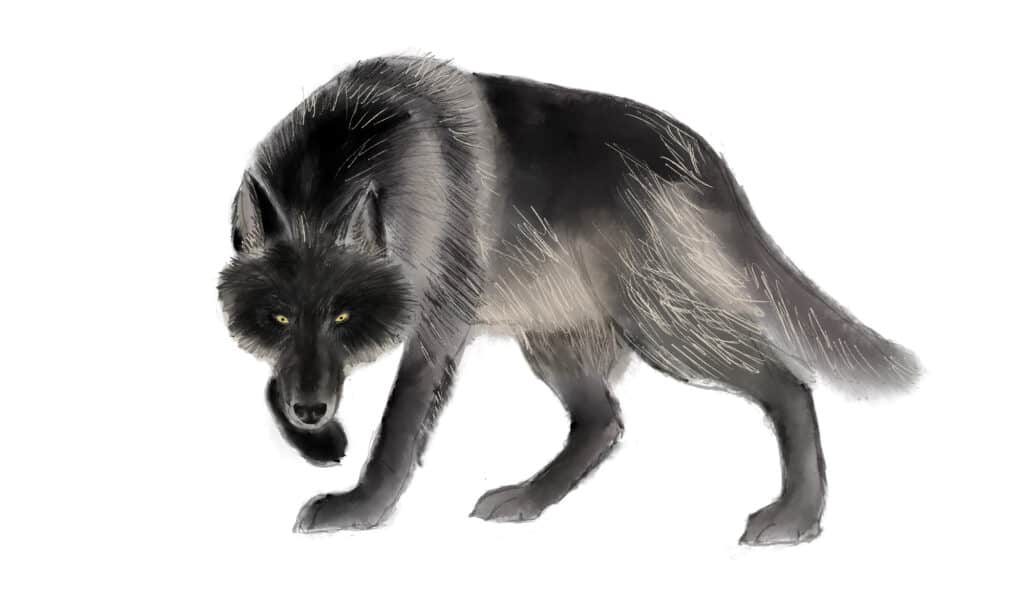
3 — Add Base Colors to Your Wolf Drawing
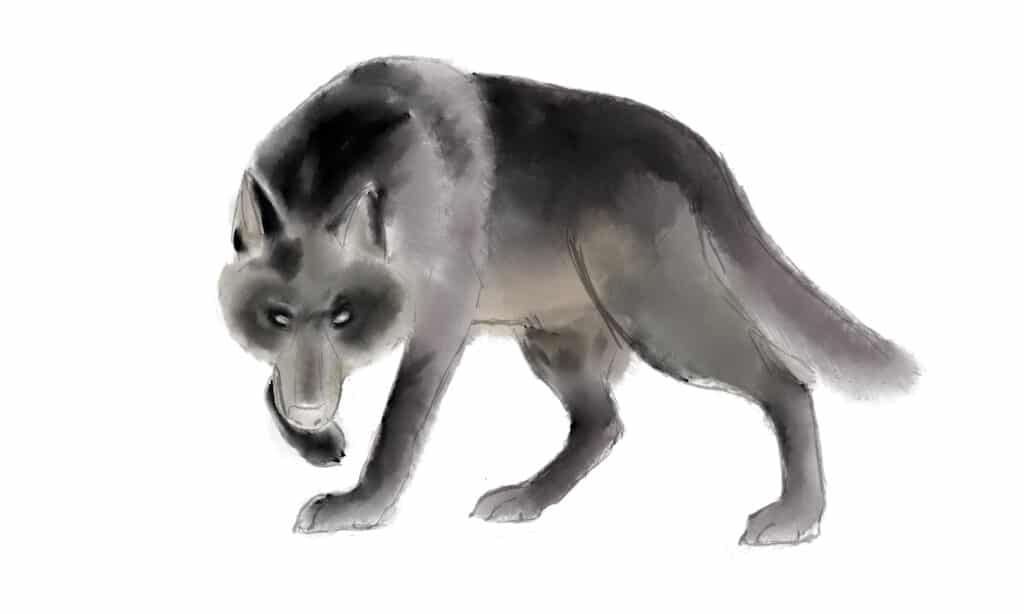
Wolves tend to have darker saddle colors and lighter legs and underbody. Our wolf is pretty dark overall because I love black wolves. Their dark coloration and often bright-colored eyes make them mesmerizing.
Their coat is similar to that of a husky or malamute in that they have very dense undercoats with coarse guard hairs over the top. Much of the color you see in a photo comes from the guard hairs, but as the animal moves, guard hairs move, allowing you to see the undercoat. How much of the undercoat you see depends on the body part. For example, the belly is nothing but undercoat, but the guard hairs on the back and sides are densely packed.
Add different shades of black to the face and saddle areas; also add it to the legs if you like. Take note around the shoulders where the undercoat lightens up at the edges of the shoulder blades. The wolf’s shoulder blades move as the wolf does, causing the guard hairs to lift up and allowing you to see lighter undercoat colors.
Blend all the color edges. Make them flow nicely from one to the next. Also, blend the bottom edges of the ear on the far left into the head; if you don’t, you’ll wind up with a very dark ear that doesn’t seem to match the other items.
4 — Facial Details
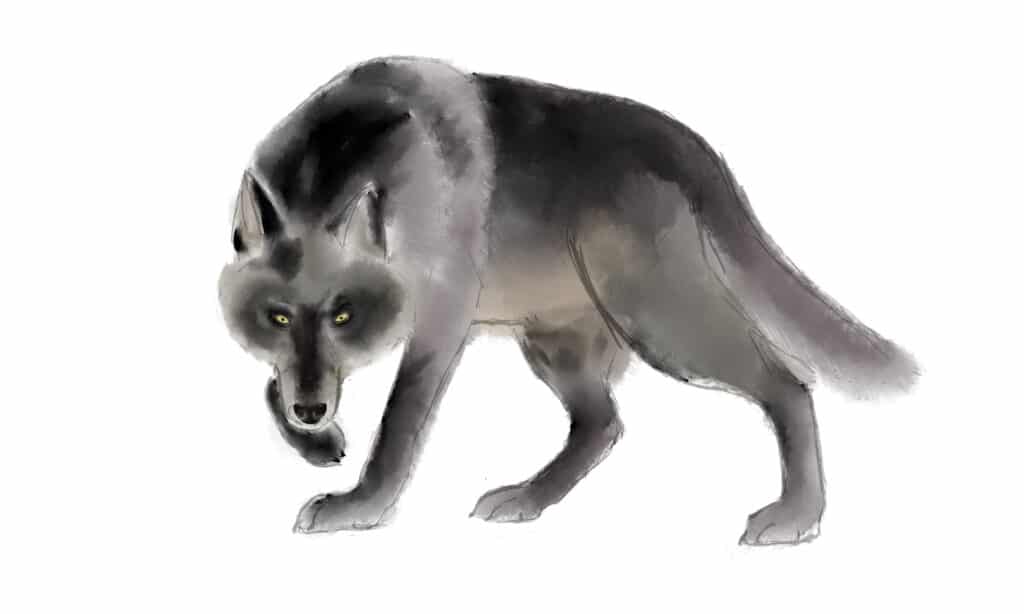
Look closely; the wolf’s eyes are yellow but don’t have any depth yet. So we’ll save the eyes for the next step.
Take your time when you work on the nose; drawing it correctly is oddly difficult. In this step, I spent more time on the nose than I did with the eyes. It may seem premature to add highlights to any part of your wolf drawing; however, taking care of the nose and eyes earlier in the process helps me draw the rest of the wolf more accurately.
Dog and wolf noses are moist, and it’s evident in photos. Draw nostrils on the wolf’s nose by coloring two diagonally-placed ovals in black, then highlight the inner and top edges in a crescent shape using white or by removing some of the black with a moldable eraser. Soften the edges of the highlights, and step back a bit to look.
At this point, you’ll want to blend the sketch into the body in strategic locations. The best places to start are:
- Near the base of its ears.
- Along its belly, where it crosses in front of the leg.
- The lower edge of the tail.
- The back edge of the far right leg.
Digital artists: Create a group of layers for the nose and the eyes and take the time to rename each layer. Your wolf will have at least 10 layers, so grouping them will help you keep everything sorted.
Paper artists: When you draw the nose, start with a light layer of black, then darken the nostrils gradually. You won’t have as much to remove for highlights if you build it up in smaller amounts.
5 — Create Depth by Building Gradually
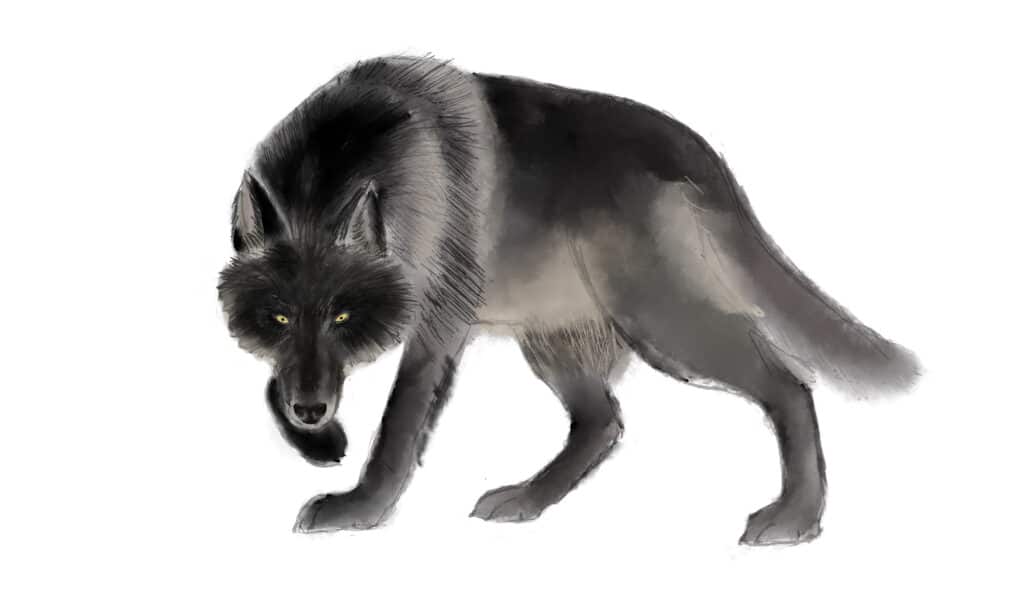
Wolves have thick, downy undercoats with hard guard hairs that protect them from the elements. Their guard hairs aren’t just one color, even though there’s generally one predominant color. It’s this characteristic that helps them blend into their surroundings.
I started on the left side of the wolf drawing, drawing some of its guard hairs, but not most. It’s just to give me something to work with as I build up the colors. Draw the guard hairs in relatively short and quick strokes. Otherwise, they will look like dreadlocks.
To build up the coat, start with a medium brown for guard hairs — beginning at the tail end of the wolf. Instead of starting on the left, as we do for many drawings, I started this on the right because I want the wolf’s fur to look a little more natural.
Draw them in the direction of the fur; it doesn’t all go in the same direction — there are places where it grows at a different angle. How much of this you do and how long you draw them determines how shaggy your wolf’s coat looks.
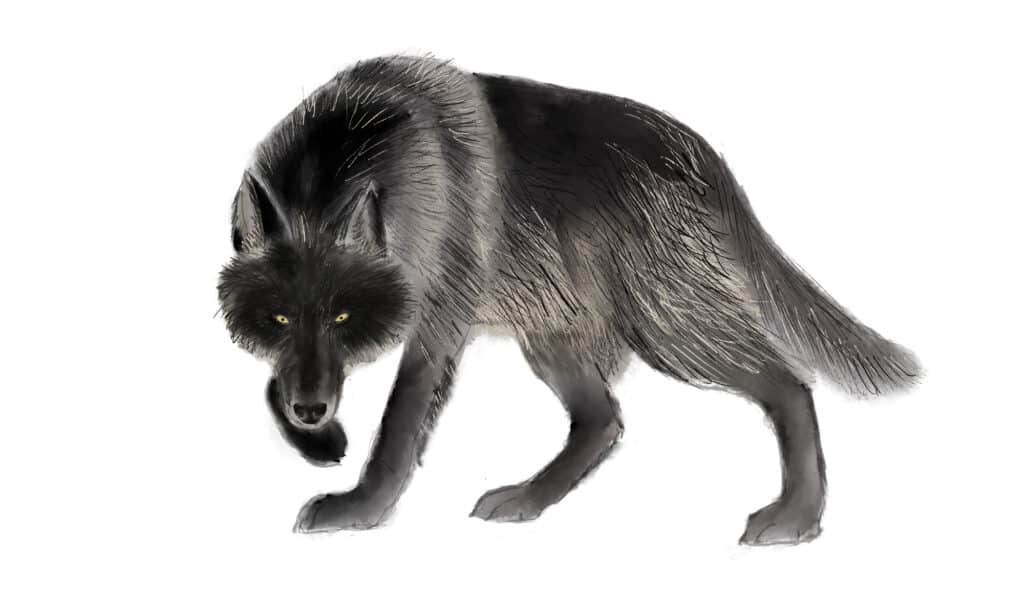
Next, add the black guard hairs. As this is the predominant color, you’ll spend more time drawing them.
The last layer of guard hairs is also part of the highlighting step of your wolf drawing. Most black wolves even have shimmers of silver-white in their coat, but you’ll see more of it where the light hits. So, place more of the silvery-white on the left, towards the back and along the bottom edges of its cheeks.
Digital artists: Create a new layer for each guard hair color.
Paper artists: I use white pencils for these, but you could also use a toothpick with a little Titanium White paint. However, the paint is more difficult to control, so a white pencil is your best bet if you’re new to this.
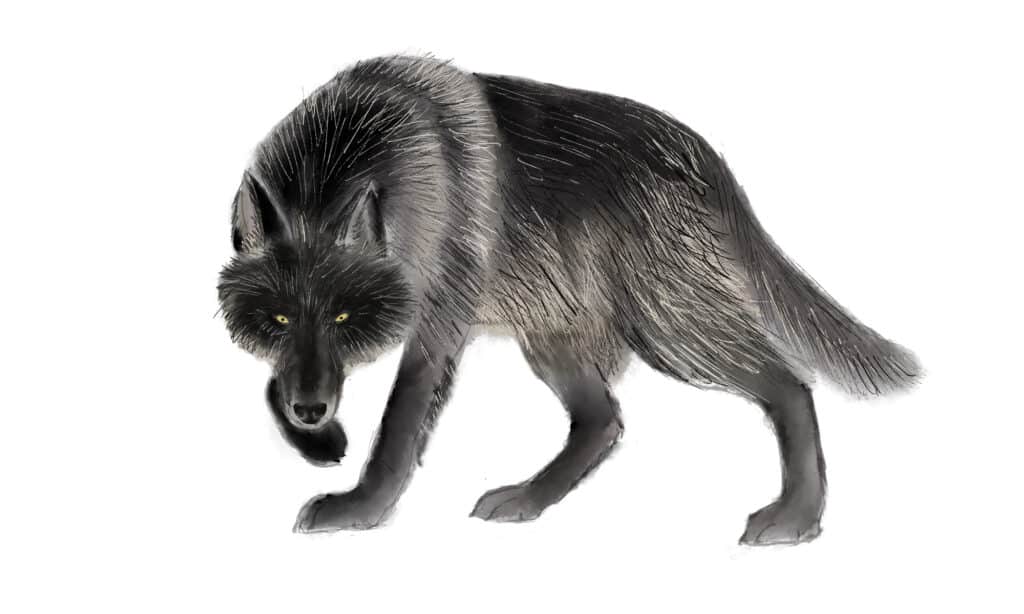
6 — Add a Few Shadows
The shadows in your wolf drawing are deepest the further away from the light you get. In this case, it’s coming from the left, slightly above and behind the far left shoulder.
So, very gently add some darker areas on the legs, right side of the snout, and bottoms of the eyes. If you drew and shaded the basic shapes, think about the ball shape you drew. Eyes are balls. Go with it!
Digital artists: Create a new layer for the shadows and set it to “multiply.”
Paper artists: Adding shadows to fur requires a little care. Try to add it just at the base of the guard hairs, but if you make a mistake, it’s okay; just pull out some of the shadows and try again, then redraw a guard hair or two.
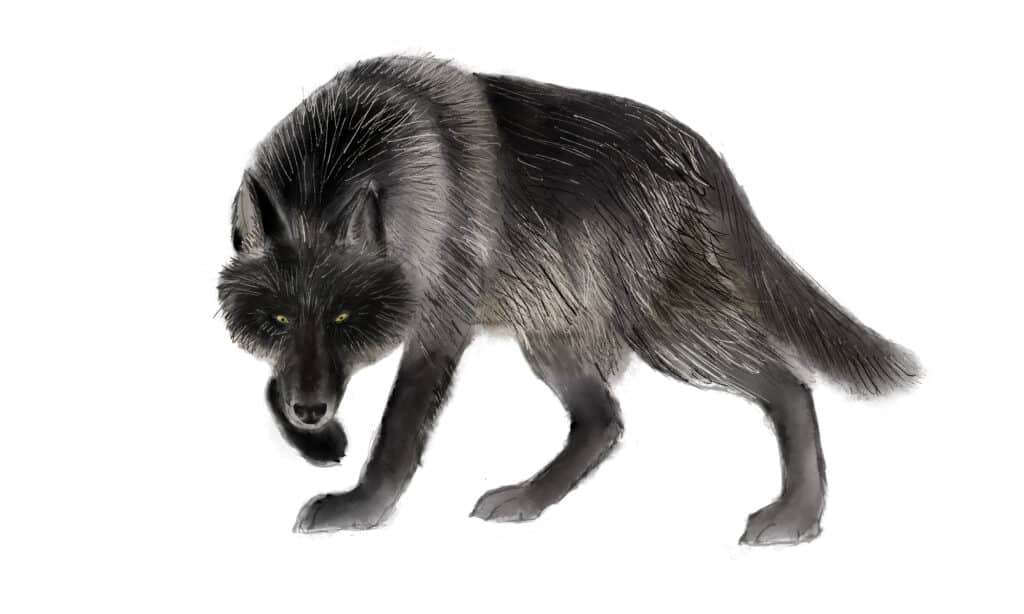
7 — Highlights
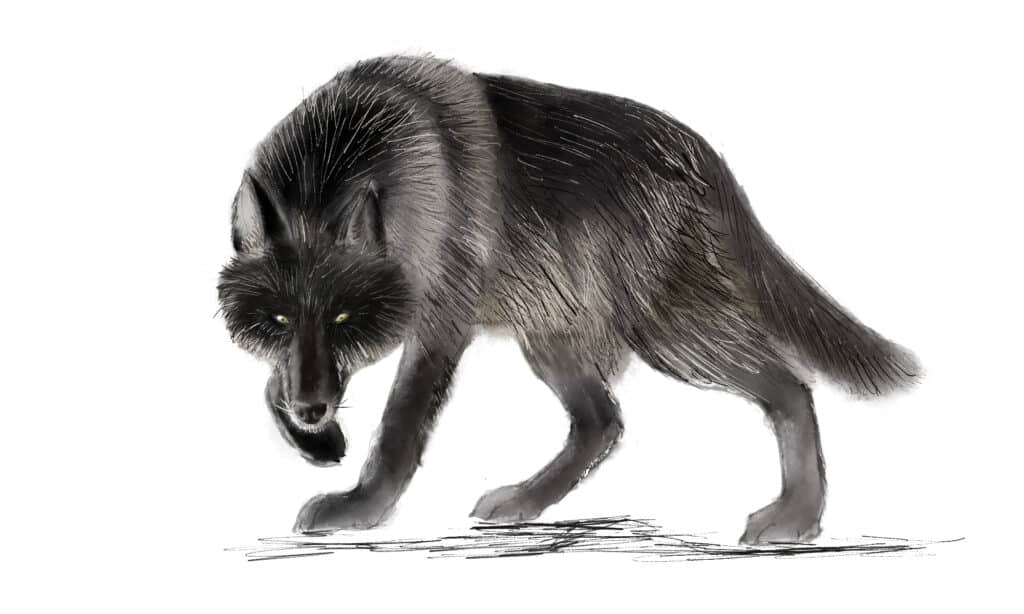
The light here is coming from the left, aiming toward the viewer. It means that there’s a little rim of highlighting along the wolf’s far-left shoulder, the left edge of its paws, and snout. There’s also a little coming through the fur at the bottom edge of its cheeks and small highlights at the top left of its eyes.
At this point, I also add a few whiskers. Make sure you add long whiskers and the little ones around its chinny chin chin.
Digital artists: This too should be in its own layer.
Paper artists: Gently add highlights using either a white pencil or gel pen. The gel pen can’t be reversed, so go slowly.
8 — Finishing the Details of Your Wolf Drawing
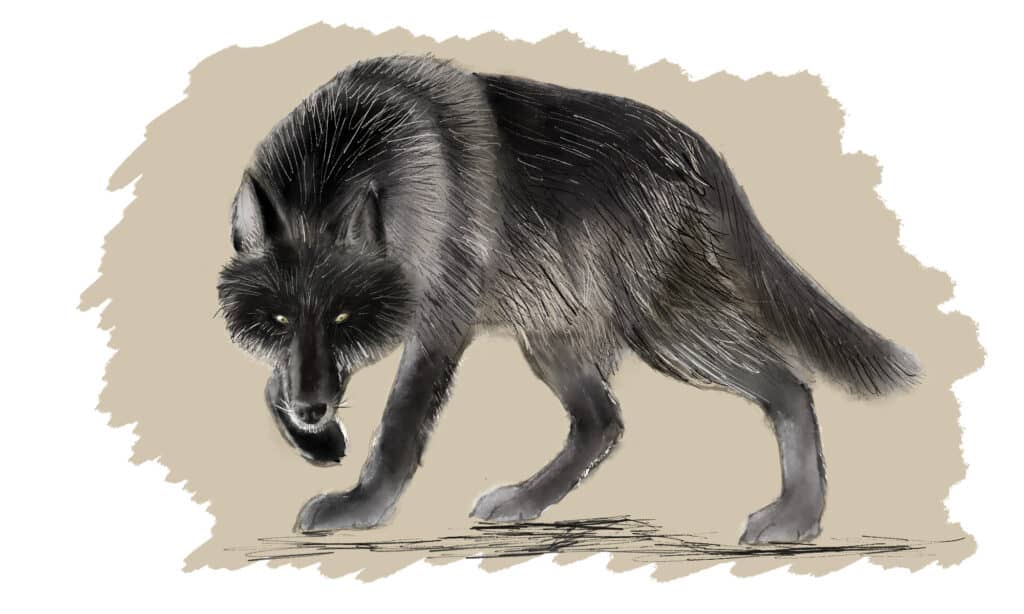
No matter how tempting it is to keep adding stuff to your wolf drawing, don’t.
Take a few days away from it; you’ll come back fresh and ready to look for places to improve. Maybe the highlights on its paws need work, or maybe its snout needs a little shadow. Whatever it is, go ahead and make those changes and then let it sit again.

- 157 lb. paper with neutral pH
- Sturdy, 2-ply paper with smooth rendering surface
- Perfect for pencil, pen, dry brush, and other mediums
- 11" x 14"
- Made in the USA

- Includes 48 artist-grade colored pencils
- Highly pigmented
- Water-soluble
- Unique triangular design makes these pre-sharpened watercolor pencils easier to hold and control
- Break-resistant

- Designed for artists of all skill levels
- 17-piece set includes pencils, charcoal pencils, compressed sketch sticks
- Also includes a standard eraser, a kneaded eraser, a blender/smudge stick, and a dual-barrel sharpener
- Allows artists to experiment and combine different techniques
- Budget-friendly

- Set of 2
- Add a pop of milky white color to any artwork
- Features smooth gel ink
- Works equally well on light or dark-colored paper
- Latex-free grip for comfortable drawing

- Pack of 6
- Kneaded rubber/gummy erasers
- Erases and/or lightens most dry media
- Also helpful for blending, highlighting, shading, smoothing, correcting, and brightening drawings
- Easy to clean by kneading between your fingers

- This is the first graphics tablet equipped with 8 multimedia keys
- The multimedia keys are intuitive and can be used for a variety of artistic needs
- Can be connected with Android 6.0 (or later) phones or tablets via an adapter
- Battery-free stylus doesn't require a battery or charger
- Sleek and slim design available in 3 colors?

- Wear on either hand
- Prevents smudges from your hand transferring to your tablet
- Comfortable, soft, Lycra and Nylon
- Flexible
- Black
Up Next
- How to Draw a Dog In 7 Easy Steps
- How To Draw A Turkey in 6 Easy Steps
- How To Draw A Cat in 7 Easy Steps