
Cats are their own creatures, aren’t they? You can’t really shape their behavior the way you can a dog. They just have to be met on their own terms, for who they are. Their bodies fit their personalities – they have free-floating shoulders that are only connected by muscles and tendons. And then there’s their spine – I’m not even sure how they get into some of the positions they do without making a trip to the chiropractor their next stop.
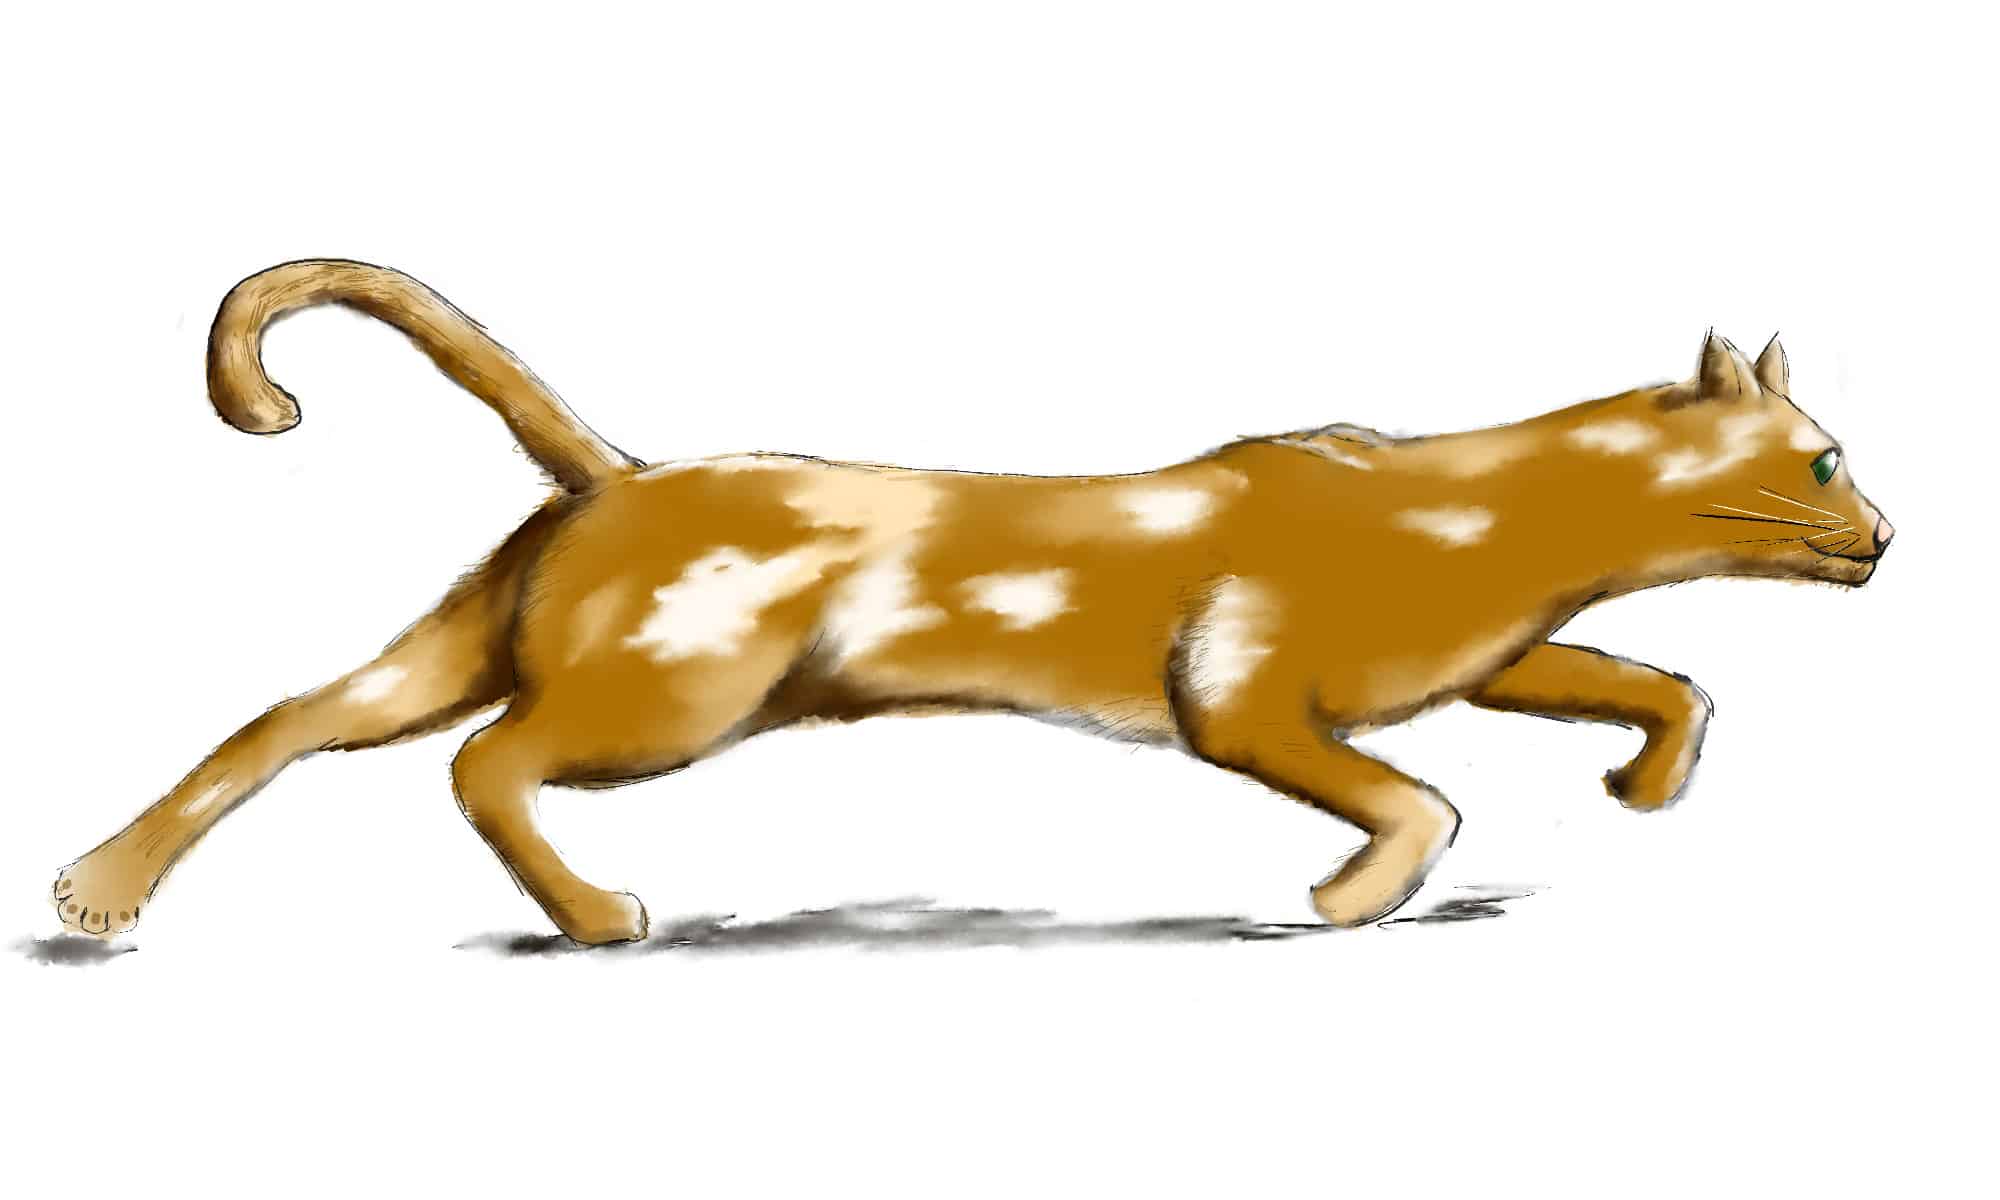
Regardless, keep all these things in mind when you start working on your cat drawing. I decided to draw a cat in the midst of a galloping stride to make the drawing a little more interesting.
If want to learn how to draw animals, it’s important to understand how their bodies function; maybe not the intestines, but definitely how the muscles and joints move together. Study lots of photos of the animal in different positions. A great resource is Animals in Motion, by Eadweard Muybridge. The photo plates are old and not always the cleanest, but this book is invaluable to me as an artist. It was published in the late 1800s, during the early days of photography. At the time, it was a groundbreaking approach to photographing moving objects.
Supply List
I created this cat drawing in Photoshop, using my trusty Huion HS611 graphics tablet. However, you could easily do the same drawing on paper with a few supplies.
| Supplies | Reason for Preference |
|---|---|
| Drawing paper of your choice | I tend to prefer a smooth Bristol because it’s versatile and easy to find online. |
| Drawing pencils | You can sometimes get a beginner set at your local dollar store, but Amazon has dozens of choices. A basic set often comes with an eraser, blender, sharpener, and a few pencils. A basic No. 2 pencil also works just fine. |
| Watercolor pencils | You won’t need many colors for this – choose a couple for the cat and its eyes. |
| Erasers | Most sets come with gum and moldable rubber erasers, but I often buy extra moldable erasers. |
| Blending stumps or blending pencils | These are a necessity. Some may like blending with their fingers, but I like the precision of blending stumps or pencils. |
| White gel pen | A white gel pen can add highlights, especially after you’ve created a watercolor image. Experiment. |
| Watercolor paint brushes | Using a watercolor pencil is only the first step, the second is getting it a little wet with a paintbrush. |
1. Give Your Cat Drawing Structure
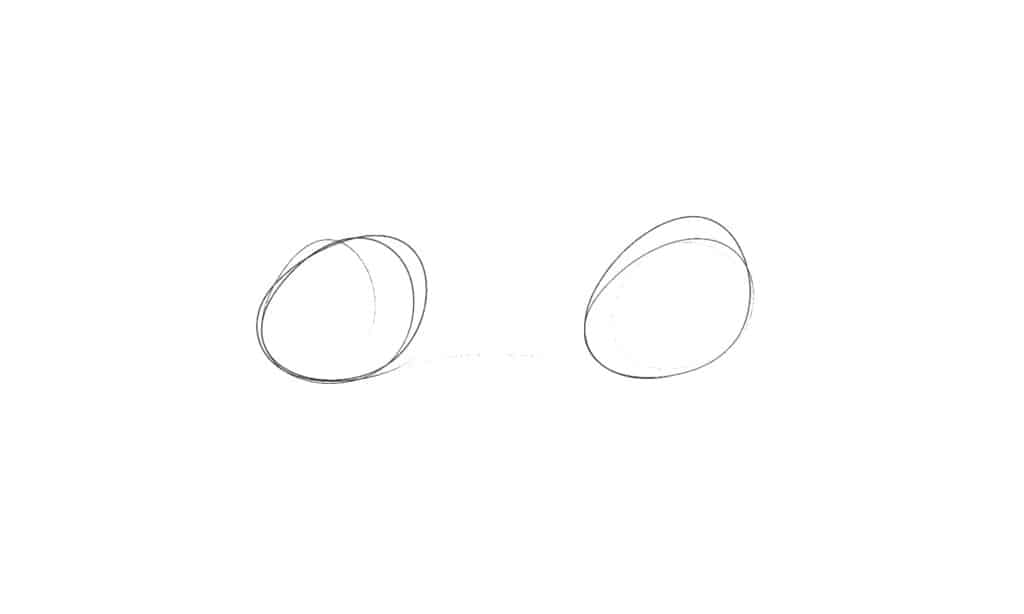
Start with two circles. If you followed the horse drawing, these will be different. Make them roughly the same size, but the rump could be just a smidge larger if you want. Spread the circles apart a little more, because when a cat runs, its entire body lengthens. They have far more cushioning and flexibility in their vertebra, which allows them to get a longer stride length than a dog of the same size could achieve.
Digital Artists: I did steps 1-3 in separate layers. I like the control it gives me, but you could easily do them in one layer.
Add the Legs, Tail, and Head
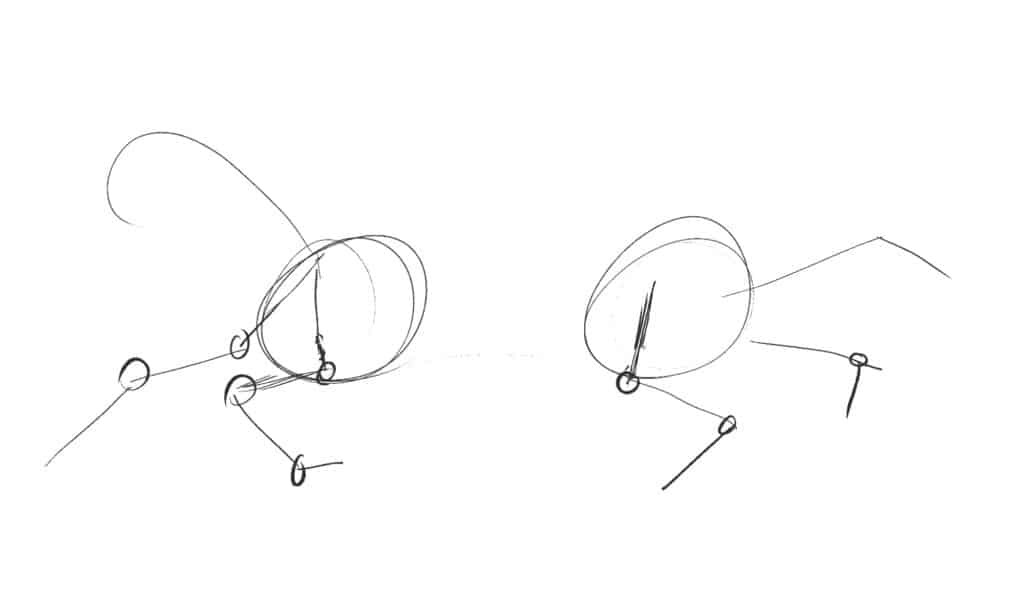
Next, draw short, straight lines to represent the legs, neck, and head. Four-legged animals have knees, ankles, elbows, and wrists just like humans do, they’re just elongated. Most of them walk and run on their toes. Where each of these joints meets, draw a small circle. it helps give you a little bulk for the joint.
Add a candy cane shape for the tail, a line for the neck, and for the head, a short line at an angle. Cats’ heads are smaller and more angular than, say, a dog’s, so unless I’m drawing a portrait of a cat with its face in full detail, I often don’t draw a circle for the head.
I find this step helps to get the ratios right. Unless I want a cat that just looks wrong, that is.
2. Create an Outline for Your Cat Drawing
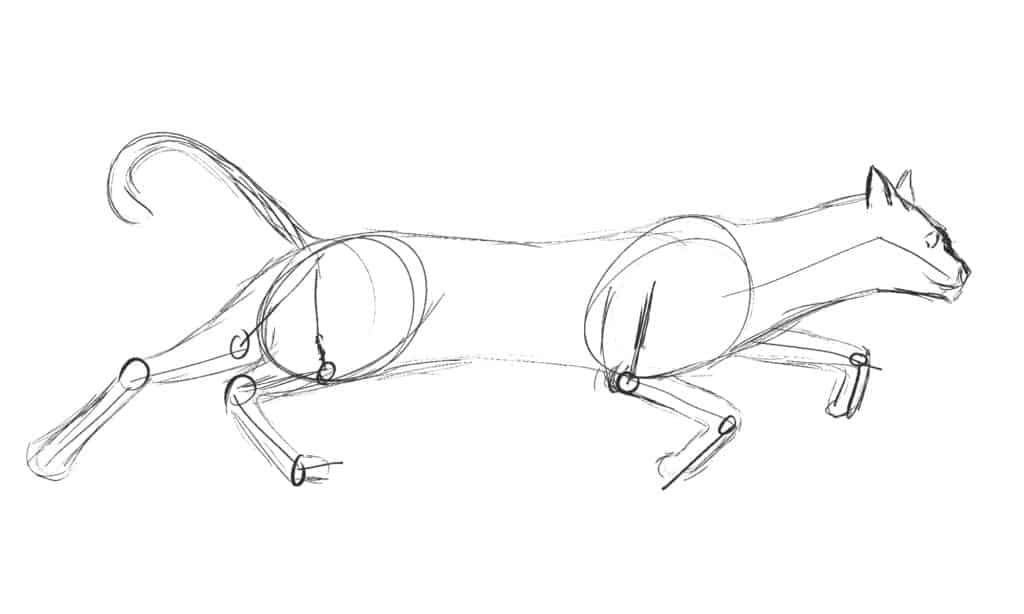
It’s time to sketch a rough outline. As with the other steps, draw lightly – a 2H pencil works well. It’s a hard enough graphite that you won’t have a dark line unless you press really hard. Don’t worry if it isn’t perfect, you can always make adjustments.
In my sketch, the cat’s back left foot is turned slightly inwards, so that you see the bottom. A cat’s extreme flexibility means that they use every bit of stride length they can, but they also run erratically.
3. Clean Up Your Cat Drawing
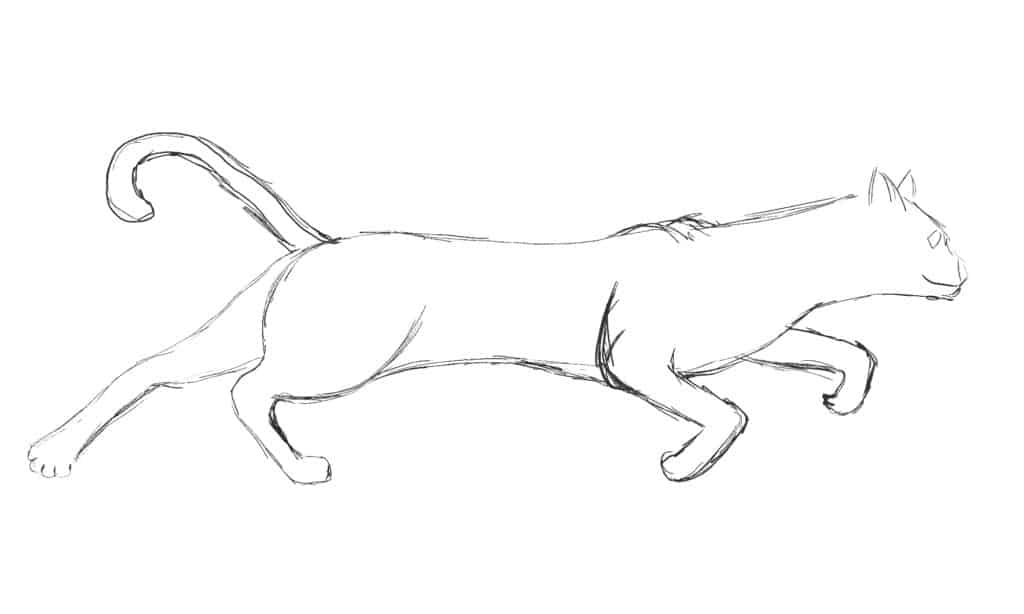
After you have an outline that pleases you, clean it all up. Gently erase the circles and other structural items like the skeletal sticks. When you clean up the outline, you can erase the old one after redrawing the outline over the top, or just clean up the lines. It’s your choice, but I frequently draw a new outline over the top of the sketch before erasing the original rough sketch.
Remember that even short-haired cats are fuzzy. They don’t have any hard edges around the backs of their legs, belly, and tail. At some point, you’ll need to erase some of your outlines in those areas.
In either case, make sure you’ve got something that looks like a cat.
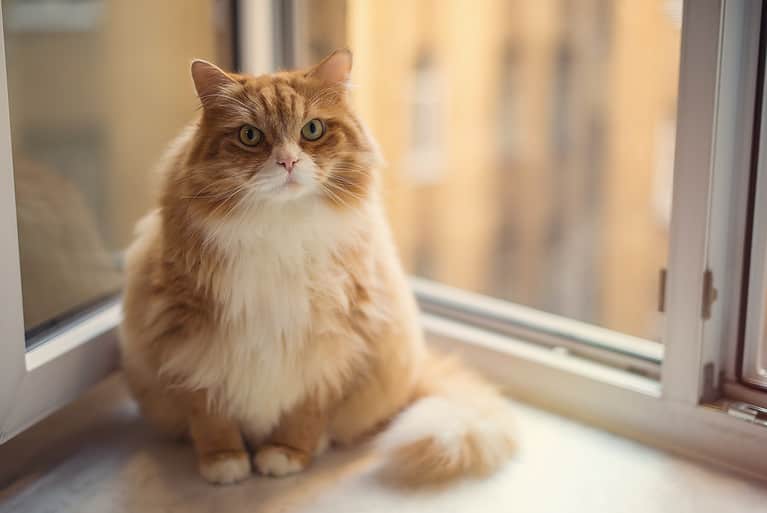
4. Color Your Cat Drawing
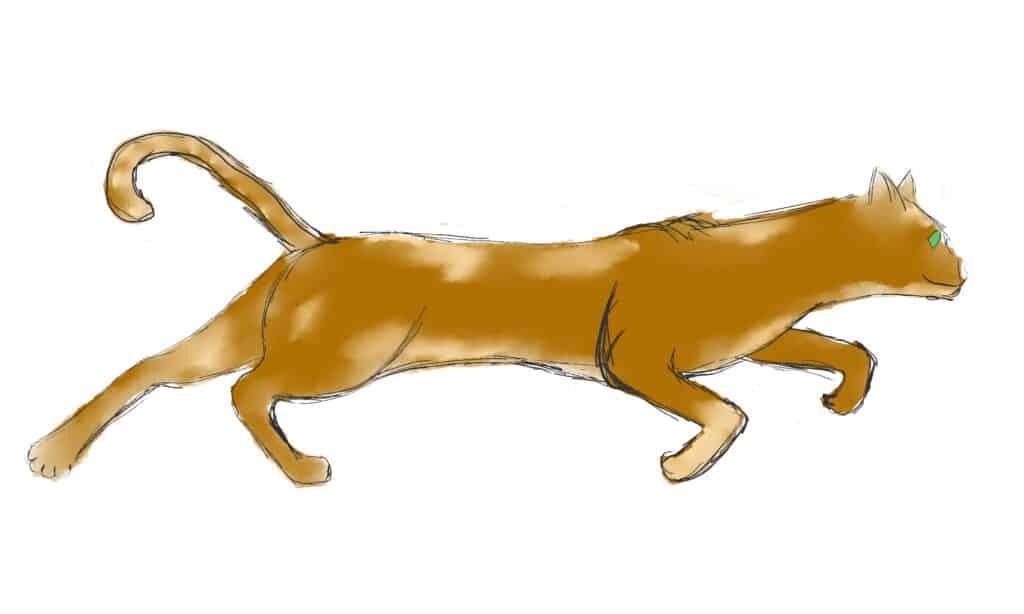
Orange cats are so much fun. That color just screams attitude. Honestly, it doesn’t matter what color you choose, just choose something you like. Your first cat drawing probably shouldn’t be black, however. Don’t get me wrong, I love black cats, but they’re really hard to draw well. For the record, they and black dogs are really hard to draw or photograph. The black fur makes getting the light just right nearly impossible, and at the same time, vital. There aren’t a lot of shadows to work with because the entire animal’s body is a shadow.
Give the cat some funny markings, or don’t. They have so many fun patterns in their coats that unless you’re drawing something specific like a tabby, you can have fun with it.
Paper artists: If you’re using black for shadows, go ahead and dab the color with a damp paintbrush. Let it dry before moving on. However, if you’re using darker shades of your color, wait before doing this.
Digital artists: Create a new layer for this step and each of the following steps. Place the color layer below the outline.
5. Creating Shape in Your Cat Drawing
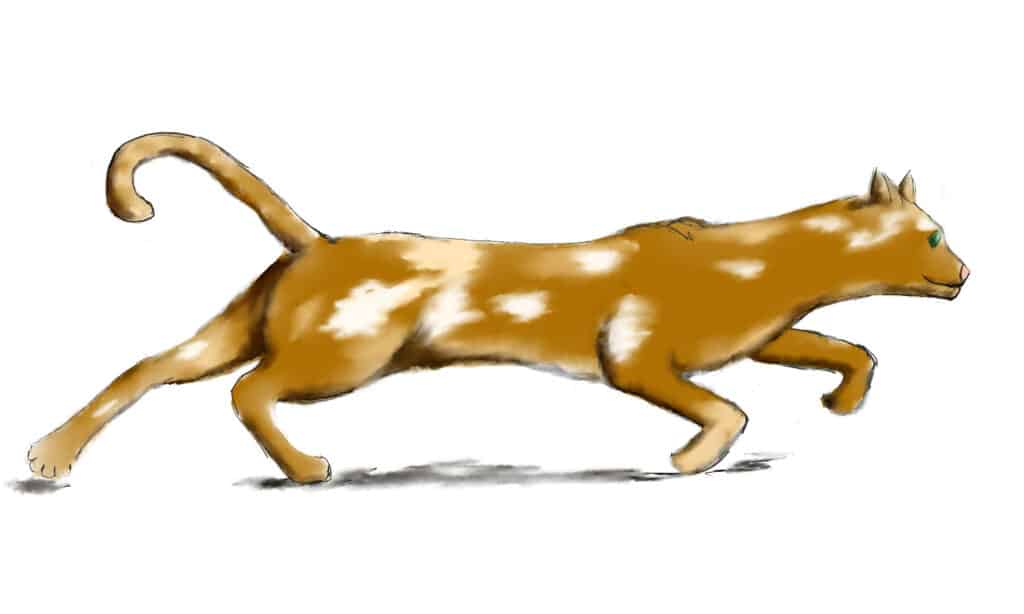
This is when it starts looking like more than just a doodle with an accidental ink sploosh on it. Adding shadows to your cat drawing will give it the shape it needs in order to look more alive. At this point, you can still add more color blotches if you like.
Remember your light source!! For this one, I have the light coming from above and slightly to the right of the cat. The shadows will be deepest farthest away from there – around the tail, belly right in front of the back legs. There are smaller shadows under the chin and the edges of its legs as well as inside and behind the ears.
Take a look at its eye. The combination of color and shadow in an eye is more complex than you would think. The iris is often more than one color, and in a cat’s eye, it’s very large. Cat’s eyes are also large, and if you look at one from the side, it’s almost as if the iris doesn’t reach the front of the eye – it’s just clear. Add shadow just along the bottom third of it, and round the shadows a little to give it shape.
Create your shadows with either a black pencil or a darker shade of the cat’s color. However, with colored pencils, you can often create deeper colors by going over it more with the same color. In color drawings, I like to use a darker shade or more of the color unless the shadows are really dark. If you think about it, shadows in daylight aren’t pitch-black, they’re often the same color just darker. So, that’s how I draw.
Blend the shadows, pulling from the darkest edge towards the light source. It helps it feather out a bit.
Paper artists: If you haven’t already, dab the colors in your cat drawing with a damp paintbrush.
Digital artists: Set the shadows layer to “Multiply” and place it on top of the color layer.
6. Highlighting Details in Your Cat Drawing

Light and shadow are two sides of the same coin, one can’t exist without the other.
In your cat drawing, add a touch of white to the areas opposite the shadows. You’ll need to add highlights to the nose, top 1/3 or so of the eye, leading edges of the legs and feet, tail, and ears.
Paper artists: If you’re using a gel pen, do this one area at a time, in very small amounts. Use your finger to blend just a little as you go.
Digital artists: Create a layer for highlights and place it on top of all other layers.
7. Add the Finishing Touches to Your Cat Drawing

Before you do this, give your drawing a day or so away from your eyes. When we work on the same thing for too long, one or two things can happen: The first is that we miss things that need to be addressed, and the second is that we don’t see how good it actually is.
Once you have a fresh pair of eyes, as the saying goes, pull out your cat drawing.
Look for things like whiskers. Did you add them? Cats have long whiskers they use to determine whether they can fit into tiny spaces.
What about the pads on the toes of that back foot? Add four little dots.
In mine, the nose also needed attention. I added a little more shading to it.
After this, set it down again, walk away, then come back and appreciate your hard work.
Links to Supplies
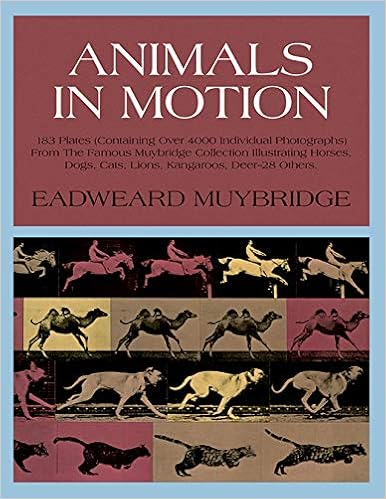
- Features a comprehensive selection of Muybridge's famous animal photos
- Different animals are shown performing typical actions, such as walking, running, leaping, or flying
- All photos appear on ruled backgrounds, while most are taken from 3 angles
- Some actions feature as many as 50 shots
- Muybridge is considered to be the ultimate reference for artists

- 157 lb. paper with neutral pH
- Sturdy, 2-ply paper with smooth rendering surface
- Perfect for pencil, pen, dry brush, and other mediums
- 11" x 14"
- Made in the USA

- Includes 48 artist-grade colored pencils
- Highly pigmented
- Water-soluble
- Unique triangular design makes these pre-sharpened watercolor pencils easier to hold and control
- Break-resistant

- Designed for artists of all skill levels
- 17-piece set includes pencils, charcoal pencils, compressed sketch sticks
- Also includes a standard eraser, a kneaded eraser, a blender/smudge stick, and a dual-barrel sharpener
- Allows artists to experiment and combine different techniques
- Budget-friendly

- Set of 2
- Add a pop of milky white color to any artwork
- Features smooth gel ink
- Works equally well on light or dark-colored paper
- Latex-free grip for comfortable drawing

- Pack of 6
- Kneaded rubber/gummy erasers
- Erases and/or lightens most dry media
- Also helpful for blending, highlighting, shading, smoothing, correcting, and brightening drawings
- Easy to clean by kneading between your fingers

- This is the first graphics tablet equipped with 8 multimedia keys
- The multimedia keys are intuitive and can be used for a variety of artistic needs
- Can be connected with Android 6.0 (or later) phones or tablets via an adapter
- Battery-free stylus doesn't require a battery or charger
- Sleek and slim design available in 3 colors?

- Wear on either hand
- Prevents smudges from your hand transferring to your tablet
- Comfortable, soft, Lycra and Nylon
- Flexible
- Black

- Suitable for watercolors, acrylics, inks and gouache
- Professional round brushes
- Made from goat hair and high-grade nylon
- Sturdy and durable
- Ergonomic wooden handles with champagne-colored metallic finish