
Microgreens are highly nutritious and easy-to-grow plants. You don’t need to buy any special seeds either. These delicious and small plants can be grown in paper towels, water, or in a small patch of dirt. You can grow microgreens in containers on your own or use a grow kit. Are you interested in growing microgreens indoors? Thankfully, these plants don’t need a lot of space or care to thrive. Follow along for a step-by-step guide on how to grow microgreens indoors, including common problems.
What are Microgreens?
Not everyone has heard of microgreens. While this is true, you’ve likely seen these plants. Technically, microgreens can be nearly any plant species. They are small greens harvested right after the true leaves sprout. Microgreens are used in salads, sandwiches, and as garments. They add a pop of color to most dishes. These small seedlings also have an intensive aromatic flavor.
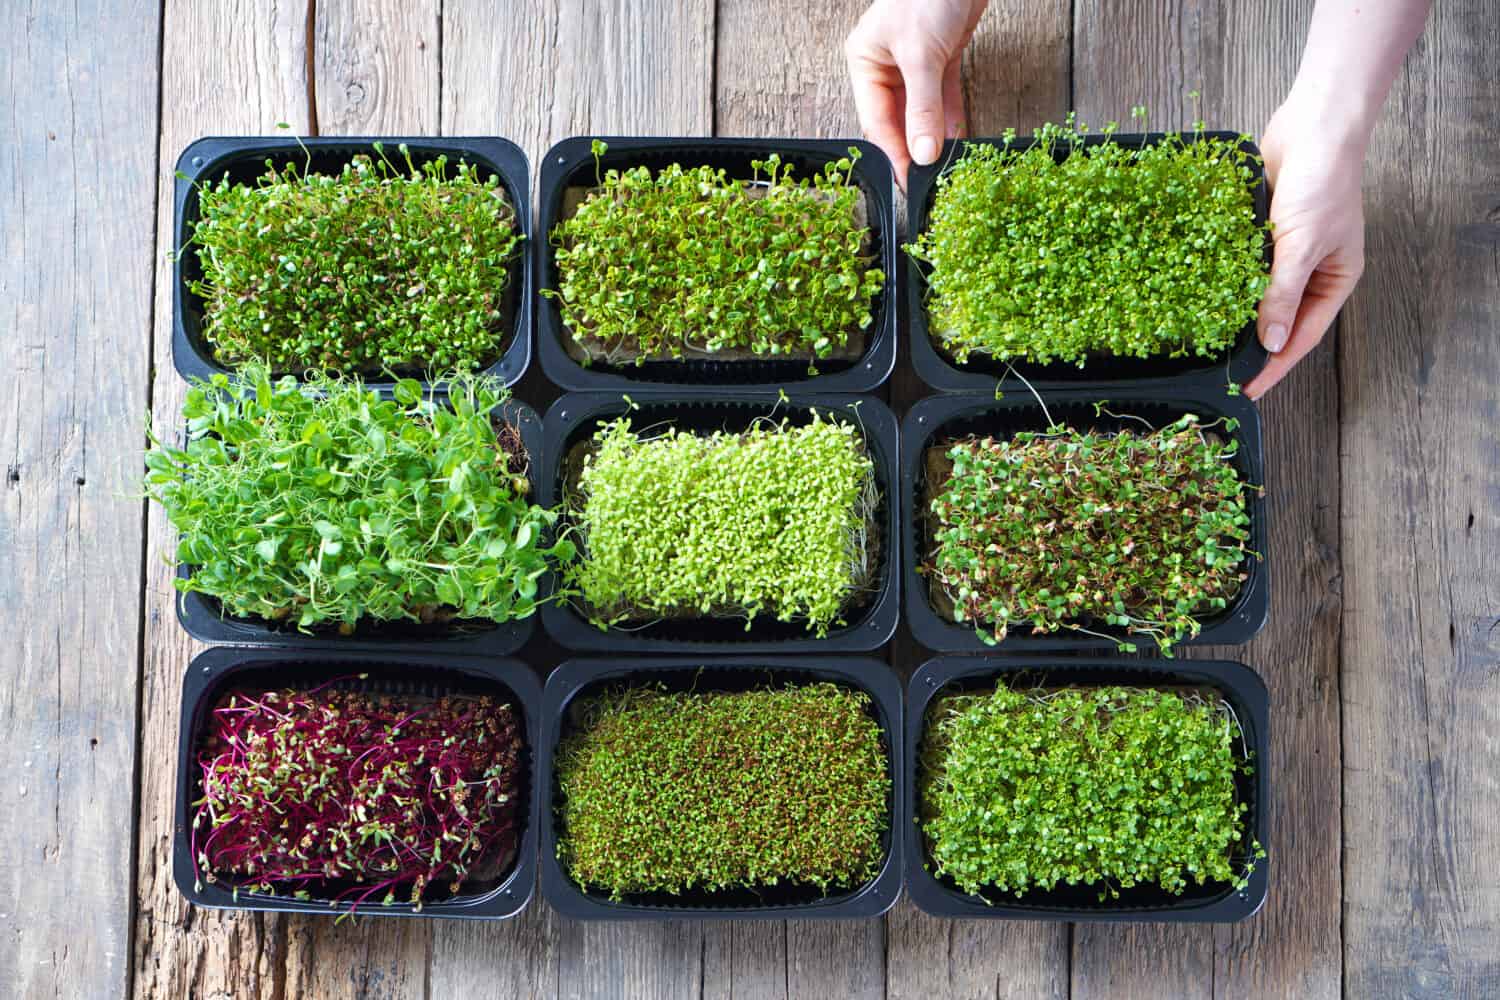
Microgreens is a general term. There are many different types. One of the most common microgreens grown is pea microgreens. They are perfect for garnishing dishes. Radish microgreens are also common. The color and size depend on the variety. Radish microgreens though pack a lot of flavor. They also hold many benefits, including their highly nutritiousness.
Other microgreens include:
- Beets
- Basil
- Cilantro
- Mustard
- Arugula
- Chard
- Kale
- Broccoli
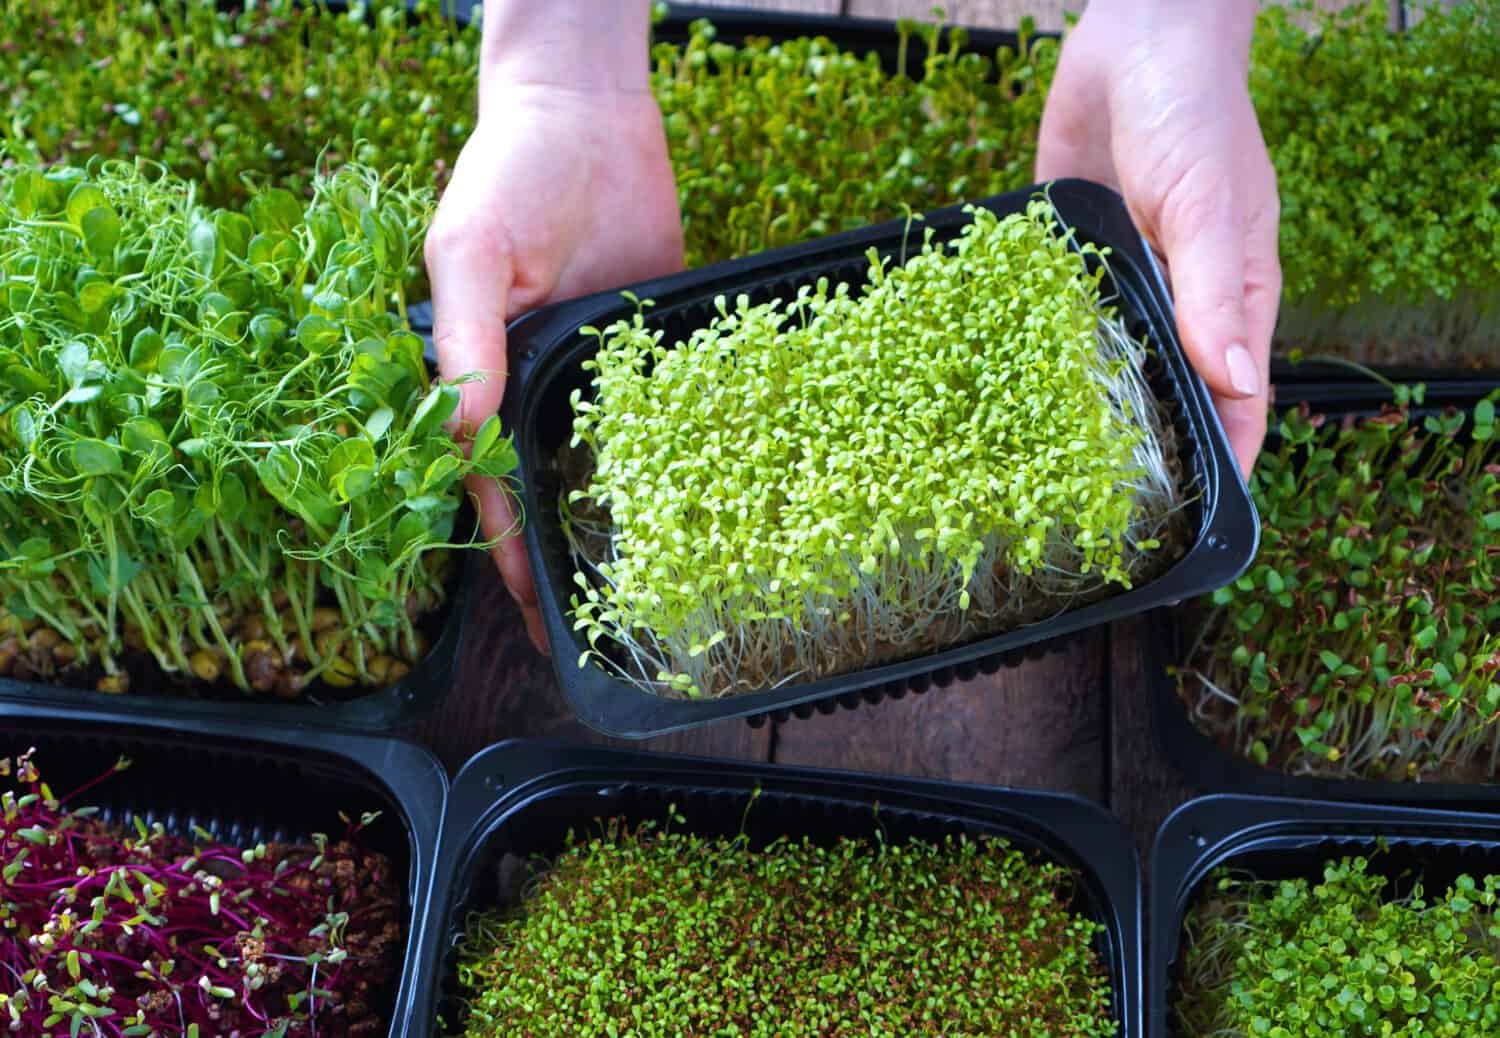
Microgreens are small leafy green seedlings.
©Varavin88/Shutterstock.com
How to Grow Microgreens Indoors
Growing microgreens indoors doesn’t have to be hard. They are easy to grow indoors, especially because you can manipulate the environment. Follow along for a quick and east step-by-step guide on how to grow microgreens. Depending on the plant and variety, you can harvest your microgreens as early as seven days after seed.
Microgreens are quick-growing plants that can be harvested as early as 7 days.
©Varavin88/Shutterstock.com
Step 1
The first step is to prepare the container and growing medium. Although you can use soil in a container, microgreens can also be grown in a paper towel or with only water. Many kits also come with growing mats that leave no mess. These growing mats are perfect if you’re looking to maximize space. It’s also great if you’re using a grow light indoors. Honestly, though, it doesn’t matter the container you use. Many people use jars, plastic cups, pie pans, and cut-up milk jugs. Microgreens also don’t need a lot of soil. Always read the instructions on your seed packet before distributing the seeds. Some microgreens require more soil or coverage than others.
You don’t need to grow microgreens in soil.
©Arina P Habich/Shutterstock.com
Step 2
Next, you’ll need to locate a warm and bright spot indoors or set up lighting. Microgreens are generally forgiving. These plants aren’t picky about their lighting conditions and take only a few weeks to grow to harvest. You can grow microgreens in a bright spot in your kitchen, in trays with grow lights, or by a window. The window should receive plenty of lighting. Microgreens need at least 4 to 6 hours of bright direct light a day. If you use grow lights, be sure to program them to turn on and off automatically.

Microgreens can grow underneath grow lights.
Step 3
The third step is to water only as needed. Once you’ve spread the seeds in the container and growing medium, water the seeds thoroughly. To germinate, they need a combination of light and water. If you are using soil, some gardeners recommend adding a light layer of moist soil on top, instead of digging holes and placing seeds inside. So, how much water does a microgreen plant need? Over watering isn’t common. You don’t need to pour water into the tray or container. Instead, you can fill up a spray bottle and spray the top level of soil to keep it evenly moist. Too much water in an indoor plant can attract pests. In just three to four days, you should see small sprouts emerging from the growing medium.
Step 4
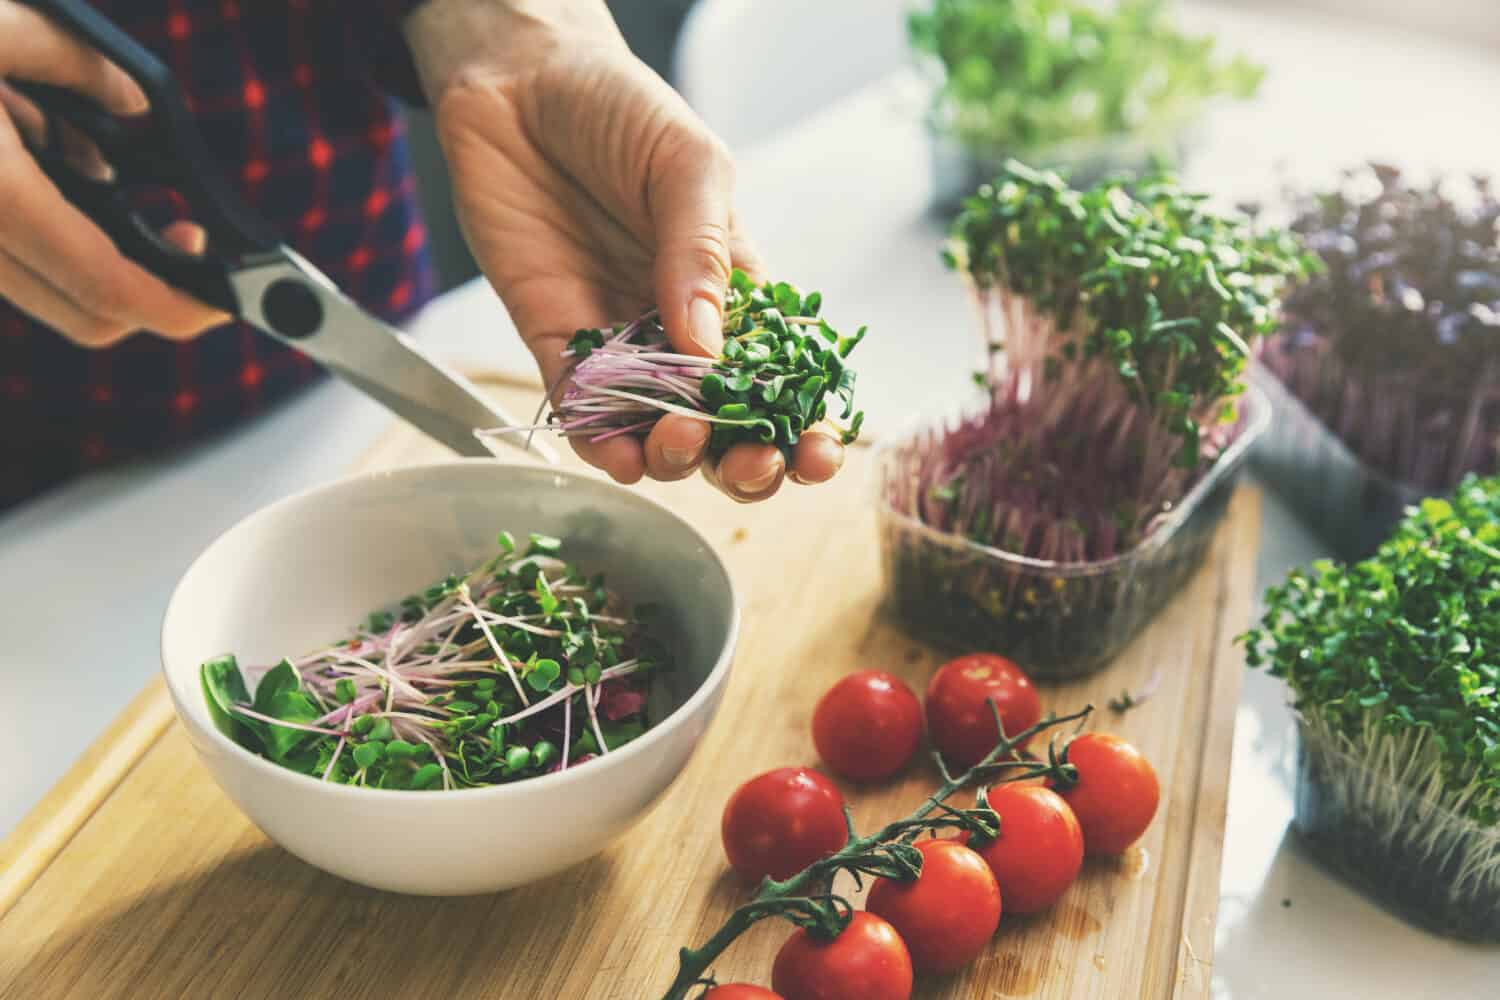
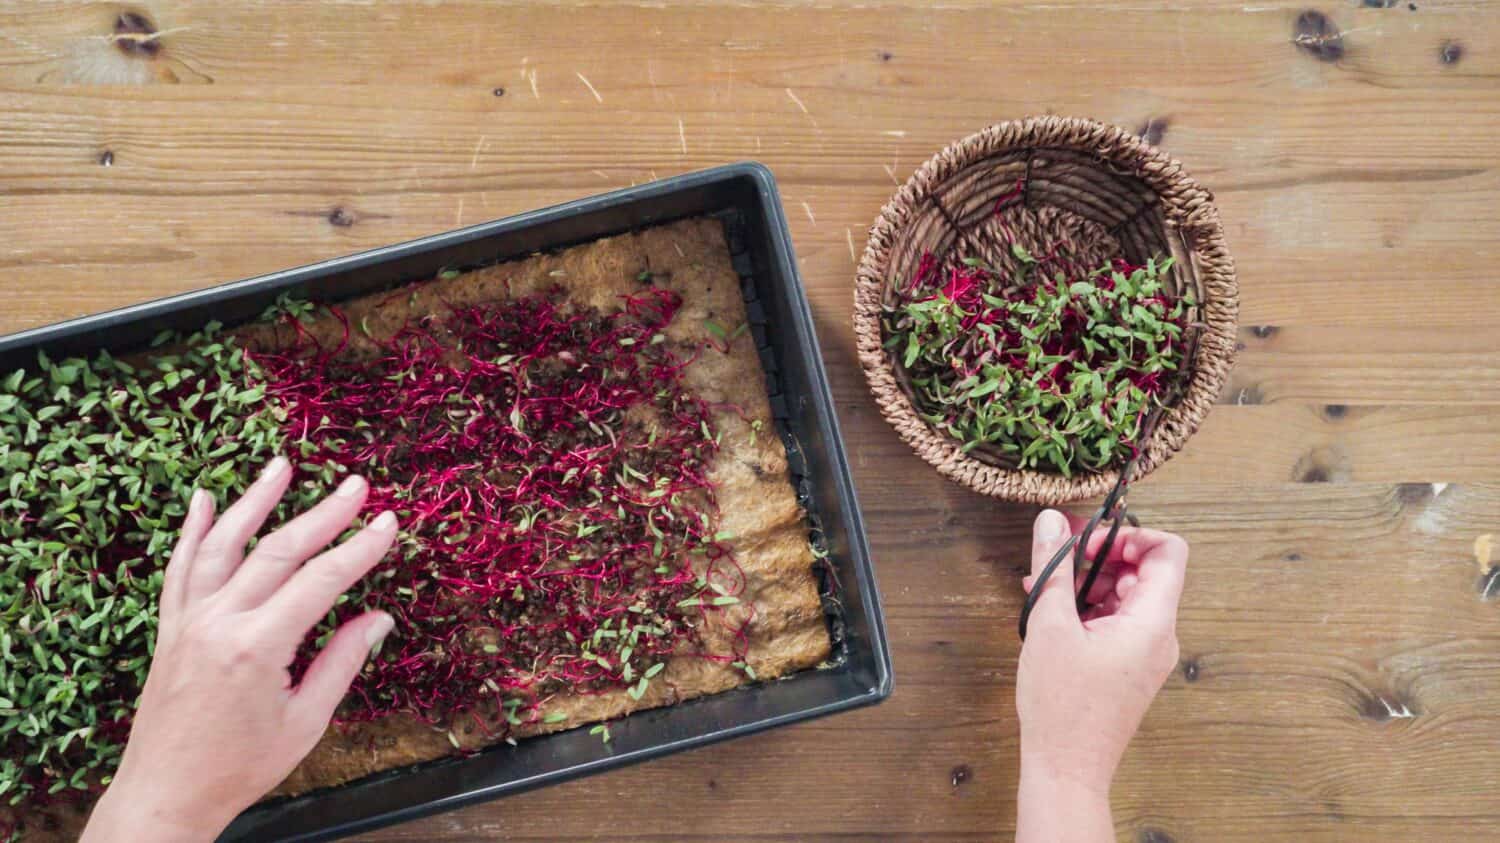
The last step on our list is the best step, harvesting. In 1 to 3 weeks, your microgreens should be ready for consumption. You can also let them grow and eat them when they reach a larger size, although they won’t be microgreens anymore. Harvesting isn’t as difficult as it seems. It’s best to harvest microgreens, or any plant, at the beginning or end of the day. Microgreens are about 1 to 4 inches tall. You’ll need to use scissors to harvest these delicious greens. Cut the microgreens into small sections, leaving about half an inch to an inch of stem. Microgreens are best used the day you harvest them. However, if you’ve harvested too many, you can also blend them into sauces for dishes or store them in the refrigerator for a few days.


How to Add Us to Google News


Thank you for reading! Have some feedback for us? Contact the AZ Animals editorial team.