
Raising chickens and hatching your own eggs has become a popular feat today. And with the right incubator and at-home setup, the process is relatively easy. So long as you have access to fertile eggs, you can get started with incubation right away.
This article will explain how to hatch chicks in an incubator, as well as where to find fertile eggs and what to look for in the right incubator.
Secure Your Fertilized Eggs
In order to hatch your own chicks, you must first secure fertilized eggs. If you don’t have a hen and rooster in your flock at home, you’ll have to find these eggs elsewhere. Generally, you can purchase fertilized eggs from local breeders, hatcheries, and poultry farmers with roosters in their flocks.
To decrease the risk for disease, make sure your fertile eggs come from a National Poultry Improvement Plan (NPIP)-certified flock. You can store your eggs for up to seven days in a cool room (55 to 60 degrees Fahrenheit) prior to incubation. However, don’t purchase your eggs too far in advance, otherwise, you’ll run the risk of them becoming unhatchable.
Choosing Your Incubator
When deciding which type of egg incubator to purchase, consider the following features:
- Size: Depending on the number of eggs you’re incubating, you’ll want to select an incubator of the proper size. Remember: not all eggs will hatch, so you might consider purchasing incubating more eggs than you intend to hatch. This might mean purchasing a larger incubator to accommodate them. However, it’s always a good idea to start small if you’re new to this process.
- Heat source: A crucial feature of an incubator is its ability to keep the fertile eggs warm. That being said, it must have a heat source that’s preferably controlled by a switch or thermostat, as well as the option to humidify the air.
- Fan for air circulation: Air circulation within the incubator will help support healthy egg hatching.
- Automatic egg turner: Having an automatic egg turner is a great way to ensure your eggs are receiving the proper care throughout their incubation process. Since egg turning is required for eventual hatching, using a system that takes care of this step for you will prevent potential accidents.
- Digital display: Your incubator should display its temperature, its humidity, and even the duration of the incubation period.
Setting Up Your Incubator
Once you choose your incubator, be sure to place it in a location that maintains a stable temperature, away from any drafts or direct sunlight. Since it will need to remain in the same spot for at least 21 days, choose a room or spot you won’t need to occupy throughout that period of time.
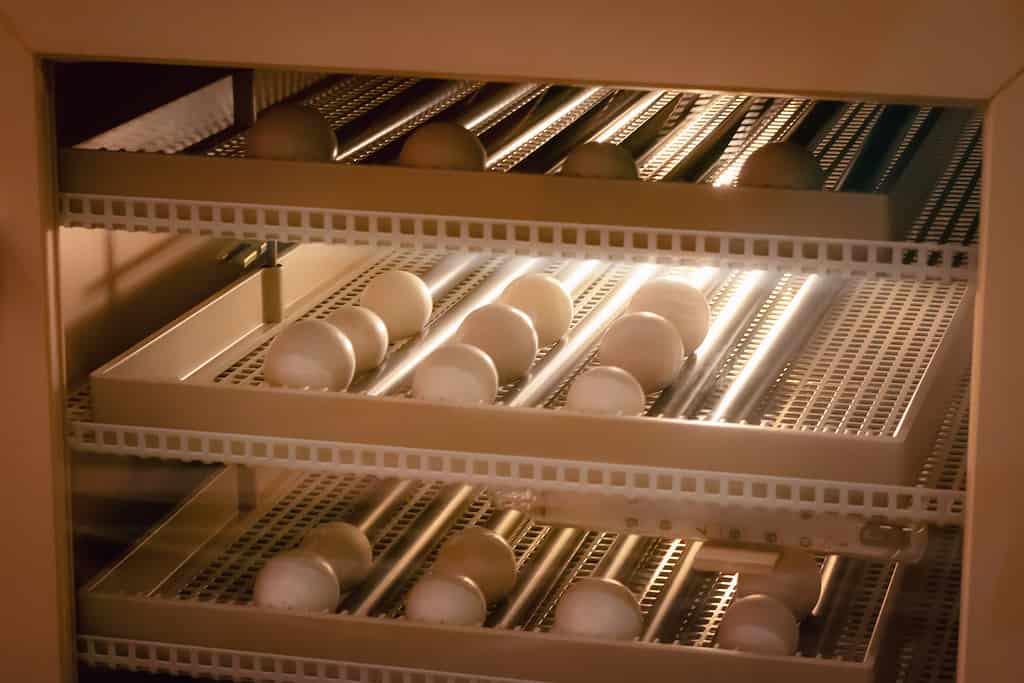
Egg incubators come in a variety of sizes. It’s recommended to start small with egg incubation; you can always increase the number of eggs as you get used to the process.
©iStock.com/lemon_tm
You’ll also want to prepare your incubator one week before starting the incubation process. First, ensure it’s completely clean and sanitized. Then, set the proper temperature and humidity. The ideal temperature is 100.5 degrees Fahrenheit, but it should be safe if it’s within the temperature range of 99 to 102 degrees Fahrenheit. Anything lower or higher (even just for an hour or two) could harm the eggs and impact their ability to hatch.
In terms of humidity, you’ll want to start the incubator with 50% to 55% humidity. Eventually, you will increase the percentage (more on that later).
How to Hatch Chicken Eggs in an Incubator
Here are some specific steps to follow throughout the egg incubation process.
1. Set the Eggs
Your first step in the incubation process is to set the fertile eggs in the incubator. Place the eggs in the incubator’s tray, ensuring the larger end of the egg is facing up. Then, make sure the temperature is set to 100.5 degrees Fahrenheit with 50% to 55% humidity.
You’ll want to set at least six eggs at one time. Since they likely won’t all hatch, it’s important to overcompensate with more to ensure the chicks that do hatch have companions, as chickens thrive in a flock.
2. Turn the Eggs
To prevent the chick from sticking to the inside of the egg, regular turning is required throughout the incubation process. If you have an incubator with automatic turning, this step should be relatively easy. However, if you’re choosing to turn the eggs manually, make sure you do so at least three times per day (five is preferred). Be sure to keep track of which eggs you’ve already turned so you’re not overdoing it. This step should last until day 18, or until the embryos fully develop into chicks.
3. Candle the Eggs
Between seven to 10 days, it’s time to candle your eggs. The process of candling involves checking your eggs with a flashlight to determine whether their embryos are properly developing. If the eggs are fertile and still healthy, you should be able to see blood vessels or dark areas within the egg.
Later in the process (by day 18), you will notice the embryo as a dark area taking up most of the egg and might even catch some movement.
If the inside of the egg is clear or you notice a ring of red, however, they are likely infertile or the embryo died early in the incubation process. Remove these eggs, as well as any broken or leaking eggs.
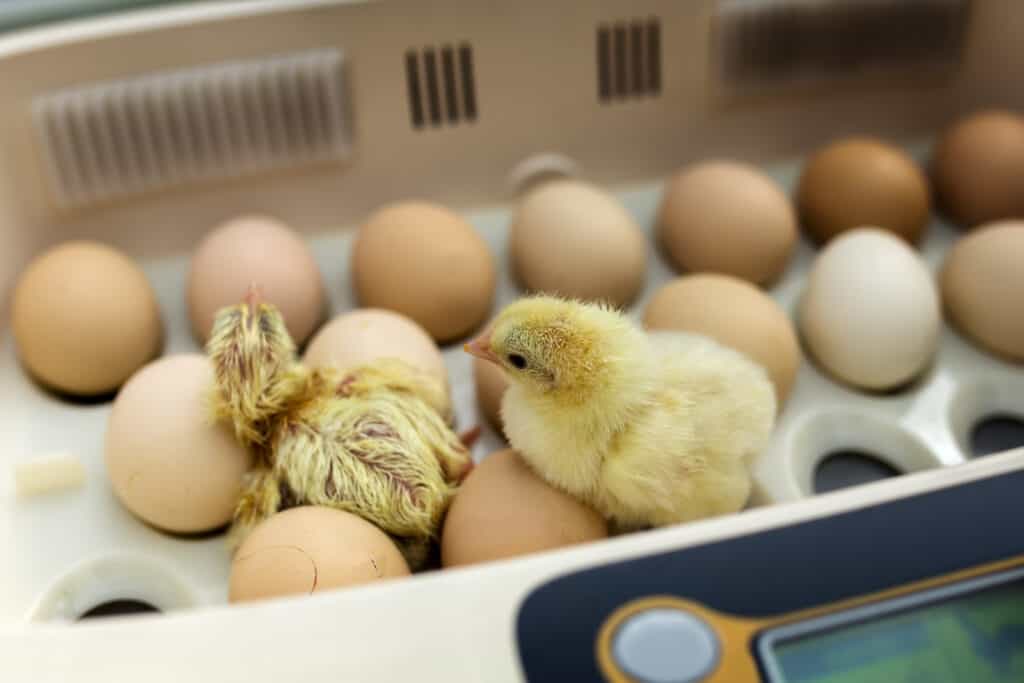
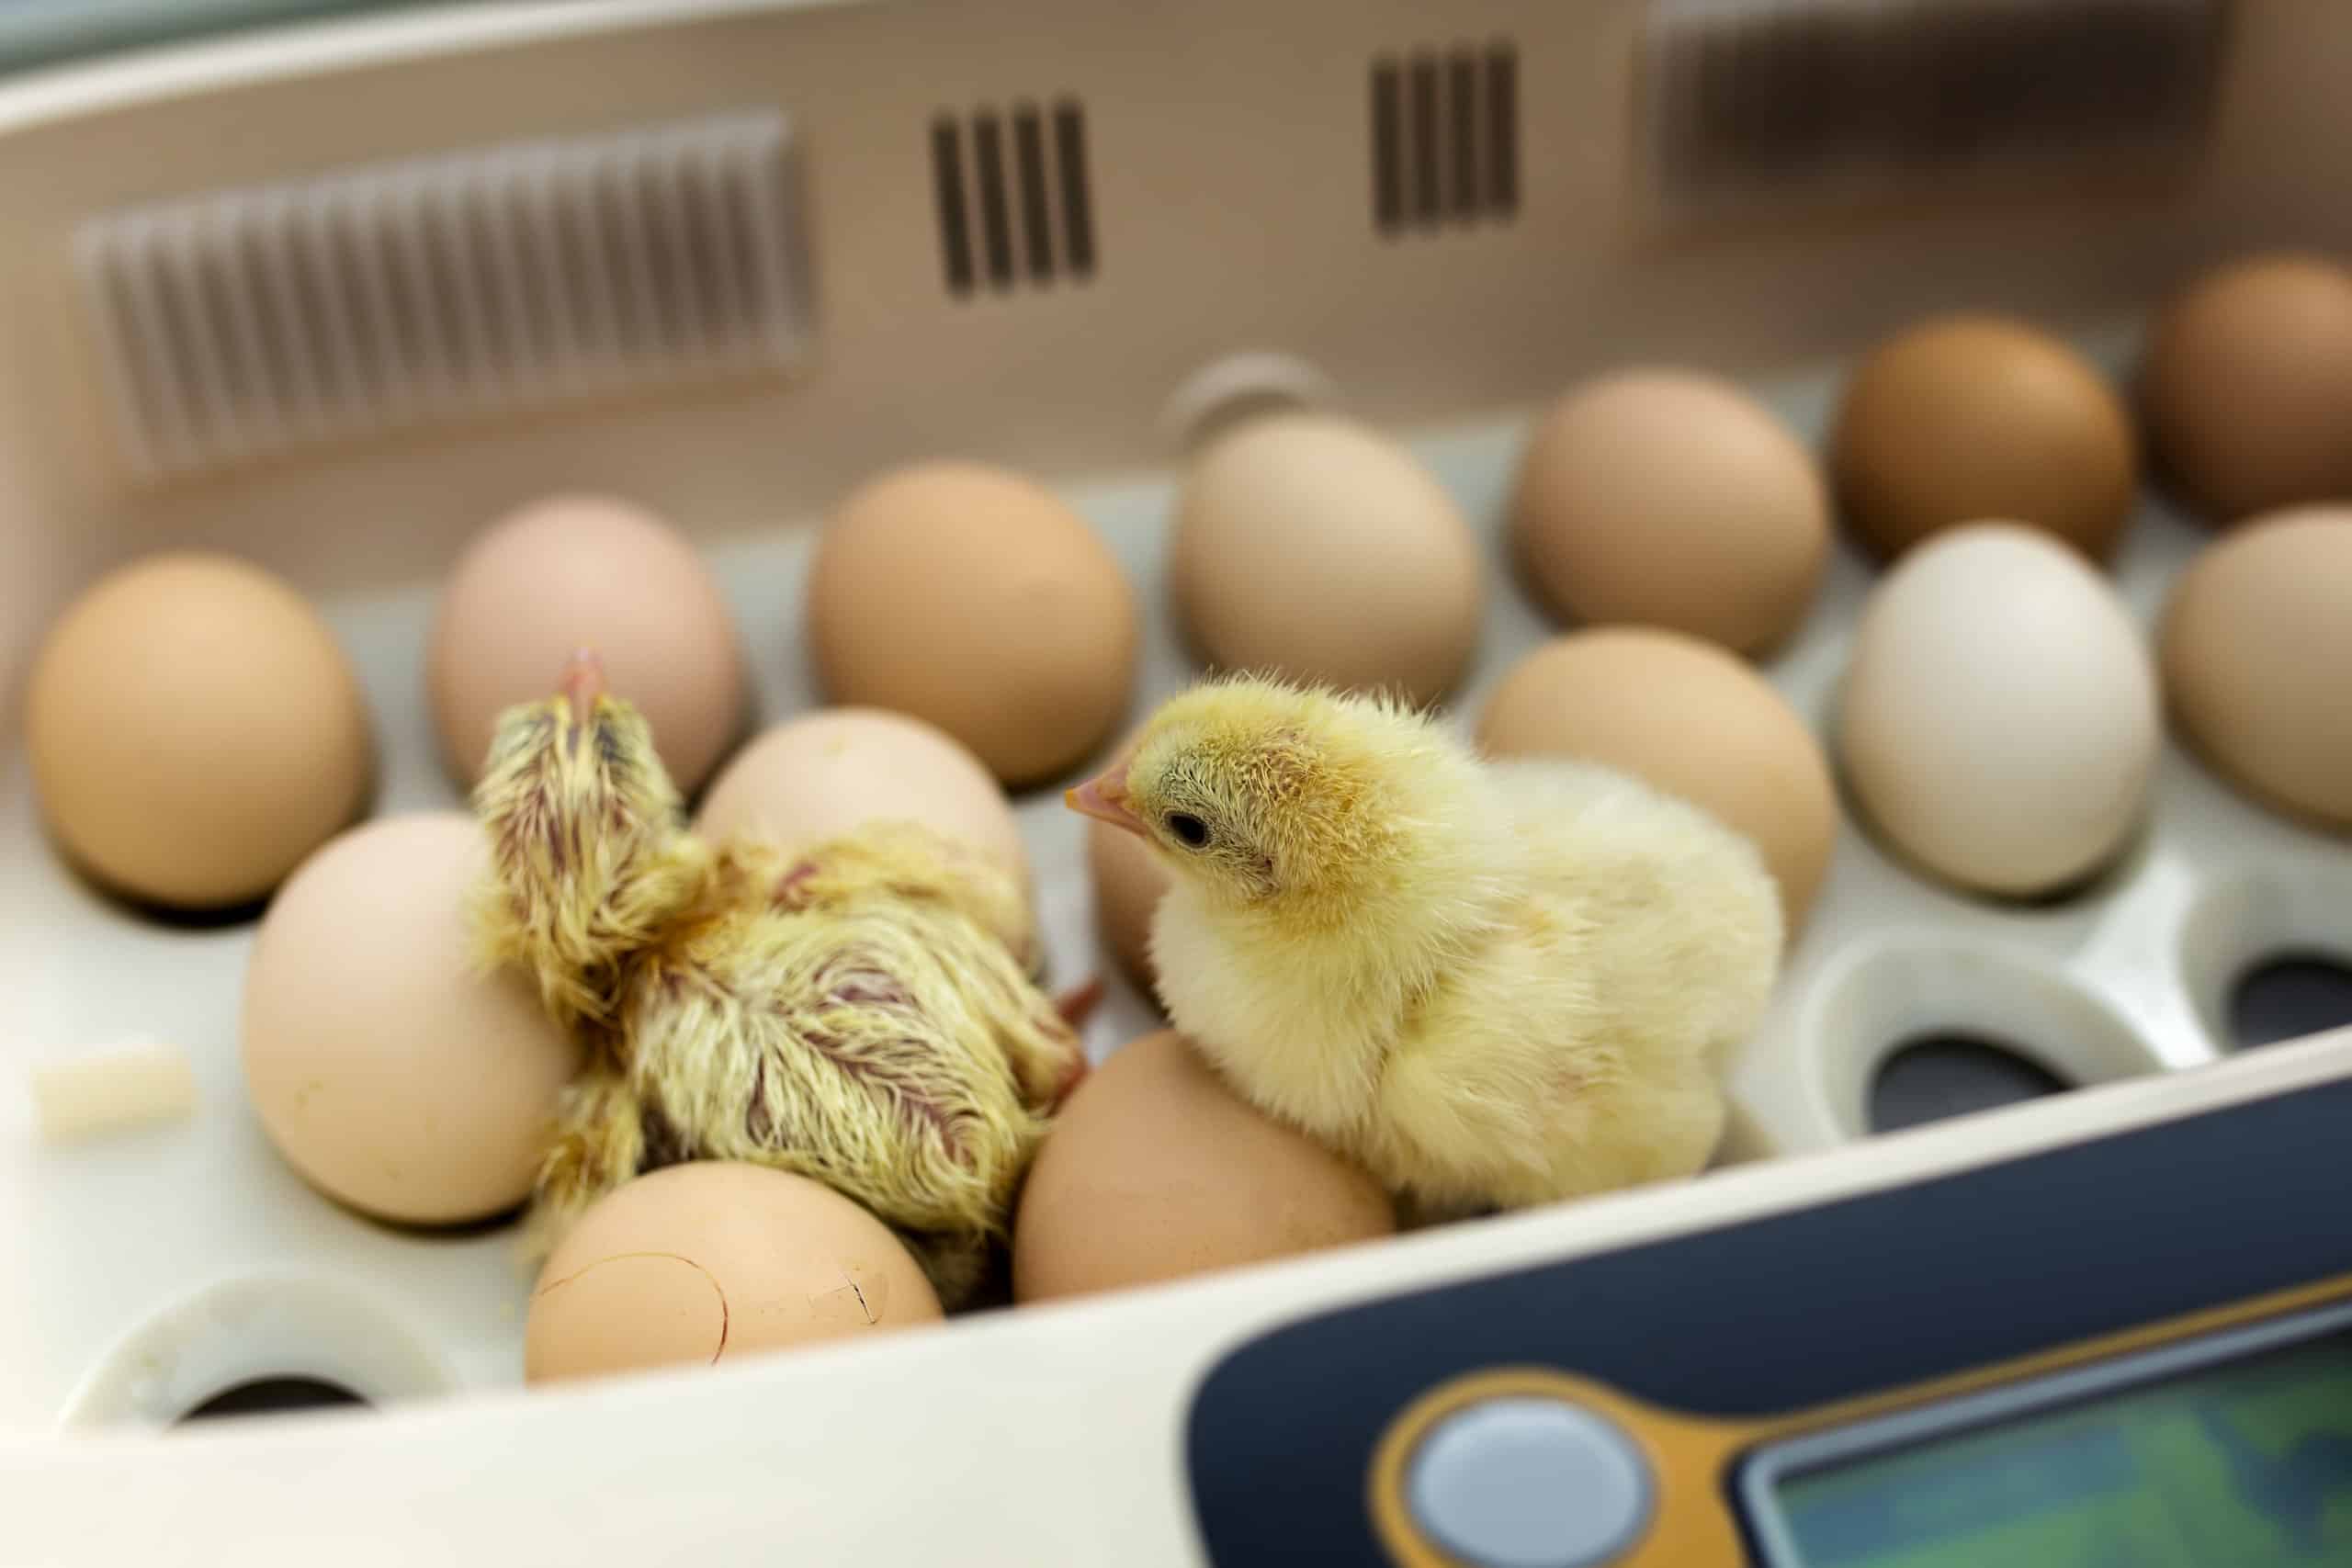
Egg incubators maintain ideal conditions and temperatures for hatching eggs.
©Ivan Kurmyshov/Shutterstock.com
4. Keep an Eye Out for Pre-Hatching
By day 18, the chick will begin to prepare for its hatching. You might notice movement within the eggs. During this step, you can stop turning the eggs and support the chick’s hatching. Make sure you keep the temperature at 100.5 degrees Fahrenheit and increase the humidity to 70% at this time.
5. Allow the Eggs to Hatch on Their Own
By day 21, the eggs should start hatching on their own. Once they begin hatching, it should take them a maximum of 24 hours, with the average length of time being five to seven hours.
Don’t try to help the chicks break out of their eggs; they can (and should) do this themselves. Attempting to pull the chicks out of their shells can cause fatal bleeding.
6. Support the Chick’s Post-Hatching
Once all of the chicks have hatched, lower the temperature to 95 degrees Fahrenheit until all the chicks have dried. You can then move them to their brooder and provide them with the proper food and water.
How Long Do Eggs Take to Hatch in an Incubator?
It typically takes 21 days for chicken eggs to hatch in an incubator. Sometimes, eggs will hatch a day or two later than the 21-day mark. This usually means the temperature was off during the process, or perhaps something is wrong with the chick. In this case, you can candle the remaining unhatched eggs to check whether there’s movement or embryo growth before discarding them.
Hatching Chicken Eggs in an Incubator: Bottom Line
Hatching fertile eggs in your own incubator can be a rewarding endeavor — especially once the chicks arrive. Thankfully, it doesn’t take much to support a healthy incubation process. With the right equipment and ample time, you can hatch a flock of adorable chicks in under a month. Not only that, but you get to raise the cute babies as if they’re your own kin. What a beautiful privilege!


How to Add Us to Google News


Thank you for reading! Have some feedback for us? Contact the AZ Animals editorial team.