They’re adorable because of their soft fur and sweet disposition. We are talking about baby chickens! Perhaps you are getting the itch to hatch some of your own chicks but don’t know where to start. Good news: everything from preparing the incubator to handling hatching day is covered in our comprehensive guide below. Let’s go!
Whether to Use an Egg Incubator or a Broody Hen
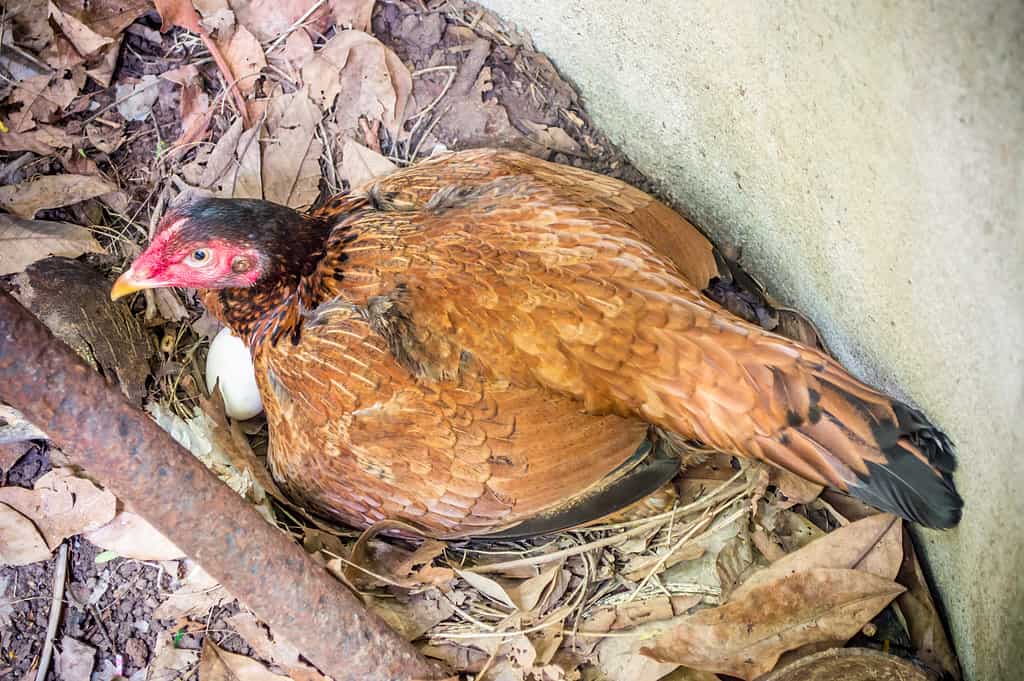
Hens are incubating eggs
©iStock.com/muikrathok
Broody Hen
Choosing this path forward is your initial action. If you have a hen that consistently goes broody every spring and sits on the eggs for the necessary amount of time (21 days for chicks), she is the best in the business. A hen that is broody may sit on her eggs to keep them warm, and she may even remove feathers from her breast so they can be close to her skin. Every day, she will flip the eggs over fifty times, and she will communicate with her developing while they are in the shell so that they will recognize her sound and know who their mother is. Broody hens are fiercely protective of their young, so be careful not to prod them. Yet in comparison to an incubator, she’s considerably less expensive and easier to use!
Incubator
The one potential drawback of having a hen handle the hatching for you is that the baby chicks might not be quite as sociable as those that came from an incubator, given that you aren’t Mom. Nevertheless, unlike a hen, an incubator requires daily monitoring for at least 21 days, and often much more. The ideal temperature range is between 99 and 102 degrees Fahrenheit (99.5 degrees is regarded optimal), and the humidity range is between 50 and 60 percent.
As a result, you need to keep an eye on the water and temperature on a daily basis. However, if you live in a region where blackouts are common, you should prepare for the worst. If the power is off for more than a few hours, you could be in serious trouble. If you’re the first image the baby birds see when they hatch, you’re automatically seen as “Mom.” The chicks raised without hens will be more sociable. They’ll need you to take care of them until they’re old enough to survive on their own, so make sure you have plenty of water, food, and shelter ready for them.
In Search Of Fertilized Eggs, Where to Buy?
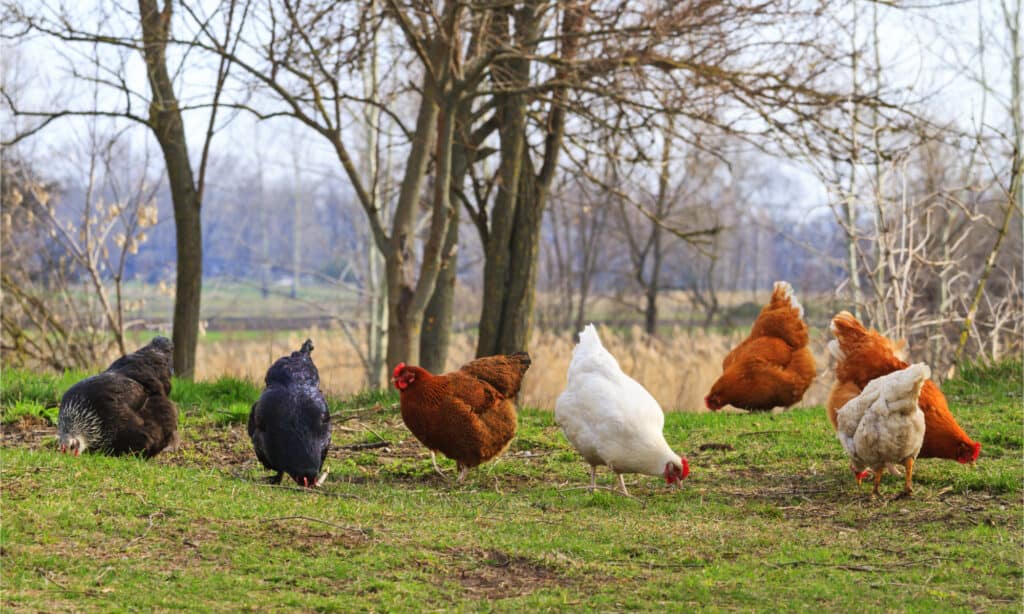
If your chickens are laying small or thin-shelled eggs, they may need vitamins
©Drakuliren/Shutterstock.com
Have a Rooster
The source of your fertilized eggs is your next major decision. There’s no need to keep looking if you already have a rooster in your flock. You should have fertile eggs if he is doing his job. If you don’t have a rooster, then what do you do? Do you know anyone who could be willing to sell or give you several fertilized eggs? If that’s the case, you should return home with them as gently as you can!
Breeder or Hatchery
One other option is to purchase the eggs from a local breeder or hatchery. Please have in mind – eggs do not travel well. It’s frustrating to have no hatches when incubating a rare breed for which you paid a lot of money, but you can’t always put the blame on the breeder.
For example, you get your eggs from New York, while you live in California. The eggs need to be transported from the homestead to the post office and then sorted (not gently) into the correct container. They will be transported to the airline and flown to the terminal that is most convenient for you. The mail carrier will pick them up and deliver them to the closest post office, from which you may pick them up. As you may now realize, a lot can happen during this process to damage your precious cargo!
Picking an Incubator
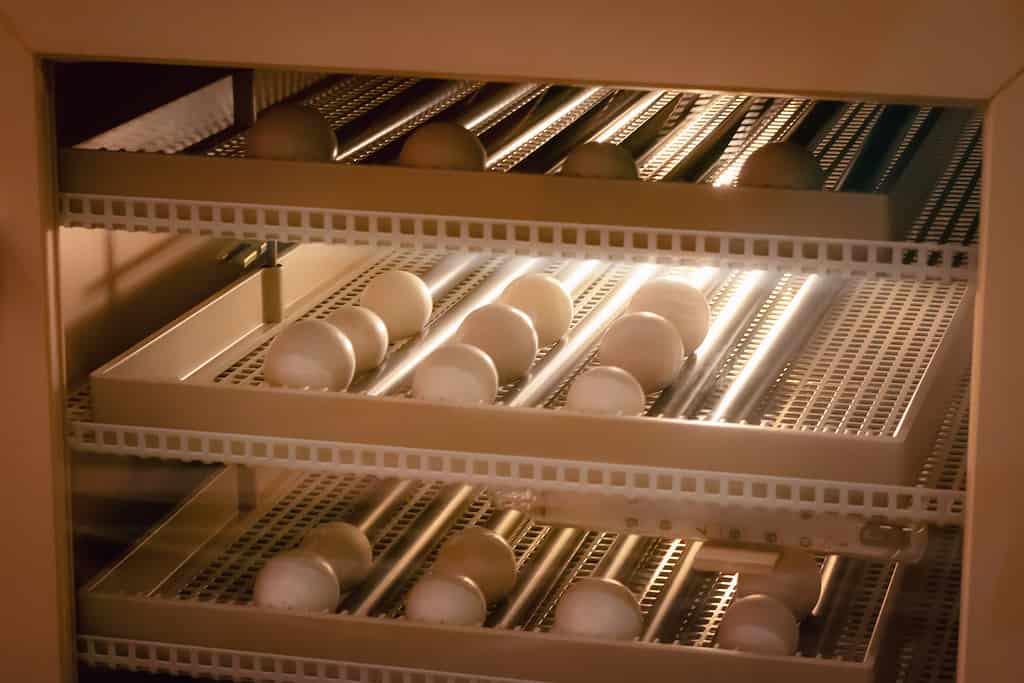
Egg Incubator machine background. Bird egg with hatching on the farm.
©iStock.com/lemon_tm
Picking the right incubator might be a difficult process. Depending on your needs and preferences, you can find them for around $100. One of the less expensive forced air incubators might do you well if you are hatching out “barnyard blends” and will be vigilant about temperature and humidity. Keep in mind that a complicated incubator is not necessary. You need an option that is not only effective but also simple to operate and comprehend.
Either way, once you have your eggs, leave them in a cool, dry area with the point facing downward for a minimum of 12 hours. You can use a candle to check the freshness of the egg yolk. These eggs came from a foreign ecosystem, so it’s important to disinfect them before they can be used. In order to achieve this, you can use water and a sanitizing solution.
Setting Up Your Incubator
You need to make sure your incubator has the following items:
- Incubator (with revolving tray)
- Temperature and humidity gauge with a candle holder
- Towels and water
The turning tray and incubator must be turned on and checked for functionality first. Make sure the temperature and humidity are at their target levels by leaving them on for a few hours. As you wait, check that you have read and comprehended all of the equipment manuals.
There may be a thermometer and a hygrometer on board your incubator, but it is still a good idea to use an external device to make sure. Online, you may find digitized ones for less than $10. To follow the directions, fill the water chamber with water; have some paper towels handy for cleaning up the inevitable spill.
Incubating Hatching Eggs
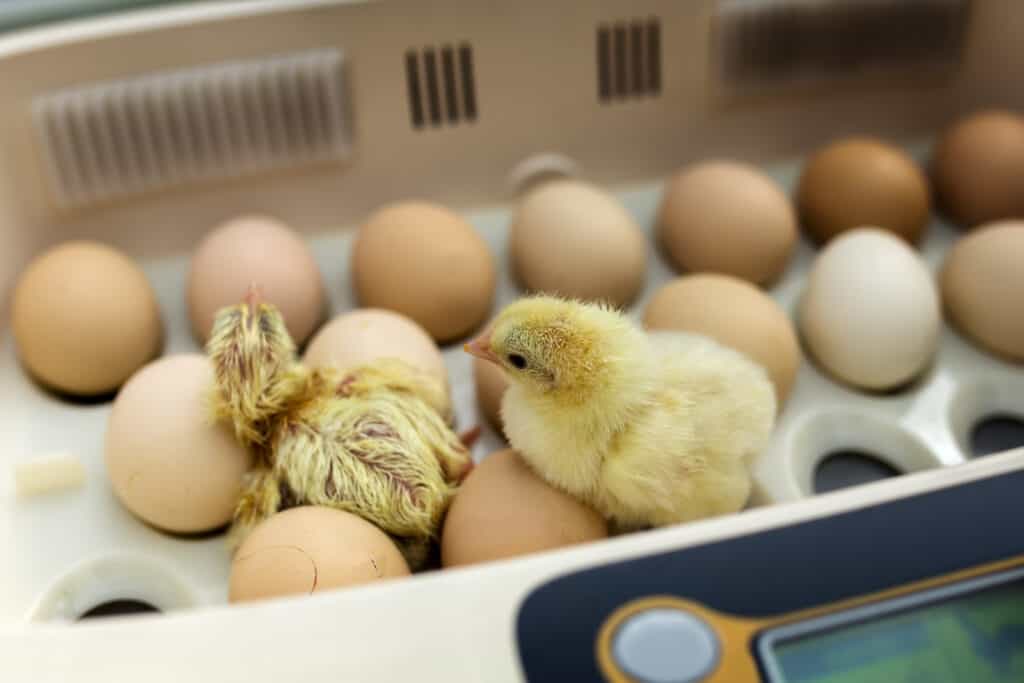
Egg incubators maintain ideal conditions and temperatures for hatching eggs.
©Ivan Kurmyshov/Shutterstock.com
Now that the incubator has been turned on, the humidity and temperature have been adjusted, and the water trough is full, you may begin incubating your eggs. Using a revolving tray simplifies the process of placing eggs, but where should you put them? Although in the vast majority of accounts, the eggs are stored with the narrow end facing down, the egg, just like it would in a real bird’s nest, should actually be laid on its side.
Watch for Deformities
If any of your eggs have even the tiniest of cracks or a deformed shell, you should not have put them in the incubator. To do this, simply light the egg with a candle. Long, skinny eggs or those that are hard to tell the top from the bottom should not be used since they have a lower hatchability rate. Now that you’ve got everything set up, it’s time to start counting down.
Double Check Humidity and Temp
You should double-check the humidity and temperature again in an hour to be sure they’ve stabilized and make any required adjustments at that time. Checking the water level, temperature, and humidity visually every day will help you avoid any problems. The incubator’s air vents might need to be adjusted so that the right amount of air is being circulated. Also, avoid repeatedly opening and shutting the incubator. The resulting temperature swings will reduce your hatch success!
Preparing for the Big Day!
Prepare for hatching day, but don’t intervene with a chick who is ‘pipping’ its shell.
©iStock.com/tankist276
The eighteenth day is the day you remove the eggs from the egg turner and place them on the incubator’s flat tray. After making sure there is enough water and airflow, you can close the lid and walk away. Don’t even bother taking the cover off. Relocate or jiggle the incubator. As the chick readies itself to ‘pip’ the shell and hatch, it must be left in peace to achieve this.
FAQs About Egg Hatching
When Does an Egg Usually Hatch?
Chickens hatch after 21 days, ducks after 28 days, turkeys after around 28 days, guinea fowl after 28 days, and geese after 30 days.
Do They All Eventually Hatch?
No, although typically after the first pipping they are completed. Yet, there are cases where a hatch might last for up to five days.
What Should I Do If an Egg Cracks?
Due to the presence of bacteria, the egg shattered. The best that can be done is to sterilize the incubator (so the eggs can stay at a comfortable temperature) and to clean any tainted eggs as carefully as possible without damaging the ‘bloom.’
At What Level Should The Incubator Be Set?
A temperature of 99.5 degrees Fahrenheit is ideal for incubating chicken eggs.
What Is The “Warm Water Trick” For Incubating Eggs?
A common myth states that placing unhatched eggs in warm water can cause them to hatch. You can use the warm water approach to determine if a late-laying egg is ready to hatch in the same way you would use it to speed up the process. A sink or pot of warm water will do just fine for floating the egg. Keep the water at a temperature of 100 degrees Fahrenheit (or 37.7 degrees Celsius).
Get a bowl or the sink and set the egg inside. Take special care not to disturb the purported developing baby within the egg. The presence of a developing chick is indicated if the egg floats. Over the course of embryonic development, an air pocket forms inside the egg, allowing it to float. An underdeveloped egg will sink, so if you try hatching it, forget about it.
How Long Does It Take For A Chicken Egg To Hatch If You Don’t Use An Incubator?
It may take the hen up to 25 days for one egg to hatch. Twenty-one days is the sweet spot for an incubator, which is also the optimal time for an egg to hatch. The earliest age at which a chick can pip is 18 days.
The photo featured at the top of this post is © SasinTipchai/Shutterstock.com
Thank you for reading! Have some feedback for us? Contact the AZ Animals editorial team.


