
Having to pull weeds can find even the most enthusiastic gardener wishing they could take a nap instead. Moreover, the idea of adding toxic herbicides to the soil to beautify the landscape makes many of us cringe. Lucky for home gardeners, weed control can be as easy as harnessing the power of vinegar. And learning how to kill weeds with vinegar involves making a quick and easy homemade mixture you can whip up in minutes.
Vinegar’s high acidity is what makes it a powerful weed killer. The acetic acid in vinegar can break down a plant’s cell walls (especially when paired with salt) and prevent them from holding moisture. These actions eventually kill the plant within a couple of days when using household vinegar as a weed killer.
So let’s make a batch of non-toxic vinegar weed killer together, shall we? Keep reading for tips on how to prepare and apply a homemade vinegar-based weed killer with simple steps. Be sure to read our final recommendations for properly handling and storing vinegar weed killer and how to use it for weed control maintenance.
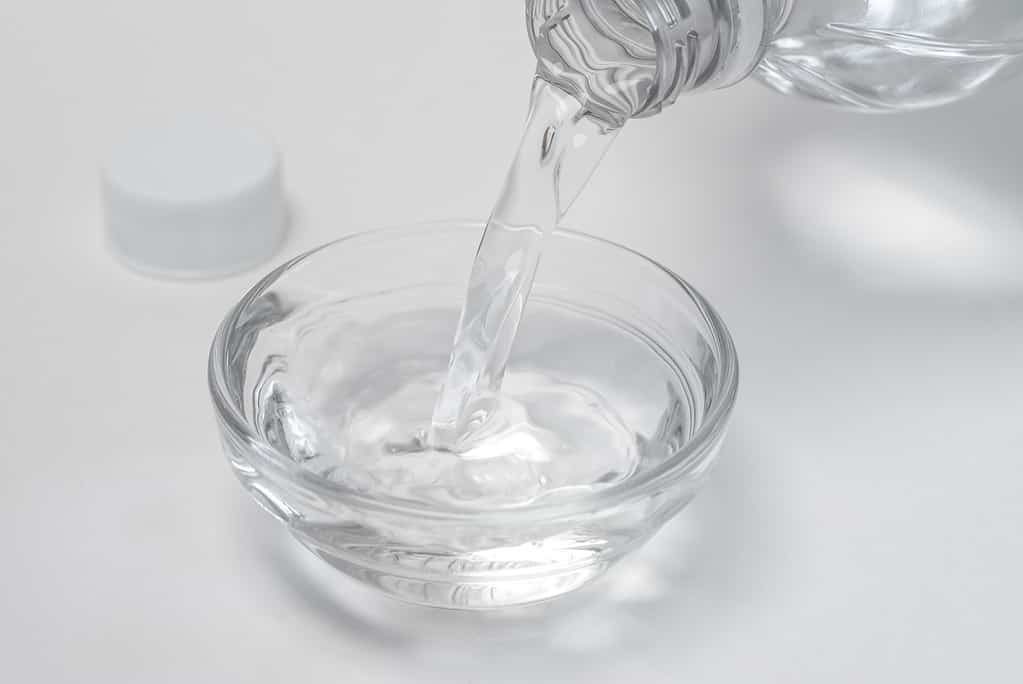
White vinegar is a natural weed killer due to its high acidity.
©iStock.com/Michelle Lee Photography
Preparing a Vinegar Weed Killer: Step-by-Step Instructions
Creating your own non-toxic weed killer is a straightforward process that requires only a few simple ingredients and materials. Follow the easy steps listed below to prepare your homemade vinegar mixture.
Step 1: Gather Your Ingredients and Materials
For this vinegar weed-killer recipe, you’ll need just three ingredients:
- One gallon of white vinegar with at least 5%-10% acetic acid content. However, according to Montana State University Extension, acetic acid content of 20%-30% may be required to keep the same weeds from growing back again.
- One cup of table salt
- One tablespoon of non-toxic liquid dish soap
- Optional: If you can’t stand the potent smell of vinegar, add lemon juice to the mixture with the other ingredients. Lemon juice will add to the weed-killing action with more acidity, and your resulting solution will be easier on the nose.
Why these ingredients? The vinegar and salt work together to kill plant cells, while the dish soap helps the mixture stick to the plant’s surface.
You will also need the following materials:
- A clean and empty one-gallon or larger container for mixing the ingredients. We recommend using a sturdy container with a lid that you can use for storing the excess mixture. Or you can use a one-gallon garden sprayer to apply and store your homemade weed killer mixture.
- A clean and empty spray bottle
- A clean funnel for transferring the mixture from the mixing/storing container into the spray bottle, if necessary
Step 2: Wear Protective Clothing and Mix Your Ingredients

Protective gloves and a mask are necessary when mixing chemicals.
©sunfe/Shutterstock.com
Before mixing the vinegar, salt, and dish soap together, be sure to wear protective clothing. The acid in vinegar can cause mild skin irritation, and the fumes might irritate your nose, mouth, and eyes. So wear long pants and sleeves and protective gloves. Consider also wearing a face mask and goggles as an added precaution.
Mix the white vinegar, salt, and dish soap in your chosen container. Stir or shake it (with the container lid tightly fastened) until combined.
Step 3: Let the Solution Rest For an Hour
Let your solution sit for an hour before using.
©Pixel-Shot/Shutterstock.com
Raise the weed-killing potential of your vinegar mixture by letting it sit for an hour before use. This period will allow the ingredients to integrate inside the spray bottle fully. Then give the tightly-closed bottle another good shake before applying the mixture to the pesky weeds in your yard or garden.
Applying the Vinegar Weed Killer: Best Practices
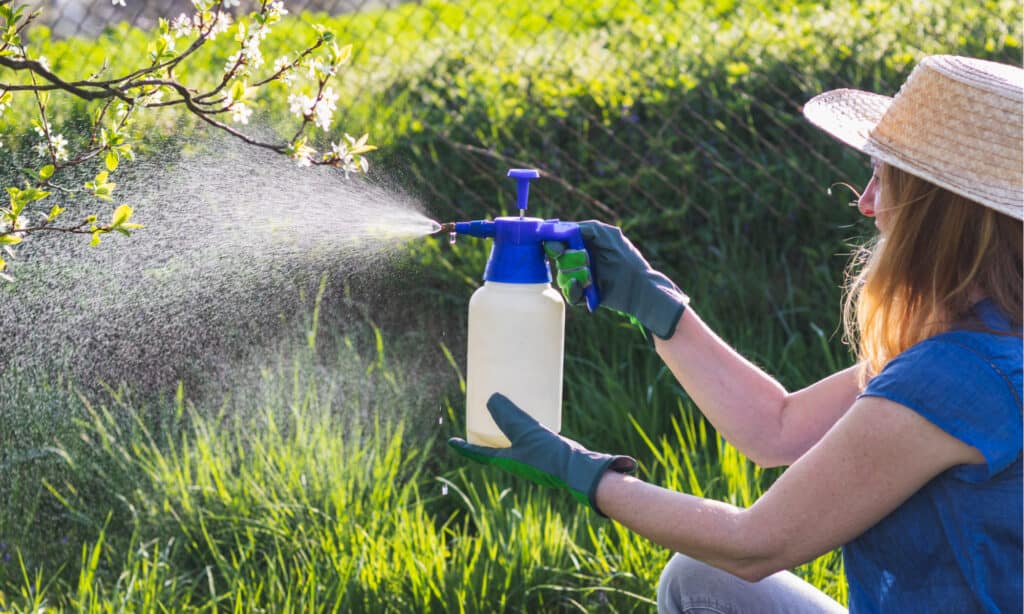
Only use a garden sprayer to apply vinegar weed killer to can keep the spray from hitting plants you want to keep.
©encierro/Shutterstock.com
Now that you have your homemade vinegar-based weed killer ready to go, it’s essential to apply it correctly. The best application practices will help ensure proper absorption and prevent unintentionally killing other plants you intend to keep!
Here are a few best practices for vinegar weed-killer application:
Choose the Best Weather: The best time to apply the vinegar weed killer is on a warm, sunny day. Avoid using this solution on windy days to prevent the spray from drifting onto other plants. Also, avoid applying this solution to weeds on rainy days to prevent diluting the mixture or decreasing its ability to absorb.
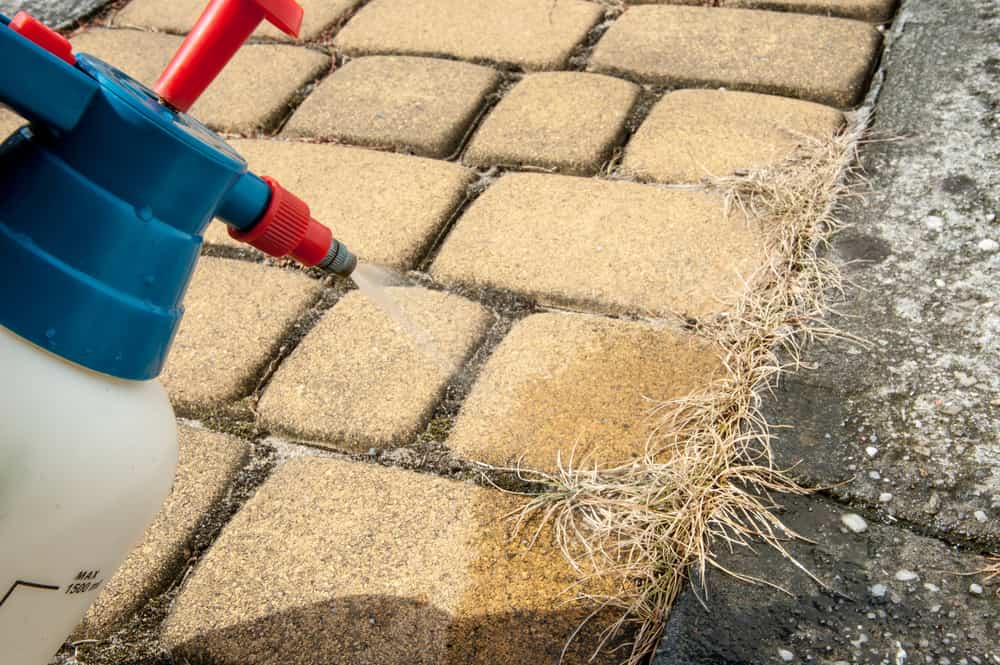
Be careful not to spray other plants when you are applying your weed-killing solution.
©damiangretka/Shutterstock.com
Target the Leaves: The best place for a weed to absorb the mixture is through its leaves. So target the plant foliage with your weed-killer spray to maximize its potency. Aim directly at the leaves and thoroughly coat them. Its leaves will absorb and transport the solution to the plant’s roots.
Be Careful: Only spray the weeds you want to kill. Do not get this solution on any other plants. If necessary, with gloved hands, move the weed foliage away from the plants you want to keep before spraying. Keep in mind that vinegar weed killers can kill your grass, flowers, and garden vegetables too.
Be Patient: Vinegar-based weed killers may take a few days to kill the sprayed weeds completely. Be patient, and wait to reapply more of the solution to any plants. Give your vinegar mixture time to work well before deciding if a second application is necessary.
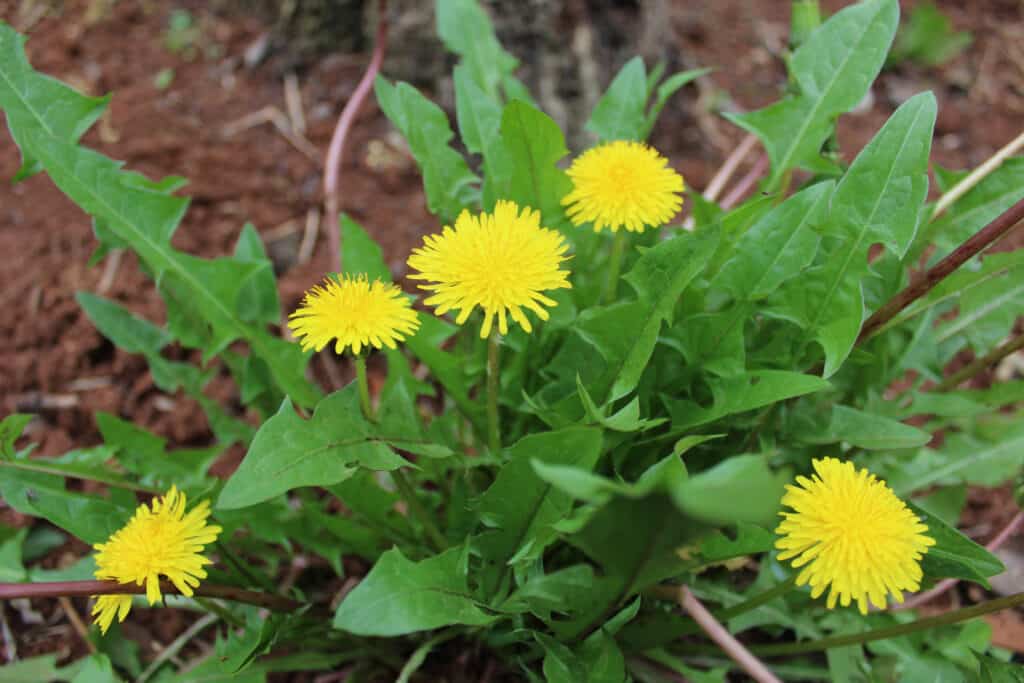
Before you kill dandelion plants, know that they attract bees and help fertilize the soil.
©Niliane Fatima Pierok/Shutterstock.com
Safety Precautions and Tips for Handling Vinegar Weed Killer
Killing weeds with a homemade vinegar mixture can be an effective and eco-friendly solution. However, it’s also essential to handle this natural herbicide with care.
Follow these quick tips for safely handling and storing vinegar weed killer:
- Wear protective clothing when handling vinegar to avoid skin irritation and fumes. We already mentioned this in the section above about mixing the ingredients, but it’s an easy safety tip worth repeating. An accidental splash of vinegar on a hangnail or in the eye can make for a lousy couple of hours.
- Keep your vinegar solution out of reach of children and pets. Though this homemade weed killer is non-toxic, vinegar’s acidity could cause temporary skin irritation that feels more severe for small children and pets. Additionally, ingesting the solution could cause a burning sensation in the mouth and throat.
- Keep your stored vinegar solution away from extreme heat or cold conditions. To avoid rupturing the container that holds it, keep your vinegar solution stored in a temperature-controlled room.
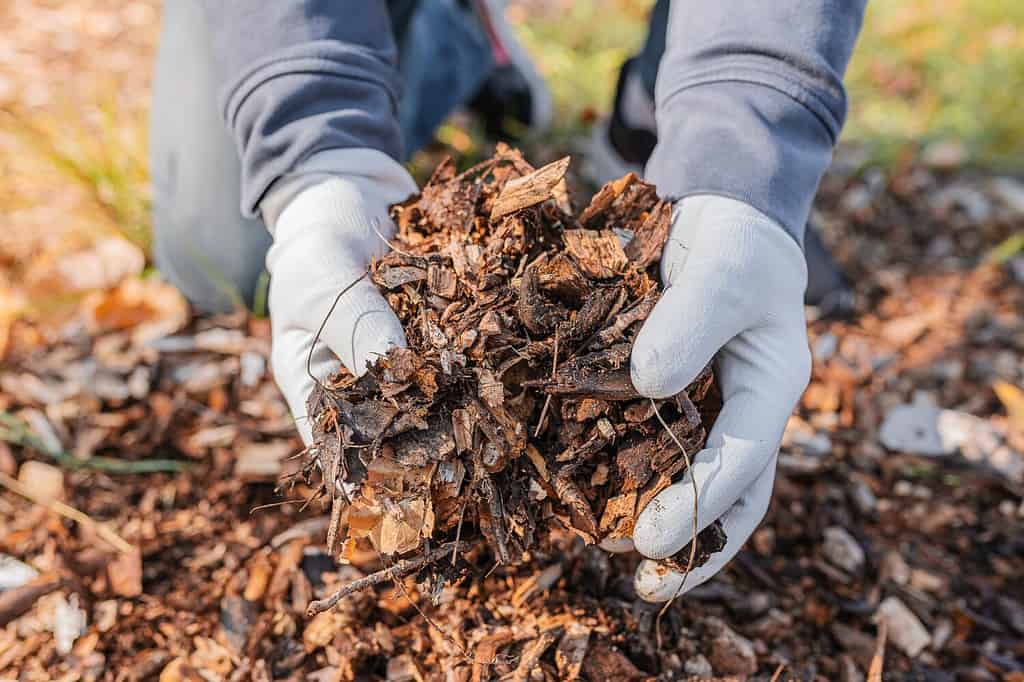
Applying mulch to garden beds helps prevent weed seeds from germinating.
©larisa Stefanjuk/Shutterstock.com
Follow-Up Maintenance: How to Prevent Weed Regrowth
The weeds you kill with vinegar are hopefully gone for good, but soon there will be more to replace them. It’s important to have a follow-up maintenance strategy to ensure long-term results.
Consider these tips to keep the weeds from taking over your property again:
Add Mulch: Mulching your garden beds helps suppress weed growth by blocking sunlight from getting where weed seeds are lurking in the soil. As a result, most weed seeds won’t germinate. You can achieve this same effect by adding landscape fabric over the soil, too.
Apply Vinegar Weed-Killer to New Weed Growth: This tip is obvious, but it requires keeping watch for those new weeds to sprout and then taking immediate action. The sooner you spray those young weeds, the less chance you’ll end up with a garden bed that looks like an abandoned field.
Use Organic Fertilizer on Your Lawn: Did you know that fertilizing your lawn can help keep it from filling with weeds? It’s true! The reason this works is because most lawn fertilizers contain nitrogen, which is a nutrient vital for the health of the grass. However, many plants you’d consider weeds don’t thrive in nitrogen-rich soils. So a fertilized lawn sends more weeds packing and keeps them from coming back.
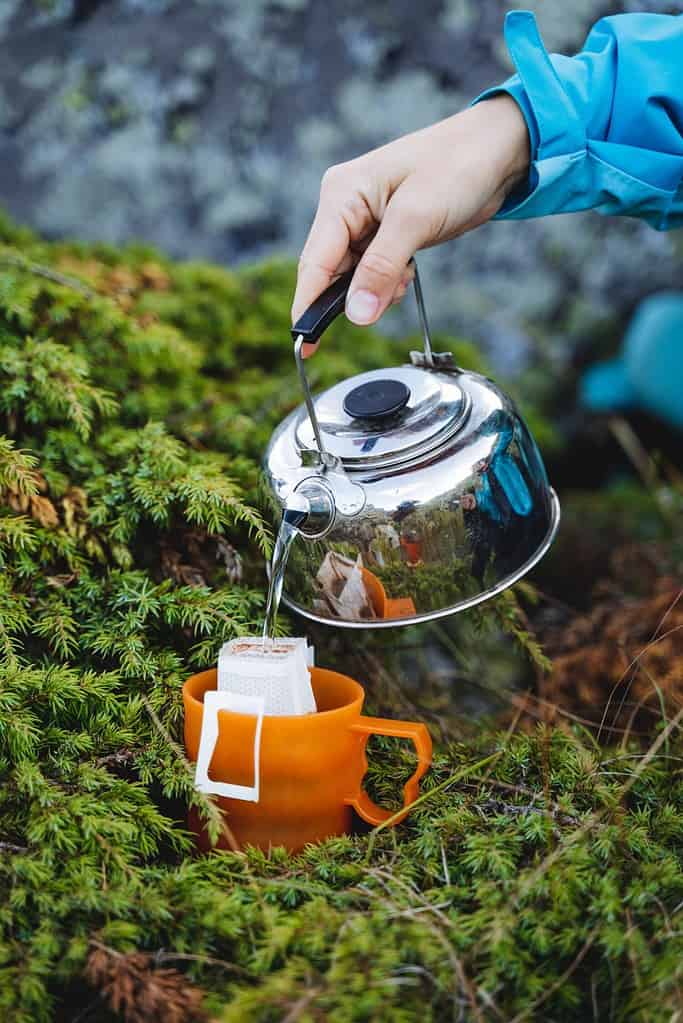
The boiling water you make for tea or coffee can also kill weeds.
©Aleksey Matrenin/Shutterstock.com
Other Non-Toxic Ways to Kill Weeds
While the vinegar solution is an effective, non-toxic option, it’s not the only natural method for controlling unwanted weeds. Here are two additional eco-friendly approaches to weed control:
Apply Boiling Water: Heat water in your tea kettle and pour it over the weeds you want to kill. The boiling water scalds the plants, which die back in a few days. This method works really well for isolated weeds and any plants growing through pavement cracks.
Use Vodka Instead of Vinegar: Applying a vodka solution with water and dish soap to weeds can also cause their demise. However, that’s a more expensive way to go. For this solution, add 2 ½ tablespoons of cheap vodka to two cups of water and a teaspoon of dishwashing liquid soap. Or double the vodka mixture recipe for a larger batch. Then apply it in the same fashion as a vinegar mixture to the weeds you want to conquer.
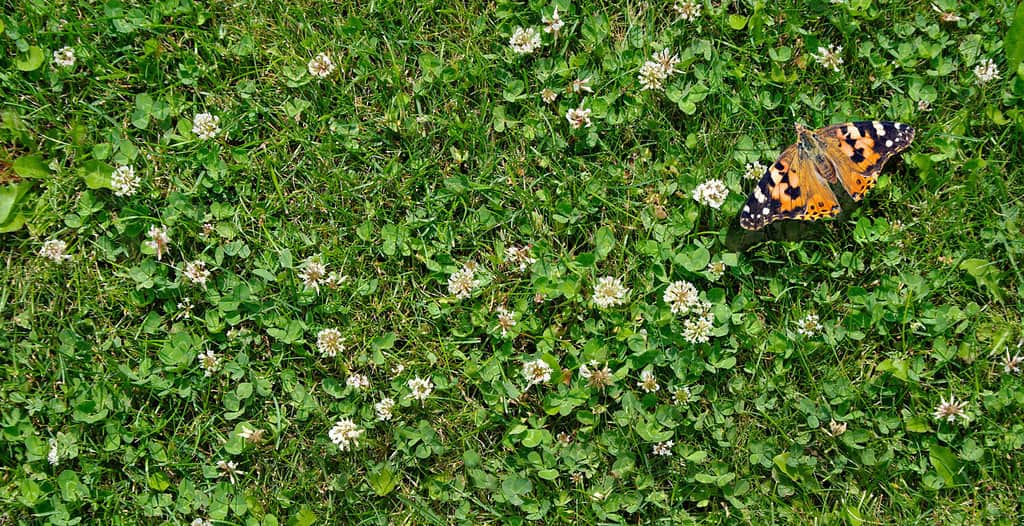
Clover is a creeper weed, but it also attracts pollinators and contributes nitrogen to the soil.
©KRIACHKO OLEKSII/Shutterstock.com
Think Twice Before Killing These Weeds
While the fight to eliminate weeds is understandable, some weeds have more value alive than dead. So before reaching for the vinegar weed killer, think twice before killing these plants:
Clover: Clover plants are nitrogen fixers for your yard. They contribute to soil fertility and attract pollinators to the plants you love.
Dandelion: Did you know that dandelions provide food for bees and other pollinators? Indeed they do. Plus, their roots add nutrients to the soil and help aerate it due to how far they spread underground. Try to think of dandelions as free fertilizer so you won’t mind as much seeing them pop up all over the place.
Ground Ivy (Wild Mint): This creeping “weed” can take over your lawn, but think twice before killing every patch of ground ivy you find. You will want to control ground ivy plants, but maybe let some grow with supervision around your vegetable garden. The reason ground ivy could be beneficial in this location is because of its ability to repel certain garden pests. Cabbage and cucumber worms, tomato hornworms, and other garden pests avoid ground ivy because of its volatile oils. However, ground ivy is toxic if ingested, so don’t let this plant grow where livestock graze.
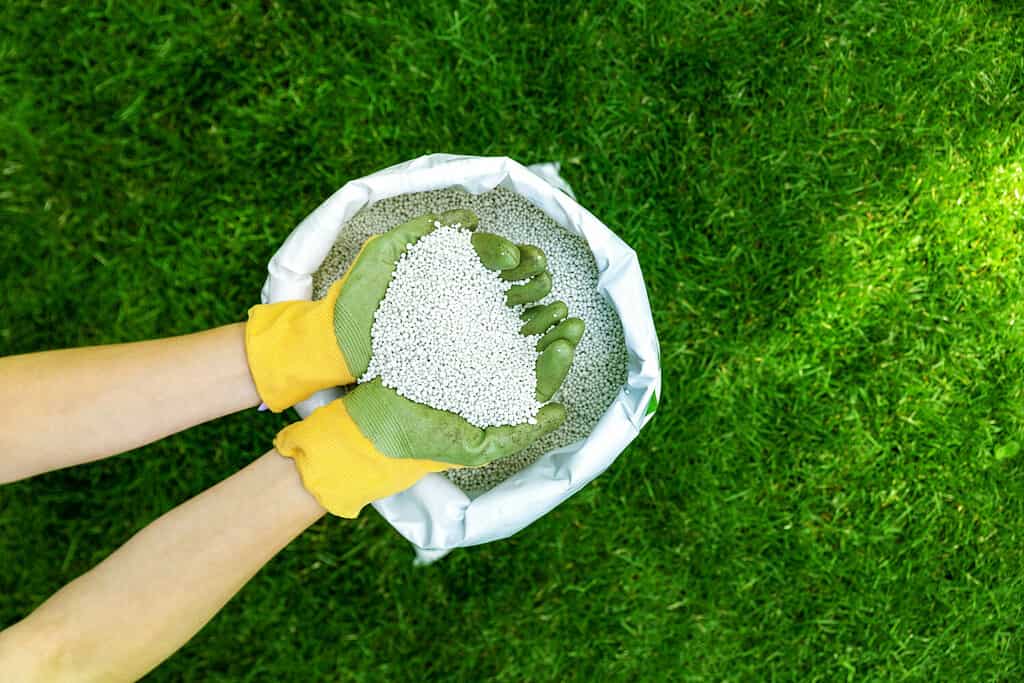
Fertilizing your lawn might decrease the amount of weeds that grow in it because many weeds steer clear of the added nitrogen.
©ronstik/Shutterstock.com
It’s easy and eco-friendly to kill weeds with vinegar
Using a homemade vinegar mixture for weed control is a safe and effective method for lawn and garden care. Though a mild irritant due to its acidity, vinegar is non-toxic and eco-friendly. And its acidity is why vinegar works so well at sending unwanted weeds to their graves.
By following the step-by-step instructions and best practices for application, you can harness the power of vinegar to keep your garden thriving. With these easy practices in place, you can maintain a beautiful yard and garden that flourishes year after year.
The photo featured at the top of this post is © focal point/Shutterstock.com


How to Add Us to Google News


Thank you for reading! Have some feedback for us? Contact the AZ Animals editorial team.