
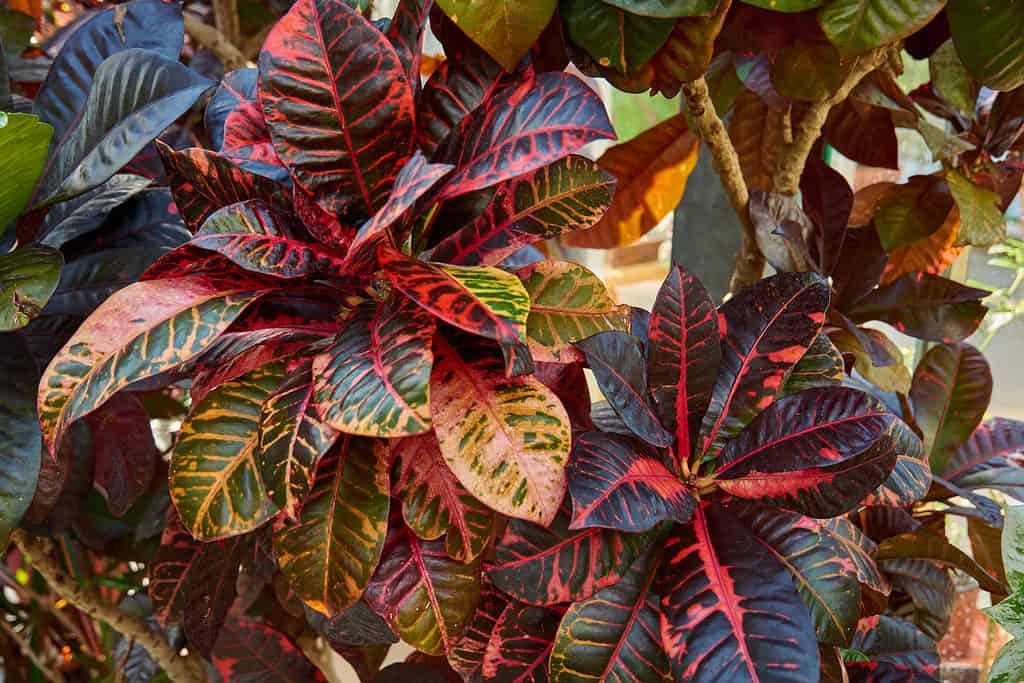
A lovely and vivid plant native to humid areas of Southeast Asia, garden crotons are an excellent addition to any outdoor garden or a terrific indoor houseplant. Your garden croton plants will thrive with the right care and attention. Additionally, cuttings work better for growing croton plants than seeds do.
Crotons are frost fragile and can only be grown outside in USDA hardiness zones nine and above, so they won’t likely flourish in temps below 40 to 50 degrees F. Crotons, however, may be started as indoor plants you later take outside when the weather suits you. Regardless of your choice, it is best to propagate your crotons to grow more plants rather than sowing seeds.
In this guide, we’ll explore a few different ways and complete the steps you need to know to propagate your own croton plants. We’ll also look at a few tips for success as well.
The Basics of Croton Propagation
First, you should know that crotons grow exceptionally well from cuttings. There’s no need to bury the lead with this one because cuttings from an established plant are not only the most dependable way among the many available online but also correspond with the plant’s needs.
The greatest strategy to maintain your plant’s finest appearance is to encourage additional leaf growth because crotons are famous for their colorful foliage and brilliant hues. Regular pruning can assist you in regulating your plant’s growth and shape and will encourage the formation of new leaf bunches along the stems.
Even in the winter, croton plants cultivated inside typically don’t completely hibernate. Growth may slow down in the colder, darker months, but unlike many other houseplants, these ones don’t completely stop growing. As a result, you may normally reproduce plants using cuttings at any time of year.
You have many chances to grow new plants from the cuttings you are already taking off because healthy croton demands routine pruning at least once every few months. You only have to choose whether to root the cuttings in water or soil.
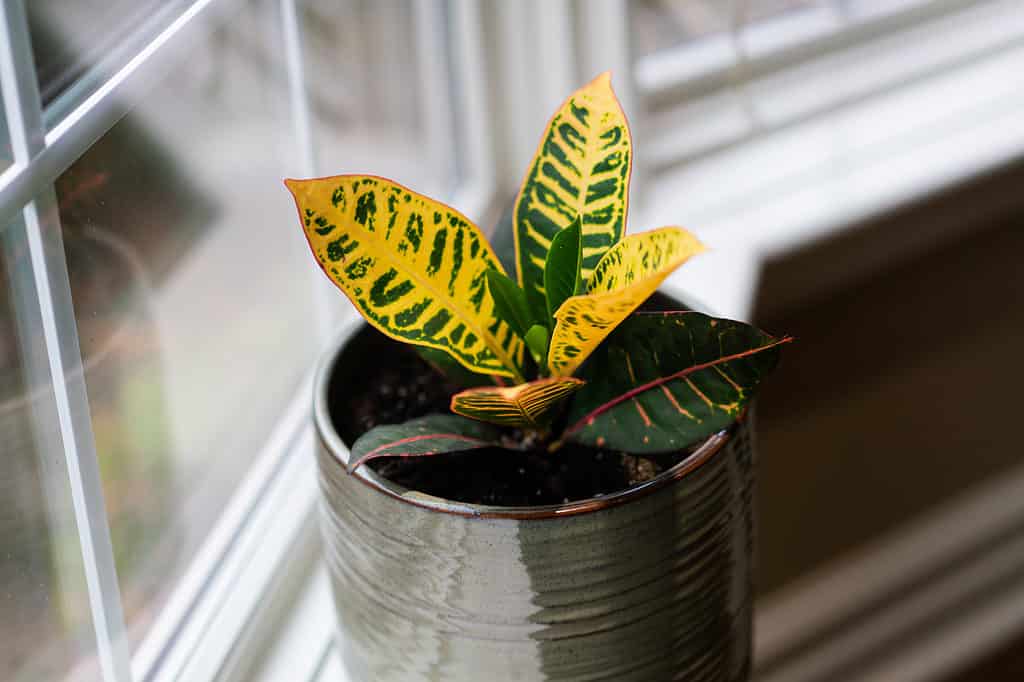
Young crotons (pictured) will grow quite quickly after successful propagation.
©iStock.com/Regina Burganova
Propagating Croton Plants via Soil
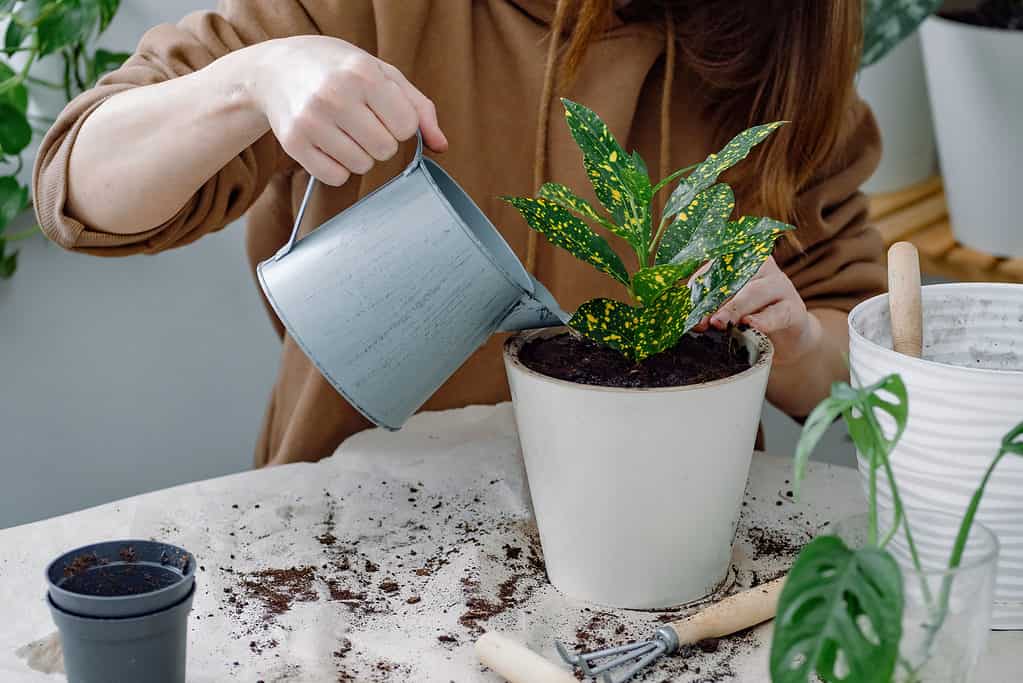
Crotons are initially multiplied by removing cuttings from the plant and re-rooting them in soil. Because you cut off pieces of the adult plant and plant them right away in good potting soil or seed-starter mix without rooting the cuttings in water beforehand, these are sometimes referred to as unrooted cuttings.
Unrooted cuttings have the advantage of saving you time by allowing you to plant them immediately into the ground, where they will fully root without the additional step of being submerged in water for a number of weeks. This approach has the drawback that all growth is invisible while it takes root in the soil, making it challenging to determine how well the cuttings are doing. Still, it is definitely an easy way to get started with propagation.
1. Gather Your Cuttings
On your mature plant, you must first clip away a portion of the stems in order to produce unrooted cuttings. Make a slanted cut along the stem, often where you’d want to see a fresh burst of leaves, using clean and sharp clippers or scissors.
Each cutting should be between three and six inches long, have three to four leaves, and be between one-fourth and one-half-inch thick for optimal results. Here, it’s important to have a section of the stem with nodes that contain auxiliary buds from which new growth will ultimately emerge. These nodes are often found directly above where a leaf joins the stem.
Utilizing the somewhat bigger cuttings with more leaves is simpler, especially if you’re new to plant propagation. You can succeed with many tiny cuttings with at least one node, but the failure rate is greater.
2. Plant Your Cuttings in the Soil
Once you have your Croton cuttings, you may immediately plant them in propagation trays or tiny pots packed with damp potting soil. If you want to stimulate quicker roots, you may dip the cut ends in a rooting hormone powder before planting them in the soil, although it’s not necessary.
3. Check on Your Cuttings Regularly
Maintaining wet soil, a warm environment, and high humidity levels is essential for these cuttings to take root. If it seems like the soil is drying out, check it frequently and spray the cuttings.
Some individuals use plastic bags or covers to protect the propagation trays or pots they use. If you decide to use a plastic covering, leave it on for around a week while your tray or pot is situated in a warm location and gets enough indirect sunlight.
4. Maintain Your Cuttings
The cuttings should start to root out into the soil during the course of the following four weeks. You may gently tug on the cutting or look for roots sticking out of the drainage holes at the bottom of the container. If it doesn’t have much give, the cutting is starting to take root. Before transferring the rooted cuttings to larger pots, let them sit in their containers for a few more weeks to ensure they are well entrenched in the soil.
Propagating Croton Plants via Water
Crotons grow exceptionally well from cuttings.
©iStock.com/Wirestock
Crotons may also be successfully propagated by creating rooted cuttings in water, which is another popular method. These are much the same as the previous method of using soil, with the addition of the process of allowing the young cuttings from the adult plant to root out in a container of water before planting them in soil. Many people prefer this approach despite it appearing like an extra step since it’s so simple to accomplish, and you can see the progress the roots are making, which may help you decide when to put the cuttings in the soil.
1. Gather Your Cuttings
Starting with the same steps, rooted cuttings can be produced. Use clean, precise clippers to prune your mature plant, ensuring each branch has a few leaves attached.
2. Put Your Cuttings in the Water
Once you have the cuttings, all you have to do is set them in a glass or jar filled with room-temperature water, hang it in a window that gets a lot of direct light, and that’s all. You should observe roots developing from the cut end buried in the water after around five to six weeks.
3. Change Out the Water Frequently
If not more frequently, aim to change the water your cuttings sit in at least once weekly. By doing this, you can maintain everything clean and stop mold or slime from growing around the cuttings.
4. Plant Your Cuttings in the Soil
You may transfer the fully rooted cuttings to small containers filled with damp potting soil once these new roots have grown to a length of around two to three inches. Give your transplanted cuttings the same attention we outlined in the previous soil propagation section.
Propagating your crotons in water can help them become hardier as adults (pictured).
©IrynaL/Shutterstock.com
Tips for Propagating Your Own Croton Plants
Propagated croton plants may grow and thrive as long as they are in a favorable habitat. Some maintenance tips are out there to maintain your crotons and keep them healthy.
Inspect your crotons for illnesses and pests regularly. Crotons can be vulnerable to spider mites, mealybugs, and some forms of fungus, while typically being resistant to most pests and diseases. To eliminate any infestation locations, use an insecticidal soap or a cotton swab with rubbing alcohol.
Cover or mulch your cultivated plant. To aid in the soil’s ability to hold onto moisture and kill weeds, spread organic materials approximately two inches from the croton’s stem. In order to keep your plants warm during chilly drafts, you may also cover them with a burlap sack.
It is also wise to provide your propagated, young croton plants with indirect sunlight. Maintain your crotons in four to six hours of indirect light each day. The cultivar can also have an impact on this since some may need some shade as they mature.
Make sure to give them plenty of water. Water your crotons well when the top half-inch of soil seems dry. When the plants aren’t adequately hydrated, you can observe some leaf drop, so try spraying the leaves with room-temperature water around twice a week. To maintain the ideal levels of moisture in the space, you may also utilize a humidifier.
Wipe your plant’s leaves clean regularly, as they can get quite dusty. Because croton leaves tend to accumulate dust, you should sometimes clean them off with a moist cloth.
Once in the spring and once in the summer, fertilize your crotons using a low-nitrogen fertilizer. Too much nitrogen will boost green foliage growth but will inevitably inhibit its more vibrant colors.
Transplanting Your Propagated Crotons
Whichever technique you employed to produce your propagated cuttings, you will eventually need to relocate your baby plants into bigger pots. It’s preferable to wait a few more weeks after your cuttings have rooted out in the planted soil. Waiting until new growth starts to appear will typically help you get your new plants well-established in the soil. You can be sure your new plants are happy and healthy in this way.
Transplanting may frequently wait a season or two if there is enough room for your plant to expand, but you could notice that new growth appears quickly after your cuttings become established in their pots. Choose a container that is between one and two inches bigger than the existing pot. Place the plant and its complete soil ball in the new pot so that the crown of the plant is just below the lip of the pot. Gently remove the soil ball from the plant. Fresh potting soil should be poured around the root ball and carefully patted down to secure the plant in place.
Croton Transplanting Tips
If you want to make croton seem bigger and bushier, now is also an excellent time to pot up multiple plants together. Choose three to four plants that are around the same size and equally distribute them inside a bigger container. Deeply water your croton transplants, letting the extra water drain from the pot’s bottom. The root system should establish itself in its new home within a few weeks.
Croton propagation is fairly straightforward and not too difficult to do. With a little bit of patience and the right ongoing maintenance, your croton cuttings will surely grow into massive, aesthetically-pleasing plants.
Want to learn more about the incredible croton plant? Take a look at our complete guide to everything croton-related!
What Indoor Houseplants Are Pet-Friendly?
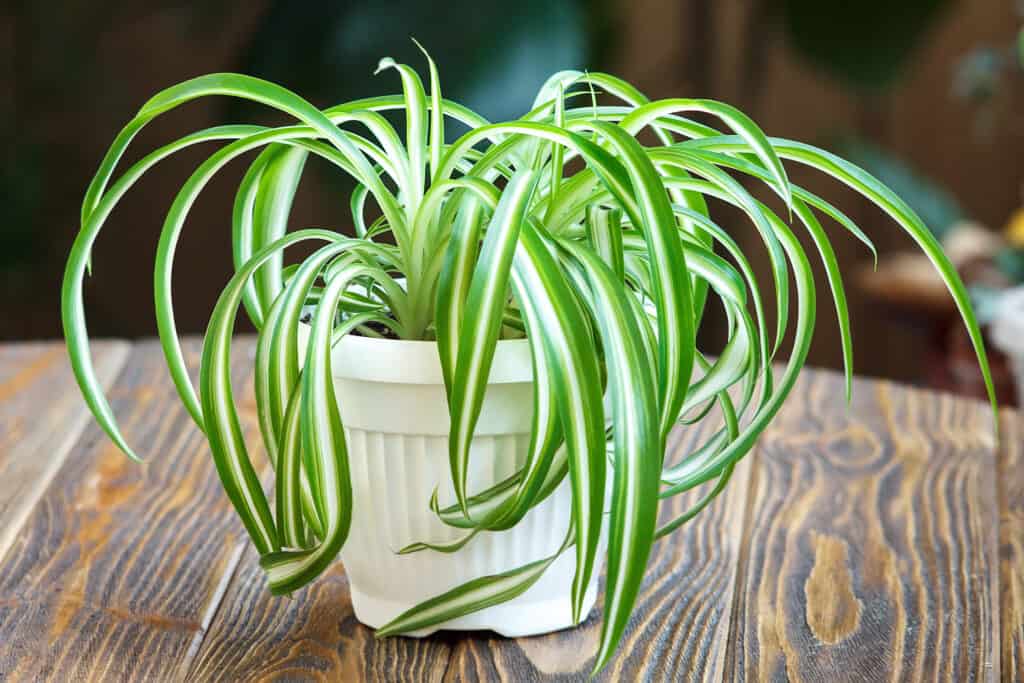
The popular spider plant is an excellent indoor choice if you own pets.
©Bozhena Melnyk/Shutterstock.com
If you have pets, the Croton plant may not be your best option to have indoors, as it’s toxic to animals. While its taste is repugnant so is likely to discourage your cat from munching, it may be best to keep this plant high out of reach or look for options that are safe for animals in case they do ingest parts of them. There are popular house plants that are non-toxic to your pets, so are considerations as safe alternatives. Below are 6 plants that are pet-safe.
- African Violets (Saintpaulia)–These flowering plants have been popular in homes for decades due to the lovely flowers they produce, as well as their low maintenance, as they are able to bloom in low light. Best of all, they will not hurt your pets if they decide to take a nibble.
- Chinese Money Plants (Urticaceae)–Popular for their vibrant green, round leaves, these hearty house plants thrive in bright to semi-bright, indirect light, and don’t require frequent watering. They are also non-toxic to pets.
- Banana Tree (Musa spp.)–If you are looking for a larger house plant to fill some empty space, this pet-friendly plant is a perfect choice (and may prove a playful prop for your climbing kitten). They can grow from 2-6 feet tall, depending on the variety, and their leaves are even edible. They do require regular watering and bright sunlight to thrive.
- Venus Flytrap (Dionaea muscipula)–If you’d like to kill two birds with one stone (figuratively speaking), why not bring a Venus flytrap into your home? While posing no threat to the dogs, cats, birds, or other pets you may own, the plant will cut down on your population of flies! Their main requirement is distilled water and bright light to do their job well.
- Boston Fern (Nephrolepis)–If you are a fan of ferns, the Boston Fern will prove a good choice to blend into your household, being safe for pets. Better yet, it does well in low light, and due to the fact that it thrives in humidity, these ferns can do well in a bathroom, provided there is some natural light.
- Spider Plant (Chlorophytum)–The cascading spider plant is one of the most popular house plants, as well as one of the safest for animals to interact with. It does do well elevated, as its limbs can grow long, so is great for hanging baskets, on windowsills, and on shelves. They do best in partial light.
The photo featured at the top of this post is © iStock.com/Wirestock


How to Add Us to Google News


FAQs (Frequently Asked Questions)
How can crotons be propagated?
Crotons can be propagated in a few different ways. However, they are commonly propagated by using stem cuttings with rooting hormones.
Can crotons be propagated by rooting in water?
Yes. These plants can be propagated by taking a tip cutting and placing it in water to root.
Can crotons be split?
Yes, but only with great care. A larger croton plant can be split at the root ball into two to three sections.
Thank you for reading! Have some feedback for us? Contact the AZ Animals editorial team.