Whether you have a monstera deliciosa or a monstera adansonii, you can propagate monstera plants with ease. Not only do these popular houseplants grow extraordinarily fast, but they also make for easy propagation. If you have ever wanted to share your beloved houseplant with all of your friends and family, here’s how.
In this article, we will give you a step-by-step guide for monstera propagation, including how to cut them and how to best keep the cuttings. Monsteras are a perfect plant to test out your propagation skills, and this is your guide to accomplish this process without fail! Let’s get started and propagate some monstera plants now.
Propagating Monstera Plants: A Step-By-Step Guide
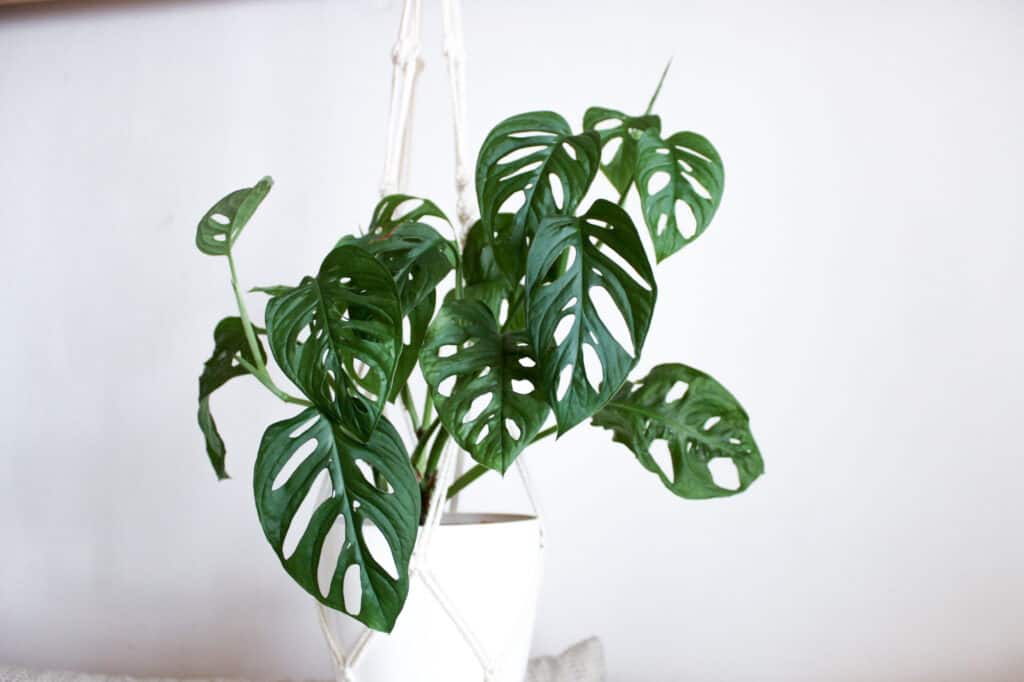
Monsteras are a perfect plant to test out your propagation skills.
©Isabella Wand/Shutterstock.com
Ready to propagate your monstera plant? Here’s how to take a clean and sanitized cut so that you can grow a strong and well-established monstera, every time!
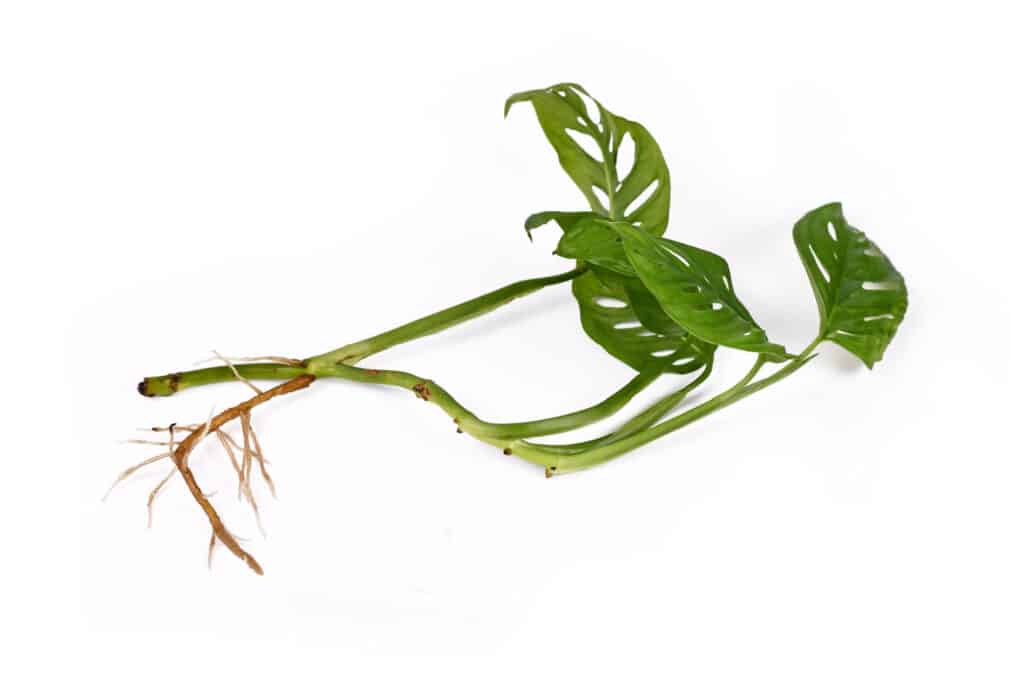
Step 1: Identifying Nodes and Roots
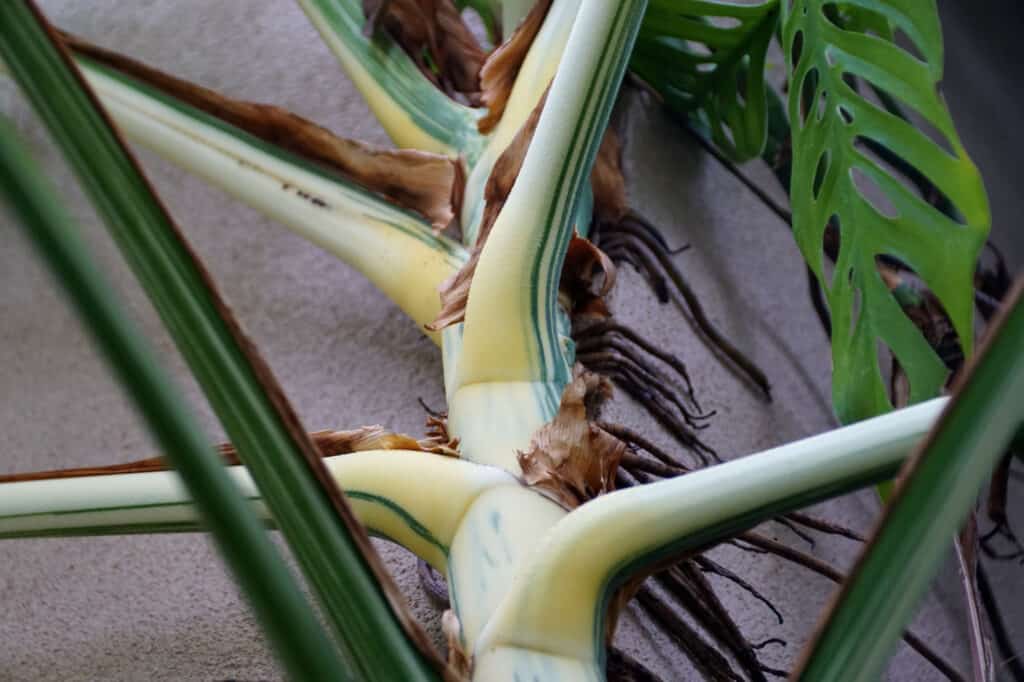
Monstera plants have three different types of roots as well as nodes.
©Khairil Azhar Junos/Shutterstock.com
The most important part of propagating a monstera is making sure that you have properly identified its nodes and roots. Monstera plants grow with multiple root types, though you won’t need to uproot your plant in order to propagate it. If you have a well-established monstera plant, you likely know that they produce aerial roots.
For reference, aerial roots look like ropes or brown stems draping from your monstera plant. You don’t need aerial roots in order to propagate your monstera, but they may assist in the process. Typically growing alongside aerial roots are nodes or bumps along the stems of your plant. These nodes are key to creating a thriving monstera cutting!
Once you have identified the nodes along the leaves and stems of your monstera, you can get your scissors or shears.
Step 2: Take Leaf and Node Cuttings
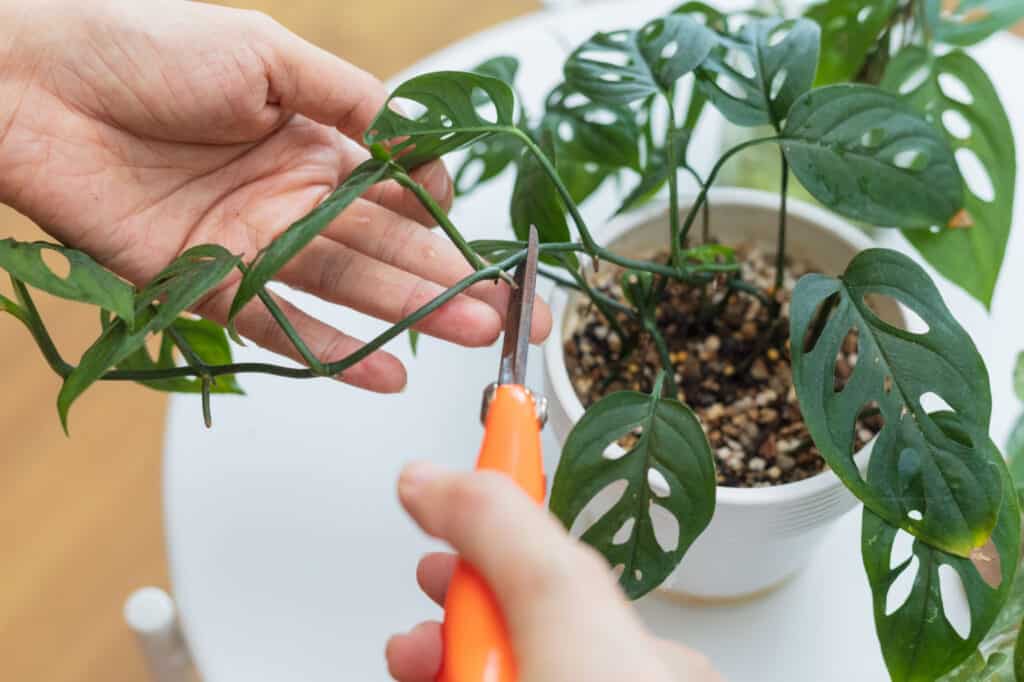
Always use clean trimmers when taking monstera cuttings.
©AngieYeoh/Shutterstock.com
Prepare your plant shears by washing them in soapy water. You can also wipe your scissors with rubbing alcohol. Be sure to not skip this step, as you can easily harm your existing monstera as well as its cuttings if your shears have any traces of disease or harmful substances on them!
Once you have identified your nodes and aerial roots, snip your monstera plant just below each node. Your cuttings should look like individual leaves with stems, varying in length depending on where the nodes are located. You may also have some aerial roots attached to your cuttings and you can keep these or trim them off at this time.
Step 3: Clean and Dry Your Cuttings
Once you have your individual leaf cuttings, it’s time to clean them. Most monsteras have a dry sheath or cover around their leaves and stems. It’s best to remove this from the stem so that your cuttings aren’t susceptible to rot or other diseases as it ages. Once your cuttings are free from their initial layer, allow the freshly cut wounds or bases to dry for a day or two in an undisturbed area.
Step 4: Add Your Cuttings to Water
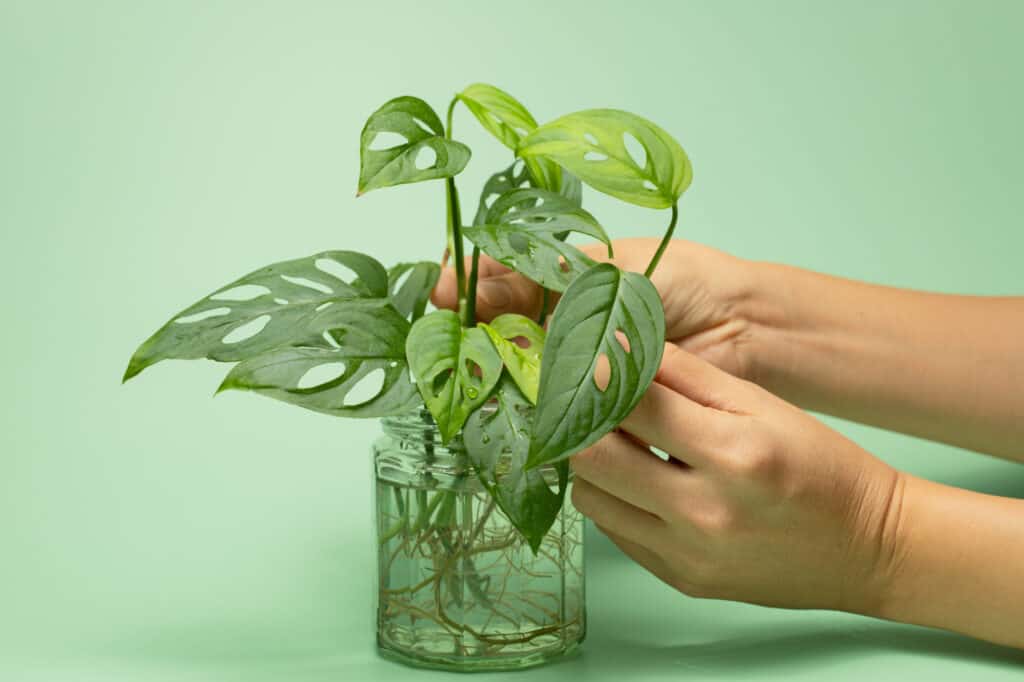
You can grow your monstera cuttings in water for months!
©AngieYeoh/Shutterstock.com
Once your cuttings have formed a bit of a scab at their base, it’s time to let them grow in some water. Get a clean and clear vase or container and add your cuttings to it. If you plan on planting all of your cuttings as part of the same plant, make sure to take some extra time to arrange your cuttings in a pleasing way. It’s much harder to adjust the spacing and appearance of your cuttings once they have started forming roots in their vase!
Step 5: Refresh Your Monstera’s Water Weekly
Now your cuttings need time to mature in water, in a bright location, before you can plant them. All you need to do is monitor your cuttings for any signs of mold or mildew. You should also refresh the water that your cuttings are in weekly, if not every 5 days. This helps keep your cuttings happy and thriving as they develop roots and more leaves! Most monstera cuttings need weeks before they are ready for planting in soil, so changing their water frequently is key.
Step 6: Plant Your Monstera Cuttings
You can easily propagate monstera cuttings.
©Firn/Shutterstock.com
You will know your monstera cuttings are ready to be planted when their fresh, white roots are a few inches long. After a couple of months, it’s most likely time to plant your new monsteras. The great part about monsteras is that they aren’t very picky in terms of their soil requirements. Plant your cuttings in potting soil and let them thrive in a bright, indirect sunlight location in your home. Or you can distribute your cuttings to your friends, giving everyone in your life a new and special plant!
Up Next
- Types of Monstera Plants: 9 Popular Varieties to Grow Now
- Growing Indoor Monsteras: How to Keep This Houseplant Happy Inside
- Monstera Deliciosa Plants: Discover This Popular Houseplant
- How to Propagate Coleus From Seed or Cuttings (With Amazing Results Every Time!)