
Composting can be a quick and easy way to transform kitchen and yard waste into valuable food for your garden and plants. However, it can be intimidating to figure out how to get started. Nobody wants a soggy, stinky pile of garbage in their backyard!
Here, you’ll find the basics of how to start composting. Keep reading to learn about the benefits, methods, and steps to get your own pile of “black gold” in your yard.
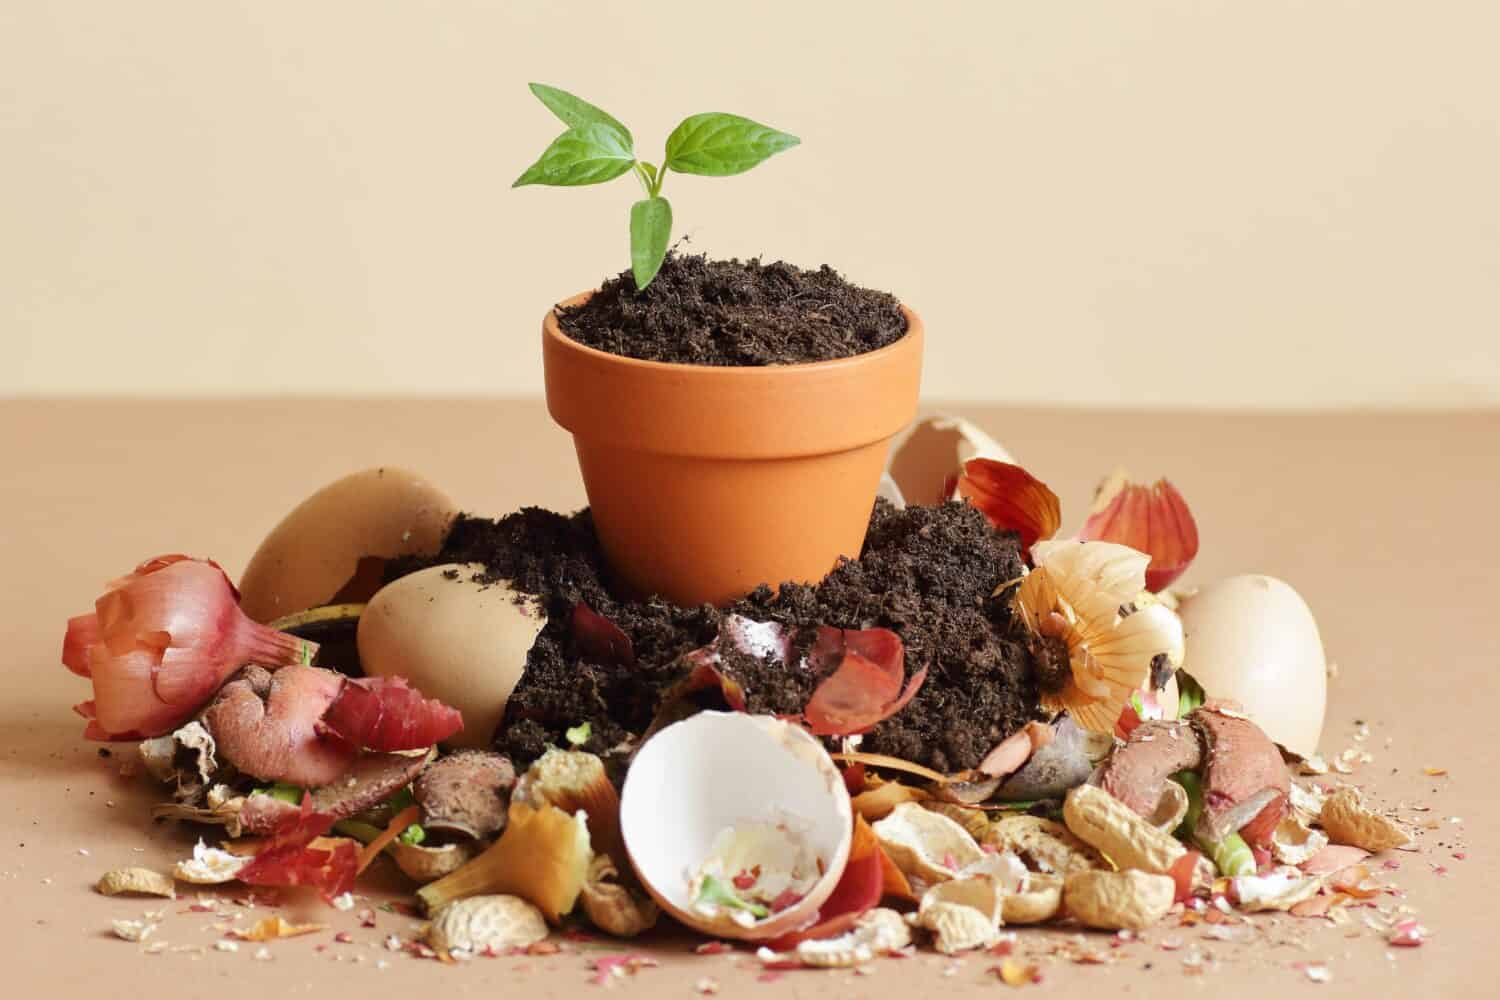
Compost is known as “black gold” among gardeners for its nutrients and soil-boosting abilities.
©Singkham/Shutterstock.com
What Is Compost?
Composting is the process of naturally converting organic material into nutrient-rich mulch. When items like kitchen scraps and yard waste are combined in an outdoor area with access to airflow, microorganisms like bacteria and fungi feed on nitrogen and carbon.
Over time, the microorganisms decompose the scraps and waste, turning it into a brown, crumbly material that is perfect for adding to your plants.
Benefits to Composting
There are many good reasons to start composting. These benefits include the following.
- Reduced kitchen and yard waste. By diverting food scraps and yard clippings to your compost bin, you prevent those items from accumulating in a landfill.
- Increased nutrients in your soil. Adding compost to your soil improves nutrient levels.
- Improved soil structure. Compost helps to aerate dense soil, making space for roots to grow.
- Better water retention. Adding organic matter like compost to soil helps it hold onto water, reducing runoff and the need for watering.
- Fewer expenses. With your own compost, you’ll have less need for store-bought fertilizers and soil additives.
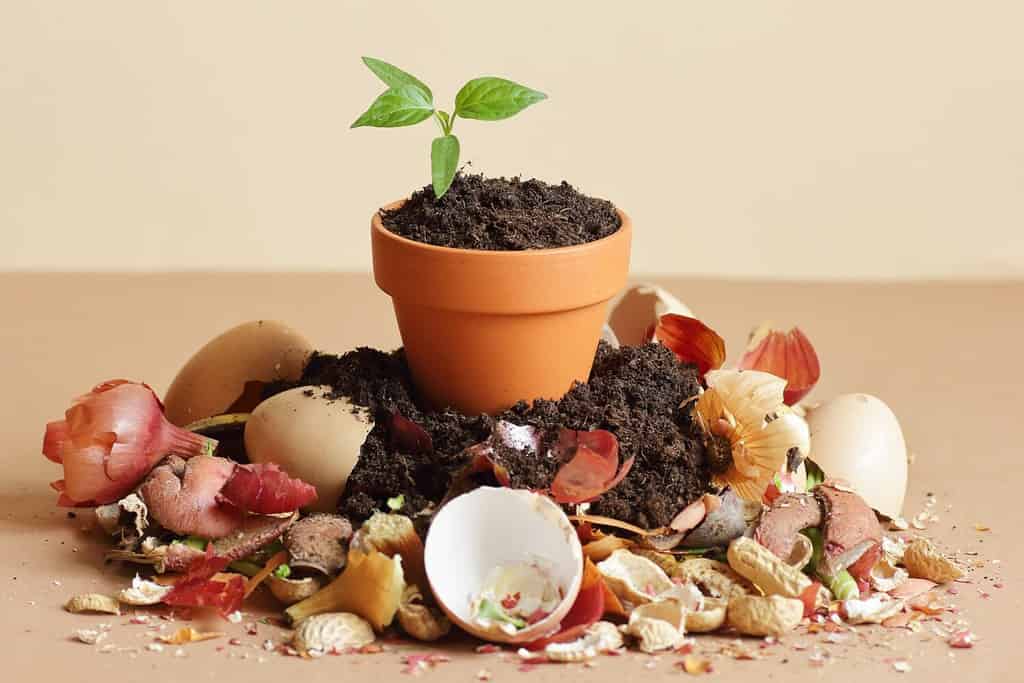
Crushed eggshells and vegetable scraps are great additions to your compost pile.
©teatian/Shutterstock.com
What to Include
Making compost relies on a few crucial components. You’ll need a combination of ingredients that provide carbon and nitrogen in order for composting microorganisms to thrive.
Carbon-rich ingredients are called “browns,” while nitrogen-rich ingredients are called “greens.” Along with these, you’ll need enough water to keep the mixture moist (but not wet) and an adequate amount of airflow to make sure the bacteria have oxygen.
| Browns (For Carbon) | Greens (For Nitrogen) | Do Not Compost |
|---|---|---|
| Dry Leaves | Grass Clippings | Dairy Products |
| Corn Stalks | Crushed Eggshells | Meat Scraps |
| Shredded Brown Bags | Coffee Grounds (No Filters) | Bones |
| Shredded Paper (No Coating) | Tea Leaves (No Bags) | Pet Waste |
| Sawdust (Untreated) | Fruit Scraps | Fats, Oils, and Grease |
| Shrub Clippings | Vegetable Scraps | Dryer Lint |
| Wood Chips (Untreated) | Fresh Hay | Plastics |
| Straw | Animal Manure (Cow, Horse, or Sheep) | Cleaning Products |
| Shredded Newspaper | ||
| Pine Needles | ||
| Shredded Cardboard (No Tape or Glue) |
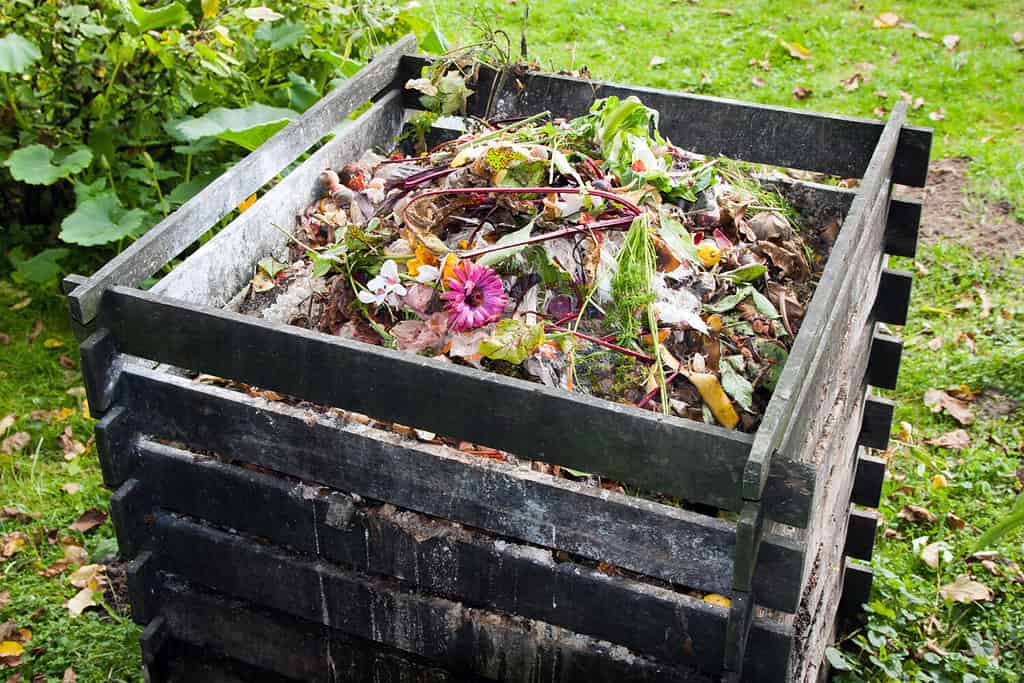
Adding fresh materials to existing compost — known as passive composting — takes more time but requires less labor.
©Evan Lorne/Shutterstock.com
How to Get Started
- Start collecting browns and greens. Kitchen scraps can be stored in a closed container on your countertop or in your refrigerator. Set aside space outside to collect grass clippings, leaves, and twigs.
- Designate your compost area or buy a bin. Determine where you want to store your compost pile. Ideally, your space will have access to water. Avoid placing compost near trees so the roots don’t grow into your area. You can construct a semi-enclosed container, purchase a compost bin, or consider a rotating compost tumbler.
- Get your ingredients ready. Process your browns and greens into smaller pieces to speed up the decomposition process.
- Start building your pile. Whether you’ve chosen an open spot or an enclosed bin, start with a four to six-inch layer of browns to add bulk. This will absorb liquid and allow air to circulate. Continue layering browns and greens, adding a small amount of water if needed for moisture. Make sure to add two to three times the amount of browns to greens, and top your pile with a thick layer of browns.
- Monitor your compost. As the microorganisms in your compost get to work, the temperature in your pile will increase. Periodically turn your compost pile using a garden fork to encourage decomposition.
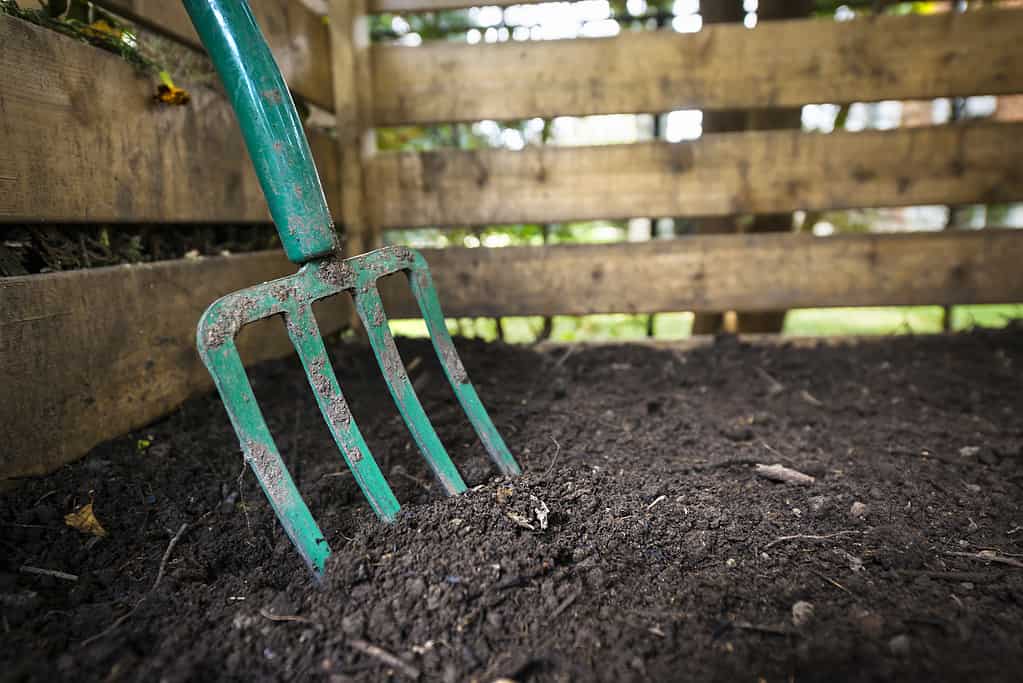
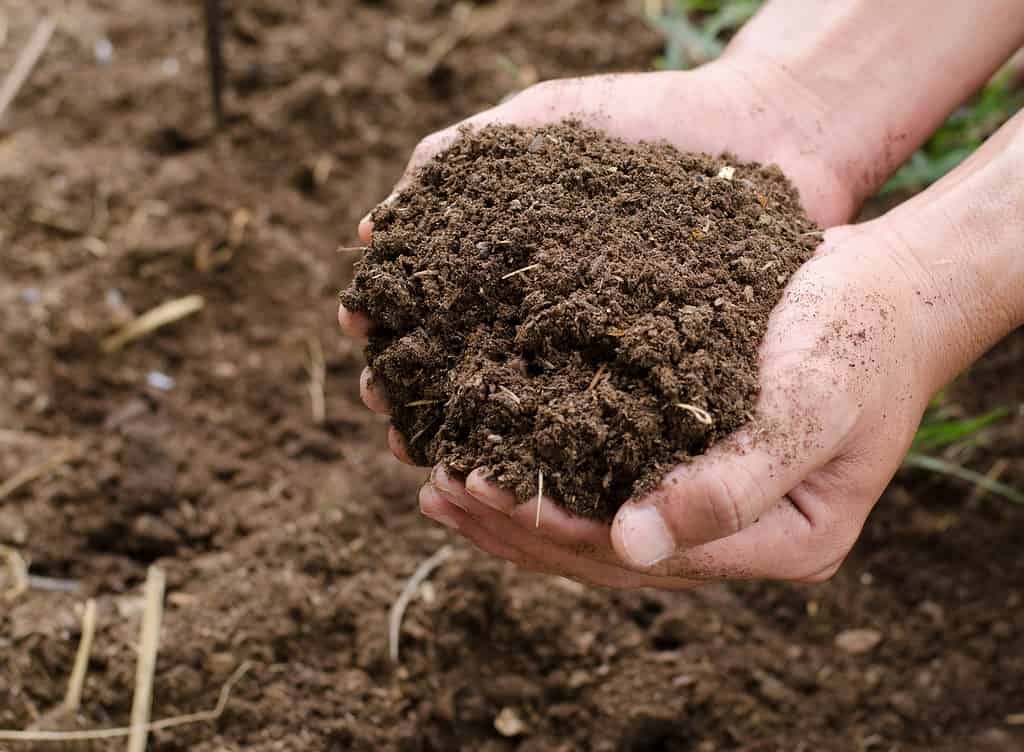
Make sure to turn your compost periodically to ensure airflow.
©Elena Elisseeva/Shutterstock.com
Composting Methods
There are several options for creating and managing your compost pile. Here are some common choices.
| Technique | Basics | Pros | Cons |
|---|---|---|---|
| Vermicomposting | Utilizes worms in a bin to create compost | Simple to start, and produces compost in 3-6 months | Must maintain proper temperature for worms |
| Cool/Passive Composting | Add fresh materials to an existing compost pile or bin | Less labor intensive | Must maintain the proper temperature for worms |
| Hot/Active Composting | Typically involves filling a bin once and not adding fresh materials | Produces compost quickly | Requires more turning and monitoring |
| Sheet Composting | Makes compost in a large area for a new garden bed | Does not require turning | Requires careful planning |
| Trench Composting | Creates compost directly in the dirt for gardens | Less labor intensive | It can take a year to produce compost |
Using Your Compost
Compost is typically ready to harvest in two to five months, depending on the method used. Once your pile no longer has visible food scraps and has stopped heating up when you turn it, leave your compost to cure for at least four weeks.
If your compost is in a pile that’s continually fed from the top, you can relocate the top of the pile to allow the bottom to cure. Keep in mind that compost will reduce in volume while it cures to around a third of its starting size. Compost that’s ready for use will be loose, dark, and crumbly with the smell of fresh soil.
You can add finished compost to the soil in new or established garden beds in order to add nutrients and aerate the soil. Compost can be used as mulch around plants to improve water retention. You can also add compost to the soil mixture for potted plants.
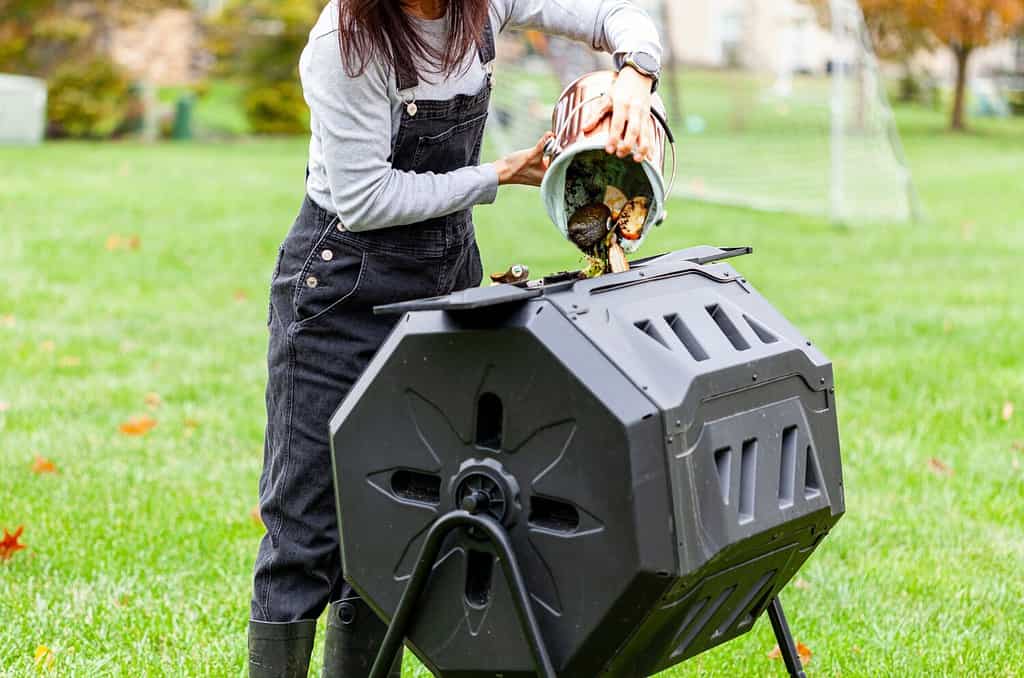
Tumblers can be used for active composting, but you should avoid adding new material once you’ve started a batch.
©grandbrothers/Shutterstock.com
Common Issues
Successful composting depends on having the right mix of airflow, water, browns, and greens. Some common composting problems include:
- Rodents and pests. Make sure the holes in your compost bin are less than ¼ inch to prevent mice from entering. Check that you have enough browns in your compost, and avoid adding meat or dairy to your compost pile.
- Too much moisture. If your compost pile is getting soupy, add more brown material and ensure adequate airflow.
- Too little moisture. If your pile seems too dry, add more kitchen scraps to the mix or even some water and mix the pile thoroughly.
- Not enough heat. A lack of heat indicates low activity from microorganisms. Try adding more kitchen scraps and turning the pile for airflow. You can also add a thermometer to keep an eye on the temperature.
- Bad odors. To reduce bad smells, mix more browns into the pile and turn the pile for airflow.
Helpful Tips
While bacteria and fungi do the hard work of composting, it’s possible to support the microorganisms and speed up the process. Here are some ideas to get your compost pile going.
- Add nitrogen. When you turn your compost, you can add extra nitrogen to speed up decomposition.
- Check for moisture. Your compost pile should be moist. In dry climates, it may be necessary to add water once a week.
- Protect your pile. Use a tarp to cover your compost during heavy rains or very hot weather.
- Time your turns. If you’re adding fall leaves to your pile, mix the pile before the first freeze, then avoid mixing through the winter to maintain heat.
- Add more browns. If your compost pile tends to be too wet, try adding leaves or shredded paper to the pile whenever you add kitchen scraps.


How to Add Us to Google News


Thank you for reading! Have some feedback for us? Contact the AZ Animals editorial team.