
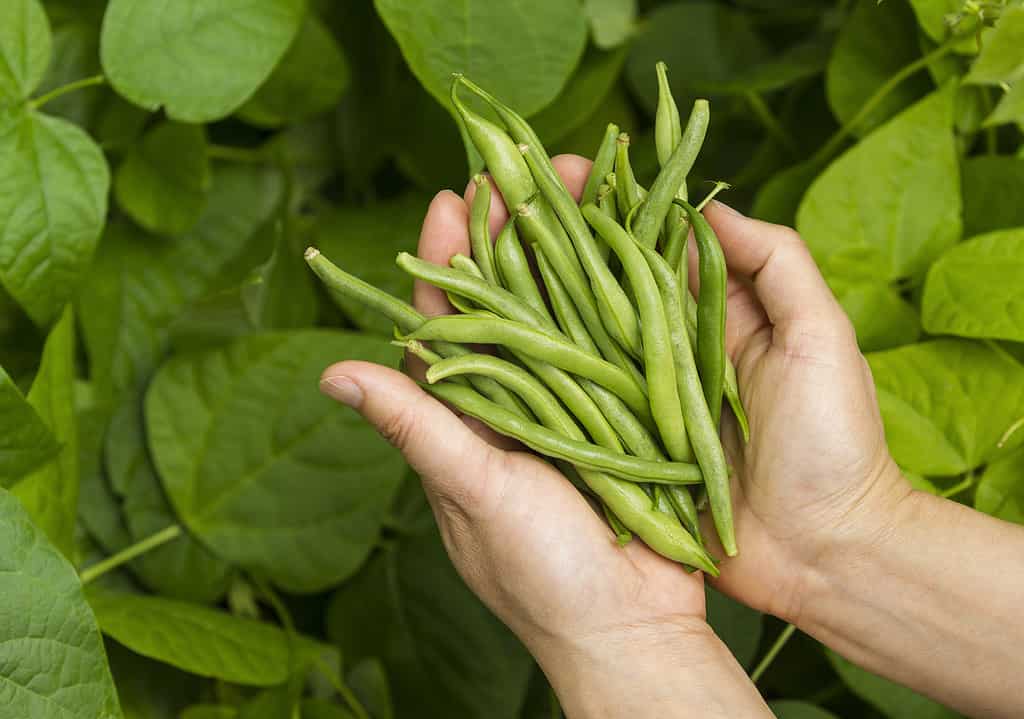
So you planted those green bean seeds with hopes of enjoying a delicious homegrown harvest. But alas, the unthinkable happened — your green beans didn’t grow as expected.
It happens to the best of us. Here are some common causes for your plants’ underwhelming growth and best troubleshooting practices.
7 Reasons Why Your Green Beans Didn’t Grow
We’ll discuss the seven most common reasons why your green beans didn’t grow this summer and give you some actionable right after that.
#1: Unfavorable Weather and Environmental Conditions

Green beans don’t thrive in hot temperatures, which may be the number one issue in recent years.
©lamyai/iStock via Getty Images
Green beans are a warm-weather crop but too much sun, heat, and lack of moisture are not favorable for this plant. Unfortunately, we know that the temperatures in the US have been rapidly rising for the entire last century, and it seems that summers especially are only getting hotter every year.
So, high temperatures could very well be the reason why your green beans didn’t grow.
Other environmental factors include low night and high day temperatures, smog, and too much shade.
#2: Improper Sowing or Planting
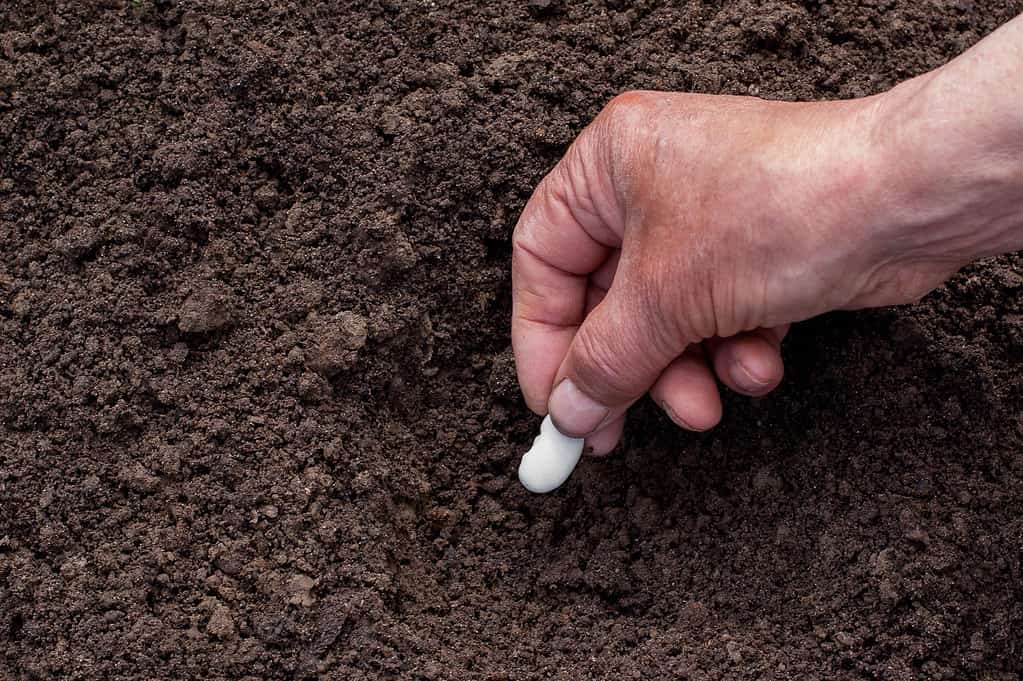
Inadequate first steps can cause many issues later down the road.
©siaivo/iStock via Getty Images
Improper sowing or planting can often lead to green beans not growing. We’ll only discuss the most common problems here: planting at inadequate times, depth, or spacing.
Sowing or Planting Too Early or Too Late
Beans should be planted in spring when the soil reaches between approximately 50°F and 53.6°F, which is usually in late March or May. However, you may be able to plant a bit earlier if you live in areas with higher average temperatures.
In general, though, too early or late sowing can affect growth.
You may get away with planting your green beans slightly late, under the condition that the temperatures don’t exceed 64°F. Low temperatures and frost, however, are more risky — and more likely to leave you empty-handed come harvest time.
Improper Sowing Depth
Planting beans at the wrong depth can also lead to growth issues.
- If planted too deep, beans can rot and fail to germinate.
- If planted too shallow, beans might dry out and die.
Generally, beans should be planted about two inches deep for best results.
Improper Spacing
Lastly, green beans shouldn’t be planted too far or too close apart.
- Planting beans too closely together can lead to overcrowding, competition for resources, and smaller yields.
- Planting them too far apart can lead to wasted space in your garden which unwanted weeds can quickly fill. Also, it may cause soil erosion.
Leave about two inches of space between plants in the same row and about 20 inches between rows.
#3: Soil Problems
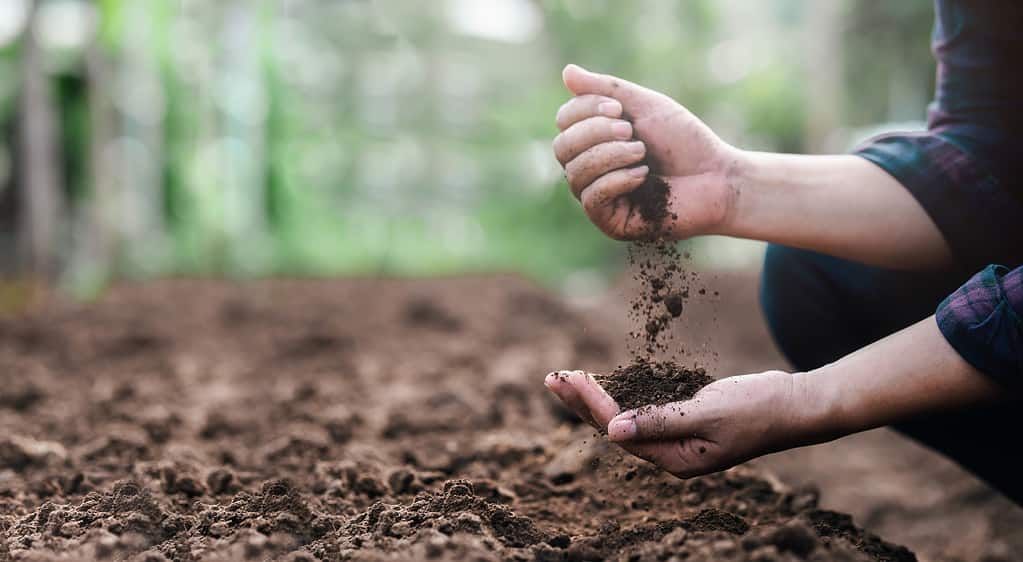
It’s always a good idea to check soil conditions before planting.
©Sakorn Sukkasemsakorn/iStock via Getty Images
Out of all legumes, green beans have the highest soil requirements.
Unfortunately, there are a number of soil issues that can affect their development. Here are just some:
- If the soil is too moist, seeds may easily start rotting or succumb to fungal diseases.
- If the soil is too dry, the seeds won’t be able to absorb enough water to properly germinate. Developing plants may also start wilting.
- Poor soil fertility can lead to stunted and fewer bean plants.
- Excessive nitrogen in the soil is likely to produce leaves, but delay flowering. It encourages leaf growth at the expense of bean production.
- Soil without proper draining can also cause rotting and root diseases.
Also, not all plants make good neighbors to green beans. They especially don’t “get along” with garlic, onions, leeks, scallions, peppers, fennel, and gladioli. You should avoid planting these near your beans.
#4: Watering and Moisture Issues
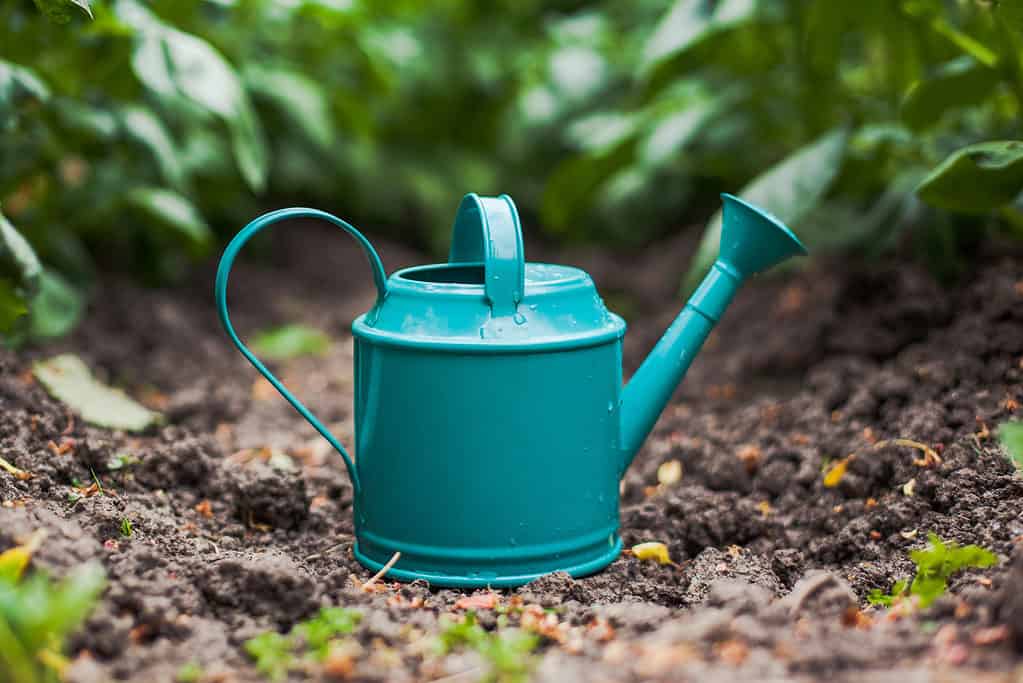
Green beans need you to strike the right balance —
not too little, and not too much— when it comes to watering.
©iStock.com/Tgordievskaya
Many gardeners don’t know that green beans need more moisture and nutrients between flowering and pod formation, so they fail to adequately water the plants. This can stunt growth from the very beginning.
More generally speaking, irregular watering or lack of moisture at any stage can lead to flower shedding and the development of deformed pods.
Average beans need about one inch of water per week, but make sure to track your beans’ growth, consider the changing weather conditions, and adjust your watering schedule if needed.
A general rule of thumb is to keep the soil moist at all times, but not soggy.
#5: Pest Infestations
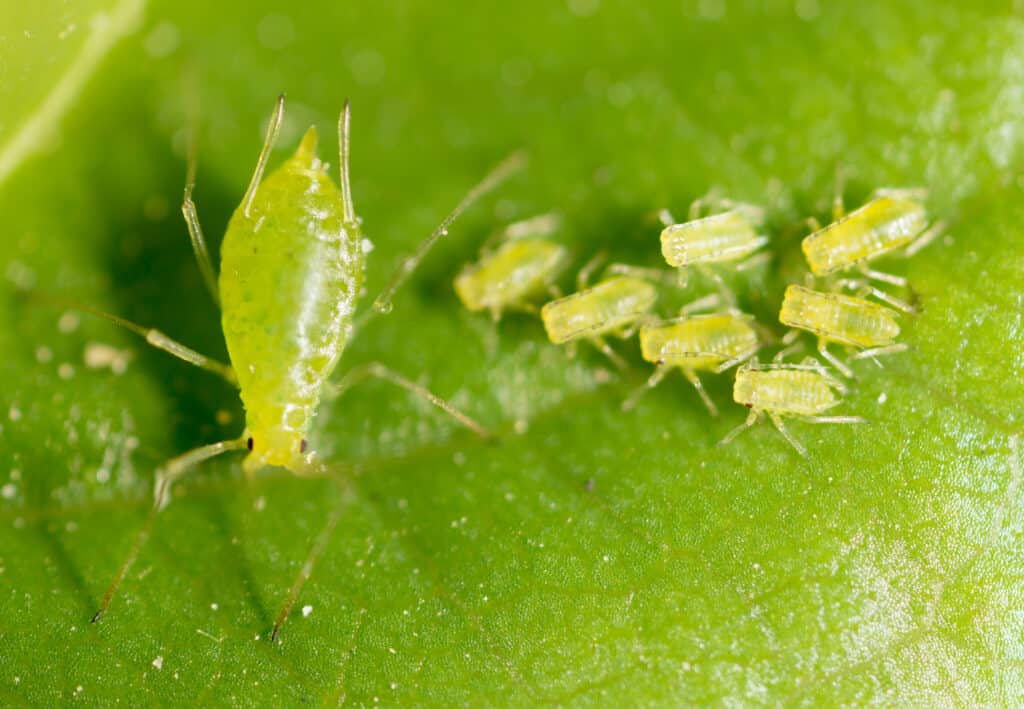
Aphids are very common sap-sucking insects that can be hard to banish from your garden.
©schankz/Shutterstock.com
If you’ve got all of the above things right, it’s possible that your green beans are suffering from pest infestations. Common pests on green beans include aphids, corn earworms, bean weevils, lygus bugs, and lycaenid pod borers.
- Aphids feed on plant sap from leaves, stems, and pods. They stunt green bean growth and may even spread diseases.
- Corn earworms and lycaenid pod borers can leave holes in pods and eat seeds.
- Bean weevils often infest seeds within pods and may consume entire bean contents.
- Lygus bugs feed on leaves and pods, often causing flowers and buds to drop.
These and other pests can be especially damaging to green beans in the early growth stages. They can stunt growth, lead to wilting, or cause the plant to die if left untreated.
#6: Disease-Related Issues
Fungi, bacteria, and viruses can also stunt the growth of green beans.
©Boonyakiat Chaloemchavalid/iStock via Getty Images
If your green beans look unhealthy, but no visible pests are present, underlying diseases may be to blame for stunted growth.
Pathogens like fungi, bacteria, and viruses can invade green bean plants through the soil, leaves, or roots. If conditions are right, a number of diseases may take hold and disrupt the bean’s development.
Some common green bean diseases to be aware of include damping off, rust, white mold, and curly top.
Damping Off
Damping off is caused by fungal presence in moist soil, causing seed rotting and damping off in young seedlings. Other symptoms include water-soaked or reddish-brown lesions.
To avoid this disease in the future, ensure proper drainage and plant at optimal dates and temperatures, ensuring the soil is not too wet. Consider preparing raised planting beds to achieve this.
Rust
Rust is a fungal disease indicated by reddish, yellowish, or orange spore masses on the lower surface or leaves. It is caused by Uromyces phaseoli typica and is more severe in humid areas.
To prevent future issues, we suggest not planting any beans for two years. When you do, avoid over-fertilization and space the plants according to the guidelines mentioned earlier.
White Mold
White mold indicates a bacterial or fungal infection. It first appears as a watery rot on pods, leaves, and stems, but may affect the base of the stem near the soil as well.
White mold thrives in wet soil, so consider using raised beds and appropriate furrow irrigation. Prevent the disease from further spreading by removing infected plans as soon as you spot them.
Curly Top
The curly top virus is transmitted by leafhoppers. Symptoms of the disease include down-cupping, puckering, and wrinkling of infected leaves.
Unfortunately, there’s no long-term solution for this issue if the curly top virus is common in your area. The best thing to try is planting green bean varieties that are more resistant or tolerant to this virus.
#7: Other Possible Factors
Factors like poor or irregular garden hygiene can also harm your plants’ growth.
©JohnAlexandr/iStock via Getty Images
Other factors that could have contributed to your green beans not growing can include:
- Inadequate soil pH — Green beans prefer slightly acidic to neutral soil (pH around 6.5). pH too far from this range can disrupt nutrient uptake and stunt your bean plants’ growth.
- Nutrient imbalance — Imbalances in soil nutrients, especially macronutrients like nitrogen, phosphorus, and potassium, can also have drastic effects on plant growth. You can conduct a soil test to determine nutrient levels and make any necessary adjustments.
- Low seed quality — Low-quality or old seeds of dubious origin can definitely undermine your plants’ growth.
- Poor varietal selection — Some bean varieties are simply not suited for specific growing conditions and climates.
- Unsuitable companions— Beans have their preferred garden companions which help deter pests and boost their growth. Incompatible plants, however, can actually attract unwanted pests and cause stress for your bean plants.
- Lack of crop rotation — Neglecting regular crop rotation can lead to the accumulation of soil-borne diseases and hamper the growth of bean plants.
- Poor or irregular garden hygiene — Additionally, neglecting regular garden upkeep, including removing plant debris and managing weeds, can create a haven for pests and diseases.
It’s also possible that your green beans have been affected by more than just one factor. Carefully examine the root cause (no pun intended) of the issue so that you can efficiently remove it in time for next year’s planting.
How to Avoid Bean Growing Problems in the Future
Here are a few preventive measures to help you make your next harvest a smashing success.
Ensure Soil Health
Start with a soil check-up to gauge its pH levels and nutrient content. Aim for that sweet spot between slightly acidic and neutral, which is between 6.0 and 7.0 (so, ideally, 6.5).
- If you need to, tweak the pH by adding amendments such as lime (to raise pH, i.e., make the soil less acidic) or sulfur (to lower pH, i.e., make the soil more acidic).
- Address any nutrient imbalances as well. Again, pay special attention to macronutrients like phosphorus, potassium, and nitrogen. If need be, consider adding appropriate fertilizers or organic goodness to your soil.
- Ensure good drainage to dodge soggy soil woes.
Choose High-Quality Seed
Always aim to hunt down fresh, fabulously-vibrant seeds from reliable sources. Make sure to check the expiration dates, too. Even if viable, older seeds may not be as potent as younger ones.
After purchasing your seeds, store them in a cool, dry place to keep them vital for longer.
Select the Right Varieties
Always,
alwayschoose a green bean variety suitable for your area.
©tab1962/iStock via Getty Images
For almost guaranteed results next year, choose green bean varieties suitable for your local climate and growing conditions. For example:
- If you’re in an area with changing or extreme weather conditions, consider varieties that can easily adapt to diverse climates, such as the Provider bean.
- In areas prone to disease and pests, opt for disease-resistant varieties such as Blue Lake, Kentucky Blue Bean, and Dade pole beans.
Rotate Strategically
Strategic crop rotation involves the careful selection and rotation of different crops in the same area over a multi-year cycle. The benefits are twofold:
- Crop rotation mitigates disease. Planting green beans in the same location year after year can easily create a breeding ground for soil-borne diseases. By alternating with other non-legume crops, you disrupt the life cycles of these pathogens. This won’t just help your green beans grow better in the upcoming years, but make your entire garden healthier.
- Crop rotation also helps you effectively manage nutrients. Different crops have different nutrient requirements, so crop rotation helps prevent nutrient depletion in the soil. That way, your soil remains fertile, well-balanced, and, honestly, fabulous.
Most gardeners recommend following a three- or four-year rotation when it comes to green beans.
Plant Great Companions

Tomatoes are just one of the many vegetables that green beans get along with. You shouldn’t have any trouble finding them the right companion!
©Szasz-Fabian Jozsef/Shutterstock.com
Companion planting can help deter pests, enhance soil quality, and boost the growth of your green bean plants. Tomatoes, potatoes, Romanesco broccoli, spinach, asparagus, beetroot, cauliflower, kale, and cabbage are among the best garden pals for green beans.
Maintain Garden Hygiene
Keep your garden clean and weed-free. Regularly evict plant debris, fallen leaves, and pesky weeds, as they can secretly host pests and diseases. If your plants become infected, make sure to remove them from your garden as soon as possible.
Watering and Moisture Management
As mentioned, aim to provide around one inch of water to your green bean plants every week. However, make sure to also adjust your watering schedule according to unique-to-your-area weather conditions or your plants’ development.
Again, keep the soil just right — moist but not waterlogged. You can also consider adding mulch to retain soil moisture and ease the water burden on your precious plants.
Try to Prevent Disease
We’re not superheroes, and we can’t prevent disease from attacking our gardens — but that doesn’t mean we can’t try.
Staying alert for any suspicious symptoms and promptly removing affected plants can go a long way, while proper plant spacing, smart irrigation, and good soil prep can further bolster your defense against diseases.
Summary of the 7 Reasons Why Your Green Beans Didn’t Grow
| Reason | |
|---|---|
| #1 | Unfavorable Weather and Environmental Conditions |
| #2 | Improper Sowing or Planting |
| #3 | Soil Problems |
| #4 | Watering and Moisture Issues |
| #5 | Pest Infestations |
| #6 | Disease-Related Issues |
| #7 | Other Possible Factors (improper soil pH, low seed quality, nutrient imbalance, etc.) |
The photo featured at the top of this post is © StephanieFrey/ via Getty Images


How to Add Us to Google News


Thank you for reading! Have some feedback for us? Contact the AZ Animals editorial team.