
Growing your own green beans is not just a rewarding experience; it’s a ticket to fresh, flavorful, and nutritious meals. But the secret to truly delicious green beans lies in the timing — knowing exactly when to harvest and how to store them.
While there are some plants you shouldn’t harvest in June and in July, green beans aren’t one of them. They are a perfect summer plant.
This warm-season vegetable grows best in temperatures between 65 and 85 degrees Fahrenheit and continually produces fruit throughout the season. It typically needs 50-62 days to mature from planting to harvest, so it’s best planted in the spring after the danger of frost has passed.
In this article, we’ll guide you through the tell-tale signs that your green beans are ready to be picked and share some pro tips on keeping them fresh for as long as possible.
Types of Green Beans and Their Rules for Harvesting
Bush beans, for example, can mature more quickly than other varieties, such as pole beans.
©eurobanks/ via Getty Images
You might be familiar with this warm-season crop by its various aliases, including string beans, snap beans, or even French beans. These are, however, actually different types of green beans; string or snap beans have round or flat pods, and French beans are stringless.
(As a side note, some still refer to green beans in general as “snap beans” because they snap when you try to break them. This is also a good indication that the beans are ready to be harvested, but more on that later.)
However, all types of green beans have one thing in common: they rank among the simplest plants to cultivate in a backyard garden because they require only minimal upkeep.
Before we get into the nitty-gritty of harvesting, it’s important to know what variety of green beans you’re dealing with. Bush beans and pole beans are the most common varieties, and each has its own set of rules for harvesting. Both should also be harvested before full maturity.
- Bush beans will typically mature between 50 and 60 days after planting.
- Pole beans, on the other hand, take a bit longer. They usually need 60 to 90 days to mature and will give you a more staggered harvest.
If you planted another variety of green beans, it’s best to research how long it takes for that specific variety to mature — instead of relying on the timelines for other varieties. Knowing this will help you plan your harvesting schedule more effectively.
Also, keep in mind that these timelines can fluctuate based on the local weather conditions.
And so the first thing you want to check is what kind of green bean you have because they come in many different shapes and sizes. If you’re not sure what type or variety of beans you have, you can always check the seed package. Alternatively, try to find more information online, especially if that’s where you bought the beans.
How Do You Know When Your Green Beans Are Ready to Be Harvested?
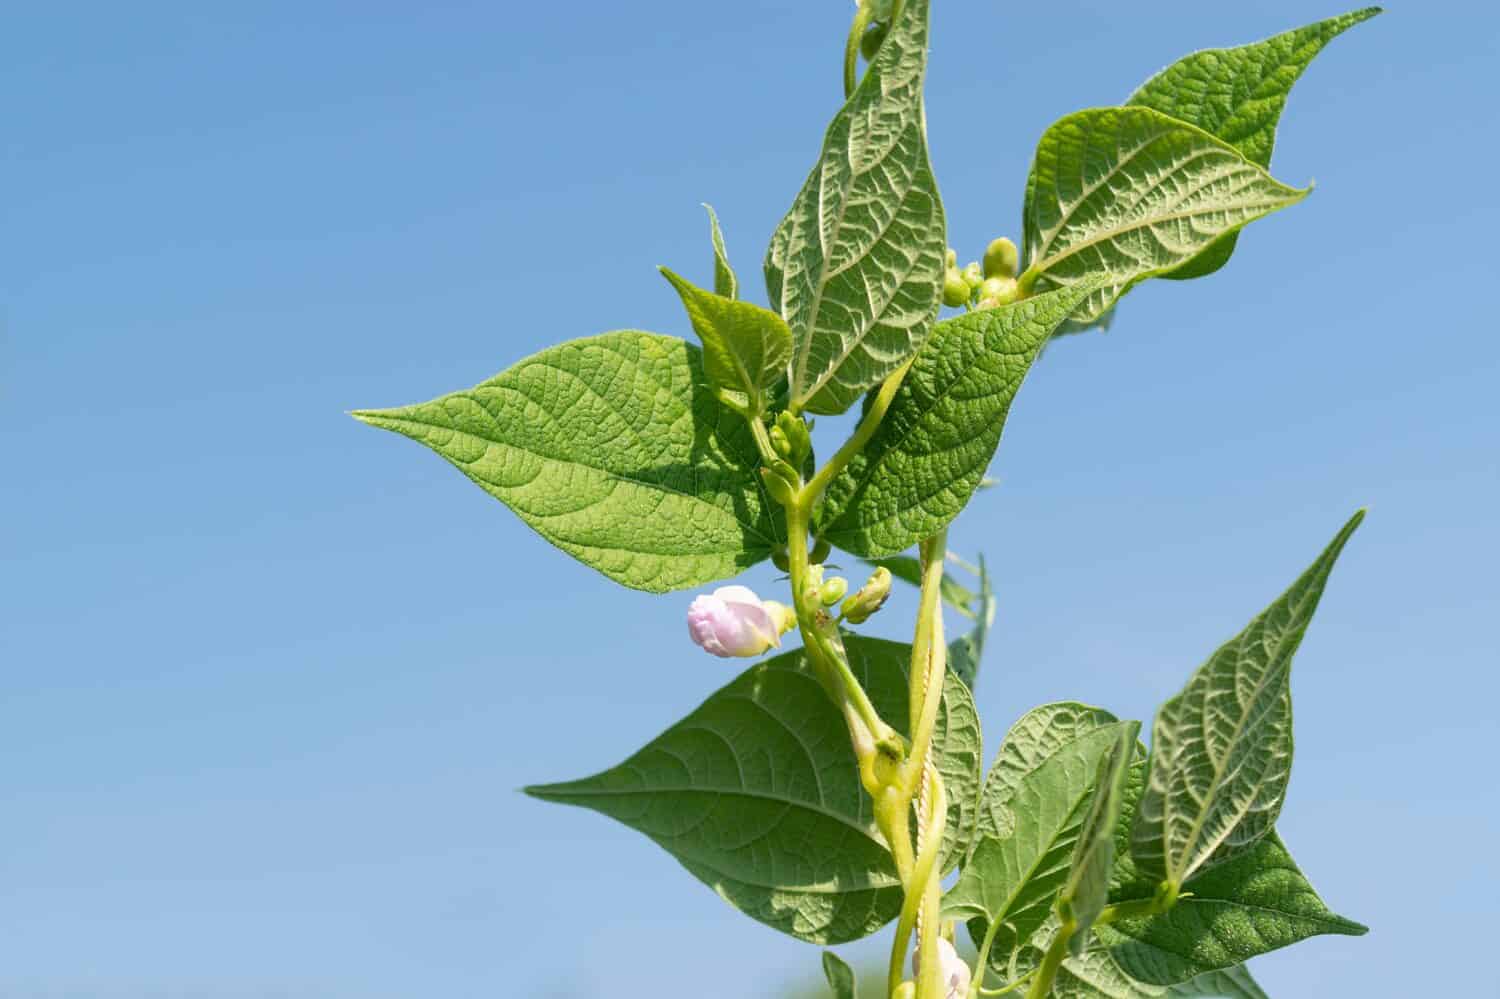
If your green beans have started to blossom (i.e., produce flowers), that means you’re close to the harvest date!
©Nerksi/Shutterstock.com
Timing is everything when it comes to harvesting green beans. Pick them too early, and you’ll miss out on their full flavor potential. Wait too long, and you’ll end up with tough, stringy beans that no amount of cooking can salvage.
If you grow many plants, consider writing a gardening journal. This will give you a chance to easily write down your estimated harvest date for each plant. You can also track your plants’ progress and later determine whether your predictions came true or if your plants needed more or less time to grow. At the very least, this will help you make better decisions next year!
But let’s now see how you can start making better decisions right now. How can you tell when your green beans are ready to be harvested?
A general rule of thumb is that once you start seeing your green beans blossom, that means the harvest date is very close. It may take only two to three weeks after this, so keep an eye on your crops.
However, the window for the perfect harvest of your green beans can be narrow, so it’s important to know what other signs to look for.
Don’t worry — we’ve got you covered. Here are the four tell-tale signs to watch out for.
4 Clear Signs Green Beans Are Ready for Harvest
Young, crisp, and firm are the magic traits you’re looking for. Pay attention to your green beans’ size, color, texture, and pod “snappiness” to perfect your harvest timing.
#1: Size
You’re looking for the perfect balance between the two extremes: too big and too small, as well as too thick and too thin.
©yul38885 yul38885/ via Getty Images
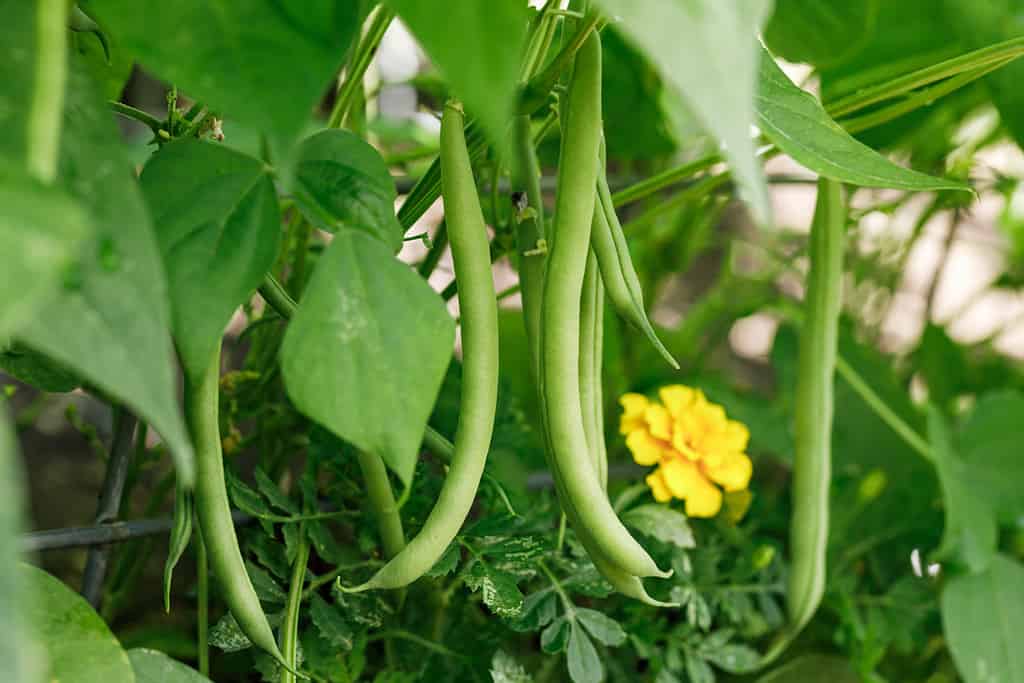
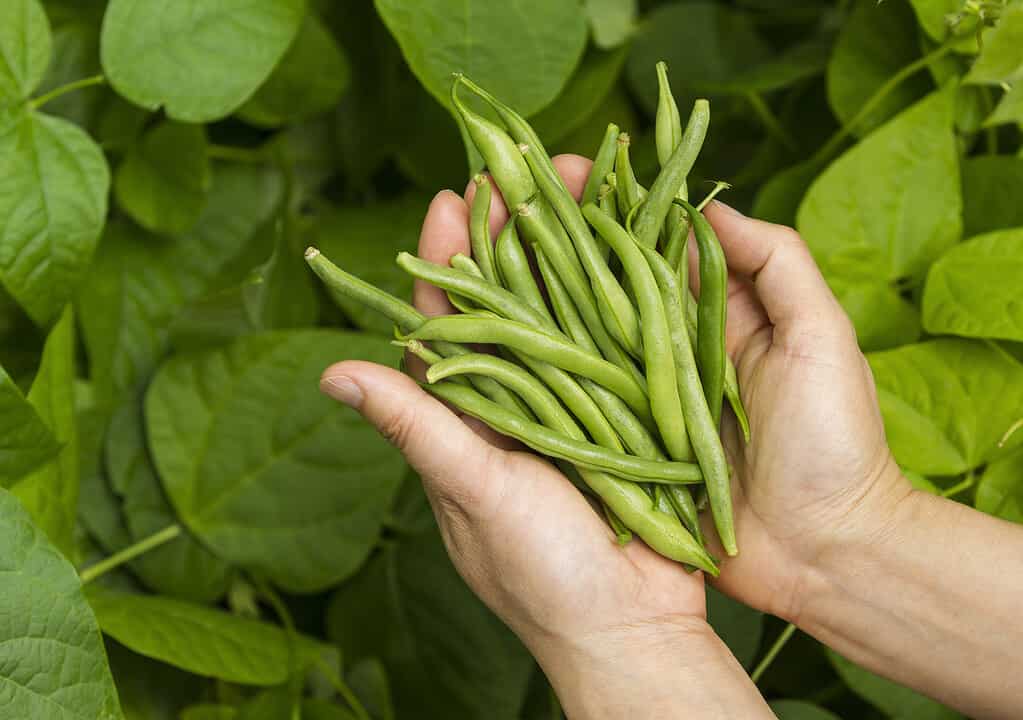
Size matters when it comes to green beans, and bigger isn’t always better. Generally, you’ll want to pick them when they are about the size of a small pencil. Too thin, and they might lack flavor; too thick, and you’ll get tough and stringy beans.
Usually, when your green beans are ready, they are between 4 and 7 inches long, and their thickness should be like a pencil or slightly thicker, depending on the variety of your green beans.
If you are not confident in your eyeball estimation, you can use a ruler to measure the pod length. However, since this can be a very tedious task, consider watching out for other accompanying signs instead.
#2: Color
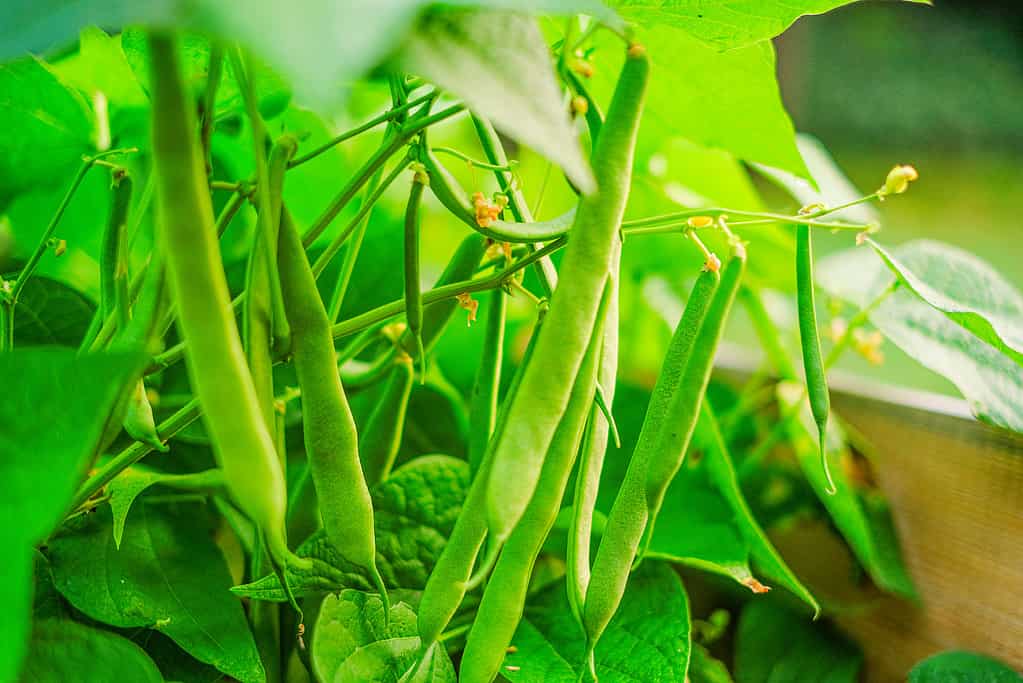
What you’re looking for is a vibrant color.
©BreakingTheWalls/ via Getty Images
The color of a ripe green bean pod should be vibrant and bright. Dull or yellowing bean pods are a sign that you’ve waited too long, and the beans are past their prime.
#3: Texture
See how your green beans feel under your fingers.
©tab1962/ via Getty Images
A ripe green bean pod should be firm to the touch. If it feels limp or soft, it’s likely overripe and won’t have the crisp texture that green beans are known for.
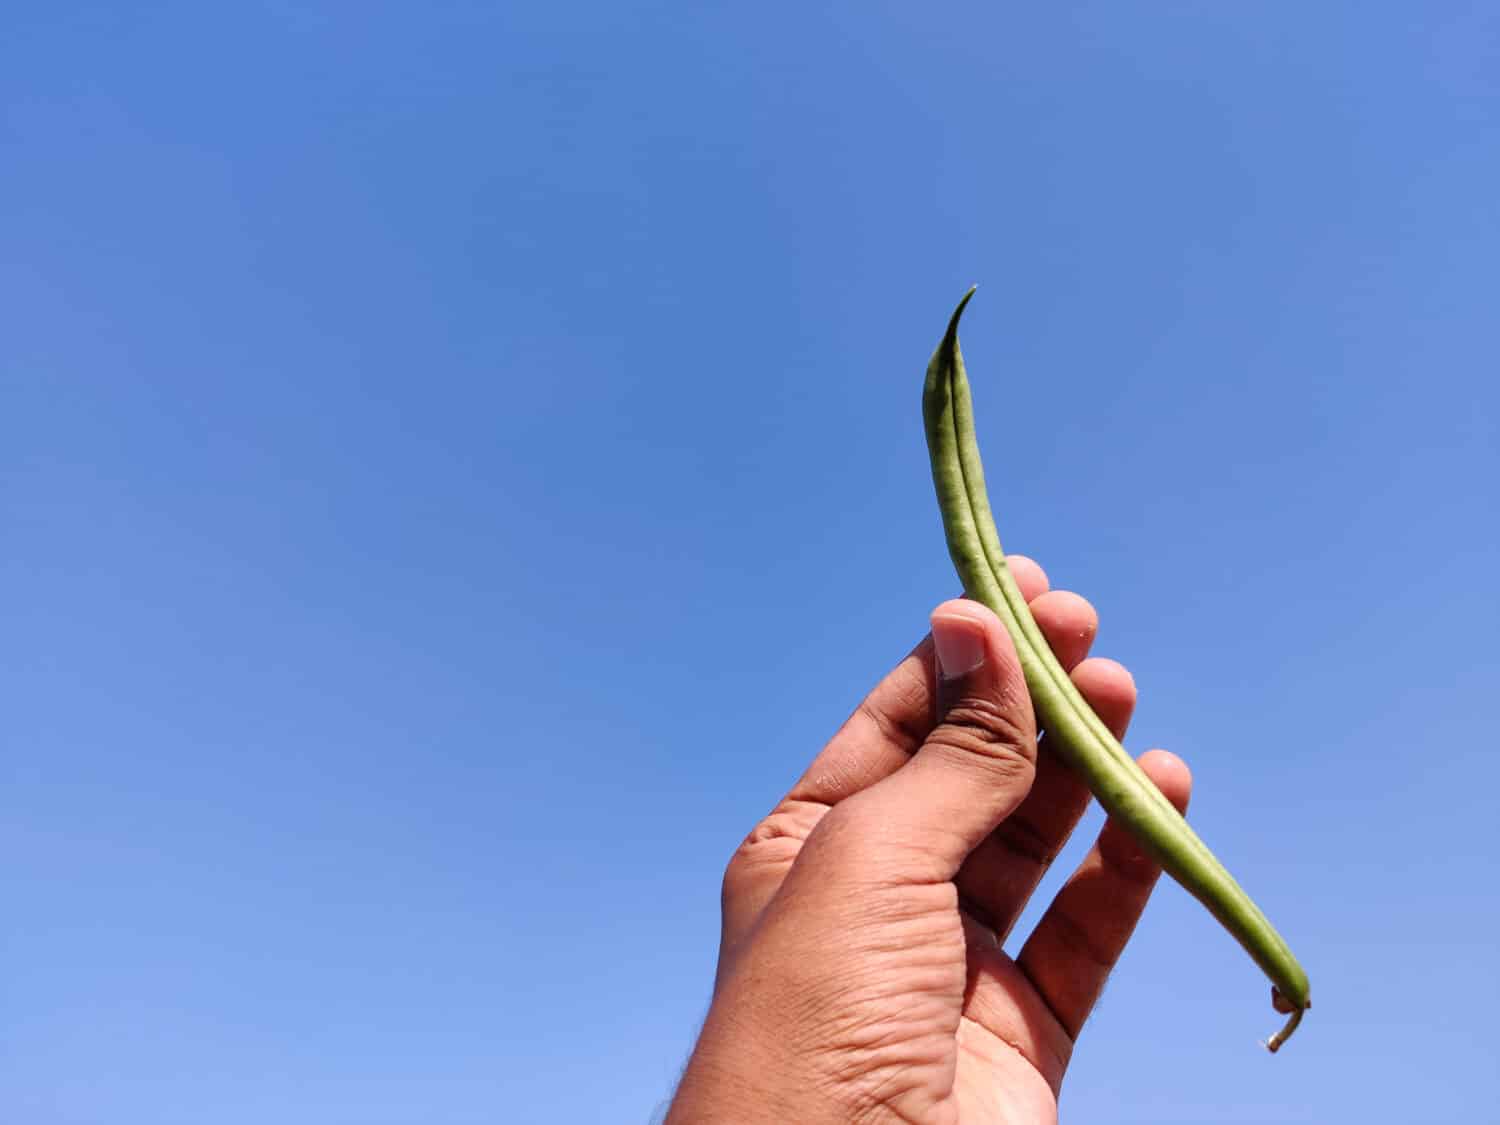
It’s crucial to pick them before bulginess occurs. If you can see the beans bulging, it’s best to leave them to completely dry out and use them as dry beans.
#4: Pod “Snap”
Ripe green beans should easily snap into two pieces when bent.
©chaundthar v/Shutterstock.com
The “snap test” is a classic way to check for bean readiness. A perfectly ripe green bean pod will snap easily and evenly when bent. If it bends without snapping, it’s too young; if it’s tough and doesn’t snap, it’s too old.
They are also very stringy (fibrous) at that point. You can still eat them, but they won’t be top quality.
How to Pick Green Beans
Pick green beans in the morning, but make sure they’re not damp.
©DGSHUT/Shutterstock.com
Ideally, you should pick green beans in the morning, as is the case with many plants. This ensures they retain maximum moisture and remain crisp, as opposed to becoming limp from the day’s sun exposure — even if refrigerated later.
To minimize the risk of disease transmission, it’s advisable to steer clear of harvesting when the plants are damp, whether from recent rainfall, additional watering, or lingering morning dew.
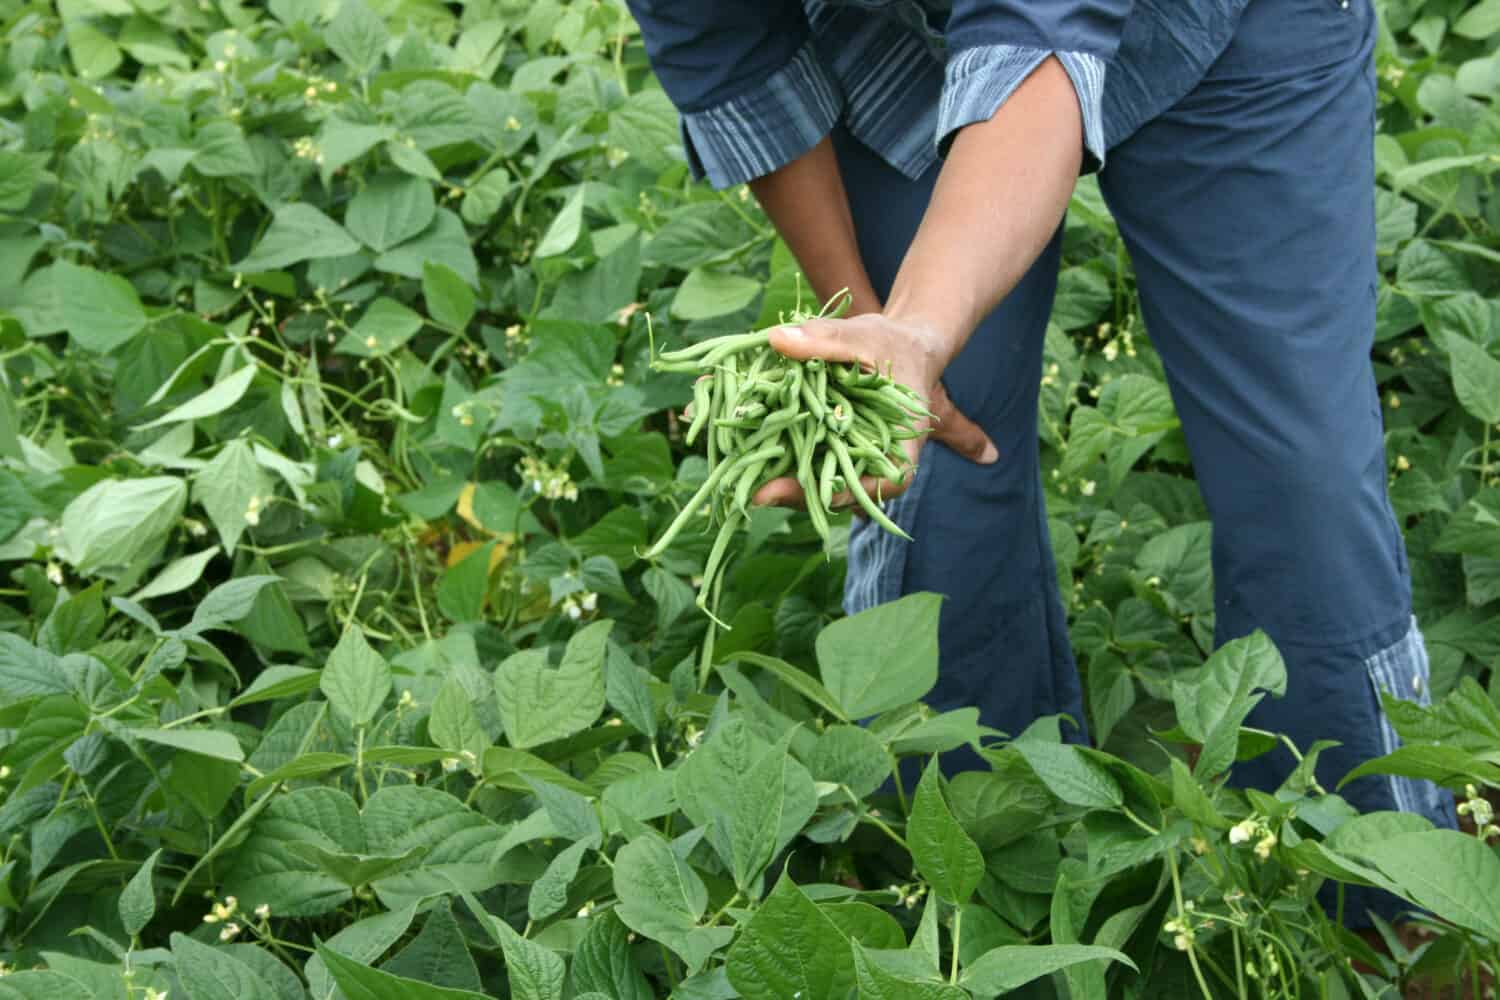
But there’s another thing to keep in mind. How often you pick green beans matters, too. In fact, you should ideally pick them every day if possible. Let us explain why.
After green bean plants first start to bear fruit, they will ramp up their production significantly for the next several days, yielding more pounds in their first week of fruiting than in the second. In fact, the plants will continue to generate new pods for weeks after the first harvest.
Regular pickings will actually stimulate the plant to produce even more pods. So, the more frequently you pick them, the more they’ll grow. Seize the opportunity while you have it!
Common Mistakes to Avoid
Common mistakes during harvesting include:
- Pulling the bean pod away from the plant (this can damage both the bean pod and the plant)
- Ignoring the bean pods hidden beneath leaves — make sure to check the entire plant carefully so you don’t miss any pods, as leaving overripe beans on the plant can inhibit the growth of new ones
Inconsistent harvesting can also lead to overripe beans remaining on the plant, which can become tough and stringy.
3 Methods for Picking Green Beans
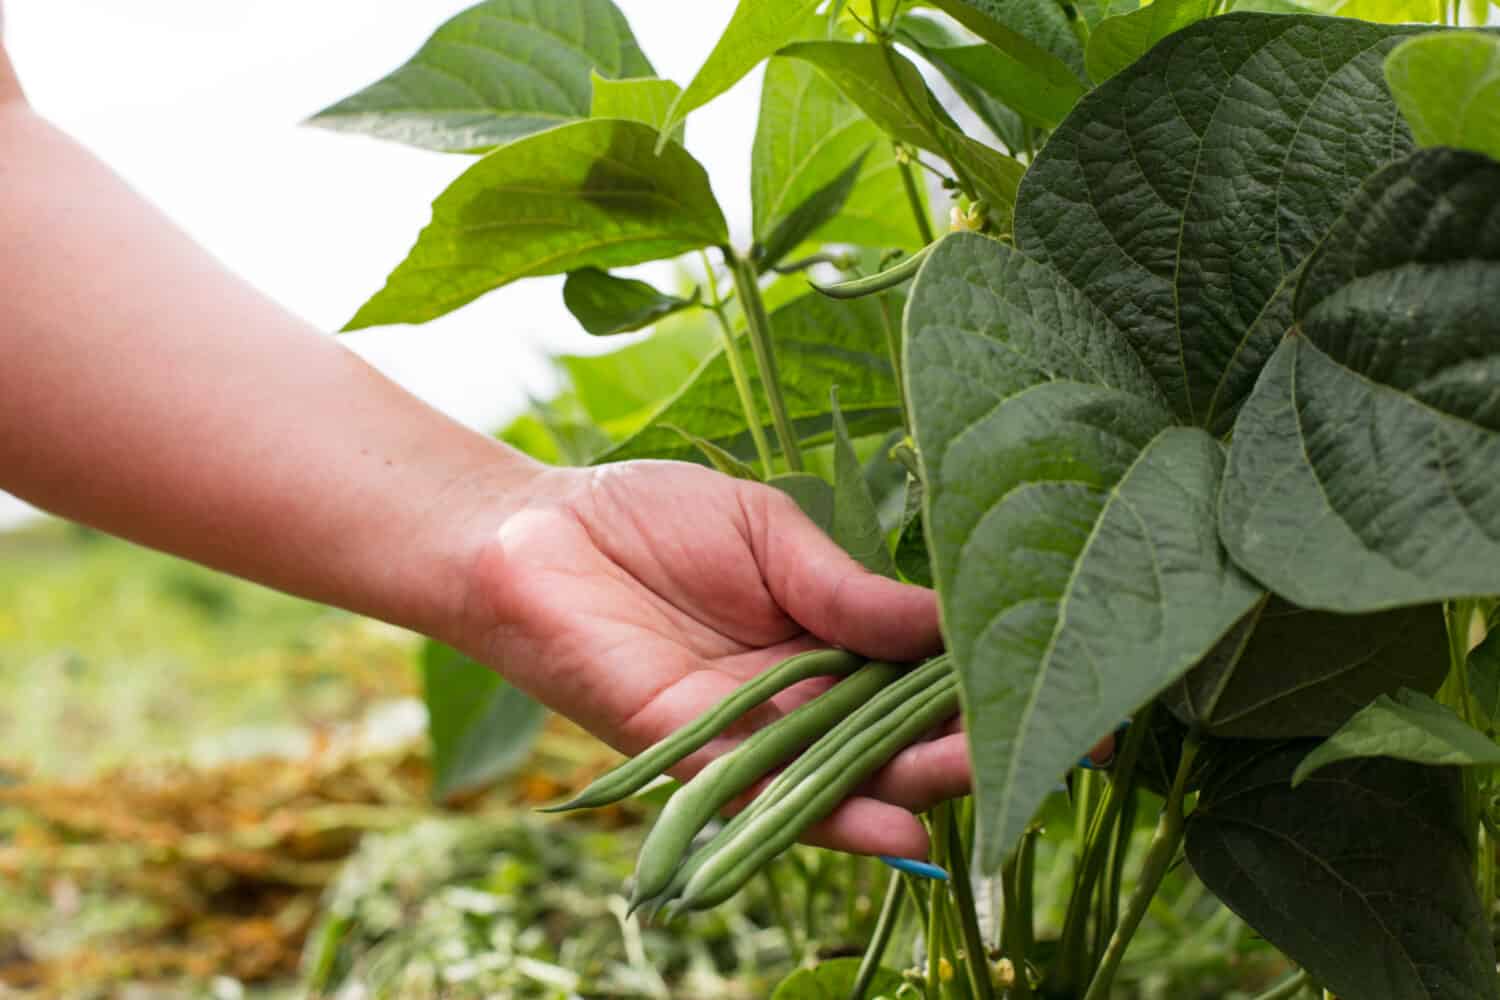
Choose between the pinch method, the grasp and pull method, or simply using your gardening scissors.
©Sergiy Akhundov/Shutterstock.com
Now, let’s see how you can correctly pick green beans and avoid unnecessary damage to either the bean pod or the plant.
#1: The Pinch Method
Grasp the pod firmly near the top where it connects to the vine, and pinch it loose with your thumb and index finger. Press and the bean pod should come right off.
#2: Grasp and Pull
You need to break off the pod at the stem and pull it upwards, not downwards, so you don’t break the stem. Keeping a bit of the stem attached will help the green beans last longer in storage.
Be careful not to pull the pod too hard before it fully detaches, as this could make the vine fall off its support or even uproot the whole plant.
#3: Use Gardening Scissors
Use clean, sharp scissors or garden shears and cut the bean pod off close to the stem. Always handle the plants gently to avoid bruising or damaging them. This could affect future growth.
Harvesting for Seeds

Save your green bean seeds and ensure your next year’s harvest is equally abundant.
©StephanieFrey/ via Getty Images
If you want to use some of your green beans for planting next time, pick a plant that gives you the kind of beans you like. Whether it’s the size, color, or taste, those traits will likely appear in the next batch you grow. So, choose wisely!
Note that when the seeds reach full maturity, and when you stop picking green beans, the plants will slowly stop producing and die.
4 Steps for Saving Green Bean Seeds
Follow these four steps to save your green bean seeds for later:
- Let the green beans fully mature while still on the vine. They should be dry and brown before picking.
- Pick the bean pods from the vine.
- Let the beans dry further in a warm, dry location with good air circulation. You may need to wait a few days or even a few weeks for them to dry fully.
- Open the bean pods and remove the seeds. Pods should be so dry that they rattle when you shake them.
Just FYI, if you’re reading this article at the time of publication, you should still have some time to harvest your green beans. They can generally be harvested from midsummer to early fall, and we’re currently experiencing the so-called Harvest moon — which can be the perfect time to gather summer-grown crops.
The Harvest moon is called that way because it indicates the end-of-summer, early-fall harvesting time for farmers. But, if all else fails, you can always go back to this article before the next harvest season.
Tips for Storing Green Beans
Finally, let’s see how you can store your green beans.
©Brian Brown/ via Getty Images
If you had a huge harvest, here are some tips on how to store them and what not to do.
#1: Immediate Use
If you plan to use your green beans within a few days, storing them unwashed in a vegetable crisper in your fridge is sufficient. Just place them in a perforated plastic bag to maintain humidity.
Green beans can stay fresh for up to a week when stored in a cool, humid environment.
#2: Long-Term Storage
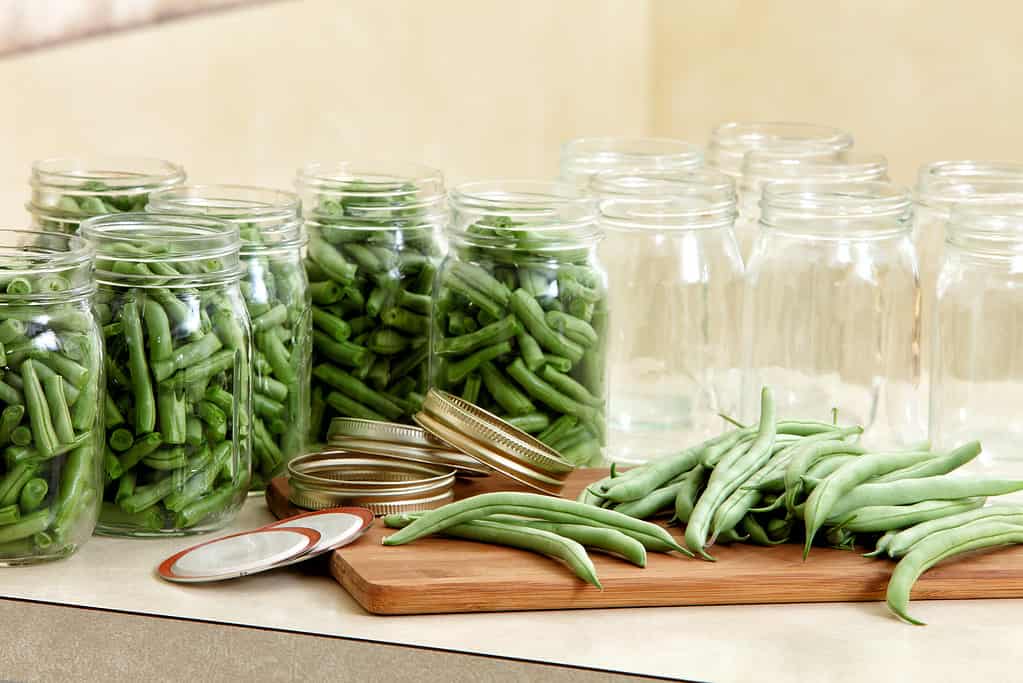
For long-term storage, consider options like freezing or canning.
Freezing involves blanching the beans first by briefly boiling them for about a minute. Immediately after, they’re cooled down in an ice water bath to preserve their color and texture before freezing.
Canning requires sterilized jars and a pressure canner.
#3: Fermentation
Fermenting is another simple, effective way to extend your beans’ shelf life while enhancing their nutritional value. This age-old preservation method involves submerging the beans in a saltwater brine and allowing beneficial bacteria to ferment them naturally. The result is a tangy, crunchy, and probiotic-rich treat you can enjoy for weeks.
What to Avoid
Avoid storing green beans in places with high moisture, as this can lead to mold. Also, don’t store them in sealed plastic bags without perforation, as this can cause them to become slimy.
Harvesting and storing green beans may seem like a simple task, but small details can make a big difference in your culinary experience. By paying attention to the signs of ripeness and following proper storage methods, you can enjoy delicious, crisp green beans long after you’ve picked them.
FAQ
Do green beans regrow after picking?
Yes, green beans do regrow after picking. Handle with care using both hands to avoid injuring the plant. Frequent harvesting encourages new blooms and bean growth, so regularly check your plants.
Can you eat raw green beans after picking them?
Yes, you can eat raw green beans after picking them. However, be aware of health concerns tied to consuming uncooked legumes. Due to susceptibility to foodborne illnesses, cooking the beans before eating is recommended.
How many green beans can you harvest from one plant?
No one can tell you exactly how many green beans you can harvest from one plant because it depends on a variety of factors. However, you can expect around 1/2 pound per bush bean plant. For pole beans, yields can range from one to two pounds per plant.
Summary of 4 Clear Signals Your Green Beans Are Ready to Be Harvested
| Signal | Description | |
|---|---|---|
| #1 | Size | Avg. 4 to 7 inches long |
| #2 | Color | Vibrant and bright green |
| #3 | Texture | Firm and crisp/no bulge |
| #4 | Pod “Snap” | Snaps easily when bent |
The photo featured at the top of this post is © Sergiy Akhundov/Shutterstock.com


How to Add Us to Google News


Thank you for reading! Have some feedback for us? Contact the AZ Animals editorial team.