
Keeping your aquarium clean is essential for the health and happiness of your aquatic pets. Whether you have a tank filled with colorful fish or mesmerizing aquatic plants, maintaining a sparkling environment is a breeze with the right know-how. In this guide, we’ll dive into the straightforward steps to easily clean an aquarium with sand or gravel, ensuring a thriving aquatic ecosystem.
Maintaining a clean and healthy environment for your aquarium inhabitants is crucial for their well-being. One essential aspect of aquarium maintenance is cleaning the gravel. Over time, debris, uneaten food, and waste can accumulate in the substrate, affecting water quality and the overall aesthetics of your aquarium. To keep your aquatic ecosystem thriving, follow these simple steps to clean the gravel effectively. We’ll also explore how to clean your glass and decor.
How to Clean an Aquarium with Gravel
Materials Needed
Before diving into the cleaning process, gather the necessary materials:
- Gravel Vacuum: A gravel vacuum is a vital tool for removing debris from the substrate without disturbing your aquatic plants and fish.
- Bucket: Use a clean bucket dedicated solely to aquarium maintenance. Make sure it’s free of any chemicals or residues.
- Dechlorinated Water: Prepare some dechlorinated water in advance, as you will need it for refilling the aquarium after cleaning.
- Siphon Hose: A siphon hose will help you control the water flow during the gravel cleaning process.
- Rubber Gloves: Optional, but wearing rubber gloves can help keep your hands clean and dry.
Step 1: Turn Off Equipment
Before starting the cleaning process, turn off any aquarium equipment that is running, such as your filters, CO2 diffusers, heaters, and water pumps. This prevents any accidental damage and ensures the safety of your aquatic pets.
Step 2: Remove Decorations
If you have any decorations, plants, or ornaments in your aquarium, carefully remove them and place them in a separate container filled with aquarium water. This temporary removal prevents these items from getting in the way while you clean the gravel.
Step 3: Begin Gravel Vacuuming
Insert the gravel vacuum into the aquarium, ensuring the end of the hose is in the bucket. Start the siphon by gently sucking on the hose until water begins to flow. Alternatively, you can use a pump to initiate the siphon.
Step 4: Vacuum the Gravel
Move the gravel vacuum through the substrate in a methodical manner. Hover the vacuum just above the gravel, allowing it to suck up debris without disturbing the gravel bed. Work your way through the entire aquarium, paying special attention to areas with visible waste buildup.
Step 5: Monitor Water Levels
Keep an eye on the water level in your aquarium as you vacuum. Be cautious not to remove too much water, as this could stress your fish. If the water level drops significantly, use the dechlorinated water you prepared to top it up.
Step 6: Clean the Gravel Thoroughly
Continue vacuuming until you’ve removed a sufficient amount of debris and have covered the entire substrate. The frequency of gravel cleaning may vary depending on your aquarium’s size and stocking levels. For most aquariums, a monthly cleaning should suffice.
Step 7: Replace Decorations and Ornaments
Once you’ve completed the gravel cleaning, return the decorations, plants, and ornaments to their original positions in the aquarium.
Step 8: Turn the Equipment Back On
With the gravel cleaned and decorations in place, it’s safe to turn your aquarium equipment back on. This ensures a stable environment for your aquatic pets.
Step 9: Dispose of Debris
Dispose of the collected debris and water from the bucket appropriately. Do not pour it down the sink, as it may contain harmful substances for aquatic life. Instead, use it for watering non-edible plants or dispose of it according to local regulations.
Step 10: Monitor Water Parameters
After cleaning the gravel, monitor your aquarium’s water parameters, including pH, ammonia, nitrite, and nitrate levels. This will help ensure that the cleaning process does not disrupt the biological balance of your tank. Adjust as needed to maintain a healthy aquatic environment.
Aquarium gravel is typically very easy to clean without pulling up or changing too much of your aquarium’s landscape.
©Mirko_Rosenau/ via Getty Images
How to Clean an Aquarium with Sand
Keeping your aquarium sand clean is crucial for maintaining a healthy and attractive underwater environment for your aquatic pets. Over time, debris and waste can accumulate in the sand, impacting water quality and the overall aesthetics of your tank. Here’s a clear and concise guide on how to clean aquarium sand effectively.
Materials Needed
Before getting started, gather the necessary materials:
- Siphon Gravel Vacuum: Invest in a siphon gravel vacuum designed for sand to avoid sucking up the sand itself.
- Bucket: Use a clean bucket solely dedicated to aquarium maintenance, ensuring it’s free from any chemicals or contaminants.
- Dechlorinated Water: Prepare some dechlorinated water ahead of time to use for refilling the aquarium after cleaning.
- Rubber Gloves: Optional but helpful for keeping your hands clean and dry during the process.
Step 1: Turn Off Aquarium Equipment
Begin by turning off all equipment within your aquarium, such as filters, heaters, and pumps. This precaution prevents potential equipment damage and ensures the safety of your aquatic inhabitants.
Step 2: Remove Decorations and Plants
If you have decorations, live plants, or ornaments in your aquarium, carefully remove them and place them in a separate container filled with aquarium water. Temporarily relocating these items prevents them from interfering with the sand-cleaning process.
Step 3: Start the Siphon Gravel Vacuum
Insert the siphon gravel vacuum into the aquarium, ensuring the end of the hose is positioned over the bucket. Initiate the siphon by gently sucking on the hose until water starts flowing. Alternatively, you can use a pump to start the siphon.
Step 4: Hover Over the Sand
This is where things start to differ between cleaning an aquarium with gravel and cleaning an aquarium with sand. With the siphon active, gently hover the nozzle of the gravel vacuum just above the sand’s surface. Avoid touching the sand with the nozzle to prevent it from being sucked up. Begin moving the vacuum in a methodical pattern across the sand, covering the entire aquarium.
Step 5: Monitor Water Levels
As you clean the sand, keep an eye on the water level in your aquarium. Be cautious not to remove too much water, as this can stress your fish. If the water level drops significantly, use the dechlorinated water you prepared earlier to top it up.
Step 6: Thoroughly Clean the Sand
Continue the sand cleaning process until you’ve removed a sufficient amount of debris and covered the entire sand bed. The frequency of cleaning will depend on the aquarium’s size and stocking levels. For most tanks, a monthly cleaning should suffice.
Step 7: Replace Decorations and Plants
Once you’ve completed the sand cleaning, return the decorations, plants, and ornaments to their original positions in the aquarium. Ensure they are securely anchored in the sand.
Step 8: Turn the Equipment Back On
With the sand cleaned and decorations in place, it’s safe to turn your aquarium equipment back on. This ensures a stable environment for your aquatic pets.
Step 9: Dispose of Collected Debris
Dispose of the collected debris and water from the bucket properly. Avoid pouring it down the sink, as it may contain substances harmful to aquatic life. Instead, use it for watering non-edible plants or dispose of it by local regulations.
Step 10: Monitor Water Quality
After cleaning the sand, closely monitor your aquarium’s water quality parameters, including pH, ammonia, nitrite, and nitrate levels. This helps ensure that the cleaning process hasn’t disrupted the biological balance of your tank. Make any necessary adjustments to maintain a healthy aquatic environment.
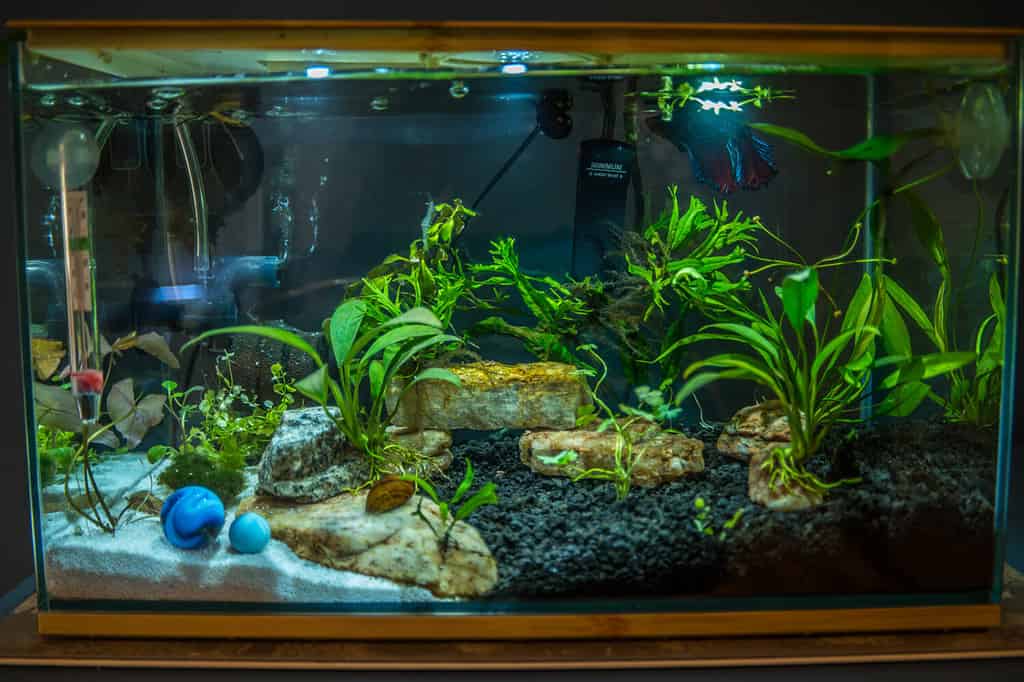
Both aquarium sand and aquarium gravel have similar cleaning steps, but sand requires a slightly more delicate touch to avoid moving it around too much or sucking up smaller pieces.
©Sandra Burm/Shutterstock.com
How to Clean Aquarium Glass
Ensuring your aquarium glass stays crystal clear is vital for both the health of your aquatic pets and the overall visual appeal of your tank. Algae and mineral deposits can gradually obscure the view into your underwater world. Follow these straightforward steps to effectively clean the glass of your aquarium.
Materials Needed
Before you begin, gather the essential materials:
- Algae Scraper: Choose an algae scraper appropriate for your aquarium size and material (glass or acrylic). Magnetic algae scrapers are popular and efficient.
- Clean Cloth or Sponge: Use a soft cloth or sponge specifically designated for aquarium use to wipe away debris.
- Bucket: A clean bucket solely for aquarium maintenance, free from any contaminants, is necessary.
- Dechlorinated Water: Prepare some dechlorinated water in advance for rinsing and refilling the aquarium.
Step 1: Turn Off Equipment
Start by turning off any equipment inside your aquarium, including filters, heaters, and pumps. This ensures safety for your aquatic inhabitants and prevents accidental damage to the equipment.
Step 2: Remove Decorations and Ornaments
If your aquarium contains decorations, plants, or ornaments, carefully take them out and place them in a separate container filled with aquarium water. This temporary removal prevents these items from interfering with the glass cleaning process.
Step 3: Scrape Algae
Using the algae scraper, gently but firmly scrape off the algae from the glass. Start at the top and work your way down, using horizontal or vertical strokes. Be cautious not to apply excessive pressure, which could scratch the glass. If you have stubborn algae, angle the scraper slightly and use a gentle side-to-side motion.
Step 4: Wipe the Glass
After scraping off the algae, use a clean cloth or sponge to wipe away any remaining residue and streaks. Ensure that the cloth or sponge is free from any contaminants to avoid introducing harmful substances into the aquarium.
Step 5: Rinse the Glass
Rinse the aquarium glass thoroughly with dechlorinated water to remove any lingering debris or cleaning solution. Use a clean bucket filled with dechlorinated water for this purpose.
Step 6: Replace Decorations and Ornaments
Once the glass is clean and clear, return the decorations, plants, and ornaments to their original positions in the aquarium. Make sure they are securely anchored.
Step 7: Turn the Equipment Back On
With the glass clean and decorations in place, it’s safe to turn your aquarium equipment back on. This maintains a stable environment for your aquatic pets.
Step 8: Dispose of Waste Water
Dispose of the wastewater from rinsing appropriately. Do not pour it down the sink, as it may contain substances harmful to aquatic life. Use it for non-edible plant watering or adhere to local disposal regulations.
Step 9: Monitor and Prevent Algae Growth
Regularly monitor your aquarium for signs of algae growth and take preventive measures. Ensure proper lighting duration, maintain consistent water parameters, and avoid overfeeding to keep algae in check.

Glass aquariums can accumulate hard water stains, which can be removed using commercial aquarium-safe cleaners or a small amount of vinegar.
©Nadezhda Akimova/Shutterstock.com
How to Clean Aquarium Decor
Over time, decorations can accumulate algae, debris, and waste, affecting water quality. Follow these straightforward steps to effectively clean the decor in your aquarium.
Materials Needed
Before you begin, gather the essential materials:
- Bucket: Have a clean bucket dedicated solely to aquarium maintenance, ensuring it’s free from contaminants.
- Aquarium Water: Use water from your aquarium to clean the decorations. This helps maintain the beneficial bacteria.
- Algae Scraper or Soft Brush: Depending on the type of decoration and the material it’s made of, choose an appropriate tool for scrubbing off algae and debris.
- A toothbrush or Soft Bristle Brush: For intricate or delicate decorations, a toothbrush or soft brush is ideal for gentle cleaning.
- Dechlorinated Water: Prepare some dechlorinated water for rinsing the decorations and refilling the aquarium.
Step 1: Remove Decorations
Carefully remove the decorations or ornaments from your aquarium. Handle them with care to avoid damaging both the decor and your aquatic pets.
Step 2: Scrub Off Algae and Debris
Using an algae scraper, soft brush, or toothbrush, gently scrub off any algae or debris from the decorations. Pay special attention to areas with stubborn buildup.
Step 3: Rinse with Aquarium Water
Rinse the cleaned decorations thoroughly with water from your aquarium. This helps preserve the beneficial bacteria that aid in maintaining water quality. Use the clean bucket for this purpose.
Step 4: Inspect for Residue
Examine the decorations for any remaining residue or debris. If necessary, repeat the scrubbing and rinsing process until they are completely clean.
Step 5: Dechlorinated Water Rinse
After ensuring the decorations are debris-free, give them a final rinse with dechlorinated water. This helps remove any contaminants and prevents the introduction of harmful substances into the aquarium.
Step 6: Replace Decorations
Once the decorations are clean and rinsed, return them to their original positions in the aquarium. Ensure they are securely anchored to prevent accidental movement.
Step 7: Turn the Equipment Back On
With the decorations back in place, it’s safe to turn your aquarium equipment back on. This maintains a stable environment for your aquatic pets.
Step 8: Dispose of Waste Water
Dispose of the waste water appropriately. Avoid pouring it down the sink, as it may contain substances harmful to aquatic life. Use it for non-edible plant watering or adhere to local disposal regulations.
Step 9: Monitor and Prevent Algae Growth
Regularly monitor your aquarium for signs of algae growth on the decorations. Take preventive measures such as proper lighting management, consistent water parameters, and controlled feeding to keep algae growth in check.
By following the steps in this guide, you can keep the gravel and/or sand, glass, and decorations in your aquarium clean and visually appealing while ensuring a healthier environment for your aquatic inhabitants. Regular cleaning maintenance helps maintain the beauty and balance of your aquarium ecosystem, and your aquatic friends will certainly appreciate it!
The photo featured at the top of this post is © Sergiy Akhundov/iStock via Getty Images


How to Add Us to Google News


Thank you for reading! Have some feedback for us? Contact the AZ Animals editorial team.