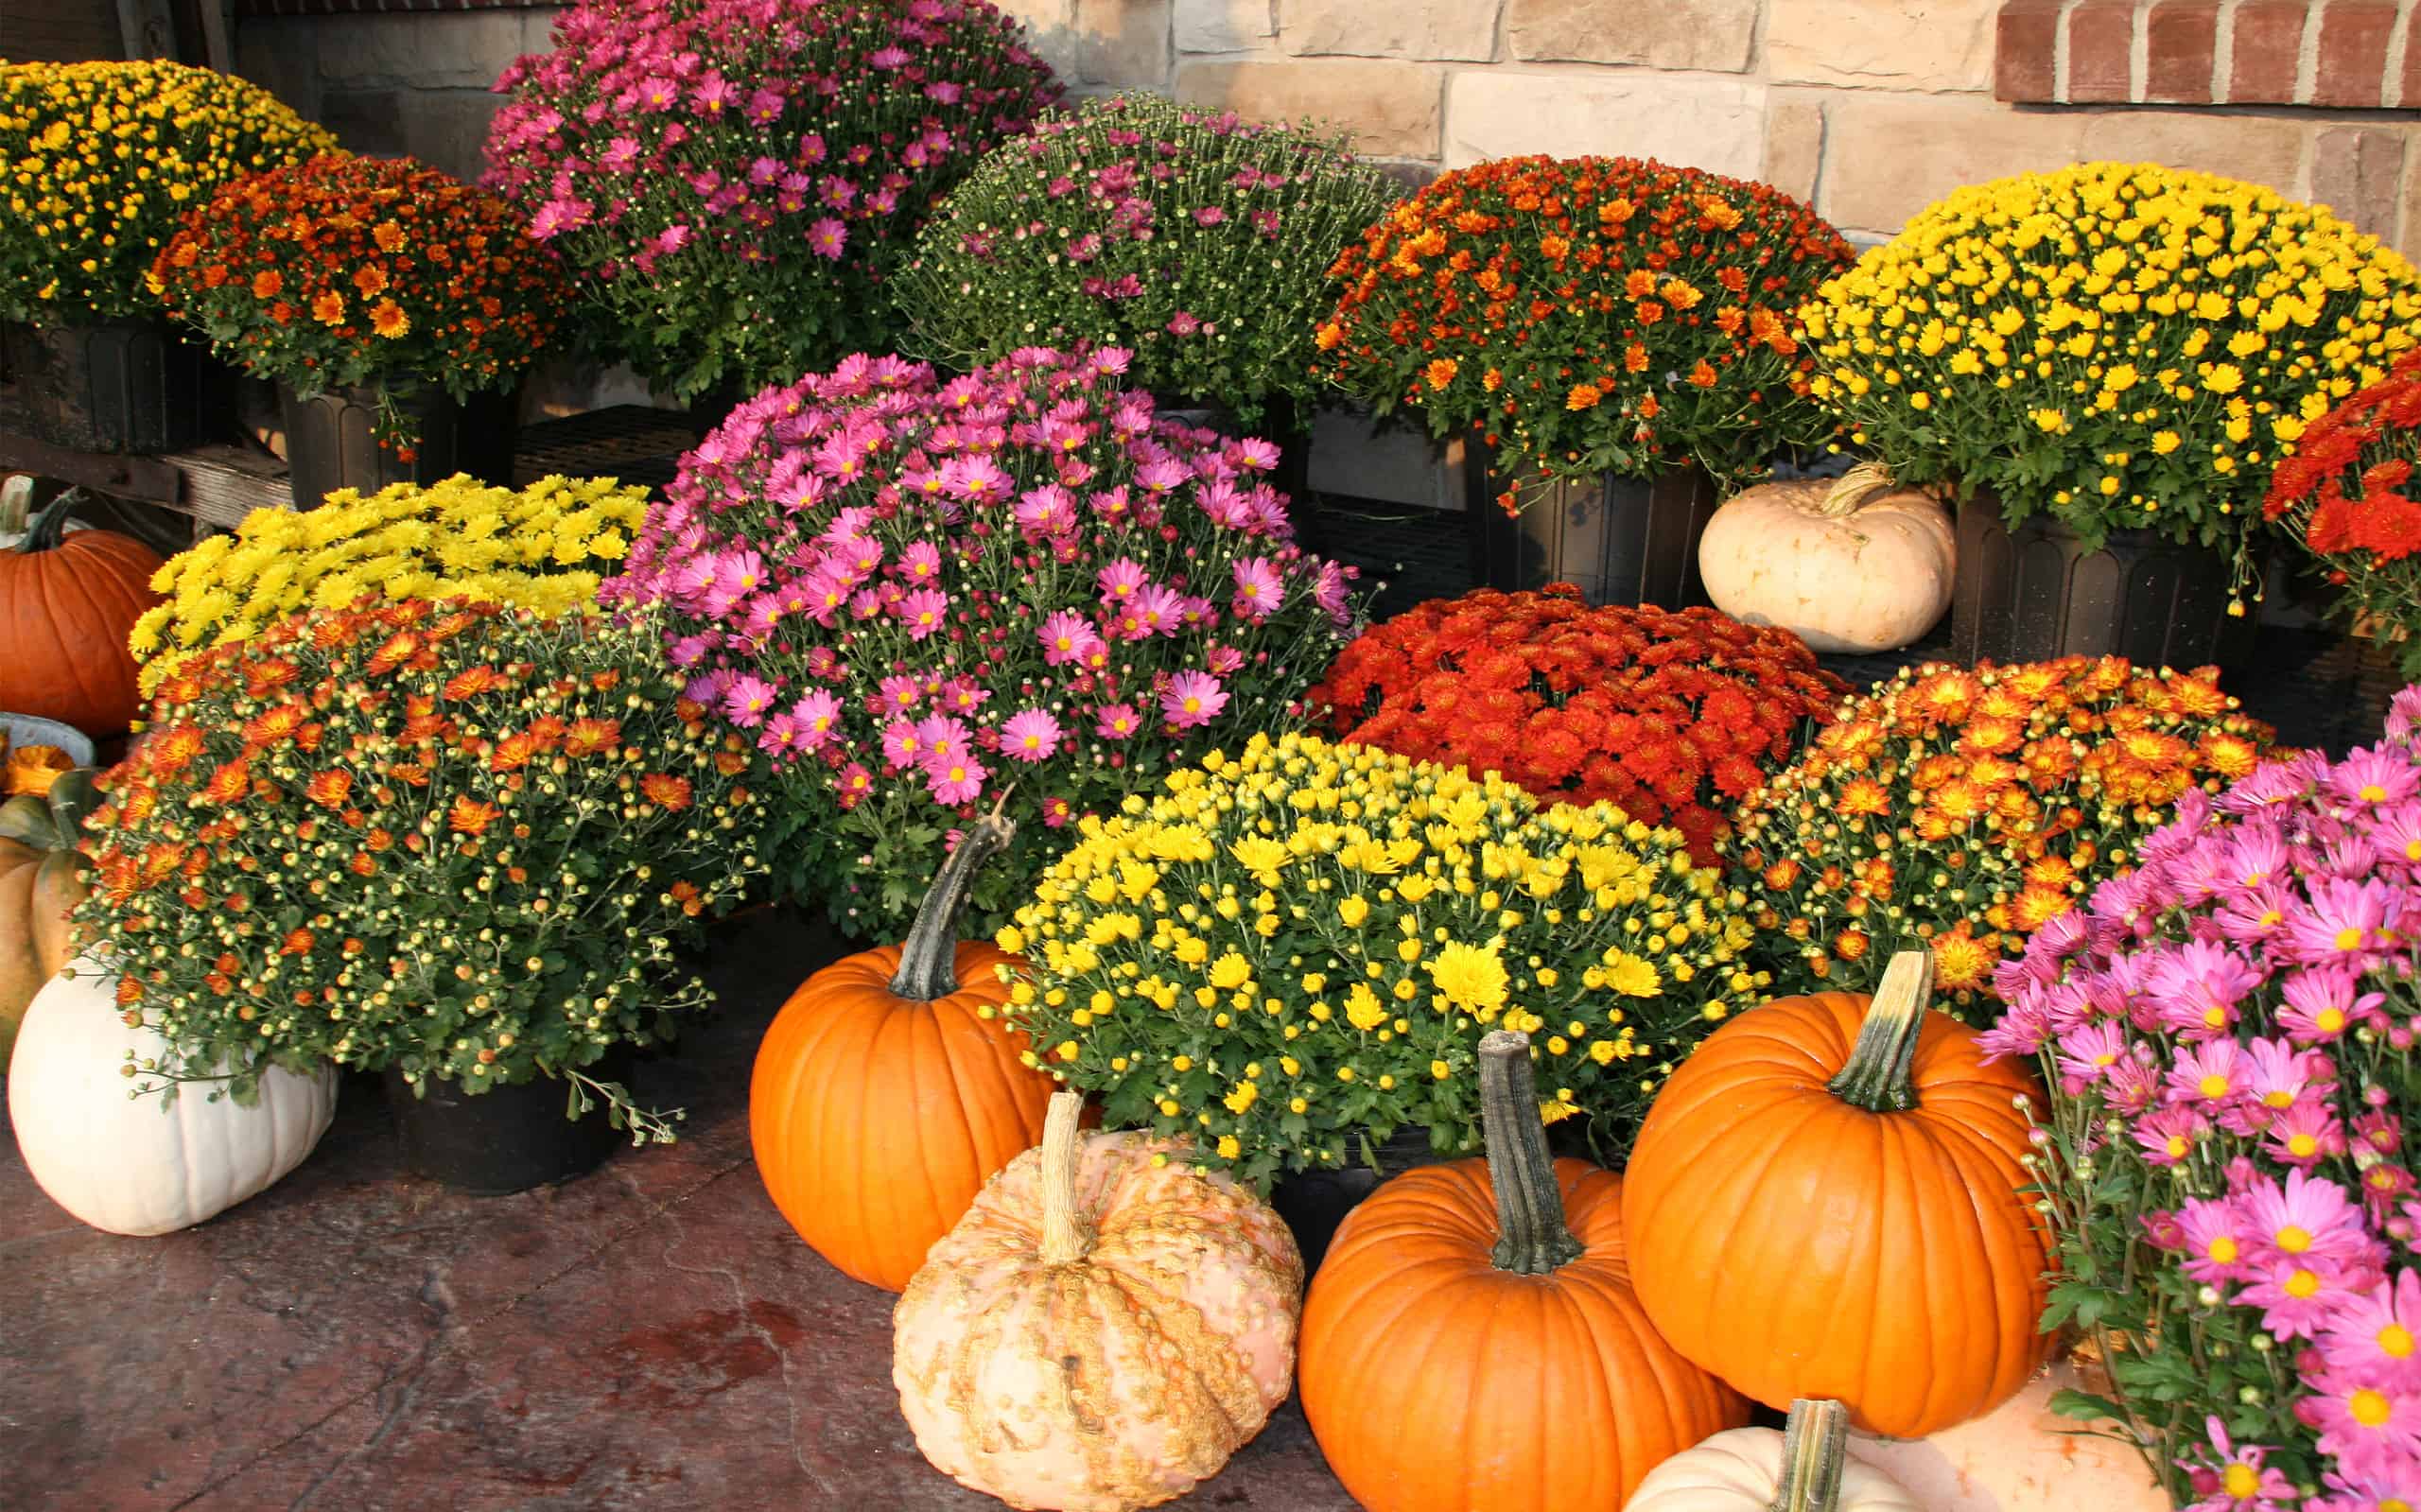

Potted mums create a gloriously colorful display in summer and fall, but what should you do to your potted mums after they bloom and start to look crispy? The answer depends entirely on how much effort you want to put in and your USDA hardiness zone.
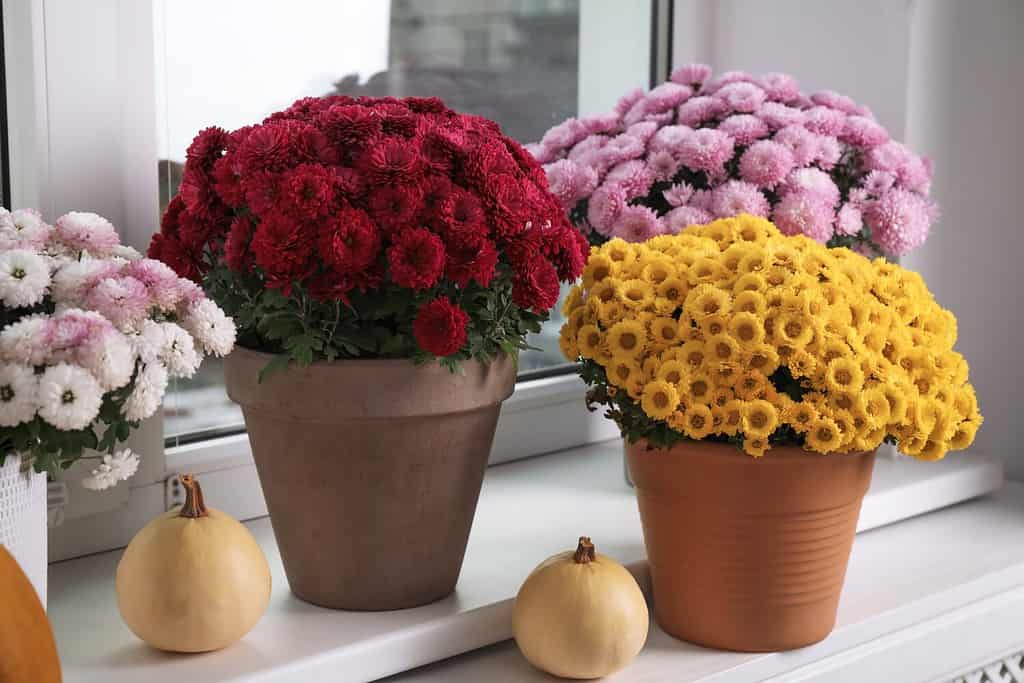
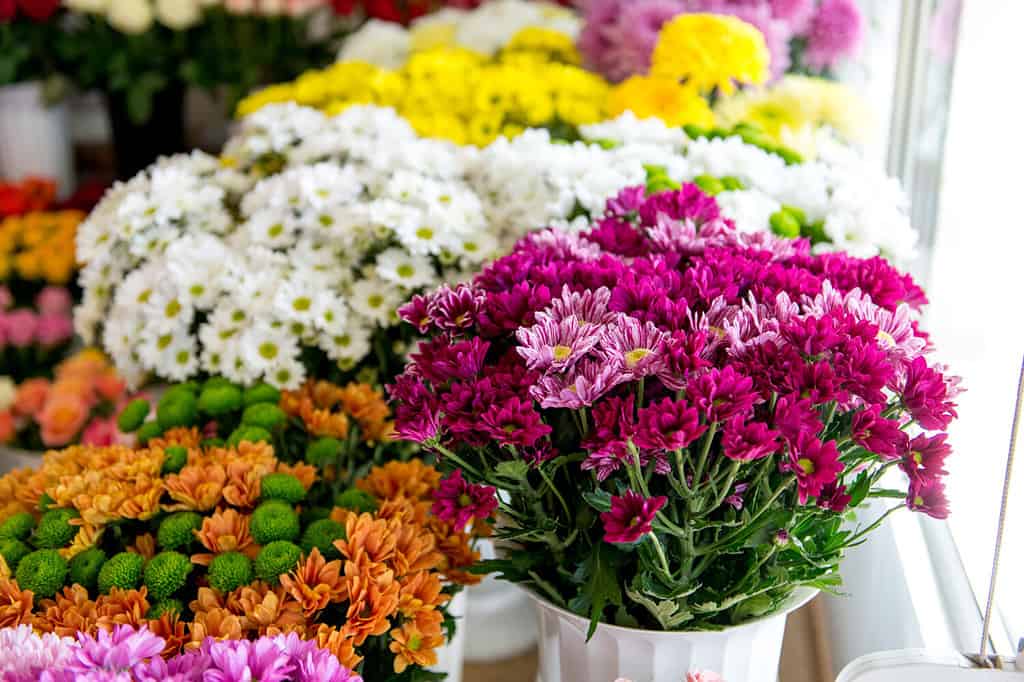
Chrysanthemums survive winter in USDA hardiness zones 5 and above.
©Savina Nataliia/Shutterstock.com
Chrysanthemum Growing Zones
Mums are hardy perennial plants that regrow every year in a suitable hardiness zone. In the United States, mums are perennial in USDA hardiness zones 5-9. Zones falling lower than 5, such as Montana, North Dakota, or Minnesota, are usually too cold for mums to make a reappearance the following year, so annual mums work best there.
Here are seven things you can do with potted mums after they bloom.
1. Encourage a Second Flower Flush
When mum blooms turn brown and droop, it’s best to deadhead them. Deadheading stops seed production, which can zap all of a mum’s energy. With its seedheads missing in action, mums attempt to make more seeds, which means a second flush of flowers for us to admire!
This is how you deadhead mums:
Snip off spent flowers with small pruning shears, or snap them off with your fingers. That’s it! Deadheaded mums instantly look tidier, and over the coming week, you might spot new buds forming.
If new buds begin forming, give the plant some liquid fertilizer to ensure there are enough nutrients to feed its new flowers. In a flower border, mums can stretch out their roots to search for extra water and fertilizer, but potted mums rely on you for everything. By the time they finish the first flush of flowers, pretty much all the nutrients are spent. Top them up and deadhead for a second display.
Even though it often rains in the fall, potted mums need water to keep flowering, and rain won’t reach their potted roots, so give them a good soak when the soil begins to dry out.
Deadhead potted mums for a second flush of flowers.
©New Africa/Shutterstock.com
2. Put Mums in the Border
In USDA hardiness zones 5-9, chrysanthemums grow for years in a sunny, well-drained flower border. The best time to plant them outside is during spring or fall. If you’re planting out fall mums, get them in the soil before frosts loom on the horizon.
Frosty conditions make it difficult for mums to establish roots. The period during early fall, when the soil is damp but still warm, is perfect for mums.
Here’s how:
Dig a hole large enough to take the root ball and add a couple of extra inches all around. Put well-rotted organic manure or compost in the hole, fill it with water, and let the water drain away.
Then, carefully remove your post-bloom chrysanthemum from its pot and tease out its roots a little. Snip off any dead or dying roots before placing them vertically in the planting hole. Backfill with stone-free soil and gently firm it down to eliminate air pockets.
Once the potted mum is safely in the soil, use secateurs to cut back its spent foliage. This ensures a mum puts all its energy into making new roots to survive the coming winter, not keeping end-of-season foliage alive.
Finally, give newly planted mums a good soaking and cover their bases with mulch. Don’t put mulch on the stem because it causes rot.
You may want to pop a marker in the soil, such as a bamboo cane, just in case you forget where you planted them. Mums die back to barely anything over winter, so it’s easy to forget where they’re planted.
Plant mums in the flower border after they’ve flowered in pots.
©MacBen/Shutterstock.com
3. Transfer to a Bigger Mixed Container
If you’d like to keep potted mums around for longer but don’t have a flower border, consider using a larger container and adding other plants. Mix mums with winter blooms like winter pansies and spring to early-summer blooming plants such as daffodils, plus a few evergreens to create a year-round display.
Choose a bigger container than the nursery pot your mums arrived home in, and drill drainage holes if needed. Fill it with gritty, organic compost that drains well, add your plants, and pop the container in a sheltered, sunny spot.
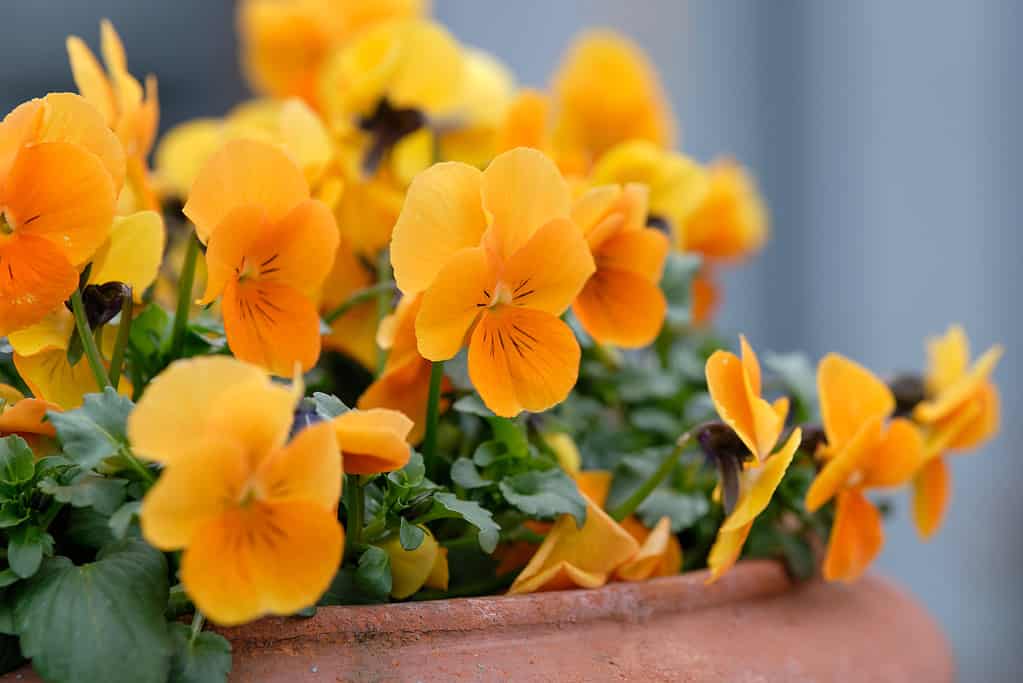
Winter pansies are a colorful winter addition to year-round plant containers.
©franconiaphoto/iStock via Getty Images
4. Overwinter Them Indoors
Mums that have finished blooming in fall can stay in their nursery pots (or move across to a larger pot) and spend winter indoors. This is a good idea in zones below 5 or areas with harsh frosts.
Move post-bloom potted mums into a shed, cold frame, or sheltered space that keeps them dry, but cool. Then, next spring, you can bring them out, water, fertilize, and await another flower show.
Wait until the risk of frost has passed because overwintered mums won’t have developed cold tolerance.
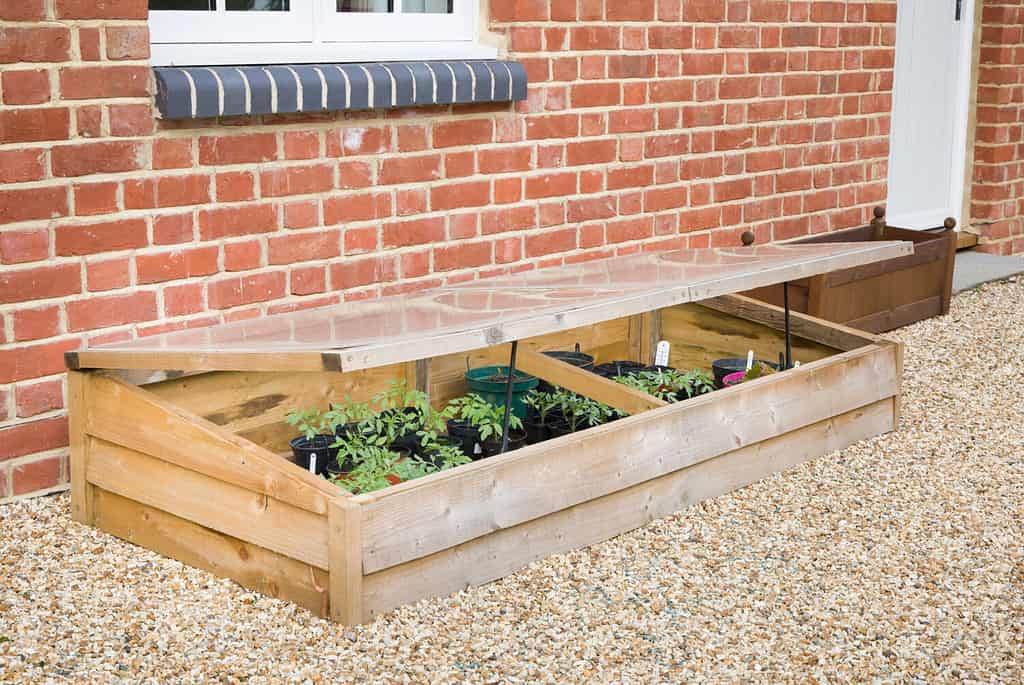
Overwintering mums in a cold frame keeps them dry and frost-free.
©Paul Maguire/Shutterstock.com
5. Gift to a Friend
Because mums are perennials, it’s a shame to dispose of them once they’ve completed their first year. If you don’t have room or inclination to keep mums thriving, consider whether a friend might like them for a flower border.
Low-maintenance mums provide nectar for pollinators, need little care, and come back each year. They’re a garden staple that a friend might be thrilled to receive.
Pass post-bloom chrysanthemums to a friend who has more outside space.
©Helen Sushitskaya/Shutterstock.com
6. Compost Them
If you don’t want to keep potted mums after they bloom, then composting them is an eco-friendly way to reduce waste.
Remove mums from their pots (keep those for another time) and check over their remaining greenery (and roots) for diseases like powdery mildew. If you find anything, don’t add them to the compost pile. If it’s all clear, chop them up a few times with shears to speed up decomposition. Mums form green waste, not brown.
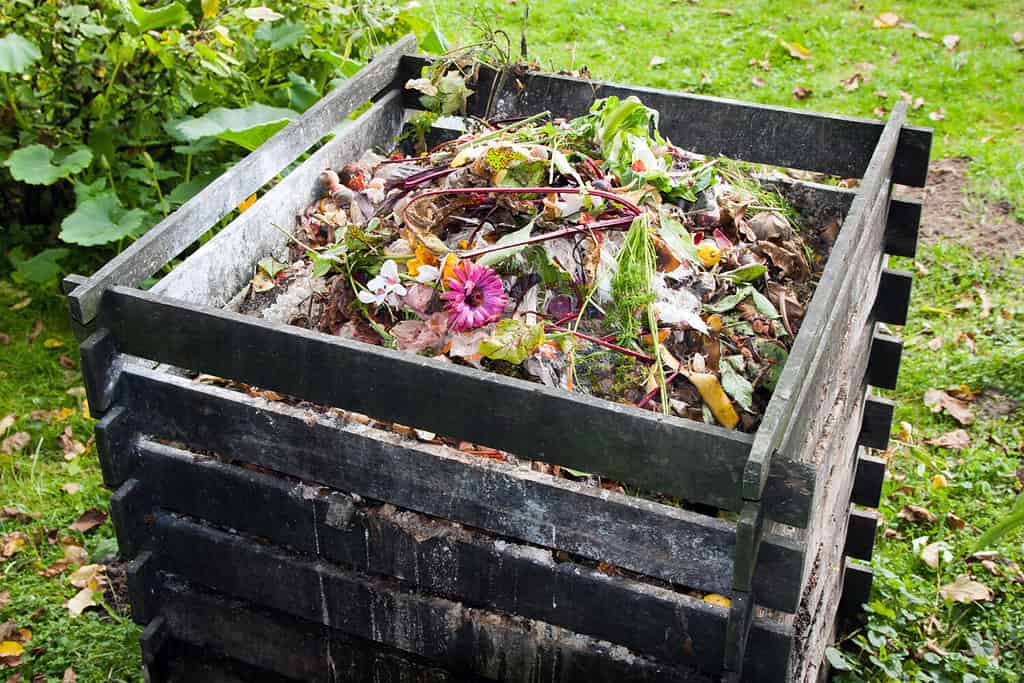
Add mums to the compost bin after they’ve bloomed.
©Evan Lorne/Shutterstock.com
7. Throw Them Away
If all this is too much hassle, mums can head to the green waste bin or general trash cans. Remove and recycle the plastic pot first.
So that’s what you can do with mums after they bloom! If you choose to keep them for next year, here’s how to keep them thriving.

Mums can go in the trash after they bloom if all else fails.
©Mike_shots/Shutterstock.com
How to Grow Mums
Easy care mums suit both formal urban and relaxed country gardens. Because there’s a huge array of colors, gardeners can always find something to suit their taste. For example:
- Burnished fall shades in burgundy and gold suit Halloween displays, ornamental grasses, and prairie gardens.
- Vibrant red, yellow, and orange shades suit a tropical feel to exotic spaces.
- Pink pastel shades complement coastal, countryside, or cottage gardens.
Keep an eye on the type of mum you’ve popped in the basket. Is it an early bloomer or late blooming fall mum? This dictates when its flowers emerge and where it’s best planted.
For the best display, plant mums in a warm, sheltered, and sunny location. They’ll cope with most types of soil if it’s free-draining but fertile, loamy soil encourages the biggest and brightest colors.
If your soil is nutrient-thin, maybe it’s sandy, chalky, or clay-based, add lots of well-rotted organic manure to the planting hole and top it up around the roots each spring. Container mums need lots of water every day in hot spells and liquid fertilizer to keep new buds forming.
In zones 5 and above, mums can withstand winter without much assistance. A layer of mulch around the base and trimmed-down foliage will usually suffice. However, if a very hard frost or snow is forecast, consider covering their crowns with a cloche or horticultural fleece.
Container-grown mums do best in a cool, unheated space for winter because an insulating blanket of soil does not protect their roots.
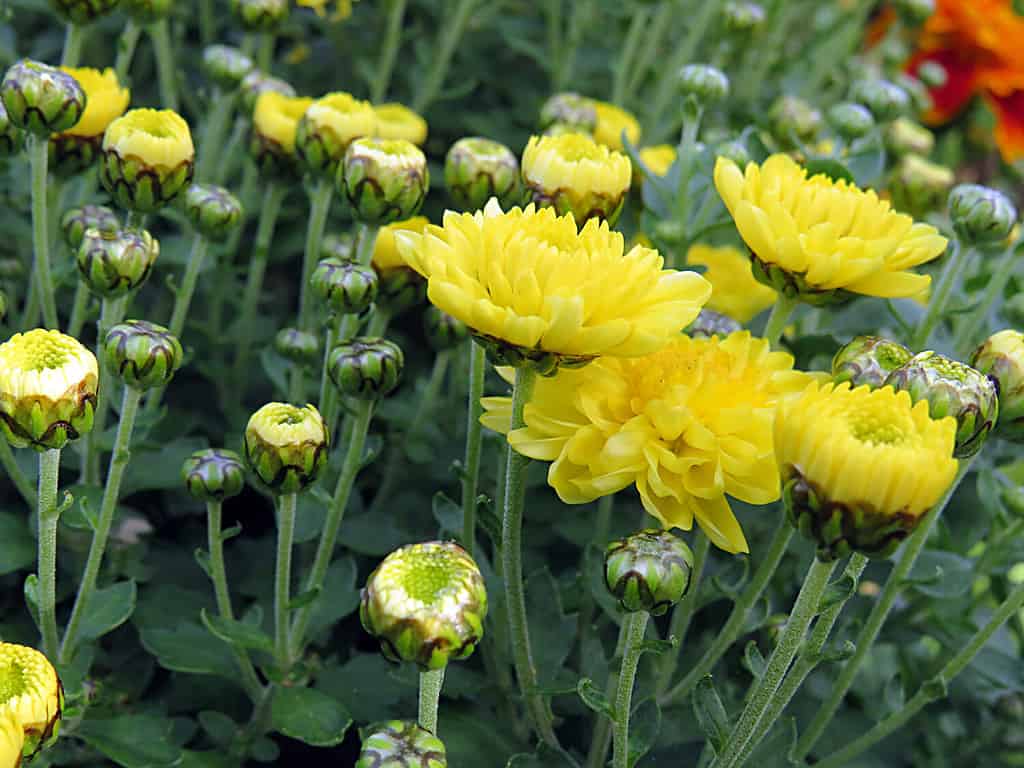
Mums need a sheltered, sunny spot and enough water to stop them from drying out.
©Mariia Romanyk/Shutterstock.com
What to Do With Mums After the Bloom
Here’s a quick recap of your options:
- Deadhead, fertilize, and await the second bloom
- Plant them in a sunny, well-drained garden border
- Transfer them to a mixed plant container
- Overwinter them indoor
- Compost in an outdoor mixed pile
- Trash them
Mums are beautiful, hardy, and versatile plants that bloom annually, given a little care, so it’s a shame to discard them after the flowers are spent. Very little effort gifts you years of beautiful bee-friendly mums.
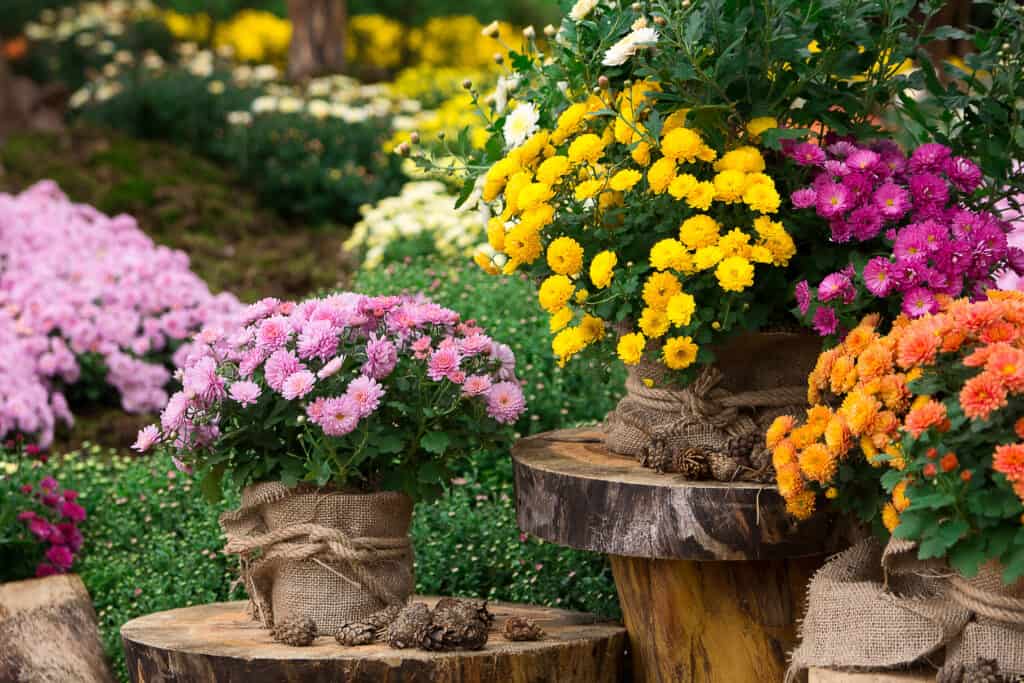
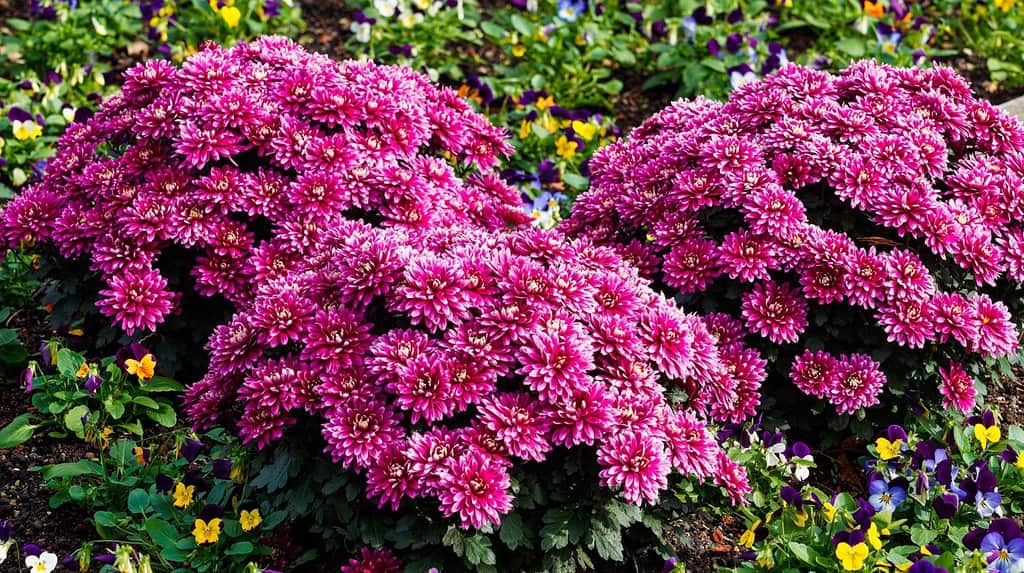
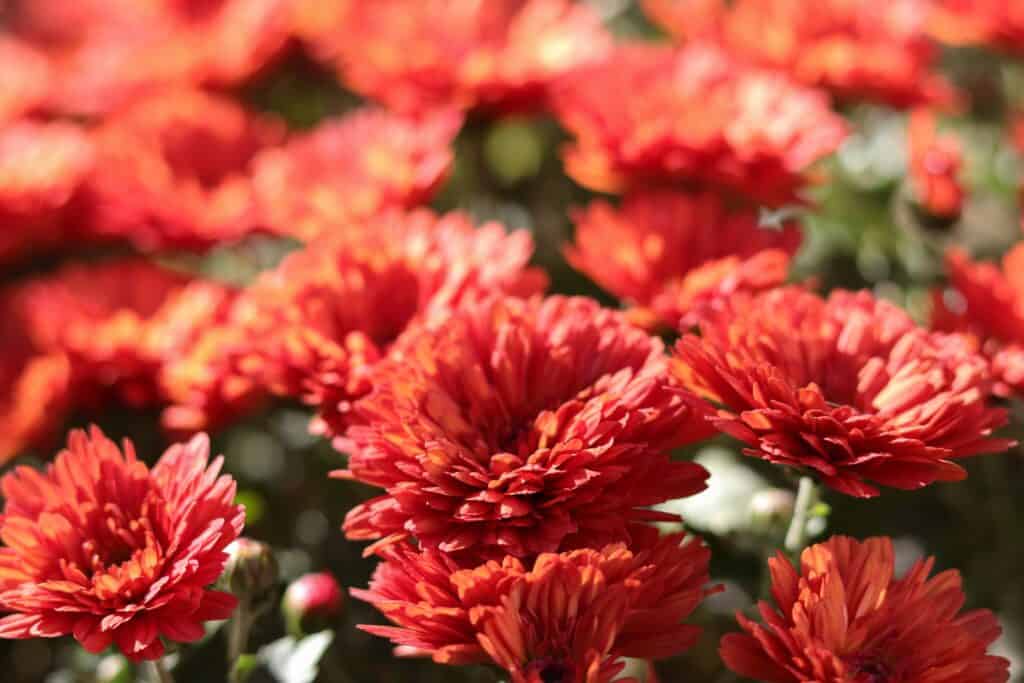
Perennial mums grow for years in a sunny, well-drained flower border.
©Helga Fluey/Shutterstock.com