
For those of us who live in icy areas, it’s vital to winterize your pipes before the first expected frost. If not, there’s no telling what can happen to your pipes! No one wants to come home to a wet disaster, especially during freezing temperatures. But how do you prevent burst pipes during winter? What methods of winterizing pipes exist? Please keep reading to discover six steps to winterize your water pipes and why it’s necessary.
Why Should You Winterize Your Water Pipes?
Winterizing your water pipes is essential. If you don’t, the freezing temperatures can cause your water pipes to expand and break.
©IanRedding/Shutterstock.com
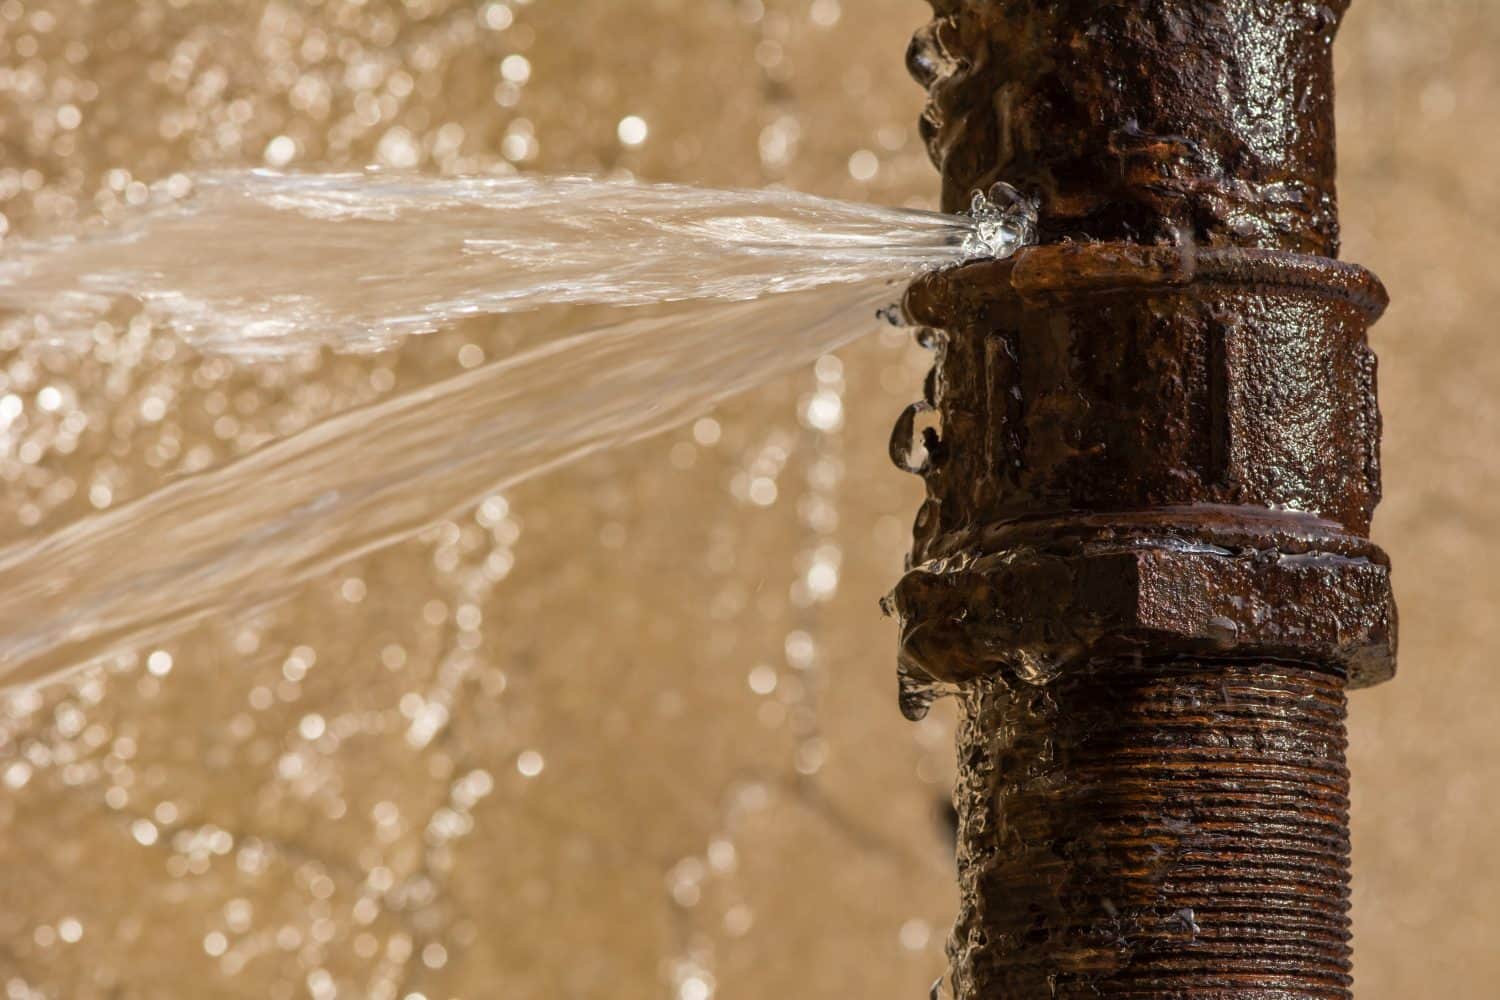
If you live in a cold state where temperatures regularly reach negative, it’s essential to winterize your water pipes, but why? Water left in pipes can freeze if cold enough. When the water freezes, it expands in the pipes, which causes cracks. This can lead to gushing water entering your home!
This was common during the winter storms that hit Texas in 2021 and 2022. The state was not prepared or designed for freezing weather. In one survey asking 875 Texas residents about their pipe experiences, 16% recorded that their pipes froze and burst in 2021, causing millions of dollars in damage. The state also lost over 325 million US gallons of water due to burst pipes during the same storm. To avoid this headache and give your wallet a break, it’s best to winterize your pipes, but how?
6 Steps to Winterize Your Water Pipes
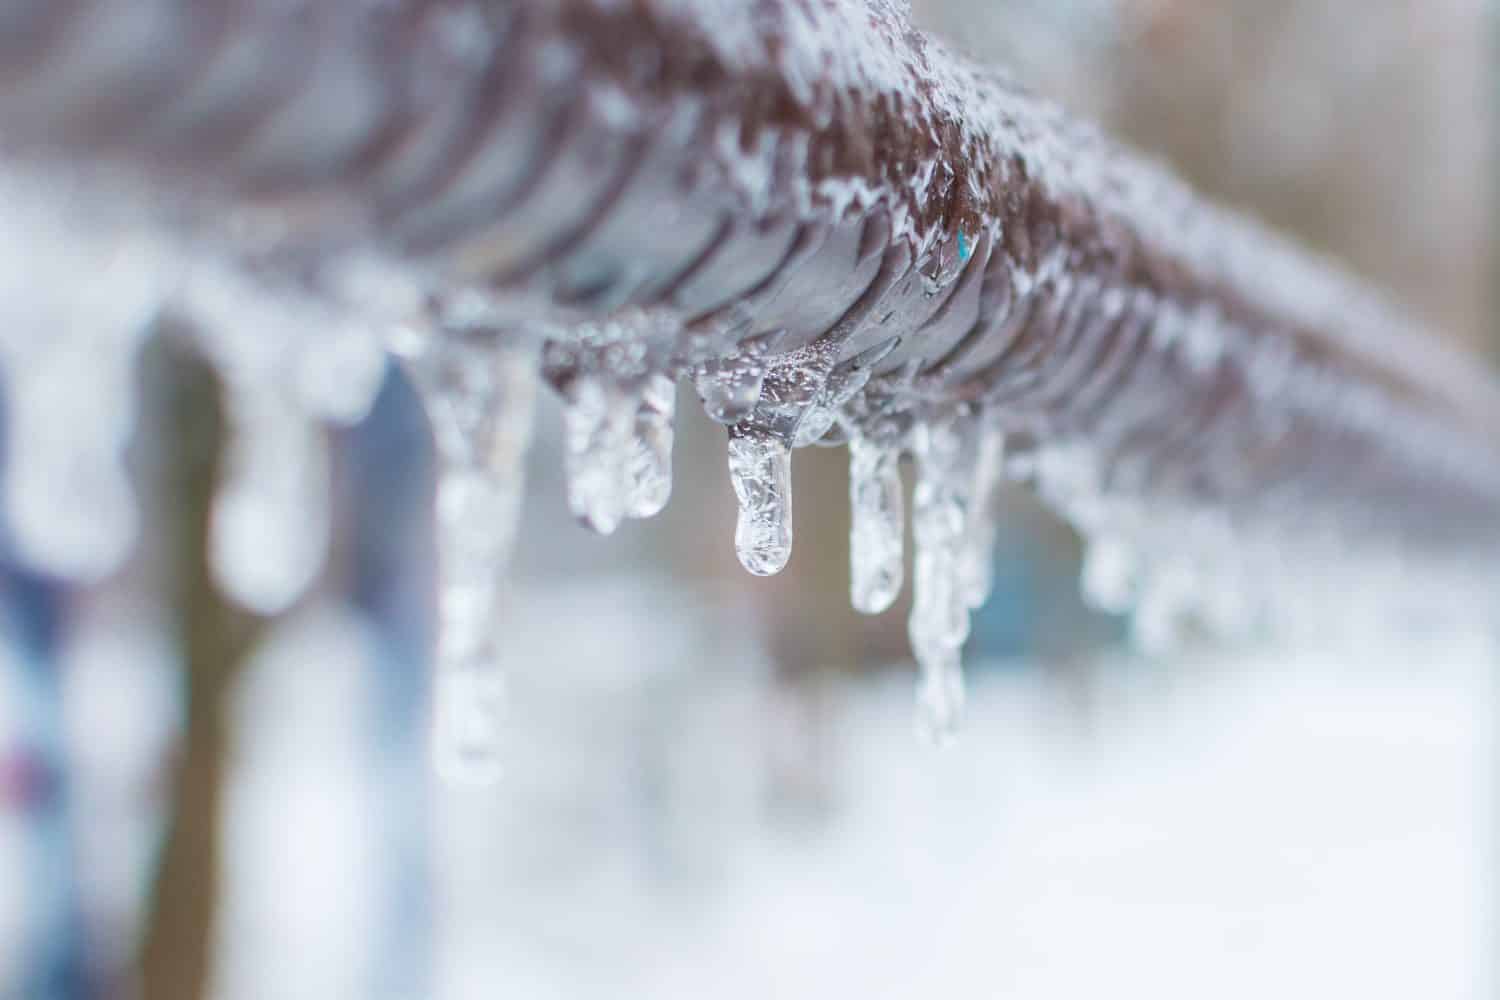
Texas lost more than 325 million US gallons of water due to burst pipes during the winter storm 2021.
©Grigvovan/Shutterstock.com
Technically, there are more than six steps to winterizing your water pipes and methods. Listed below are six of the most straightforward ways/steps!
1. Shut Off the Main Water Valve
Before insulating your pipes, shutting off the main water valve to drain any excess water is best. This doesn’t mean you won’t use water during the winter, though! After the main water valve is off, use an air compressor or vacuum to dry the water from the pipes. This is especially important if you’re leaving for vacation. If you’re going during the winter, keep your water off. You may have a small crack without even knowing it. It’s the worst feeling coming home to dripping water or a flooded basement/living room.
2. Leave The Faucets Dripping
Any water faucet in your home should always be left slightly open. This way, there is constant water flow, even if the water flow is short. Leaving the water dripping can decrease the pressure in the pipes. While there is still a chance your pipes will freeze, they may not burst.
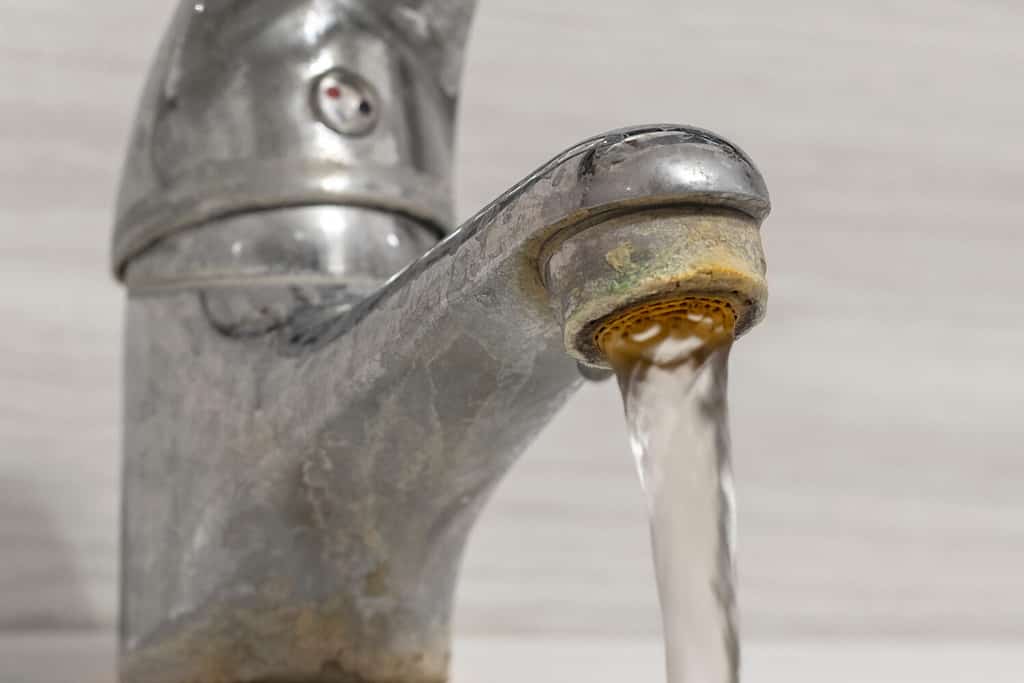
To winterize your water pipes, leave your water faucets on so they slowly drip water.
©Serhii Ivashchuk/Shutterstock.com
3. Disconnect Exterior Hoses and Turn off Sprinkler Systems
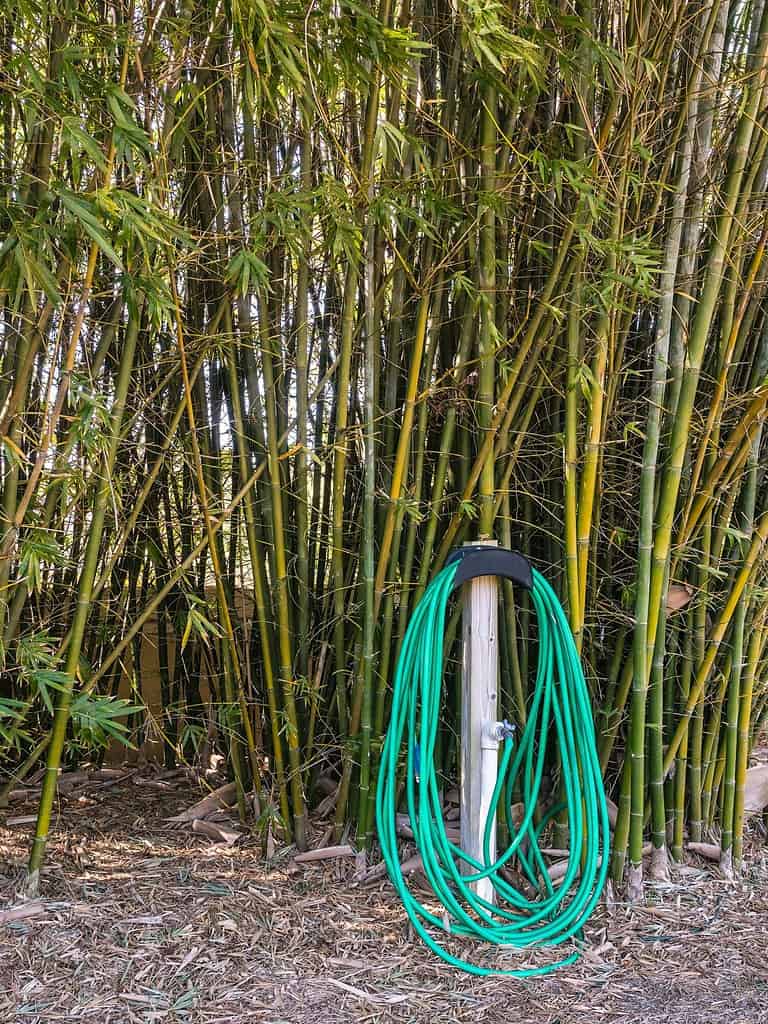
Sprinklers can also freeze during the winter.
©Ken Schulze/Shutterstock.com
Another step to winterize your pipes is putting away and thoroughly drying your garden hose. If you live in an area where winters are cold, there is no need to water your plants regularly from a garden hose. It’s unlikely you’ll need to use your sprinklers either. Shut them off to prevent damage to sprinkler systems.
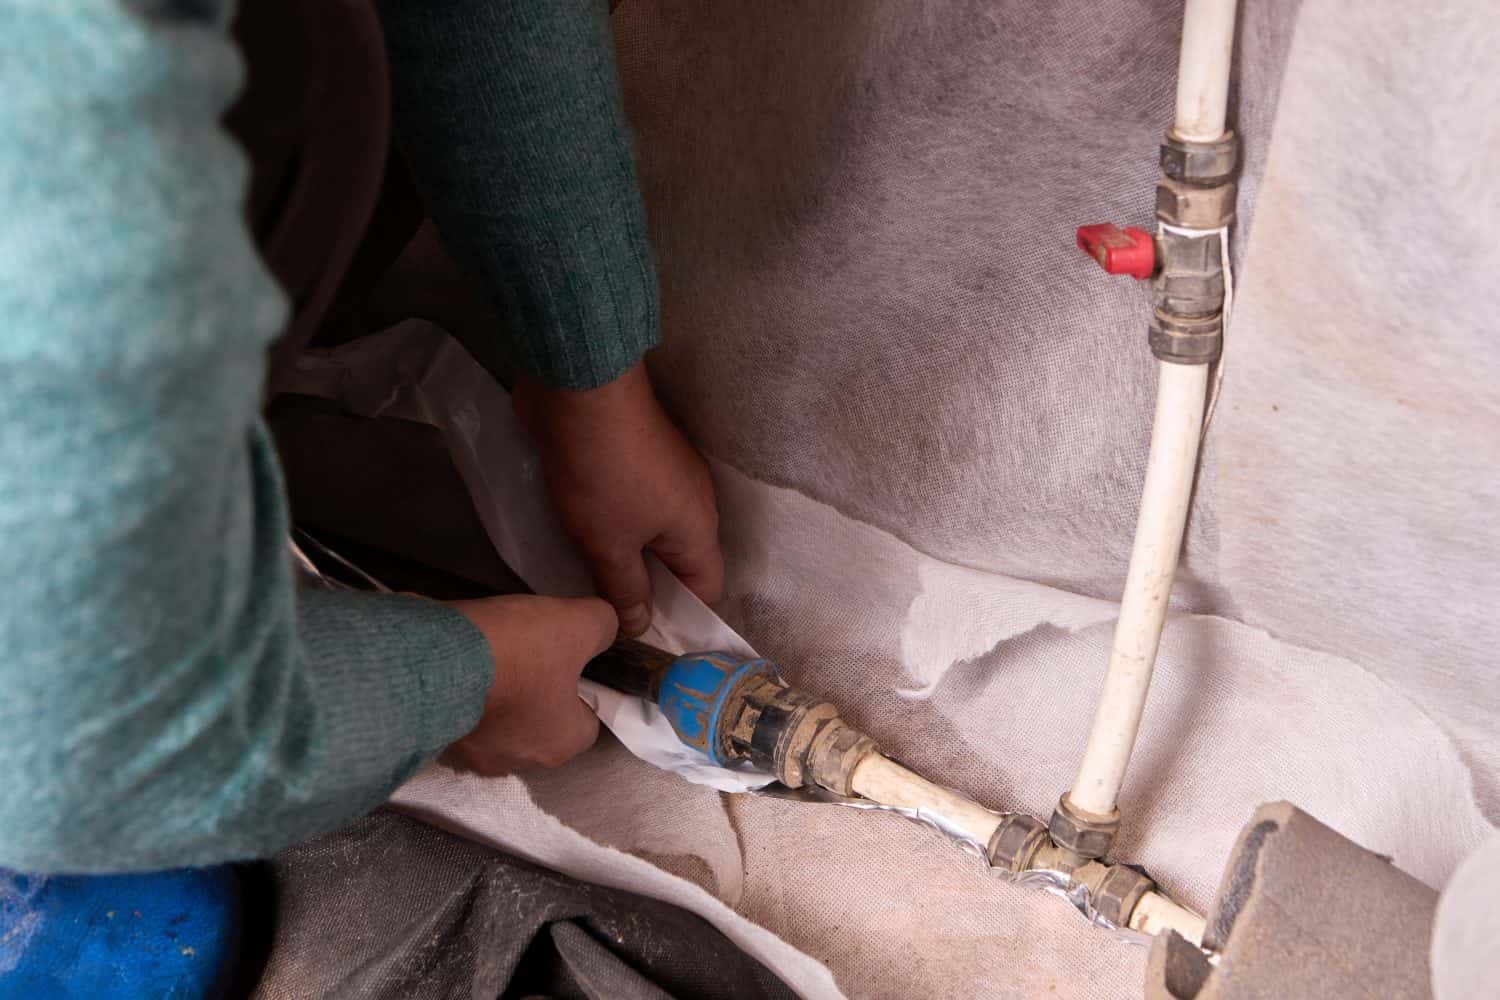
4. Insulate Your Pipes
Insulating water pipes is one of the best ways to winterize. But how do you do this? You can insulate water pipes with foam tube plumbing pipe insulation. This traps the heat inside of the pipes, which prevents freezing. You can do this by purchasing the materials from hardware or plumbing stores or hiring a plumbing company. Pipe heating cables also keep water pipes warm and protected from temperatures dropping below 20ºF.
5. Keep the Heat On
This step may sound simple, but it can be a life changer. A great way to protect your pipes from freezing and bursting is to keep the inside of your home warm. If you are leaving for vacation, keeping your heaters on is especially important. Thermostats should be set to at least above 50ºF. This may not protect water pipes close to the surface, but it can help when coupled with other methods.
6. Seal Leaks and Open Spaces
Turning your heater on might not be enough, especially if holes or leaks exist throughout the pipes and your home. Fixing cracks in your pipes is easier than water damage from burst pipes. If you’ve noticed a draft coming in through your window or door, it’s best to seal it up. This way, more warmth is trapped inside of your home. If not, you won’t lose heat and spend more money on electricity.
A bonus tip is leaving cabinet doors open underneath sinks to allow heat to surround the water pipes.