
Easy to grow garlic is a mainstay in the chef’s garden. You can’t beat the taste of your own freshly grown garlic, it just doesn’t compare to store-bought bulbs. Let’s look at the four clear signals your garlic is ready to be harvested, plus some top tips on how garlic is best stored.
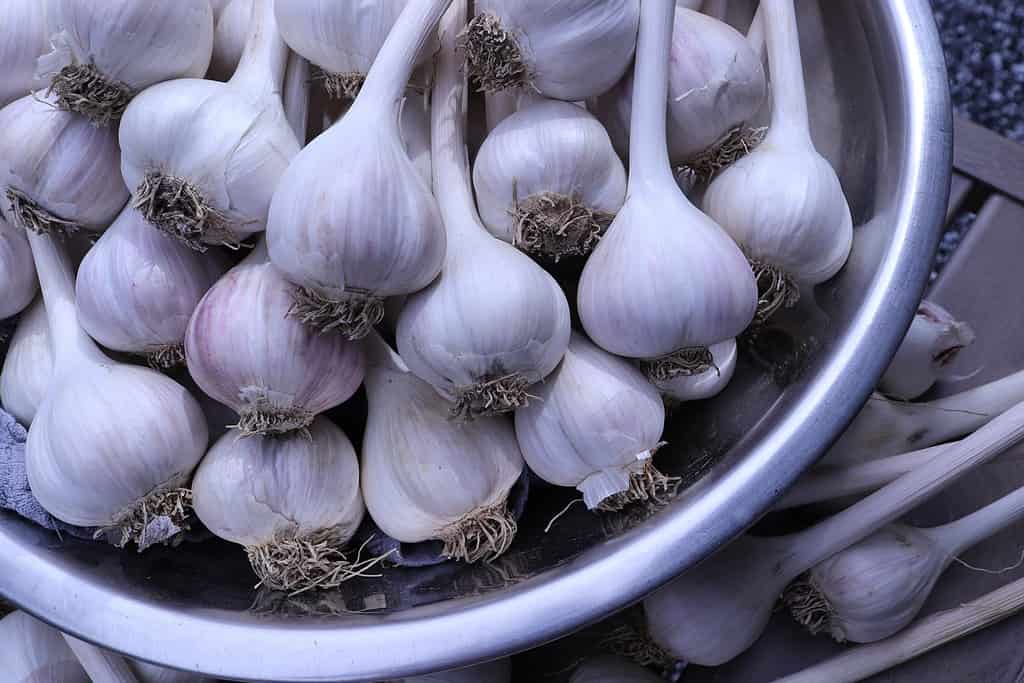
Home grown garlic is much tastier than store bought garlic.
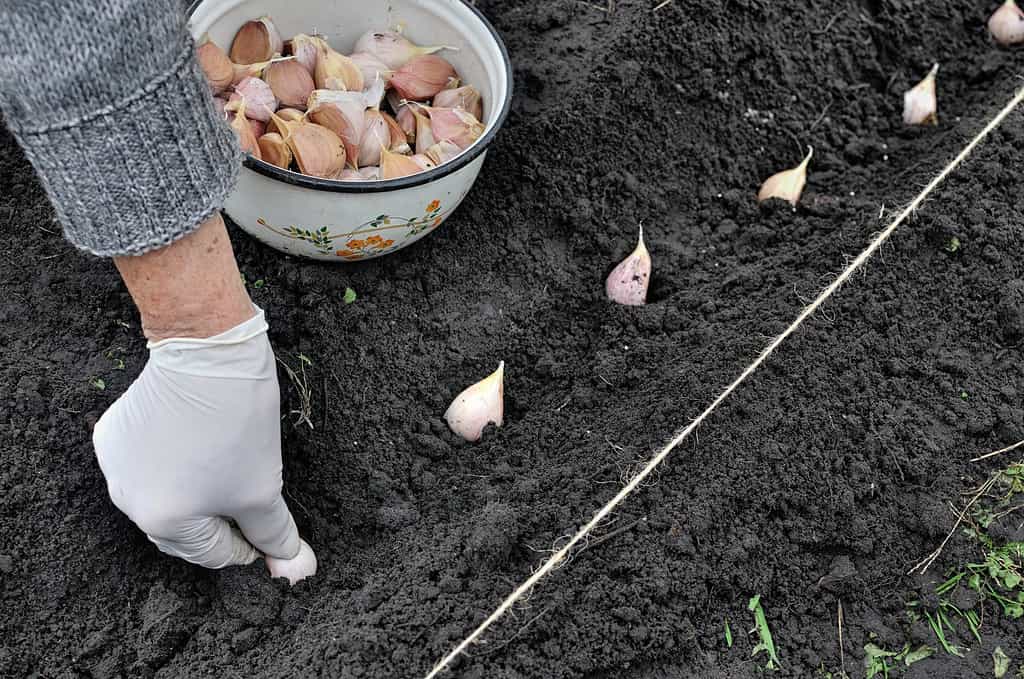
©KC Melete/Shutterstock.com
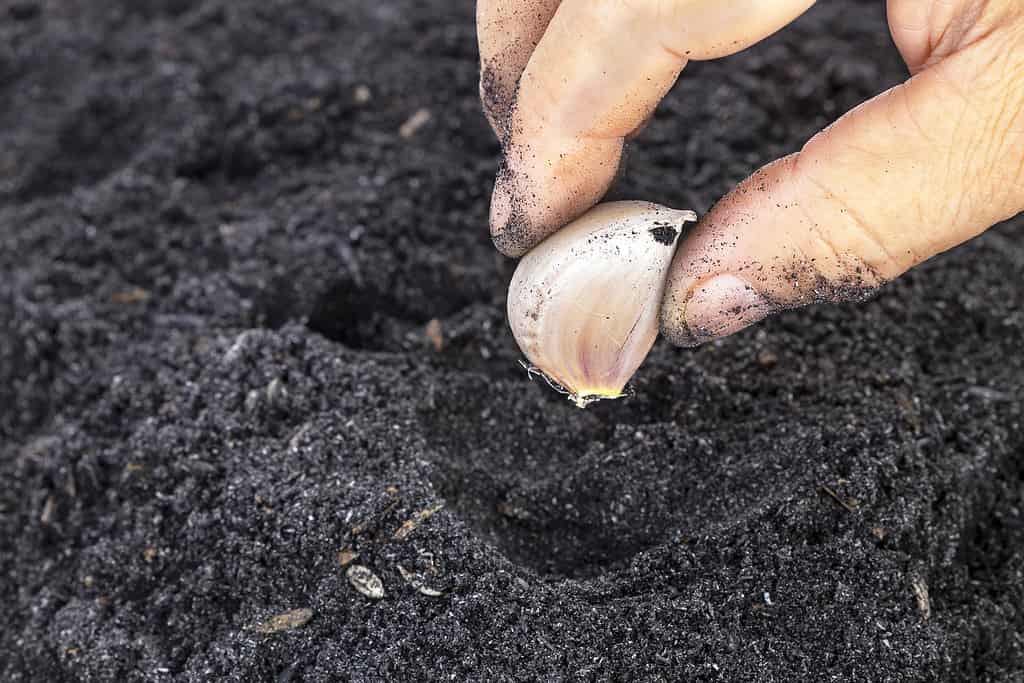
Don’t Dig Too Early
Here’s why it’s worth being sure those garlic bulbs are good to go.
Because garlic bulbs grow beneath the soil line, it’s not so easy to figure out if they’re ready to pull. Early harvested garlic is still edible, but it’ll have smaller bulbs, and it may not have had time to divide into its distinctive cloves. On the other hand, too long in the ground and your garlic starts too sprout flowers because it’s a perennial vegetable that just keeps dividing and growing. Overripe garlic bulbs taste woody and the tangy, distinctive flavor disappears.
Here are clear signals that indicate garlic is ready to harvest.
1. Timing
In general, garlic takes eight to nine months from planting to fully mature. It’s a long time and one of the longest-maturing veggies gardeners regularly grow at home.
If eight to nine months have passed, then it’s likely your garlic is ready, but check the packet instructions because garlic varieties differ. For example, asiatic garlic takes less time than silverskins. Fall-planted garlic is usually ready for harvest in early summer and spring-planted garlic from mid-summer to early fall.
Weather conditions impact growing times as well. A cold spring and summer slow down maturation, as does a drought. So, whilst packet timing helps gardeners understand when garlic could be ready for harvest in ideal conditions, it’s not 100% reliable. That’s why it’s a good idea to follow the next steps.
Garlic takes eight to nine months from planting to harvest.
©supersaiyan3/Shutterstock.com
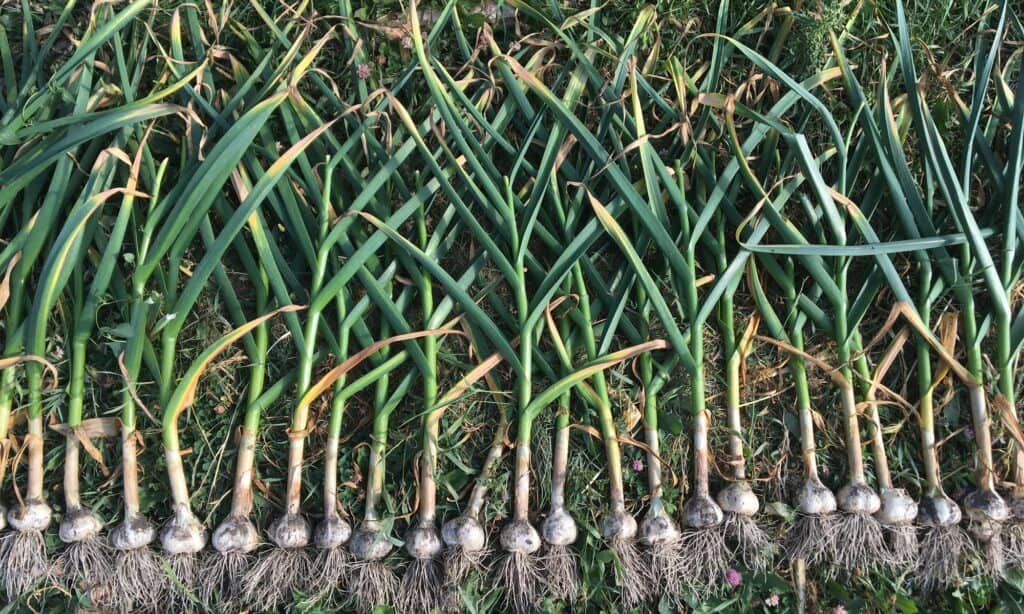
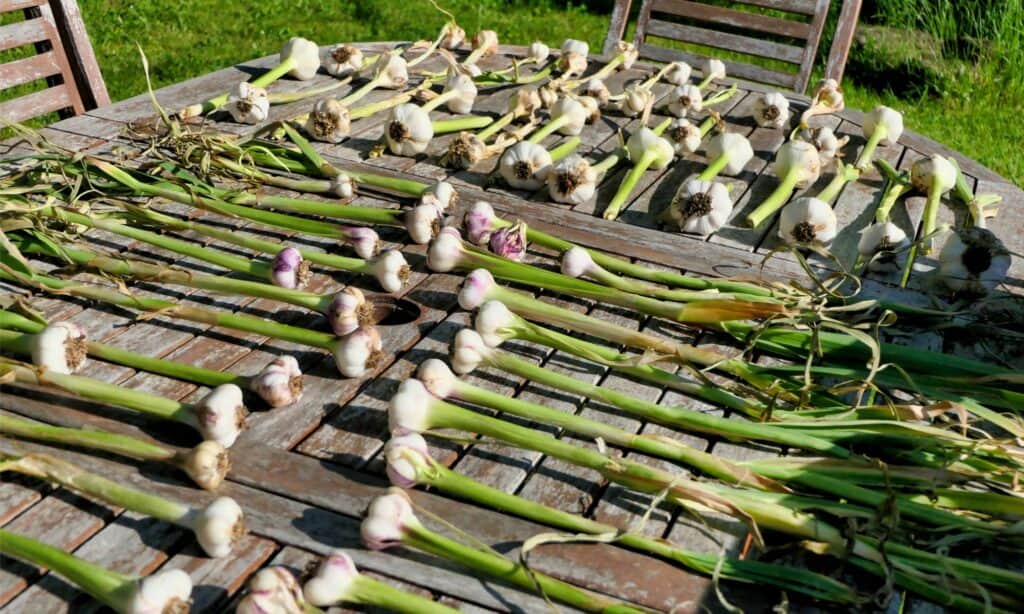
2. Browning Leaves
Related onion foliage turns brown and crispy when it’s ready for harvest and the bulb pushes up out of the soil, but garlic isn’t so simple because each clove matures individually. This means a mixture of green, yellow, and brown foliage on the plant as they ripen. Garlic stays hidden too, it doesn’t helpfully display the bulb when its ripe.
Look for browning foliage to indicate harvest time is near, but that’s not enough on its own. Be sure to combine browning foliage with dropped foliage.
When two to three of the leaves have browned and dropped garlic is ready for harvest.
©nblx/Shutterstock.com
3. Dropped Foliage
When a garlic clove is ripe for harvest, it begins sheds its protective outer papery skin and drops its foliage. A bulb can have up to ten cloves, but when around two or three of the browning leaves drop, it is a good time to harvest.
If leaves turn yellow and drop when the foliage is still young, that could indicate a pest infection or a disease like onion white rot. You’ll identify this garlic killer by fluffy white fungus on the bulb’s base with a smattering of black pustules. It’s game over if white onion rot infects your garlic and because it’s a soil-borne disease you won’t be able to grow alliums in that spot again.
Dropped leaves are a clear sign garlic is ready for harvest.
©amandalala123/Shutterstock.com
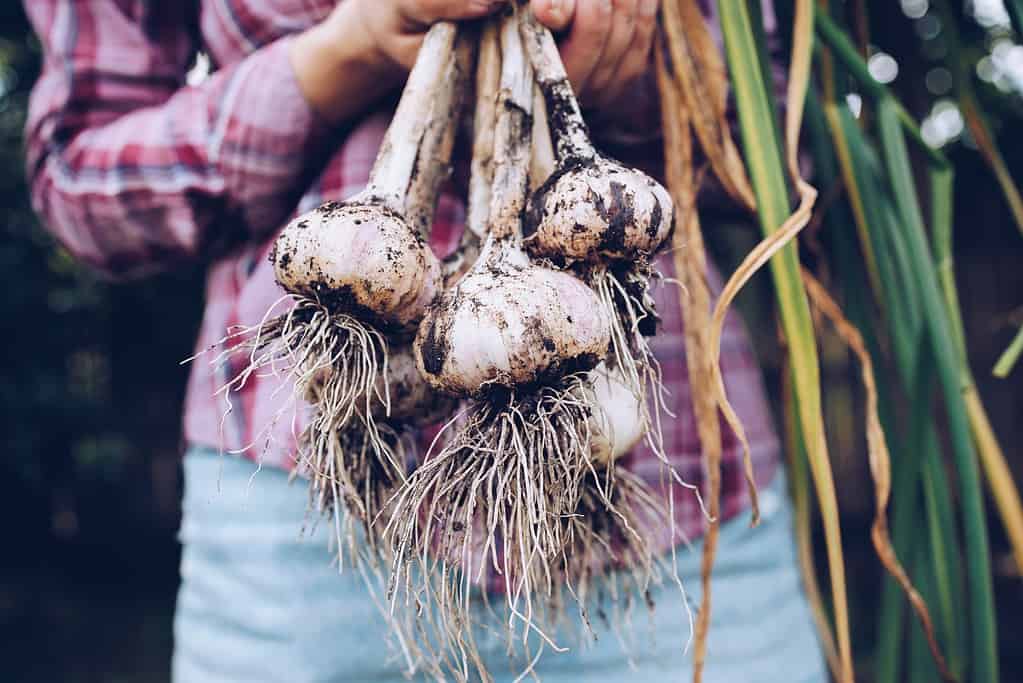
4. Check Bulb Size
There’s no reason why gardeners can’t dig around a garlic bulb with a few brown or dropped leaves to see how big the bulb is before digging it up.
Gently remove some surrounding soil and take a look. If the bulb surface appears small with no obvious divisions, then just pat the soil back down and wait.
If the clove looks juicy, well-formed, and it has tight individually wrapped cloves with white papery skin, it’s ready to dig up.
Dig up just one garlic bulb from the batch first and if that one passes inspection, go back for the rest.
Tightly formed bulbs with a protective layer covering the individual cloves is good for harvesting.
©Allium Sativum/Shutterstock.com
Storage Tips and Techniques
Before harvesting, stop watering your garlic for one week. This helps prevent rot during storage. Then follow these tips to maximize your harvest.
Harvest Gently
Dig up garlic bulbs gently, because damaged bulbs won’t store. Loosen the soil around a bulb with a trowel and gently pull on its remaining foliage. If it’s ripe, it will leave the soil bed easily. Brush away excess soil being careful to avoid bruising because this leads to rot in storage.
Don’t Wash it
Do not wash garlic you intend to store because it encourages rot and fungal infections. The point is to dry them out at this stage, not make them damp. Don’t take off the protective papery skin or pull the cloves apart either.
Don’t wash garlic before curing it. The bulbs must remain dry or they will rot.
©Tongsai/Shutterstock.com
Check the Bulbs Aren’t Damaged
Damaged bulbs, that’s any stabbed during harvest or with soft rotting cloves, won’t store, but don’t throw them out. You can use hard cloves fresh, or freeze or dehydrate them.
If the whole bulb is soft, it’s rotting and no good, but usually, it’s just a few with some salvageable cloves for fresh cooking.
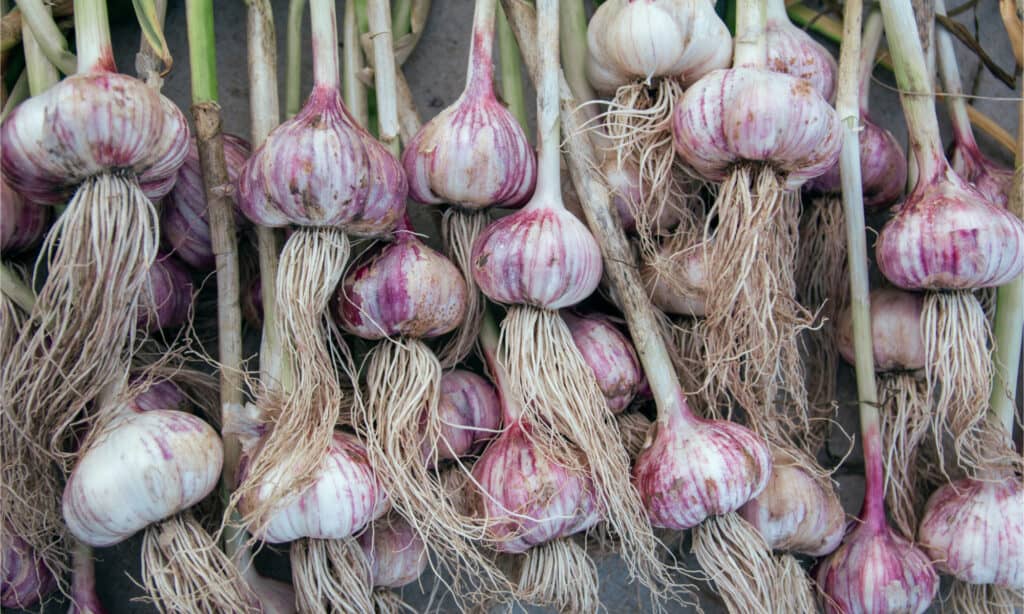
Keep Whole Bulbs
Whole garlic stores best, you don’t need to pull a bulb apart to dry cloves individually.
Don’t Store in the Refrigerator
Garlic won’t store in the refrigerator because it’s too light and moist. Garlic chiefly lasts a week or two in the fridge before getting moldy or sprouting.
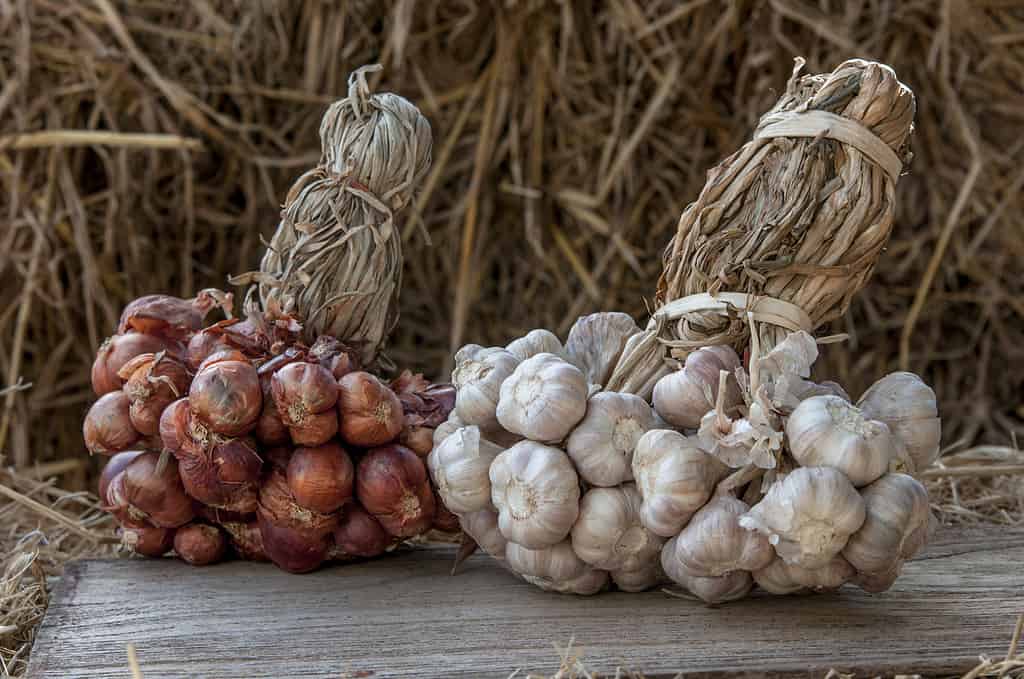
How to Cure Garlic
Curing just means letting garlic dry out naturally. Cured garlic stores for up to six months! Here’s how:
Pop your garlic bulbs with foliage attached in a paper bag, wire basket, or a net that store oranges are sold in. Spread them out, don’t pile them up because air circulation is important to prevent mold. Alternatively, you could hang them in bunches by tying the necks together.
Then, choose a dark, dry place with good air circulation for storage. Room temperature is suitable, but too hot and they’ll cook. This is why it’s not a good idea to dry garlic bulbs in the blazing sun.
Don’t leave garlic bulbs in the hot sun for days on end or they’ll cook.
©iStock.com/PlazacCameraman
Some gardeners use a dry and airy garden shed, others a spare room, or ventilated garage. Use an old clothes airer to maximize space or hang bunches from the rafters.
As the bulbs dry out their papery coverings shrink to form a tight layer that preserves the tasty flesh for months.
Every week or so pick through the bulbs to check for rot, softening, or sprouts. If you find any, take them out and chop them up to see if any is immediately usable. Soft bulbs will infect others with rot, so it’s important to weed them out and keep the crop safe.
If you don’t have room or the inclination to cure garlic bulbs, try freezing or dehydrating them.
Freeze Them
Frozen garlic lasts 3-6 months in the freezer before it loses flavor. One of the very best ways to store is to peel then blend cloves. Place the blended garlic in a freezer bag, seal it, lie it flat, then use a ruler to press cubes like a chess board. Freeze it flat and simply break off cubes when you need a portion of garlic, such as a topper for garlic bread or a pasta sauce.
Dehydrate Them
Create your own garlic powder by dehydrating and grinding up garlic cloves. This is a good way to use up any cloves damaged during the harvest.
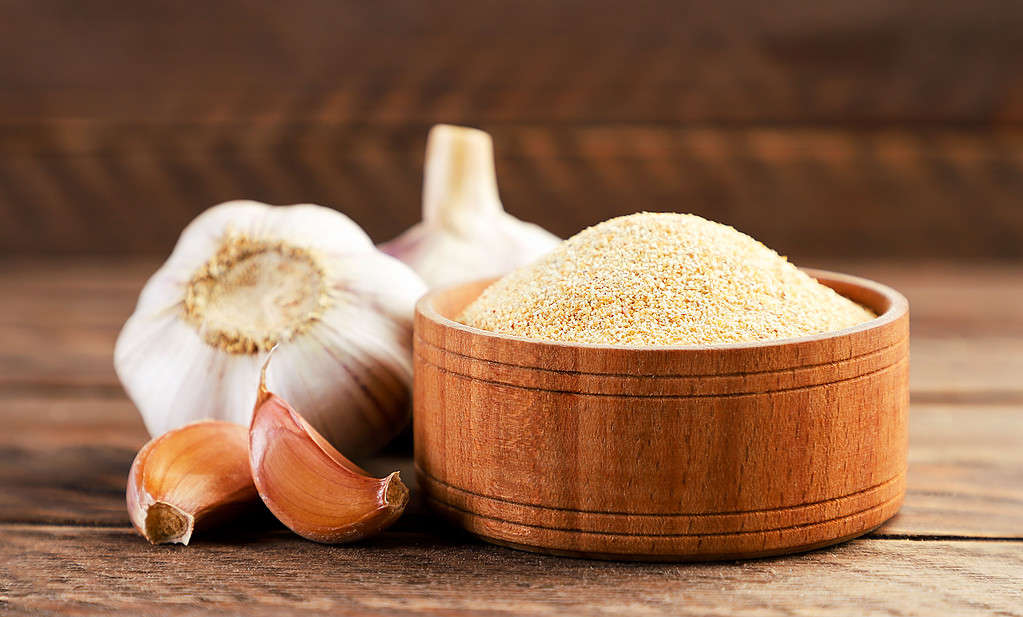
Dehydrate garlic, then grind it to make garlic powder.
©innakreativ/Shutterstock.com
How Long Does Cured Garlic Last?
The curing process takes a few weeks, and after that garlic can last for up to six months. Silverskins tend to last the longest and asiatic garlic the shortest.
Sniff to test! A healthy cured garlic smells garlicky but not so pungent as fresh garlic. If it’s lost all scent or smells sours then the chances are it’s rotting.
Clear Signs Garlic Is Ready for Harvest: Recap
Let’s recap!
Garlic matures at around eight to nine months after planting. Around this time look for yellow or brown foliage that’s starting to drop. Pick out a single garlic plant that’s lost 2-3 leaves and dig around the bulb to see what’s up. If you spot well-formed, well-protected individual cloves it’s ready for harvest.
Garlic is ready for harvest when its leaves start to turn brown and fall away.
©yuris/Shutterstock.com
The photo featured at the top of this post is © SHARKY PHOTOGRAPHY/Shutterstock.com


How to Add Us to Google News


Thank you for reading! Have some feedback for us? Contact the AZ Animals editorial team.