Imagine having your stash of homegrown garlic. Instead of running to the grocery store or farmers’ market, you can peel a fresh clove of garlic without leaving your home. Even better, you don’t have to leave the inside of your house! Follow along for a step to step guide on how to grow garlic indoors.
Can You Grow Garlic Indoors?
You don’t need a large backyard or patio to garden and grow food. With the right environment, you can grow garlic indoors. However, most people grow or re-grow garlic greens since it’s quick, fast, and effortless. While this is true, growing full garlic bulbs indoors is possible, it’s also trickier and slower than growing them outdoors. Even if your garlic bulbs take nearly a year to develop, it’s still a fun project!
Garlic can be grown indoors and outdoors.
©KC Melete/Shutterstock.com
How To Grow Garlic Indoors
Growing garlic indoors doesn’t have to be hard. Although we are going to focus on growing garlic bulbs down below, I’m going to briefly explain how to grow garlic tops!
Have you ever left garlic in your fridge and noticed small green sprouts on top? These green sprouts are edible, fragrant, and delicious. The best part is if you can grow them quickly and entirely indoors. Take garlic with a sprout and place them on top of a jar, bowl, or cup with water. Don’t drown the garlic though in the water, it still needs air and light to grow. Place it in a partially sunny area near a windowsill and wait. You should see large sprouts in no time. You can also use this same method for starting roots for large garlic bulbs.
Keep in mind though that garlic is toxic to pets, so be very careful growing this plant indoors, especially if your furry friend is curious.
Materials You’ll Need
Before starting, gather the right materials. To grow garlic indoors, you’ll need the following,
- 6-inch deep containers with drainage
- Water
- Potting soil
- Grow lights (optional)
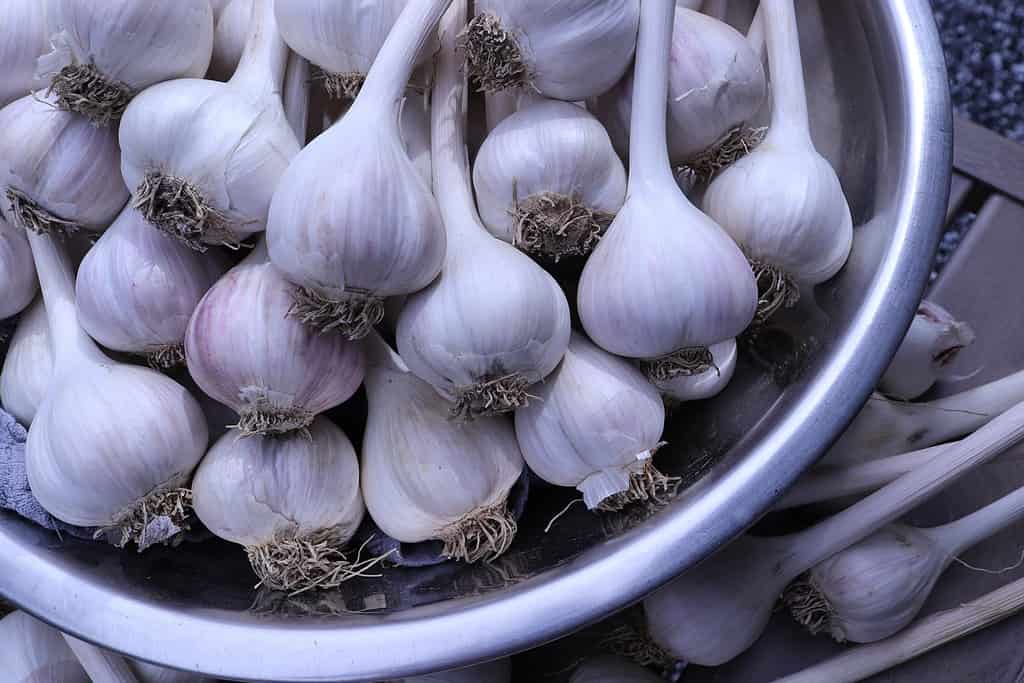
To grow garlic indoors, you’ll need water, potting soil, and a 6-inch deep container.
©Carl.Salisbury/Shutterstock.com
Step 1: Chill the Bulbs
Select your preferred garlic variety. Before you can plant a garlic clove into the ground, you’ll need to chill it. This sometimes happens naturally when you keep garlic in the refrigerator. You can either place your garlic cloves in the refrigerator for a few weeks until green sprouts emerge or use the water technique mentioned above. The chilling period is necessary for hard neck varieties.
Step 2: Plant One Garlic Clove Per Container
The next step is to fill a container with the soil. The container can be any material but needs to be at least 6 inches deep. After the soil is in the container, place the garlic clove in the soil with the green sprouts up. A good tip to keep the soil and water inside the container is to put a coffee filter on the bottom before adding soil.
Step 3: Provide the Garlic Plant with Enough Light
One of the toughest parts of growing full garlic bulbs indoors is ensuring they receive enough light. Garlic plants need at least six hours of light. It’s best to place this plant in a south- or west-facing window. While you can use artificial lights like plant grow lights, it can be tricky. Garlic likes full and direct sun. If you do use artificial lighting, keep it on for at least 6 to 8 hours. Some grow lights even come with a built-in timer.
Step 4: Water your Garlic Plant
So, how much water does an indoor garlic plant need? Garlic needs at least 1 to 2 inches of water every week, more depending on the sun’s intensity. However, it’s easier to measure your plant’s thirstiness with touch. The top of the soil should be moist, not drowning. Too much water can cause your plant to develop root rot and fungus, attracting uncomfortable pests.
Step 5: Wait and Harvest
Step number five requires patience, all you need to do is wait! Garlic plants take months to grow and even more, months to mature. They are difficult outdoors, and even fussier inside. So, how do you know when your indoor garlic plant is ready for harvest? When the green shoots start to dry out and turn brown, you can pull it up. You can also loosen the soil around the plant and dig carefully to reach the bulb. Checking the process though can stress the plant if you aren’t gentle. You don’t have to wait long though to harvest the green shoots. They will continue growing on top as long as you leave at least an inch.