
If you’re new to the world of gardening or plant parenting, you may have noticed recommendations on soil types for your plants. These recommendations are often alkaline, neutral, or acidic.
If grade school science was a few years ago, pH levels may sound like a foreign concept. Worry not! In this article, we’ll cover the best DIY ways to test soil pH levels, why it matters, and how to alter the pH level for your plants — you know, the basics!
Let’s dig in!
What Soil pH Is and Why It Matters
The term pH stands for “potential for hydrogen” and determines whether your soil is more acidic (like a lemon) or basic (like baking soda). Substances with lower hydrogen levels are more basic or alkaline. Conversely, substances with higher hydrogen levels are more acidic.
The pH scale ranges from 0-14, with 0 the most acidic and 14 the most alkaline.
So why does soil pH matter for plants? The acidity or alkalinity ultimately affects nutrient availability. If you have a plant that requires a high level of certain nutrients, the soil pH could impact whether that nutrient is in the soil for your plant.
For example, roses require sufficient manganese to bloom and thrive, which is present in acidic soil. Alkaline soil would be unideal for roses. While most plants will thrive in neutral soil, if the pH level is skewed too far in one direction, the plant may fail to thrive.
You can purchase pH testing kits from the local gardening center. Alternatively, you can try these three effective DIY ways to test soil pH levels at home:
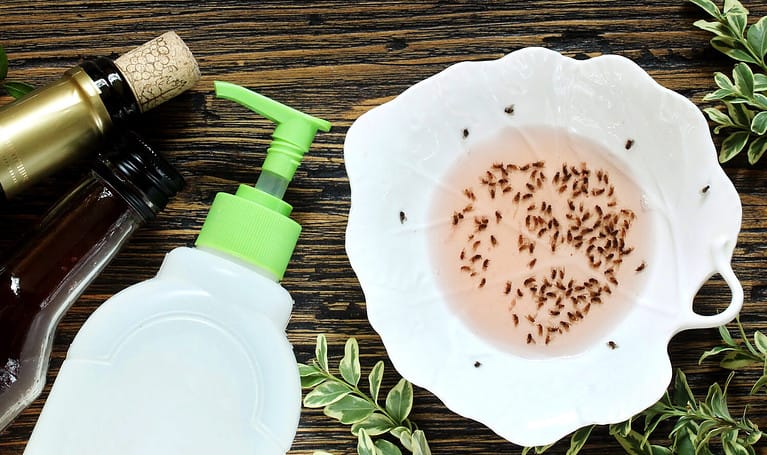
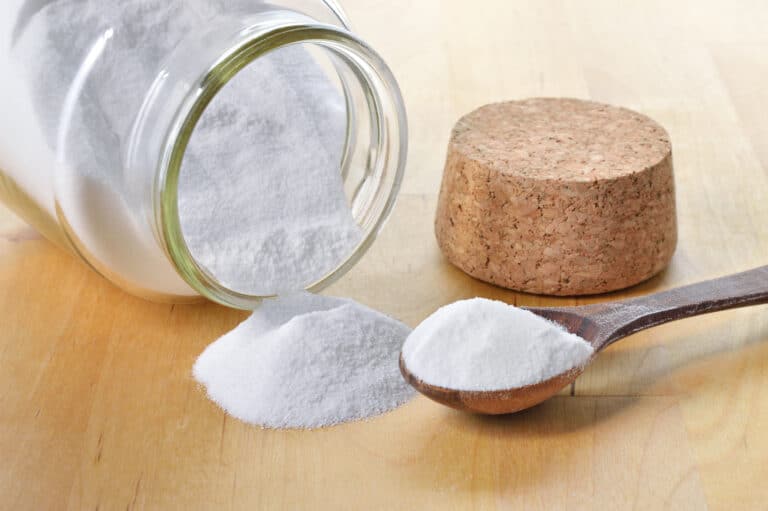
1. Vinegar and Baking Soda Test
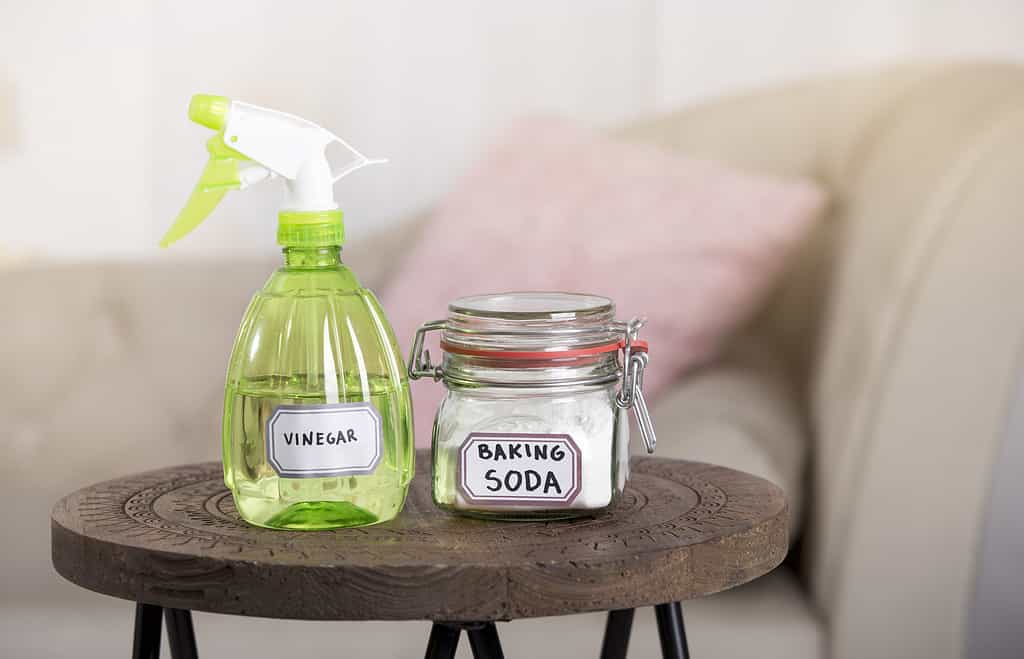
Test soil pH levels with vinegar and baking soda.
©Helin Loik-Tomson/iStock via Getty Images
Vinegar is acidic, ranking at pH 3. Conversely, baking soda is alkaline, with a pH of 9. With these science fair favorites, you can test the pH level of your soil at home without an expensive kit. Here’s how:
- Prepare two clean containers and a workspace.
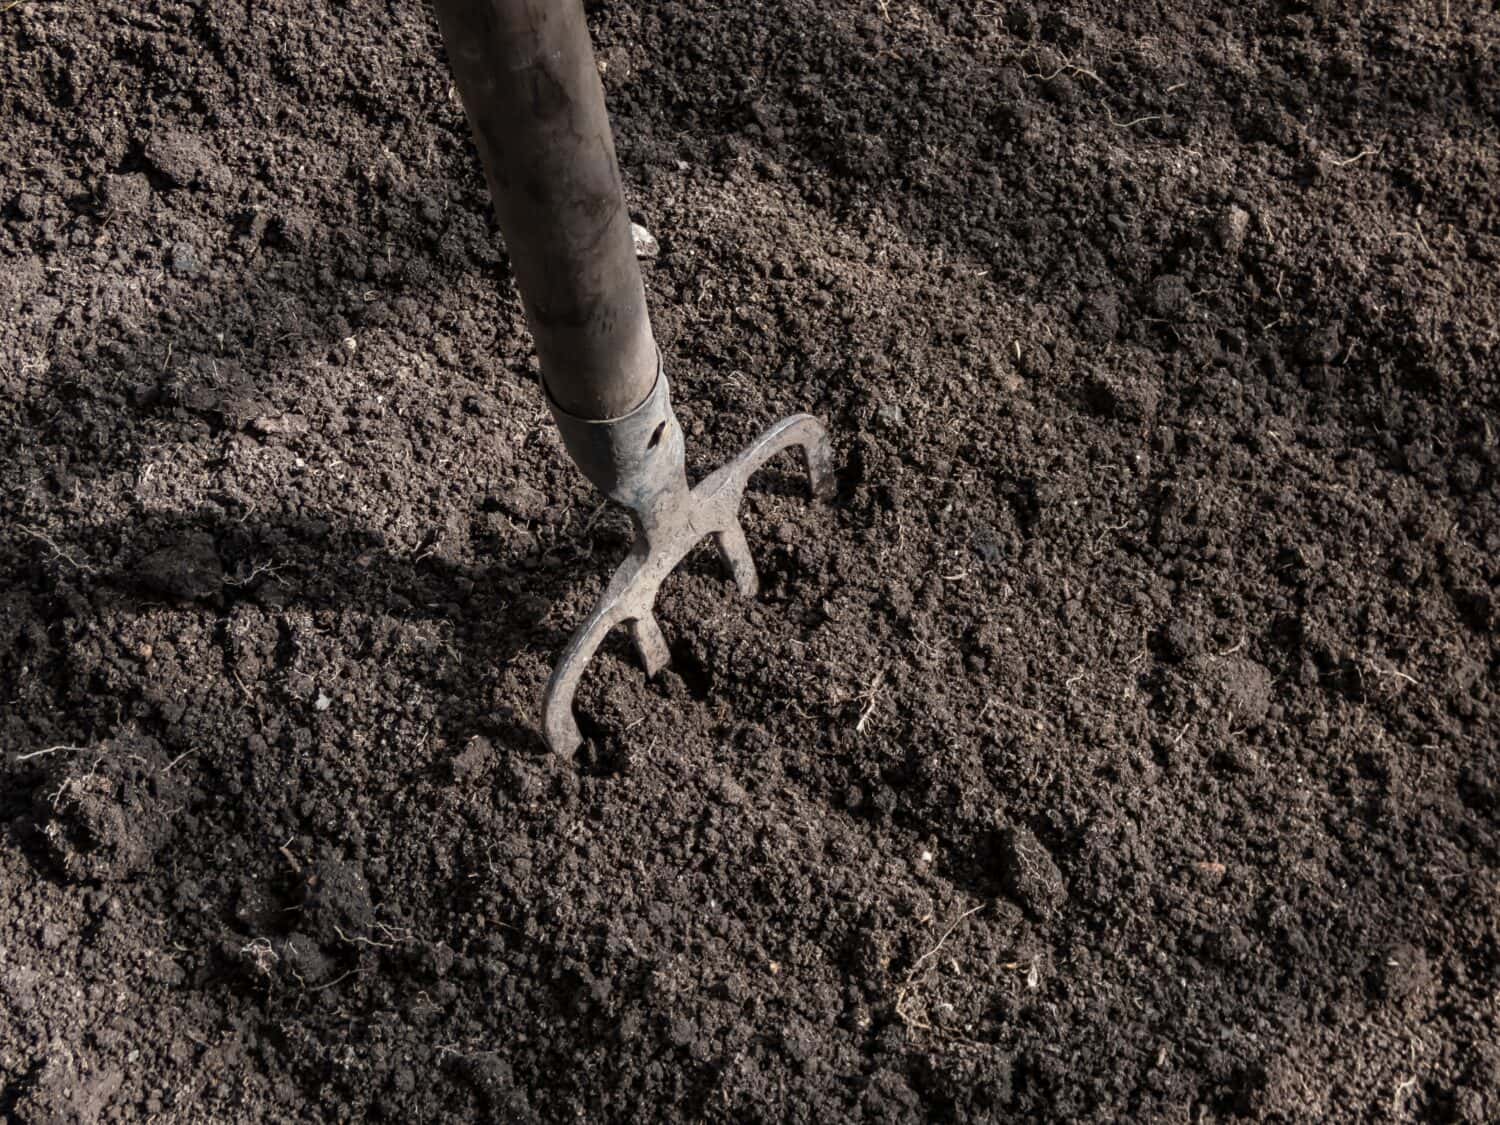
- Dig up one cup of soil from your garden.
- Divide the soil evenly between the two containers.
- Moisten one container of soil with bottled water. Avoid using treated tap water for this experiment.
- Pour 1/2 cup of vinegar into the dry soil and mix.
- Pour 1/2 cup of baking soda into the moistened soil and mix.
- Wait for 2-5 minutes while monitoring the soil.
If the vinegar-treated soil fizzes, your soil is alkaline or basic. The vinegar is reacting to the soil the way it would react to baking soda.
If the baking soda-treated soil fizzes, your soil is acidic. In this instance, the acidity in the soil is reacting as vinegar would.
If nothing happens, your soil is neutral, and you can plant to your heart’s content with little concern!
2. Red Cabbage Juice Test
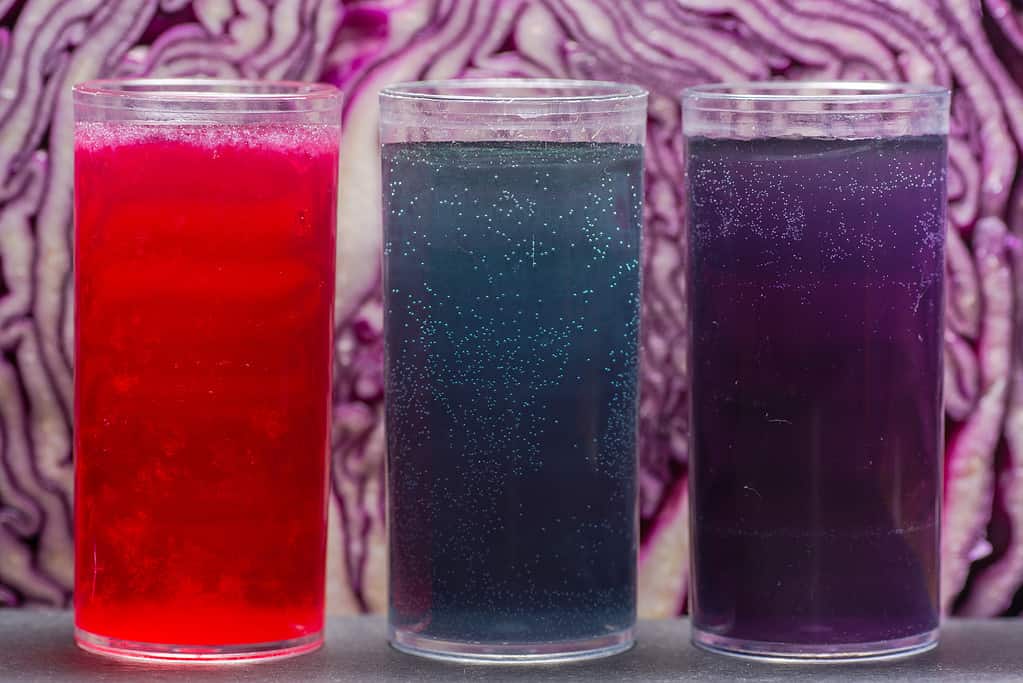
You can use red cabbage juice as an easy way to test pH levels.
©Ian_Redding/iStock via Getty Images
Red cabbage has long been used as an organic dye. It’s also a neutral substance with a pH of 7 that contains a pigment called anthocyanin, which gives it its lovely color! Anthocyanin is susceptible to acidity, which alters the pigment color and acts as a powerful indicator of your soil’s acidity level.
- Cut or tear chunks of red cabbage. You’ll need 1/2 a cabbage or several large leaves.
- Put the cabbage in a saucepan and cover with water, bringing it to a boil.
- Let the water boil for 15-20 minutes or until the water is bright pink.
- Remove the saucepan from the heat and let the water cool.
- Carefully strain the water into a jar.
- Add a generous scoop of soil to the jar and mix it around.
- Let the soil settle and sit for 30-45 minutes.
If the juice turns redder, your soil is acidic. If the juice starts turning blue or green, your soil is alkaline. Finally, if the color remains the same, your soil is happily neutral!
3. Red Cabbage Litmus Test
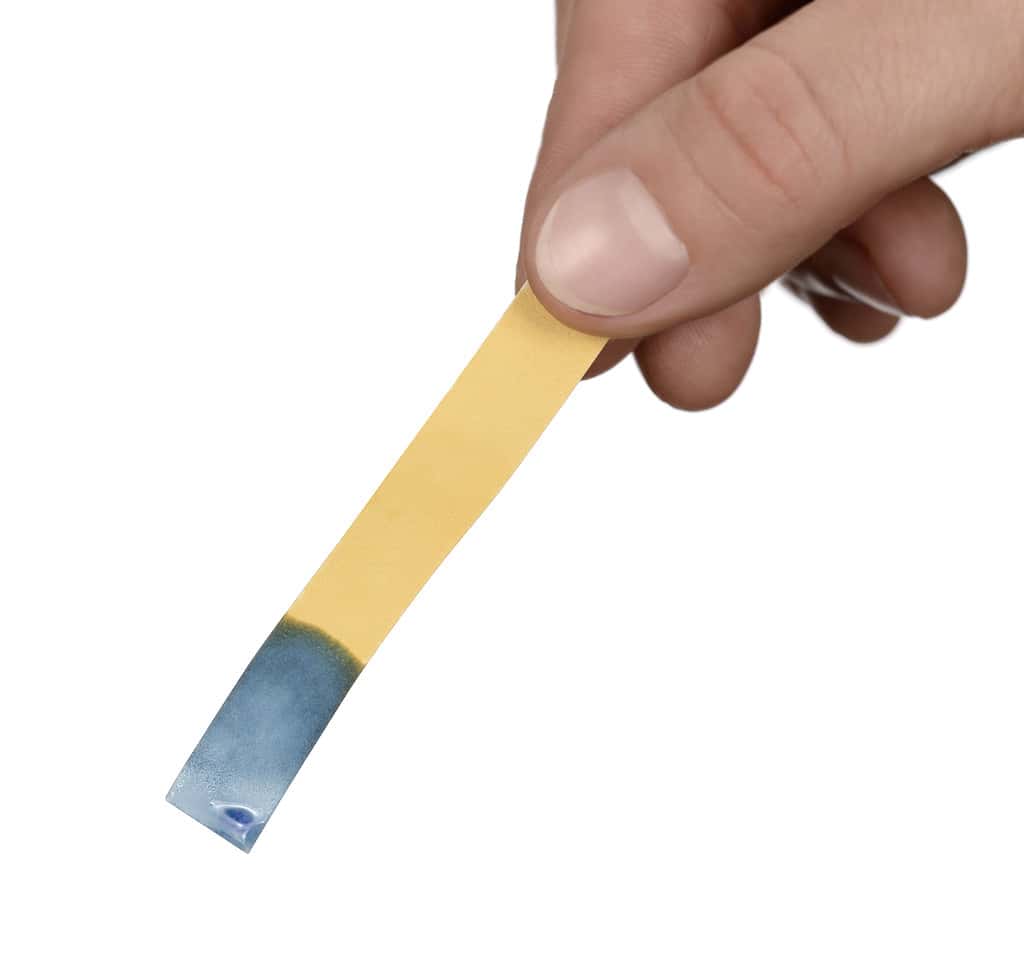
Use red cabbage juice and acid-free paper or paper towel to create your own litmus tests.
©gradts/iStock via Getty Images
Litmus paper is sold in many pH testing kits. However, you can create an affordable DIY soil pH level test kit at home by using red cabbage juice to create your own litmus paper strips.
- Cut or tear chunks of red cabbage. You’ll need 1/2 a cabbage or several large leaves.
- Put the cabbage in a saucepan and cover with water, bringing it to a boil.
- Let the water boil for 15-20 minutes or until the water is bright pink.
- Remove the saucepan from the heat and let the water cool.
- Carefully strain the water into a jar.
- Cut paper towel into strips and dip them in the cooled cabbage water.
- After 1-2 minutes, remove the strips and lay them on a rack to dry.
- When the strips are dried completely, you can store your strips in an airtight container.
Here’s how to test your soil with your DIY litmus paper:
- Mix a small sample of soil with distilled water. Avoid using treated tap water for this test.
- Put a couple of drops of the soil solution on your litmus paper.
- Leave the paper for 1-2 minutes.
- Assess the color of the paper or match it to a pH scale chart.
The same guidelines apply when reading the results. Blue to green means alkaline, red means acidic, and unchanged means neutral.
When to Test Soil pH Levels
Test your soil pH levels when planting something new or digging a new garden. You may also choose to test the soil levels after you’ve added organic matter or to check the levels after the winter, as run-off could alter the soil composition.
How to Adjust Your Soil pH Levels
Soil pH levels aren’t set in stone! Mixing in agricultural lime or egg shells can make your soil more alkaline. Conversely, mixing in sulfur, compost, or manure can make your soil more acidic.
Best DIY Ways to Test Soil pH Levels: A Summary
| Ranking | Best DIY Soil pH Level Tests |
|---|---|
| 1 | Vinegar and Baking Soda Test |
| 2 | Red Cabbage Juice Test |
| 3 | Red Cabbage Litmus Test |