

Growing carrots is an excellent choice for gardeners of all levels who want a source of antioxidant-rich root vegetables to use in various raw and cooked dishes. Luckily, carrots are not only fun to grow but quite easy as well!
In this guide, we’ll cover the botanical classification of carrots, their characteristics, and everything you need to know to grow a bountiful crop.
Alright, let’s jump in!
Carrots: Botanical Classification and Characteristics

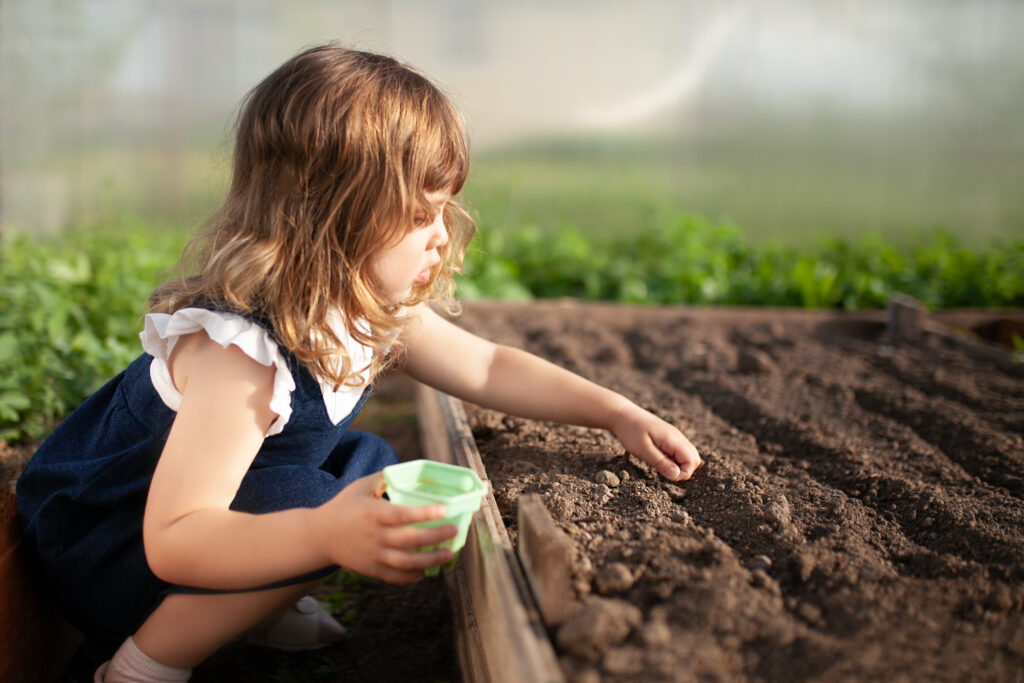
If you wonder how to grow carrots, you’re in luck, as this is an easy vegetable for gardening beginners.
©5 second Studio/Shutterstock.com
While most people are familiar with the modern-day carrots are a domesticated crop, its wild ancestor, Daucus carota, is a root vegetable native to Iran and Afghanistan. Today, the wild carrot, also known as Queen Anne’s lace, is naturalized to temperate regions worldwide, including North America. Through genetic study, scientists estimate that people likely began domesticating the wild carrot in Central Asia and the Middle East around 1,100 years ago.
Through selective breeding over 1,100 years, carrots are now larger, sweeter, more antioxidant-rich, and more colorful than their wild ancestor. To denote its cultivated status, the botanical classification of the domesticated carrot is Daucus carota subspecies sativus.
Like its wild ancestor, the foliage of domesticated carrots is lace-like with deeply divided, pinnately compound leaves. While people are likely familiar with orange carrots, so-colored due to the production of carotenoids, carrots can also feature yellow, white, purple, and red coloration. In fact, the first domesticated carrots were purple and yellow, and the color of wild carrots is white. Cultivation of orange carrots actually only began with Dutch horticulturists in the 17th century.
How to Grow Carrots

Carrots are hardy and can grow in various climates, unlike other types of produce.
©iStock.com/YelenaYemchuk
Regardless of what variety or varieties of carrots you choose to grow, you’ll need to know what growing zones they’re suitable for, their ideal soil and sunlight conditions, watering requirements, fertilizer requirements, and how to grow them from seeds. Below, we’ll explore how to ensure your carrot crop is bountiful and thriving.
USDA Growing Zones Suitable for Carrots
Like most root vegetables we cultivate, carrots are quite hardy and adaptable, allowing gardeners to grow them across various climates. In the US, you can grow carrots in USDA hardiness zones 3-10, provided soil conditions are suitable.
Ideal Soil Conditions
As root vegetables, carrots need well-suited soil that allows the root to fully develop. The plant will struggle to produce a meaningfully sized root if the soil is too compact or rocky. While the plant will likely survive subpar soil conditions, you’ll find that the carrot will likely be rather stunted or thinner than you were hoping for. For best results, grow carrots in soil that is light, loose and loamy, well-draining, fertile, and slightly acidic-to-neutral soil (6.0-7.0). If your soil doesn’t fit this description, especially if your soil is compacted, your best bet may be to grow in raised garden beds or grow bags to ensure a healthy root crop.
How to Grow Carrots: Ideal Sunlight Conditions
Carrots love to grow in at least 6 hours a day of full sun, but they prefer soil that is relatively cool. To achieve this, you can grow your crop with low-growing companion plants, like some lettuce varieties, to help shade and cool the soil while not shading out the carrot foliage. Plant in a south-facing direction to allow your carrots to access the most sun.
Watering Requirements
The watering requirements for carrots change as the plant matures. When the carrots are young, they require consistent watering, which equals about an inch of water per week. However, as the roots develop, they require increased moisture intake, coming about to about 2 inches of water per week. By checking the soil’s moisture level, you can confirm when you need to water again. If the top inch of the soil is dry, you’ll know that it’s time for another soaking.
How to Grow Carrots: Fertilizer Requirements
A good rule of (green) thumb to use when growing carrots is to fertilize once the tops have reached about 3 inches tall. Now, you can begin adding a low-nitrogen fertilizer such as a 0-10-10- or 5-15-15 NPK (nitrogen-phosphorus-potassium) mix. You don’t want to use a high-nitrogen or balanced mix because nitrogen encourages a plant’s above-ground growth. For root vegetables, you’ll want to focus on below-ground development. Phosphorus and potassium help to encourage root development.
Growing Carrots from Seed
Growing your carrots from seed is easy and best for the health of the plant.
©Alina Demidenko/Shutterstock.com
Growing carrots from seed is quite achievable for beginner gardeners, and it’s actually the best method for the health of the plants. Transplanting can be hard for any species, but carrots particularly do not fare well with having their roots transplanted. They are readily susceptible to transplant shock, so we recommend you only grow carrots by directly sowing them into the garden.
You can sow seeds for both summer and fall harvests. For a summer harvest, sow directly outdoors in the spring, a couple of weeks before the estimated last frost date. When you’re planning for a fall harvest, you’ll want to sow seeds in the late summer, about 2-3 months before the expected first frost date of the fall.
Be patient; carrot seeds are slow to germinate and may take up to three weeks. Keep soil moist to maximize germination speed. Depending on the variety, expect to harvest your carrots 60-80 days after sowing the seeds. Often, the tops of the carrot will start appearing out of the soil when it’s ready for harvest.
Sow seeds about 1/2 inch deep and about 1/3 inch apart. Carefully handle them as the seeds are tiny, and they can easily slip through your fingers. When the tops are 4 inches tall, you can thin them to about 2 inches apart.


How to Add Us to Google News


Thank you for reading! Have some feedback for us? Contact the AZ Animals editorial team.