
Roses are one of the most classically stunning flowers, renowned for their beauty worldwide. Yet, its beauty is fleeting; the petals last for a few short weeks before fading away to become a memory.
Fortunately, there are ways to hang onto these fabulous flowers for longer.
In this article, we’ll cover how to preserve roses in 10 amazing ways so you can find the best option for you.
Let’s dig in!
1. Hang Drying

There are several easy methods to dry roses.
©iStock.com/Holly Cromer
Hang drying is a tried and true way to preserve roses and yields fantastic results. This simple method requires nothing more than a hanger, clips or string, and a dark, dry area (like a closet).
How to hang dry roses:
- Trim your roses to remove any dying petals or leaves.
- Bunch the stems together using clips or string.
- Hang the roses upside down on a hanger or makeshift clothesline in a dark, dry area.
- Wait 2-4 weeks.
- Take the flowers down and display them.
Spray your flowers with unscented hairspray or a clear coat to keep them for even longer. You can also transfer them to a jar filled with mineral oil for an eye-catching display with a vintage flair.
2. Microwave Drying

Place your roses on paper or paper towel to dry in the microwave.
©syan/iStock via Getty Images
Patience is a virtue, but it’s not for everyone. If you don’t want to wait for your flowers to hang dry, you can preserve roses via microwave drying instead.
How to preserve roses in the microwave:
- Cut the stems off your roses and place the blooms on a piece of paper towel.
- Put the roses in the microwave on a low setting for 30-60 seconds.
- Check the roses and repeat as needed.
The downside of this method is that it takes some trial and error to determine if the petals are dried. Depending on your microwave, it could take a while, or you could accidentally cook your petals.
Many aspiring crafters find this method diminishes the flower’s natural structure and use a hybrid drying method with silica instead.
3. Silica Drying
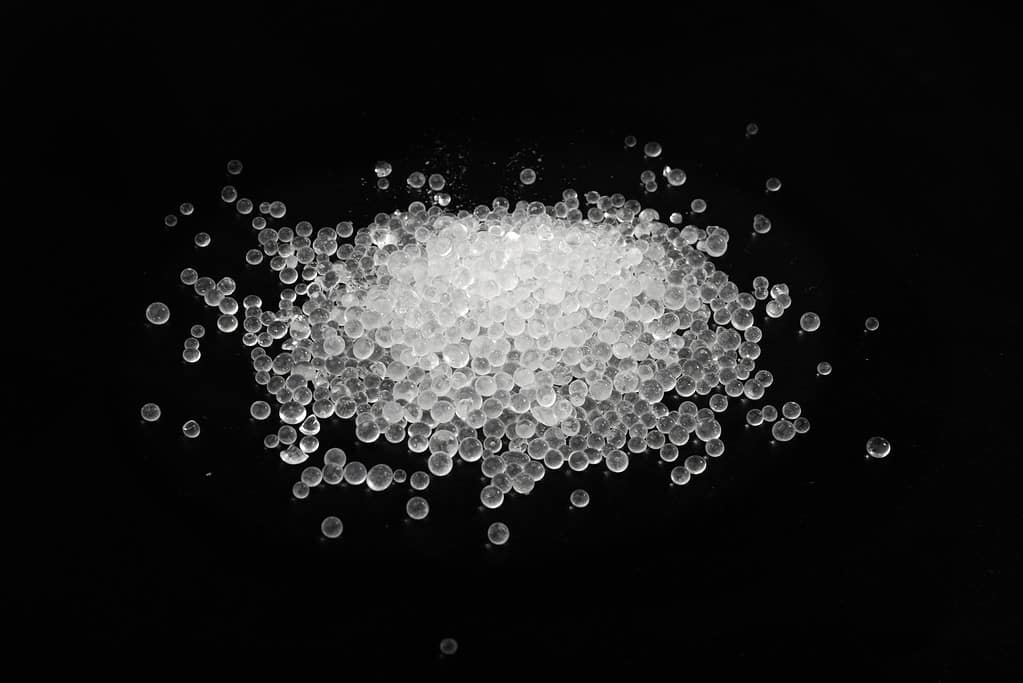
Silica removes moisture from the flowers.
©Oksana Ermak/iStock via Getty Images
Drying roses with silica is another popular method due to its effectiveness in preserving the rose’s color and structure. Silica is an effective desiccant—a material that maintains or instills a dry state. When you buy a new pair of shoes, this substance is in those little packets!
How to dry roses with silica:
- Choose open roses that are at peak bloom.
- Pour silica into an airtight container, allowing enough to fully cover the rose.
- Gently add the rose to the silica, using a spoon to cover it. Make sure the silica gets between the petals.
- Seal the container and put it in a dry, dim place for a week.
- Remove the flowers from the silica and use a brush to gently remove any remnants.
If you’re feeling impatient, you can put the container in the microwave in 30- to 60-second bursts to accelerate the process.
4. Borax and Cornmeal Drying
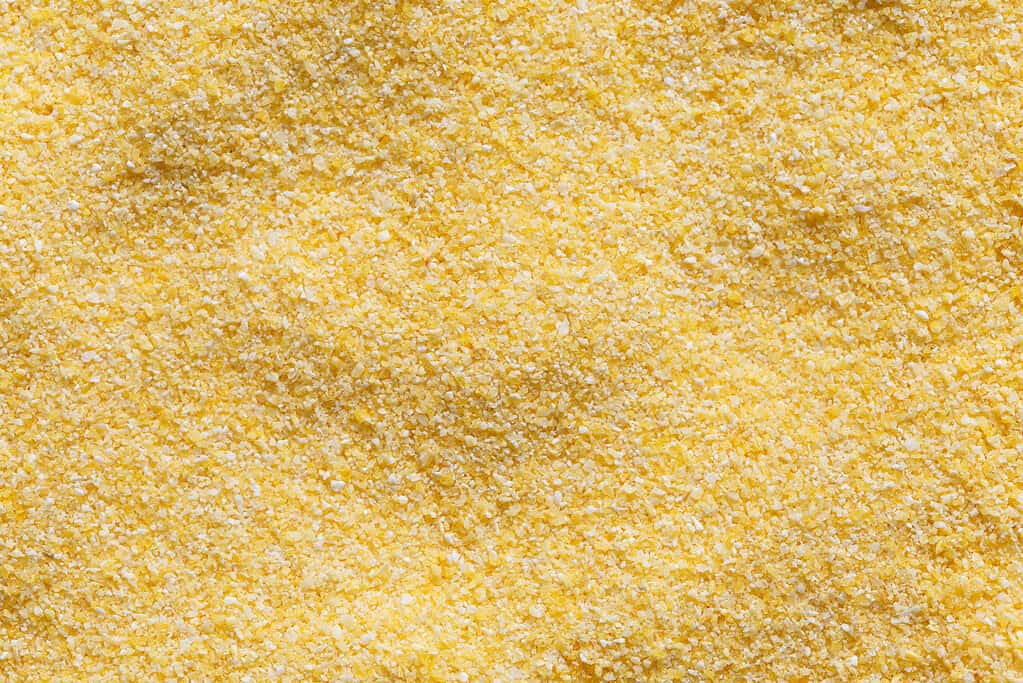
Cornmeal helps remove moisture from the roses while maintaining their texture.
©etienne voss/iStock via Getty Images
Drying roses in a mix of Borax and cornmeal works similarly to silica. The substances remove the moisture while retaining the color and texture. If you want soft, silky petals and don’t have access to silica, this is the method for you.
How to dry roses with Borax and cornmeal:
- Choose open roses that are at peak bloom.
- Create an equal mixture of Borax and cornmeal and pour it into an airtight container.
- Gently add the rose to the mixture, using a spoon to cover it. Make sure the silica gets between the petals.
- Seal the container and put it in a dry, dim place for 2-3.
- Remove the flowers from the mixture and use a brush to gently remove any remnants.
Feel free to experiment with the mixtures. Some prefer an even blend of cornmeal and Borax, some prefer a 2:1 of Borax to cornmeal, and some prefer a 2:1 of cornmeal to Borax.
5. Dehydrating
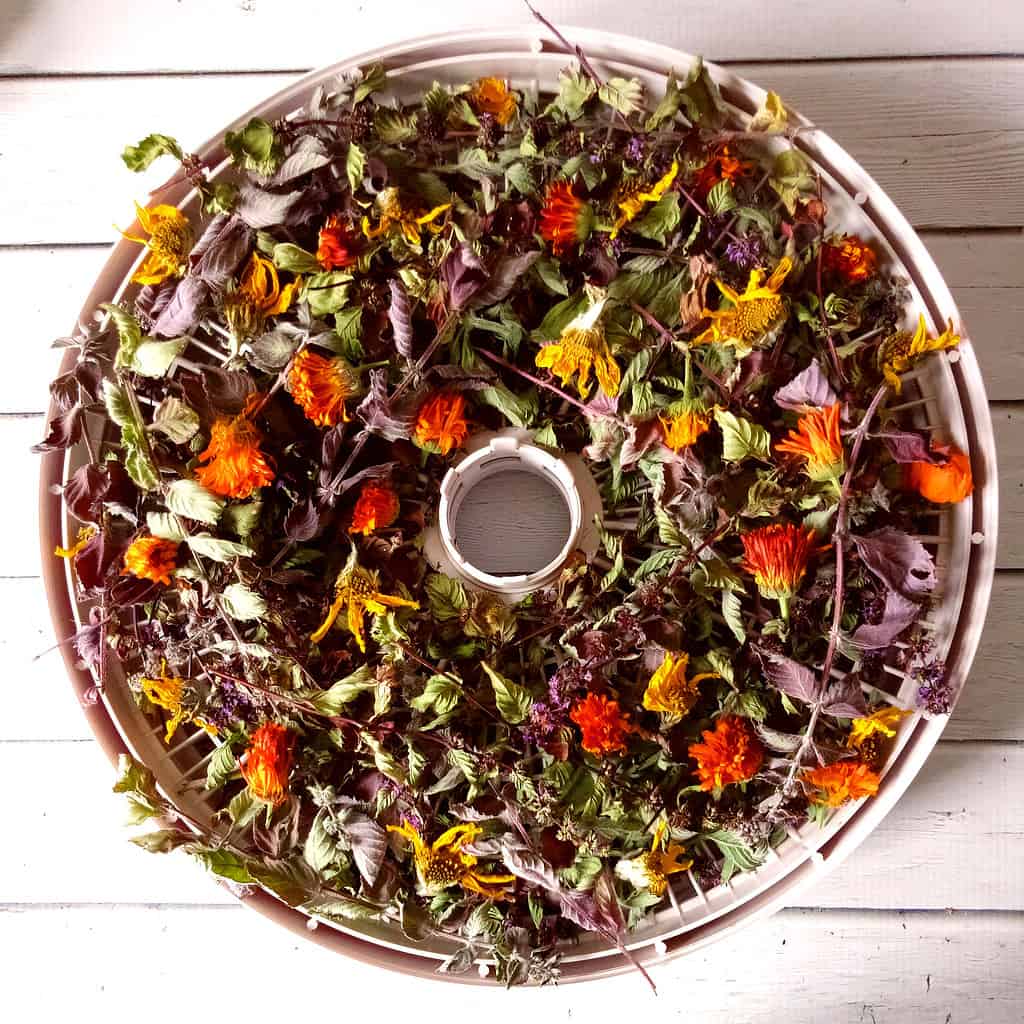
Kitchen dehydrators are great for drying flowers.
©Mariia Sibatrova/iStock via Getty Images
If you have a food dehydrator, you can accelerate the natural drying process with this kitchen tool. It’s a quicker approach to the hang drying method and won’t preserve the color as well as silica.
How to dehydrate roses:
- Choose roses that are fully in bloom.
- Trim the roses and remove the stems.
- Place the roses evenly spaced on a dehydrator tray.
- Dry at 135°F (57°C) for 4-6 hours.
- Check the blooms and flip them if they’re not dry.
- Put back in the dryer for 4-6 more hours.
The timing and setting may change depending on your dehydrator’s age, size, and model.
6. Traditional Flower Pressing
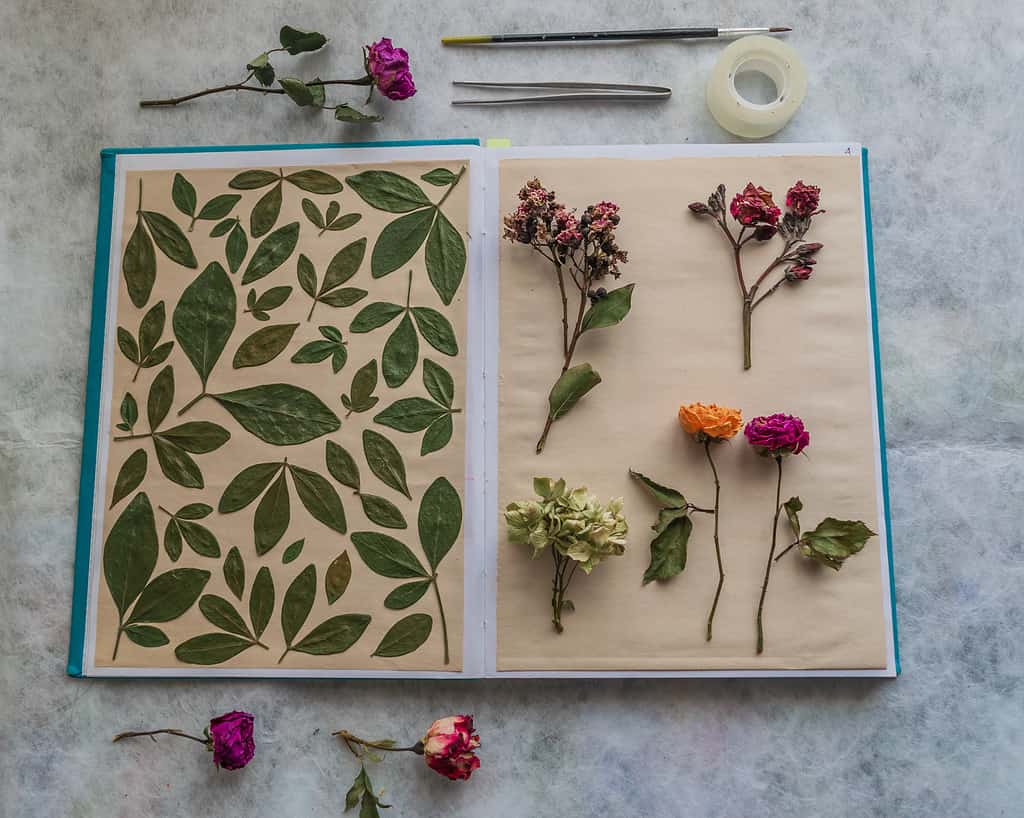
Flower pressing is an ancient art form.
©JessicaPichardo/iStock via Getty Images
Flower pressing dates back to 16th-century Japan. It’s believed this practice was meant to teach patience to Samurai warriors. It continued into Victorian times and remains a favorite pastime today.
This simple method is a lovely way to keep your flowers forever. All you need is some paper and a few heavy books.
How to press roses:
- Cut away your rose stems and place the blooms between two pieces of vellum, tissue paper, or blotting paper.
- Carefully lay the paper on a book and stack several large books on top of it.
- Check your flowers in 3-4 weeks. Larger flowers may take longer.
Make this craft your own by using newspaper or repurposed pages from an old book.
7. Pressed Flower Frames

Pressed flower frames compress the blooms between two panes of plastic or glass.
©bodym/iStock via Getty Images
Enjoy your pressed flowers right away with a pressed flower frame. These pre-made frames have two pieces of glass or plastic held tightly together when assembled.
How to use pressed flower frames:
- Arrange your roses on the bottom panel.
- Place the top panel over the flowers and compress.
- Assemble the frame according to manufacturer instructions.
- Display your frame.
Make sure the roses are completely dry before putting them in the frame.
8. Resin Casting

Create your own preserved rose jewelry with resin.
©Iryna Mylinska/iStock via Getty Images
Resin casting is a versatile way to preserve and display your roses in a number of unique ways. You can use this option to create a paperweight, suncatcher, or jewelry.
You’ll need a few supplies for this project: epoxy resin, a mold, mixing containers, stir sticks, gloves, and protection for your workspace. Safety glasses are highly recommended.
How to cast roses in resin:
- Trim your roses and leave them to dry for a couple of days.
- Prepare the workspace to protect surfaces from drips and runoff.
- Mix the resin according to the manufacturer’s instructions.
- Pour a thin layer of resin into the mold and let it harden for a few minutes. You may need to jiggle the mold to eliminate air bubbles.
- Carefully place your roses on top of the resin layer.
- Gently pour the rest of the resin over the roses.
- Watch the resin and pop any bubbles that surface.
- Cover the mold and let it cure according to the manufacturer’s instructions.
- Remove the hardened resin from the mold.
- Trim and sand the edges and polish (optional).
Resin casting has a learning curve, but it’s a great way to keep your flowers forever.
9. Treating with Glycerin
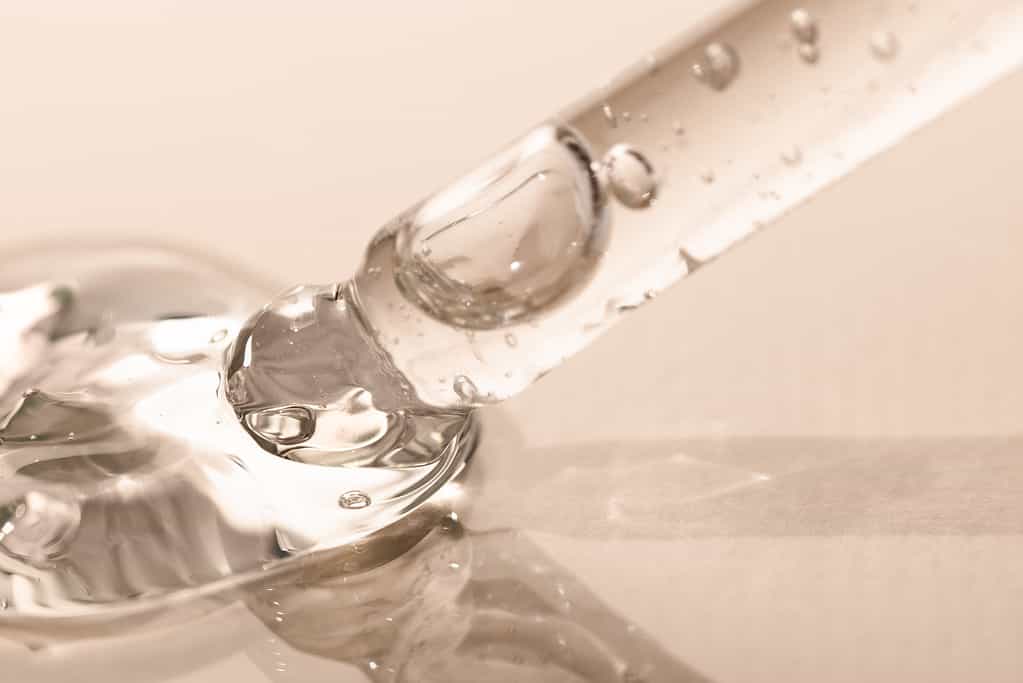
Glycerin will extend the lifespan of your cut flowers by months.
©Julia Cherkasova/iStock via Getty Images
Preserving your roses with glycerin won’t keep them forever, but it will help prolong their lifespan. If you love the look of fresh flowers, this is a great option for your roses.
How to preserve roses with glycerin:
- Create a mixture of 2:1 glycerin to warm water.
- Place the stems of your fresh-cut roses in a vase with the mixture.
- Leave the roses for 1-2 weeks.
- Take the roses out of the vase and hang them upside down for 1-2 days to spread the mixture throughout the rose.
- Place your roses back in the vase and keep them in a dry area on display.
Glycerin works best with foliage rather than blooming flowers. However, this could extend your cut flowers’ lifespan to months rather than weeks.
10. Wax Dipping
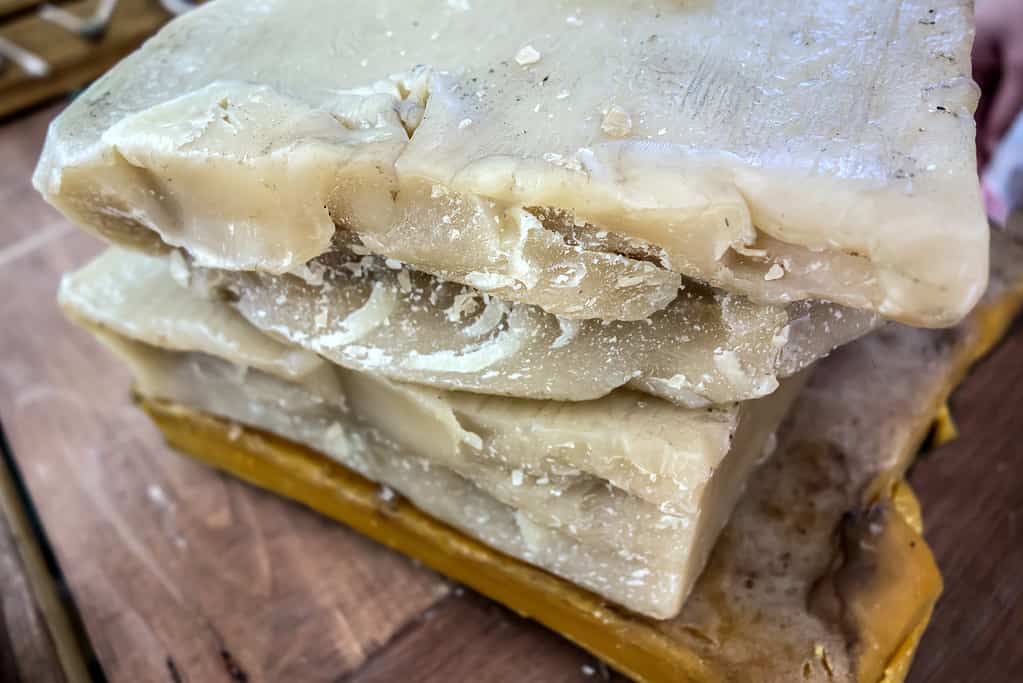
Paraffin wax will preserve your roses for years.
©ivanoel28/iStock via Getty Images
Wax dipping is a flower preservation method in the Southern United States. The paraffin wax won’t keep the flowers permanently, but when done well, your blooms may last for years.
You will need paraffin wax, a double boiler, a candy thermometer, and parchment paper.
How to preserve roses in paraffin:
- Choose roses that are fully bloomed and let them dry for a couple of days.
- Melt paraffin wax in a microwave or double boiler, stirring until melted completely—around 130°F (54°C).
- Hold the rose by the stem and carefully dip it into the wax, swirling it around.
- Remove the rose and lay it on parchment paper to harden.
- Repeat as desired for a thicker coat.
Place your waxed roses in an airtight jar to extend their lifespan even further!
| Ranking | How to Preserve Roses |
|---|---|
| 1 | Hang Drying |
| 2 | Microwave Drying |
| 3 | Silica Drying |
| 4 | Borax and Cornmeal Drying |
| 5 | Dehydrating |
| 6 | Traditional Flower Pressing |
| 7 | Pressed Flower Frames |
| 8 | Resin Casting |
| 9 | Treating with Glycerin |
| 10 | Wax Dipping |
The photo featured at the top of this post is © iStock.com/Holly Cromer


How to Add Us to Google News


Thank you for reading! Have some feedback for us? Contact the AZ Animals editorial team.