
So you’re thinking about raising baby chickens? Good for you! Raising baby chickens is truly a rewarding experience. We have you covered if you are planning on hatching them or ordering them! You’ll learn what to expect as you raise them inside and how to transition them safely outside.
It’s not as hard as keeping a human baby alive, but knowing how to do it properly is essential. You can avoid and resolve several common health conditions you may see that affect some of your baby flock. From egg to chicken, you’ll get a complete idea of what you’ll need to do to raise these fuzzy chicks. Keep reading to be the best at raising baby chickens!
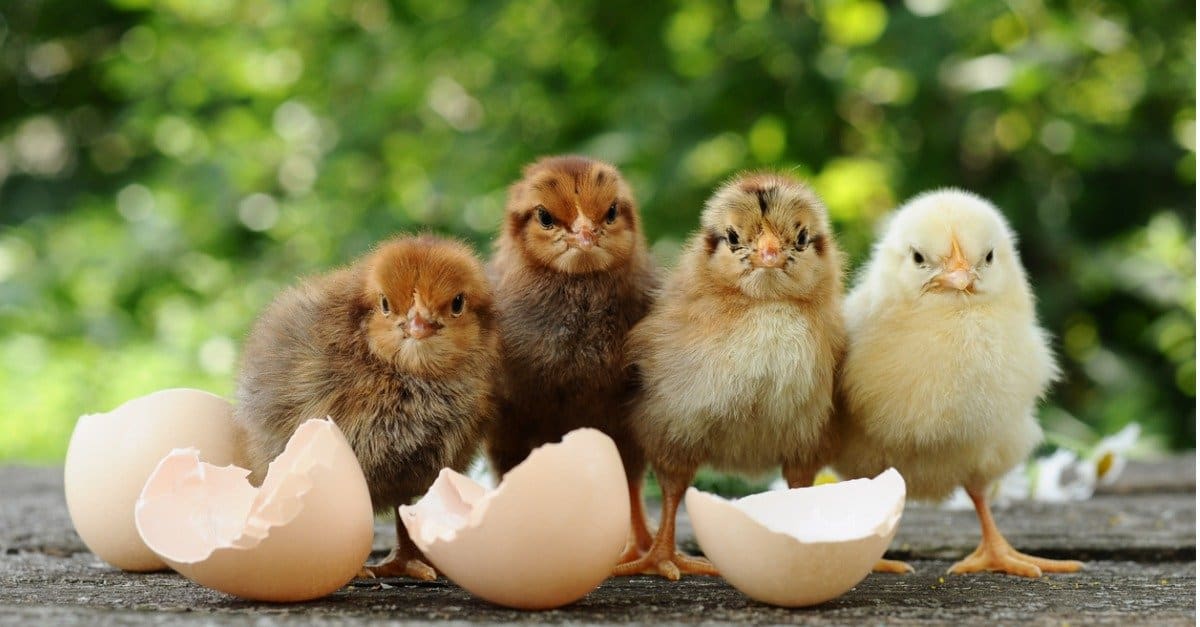
What To Do After Your Chicks Hatch
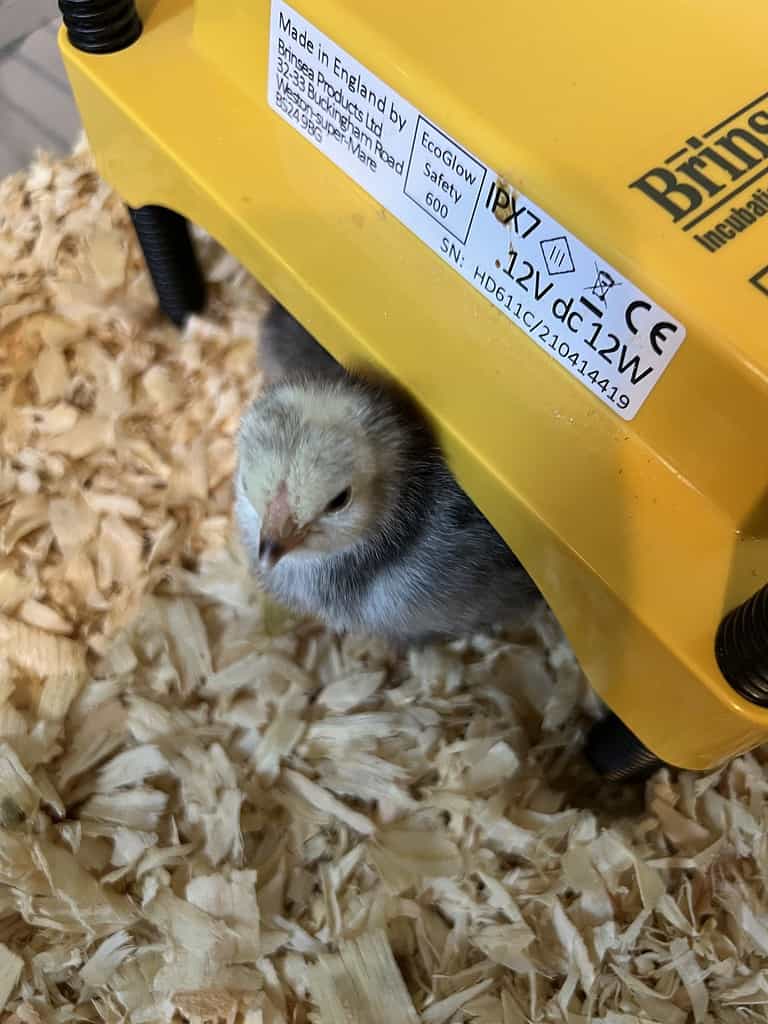
It’s essential to wait until the chicks are entirely fluffed up before removing them from their mother or the incubator.
©Ivan Kurmyshov/Shutterstock.com
Many people worry about the helpless chicks because hatching is an exhausting process for the eggs, and occasionally the tiny chicks are just plain worn after a difficult day of hatch! Therefore, if you see your baby chickens hunched over, panting, or appearing listless, don’t worry; they are probably tired from the laborious hatching process.
Additionally, they’ll appear very damp, and you could be inclined to try to dry them. They will fluff up independently after a few hours, so don’t worry. It’s crucial to wait until the chicks are entirely fluffed up before removing them from their mother or incubator because otherwise, they risk getting too cold. When baby chickens hatch, they eat their eggshell membrane and yolk, giving them essential nutrients!
The young chicks don’t need to eat again for one to two days after they hatch because they’ve already consumed the nutrients in their shell. But the baby chickens must drink water within the first 24 hours of their lives. If the chicks were hatched there, you should place a baby chicken waterer inside the incubator. Because adult-sized waterers can cause your prized young chickens to drown, the water must be in a waterer specifically for baby chickens.
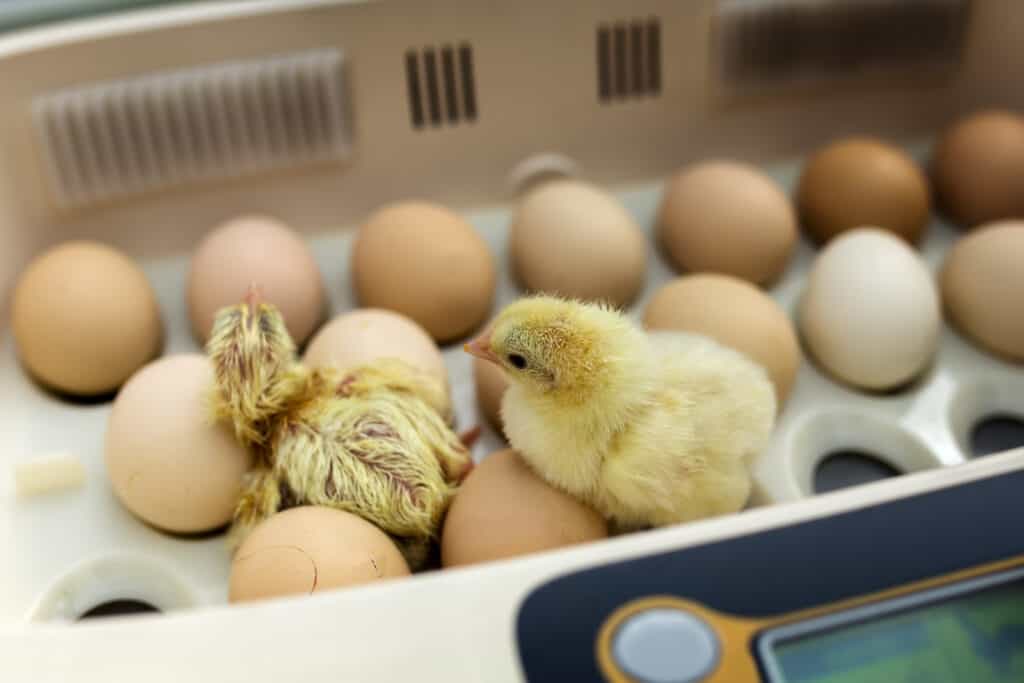
When To Move Chicks to the Brooder
You might observe some hatching at the exact moment when it comes to eggs. It could be tempting to remove the chicks from the incubator and place them in the brooder after a few hours. Since their chirping promotes any other chicks in the shell to hatch out, it’s crucial to keep your chicks in the incubator for 24-48 hours! Keep the other fertilized eggs in the incubator for one more day, even after you remove the newborn chicks after 24-48 hours, to be safe.
Getting the Brooder Ready
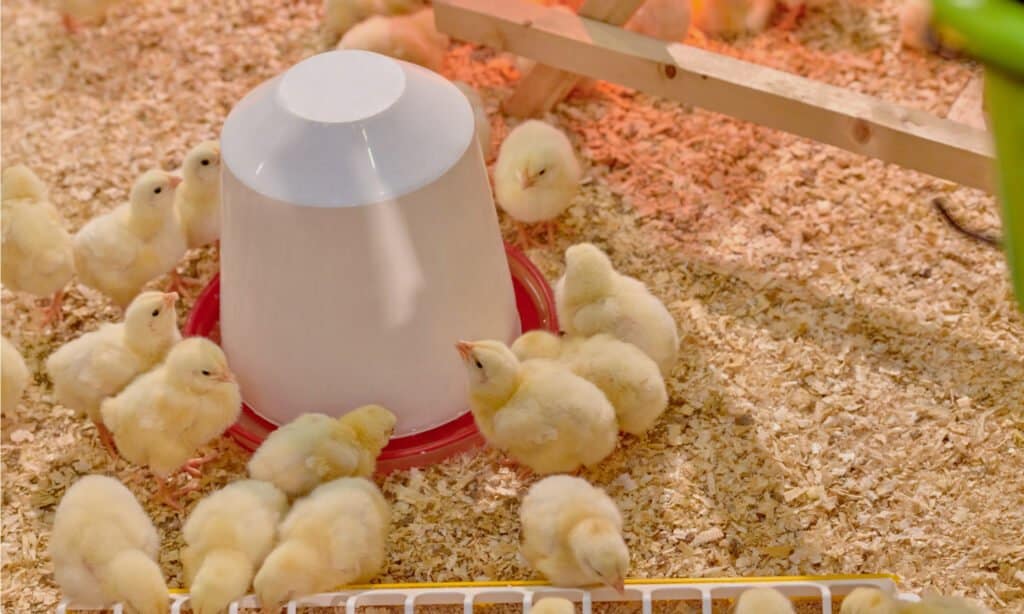
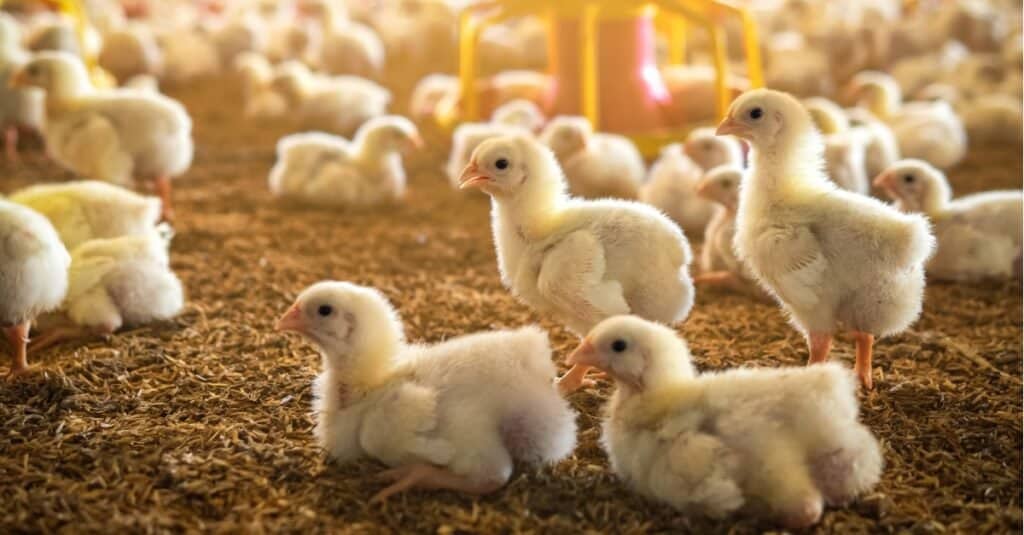
Feeders shouldn’t be left empty for an extended period.
©Gedeminas777/Shutterstock.com
You will need a brooder, which is a box or indoor area designated for chickens. You’ll need a heat source like a chicken warming plate and bedding. There are some for chicks that adjust in height, and it’s much safer than a heating lamp. You can find everything needed here.
Check the baby chickens’ bedding daily for water spills and droppings piles. Wet bedding should be removed as quickly as possible because it can cause illness and chill the chicks. Additionally, when the bedding becomes thoroughly covered in feces, remove it all and replace it with fresh bedding. Also, the chicks’ waterers and feeders get bedding in them, so they’re frequently soiled. When you notice this, clean them. You don’t want the chicks to consume a lot of bedding because it could aggravate or obstruct their digestive systems.
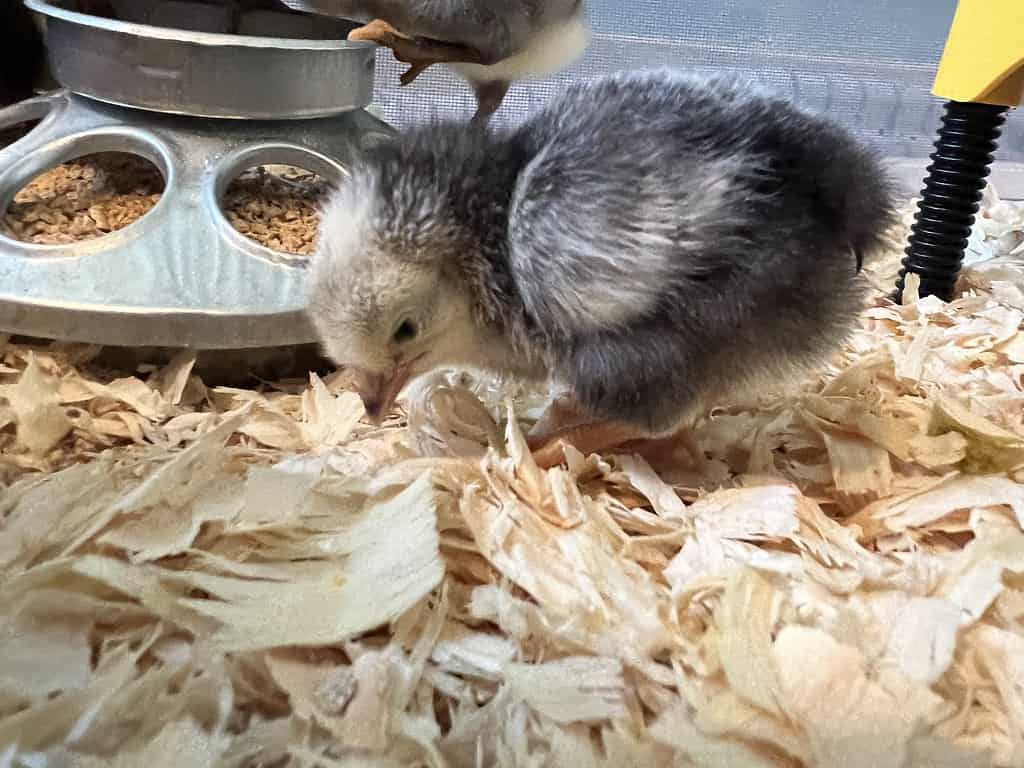
Feeders shouldn’t be left empty for an extended period, and leftover food shouldn’t be collected. Feeders should be filled in the morning and then emptied by the chicks before refilling. Strike a healthy balance between allowing stale or soiled feed to accumulate and inviting picking by leaving feeders empty for extended periods. At least once per week, clean the feeders with clean water or when you notice bedding in it.
When Can Chicks Be Put Outside?
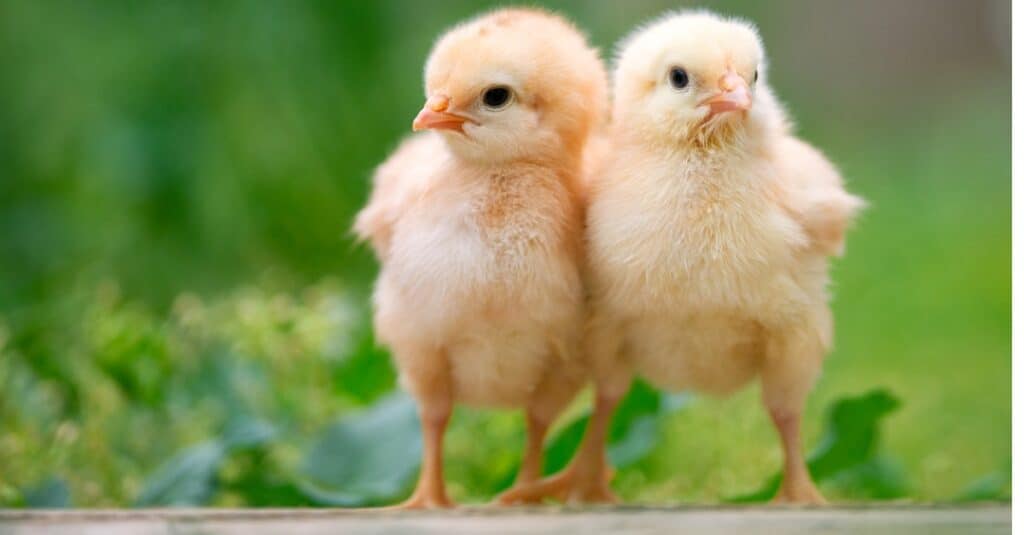
Brooder-reared chicks can begin taking brief “field outings” between weeks three and four.
©iStock.com/Polawat Klinkulabhirun
Despite not being big enough to live outside, brooder-reared chicks can begin taking brief “field outings” between weeks three and four. Taking younger chicks out to nibble at grass and hunt bugs makes caring for them more enjoyable. But be mindful of the environment, the temperature outside, and the age of the chicks. Chicks can exercise and diversify their nutrition on these field outings. In the right conditions, exposure to the outdoors “toughens” and acclimates them so that the first night out isn’t as shocking. Although it can be challenging to locate chicken growth charts, a quick internet search reveals how little fluffy creatures with nubby wings develop into pullets and cockerels.
Real Feathers
The state of having real feathers in place of all fluff is known as being “fully feathered.” Chickens create air layers and fluff their feathers to control their body temperatures. Brooder babies aren’t ready to sleep outside if even their necks are only covered in fluff. Use the rule that freshly hatched chicks require ambient temperatures of 95 °F up until that point; beyond that, drop that number by 5 °F per week. If the temperature is in an acceptable range for their ages, they can be outside all day. But keep in mind that a chick will get cold even in warm weather from wind and water. You don’t need to rush the chicks inside as quickly as you would with fewer chicks since they can cluster together more for warmth.
Play Area
All outdoor “playpens” openings should be too small for chicks to fit through and completely enclosed. Because these tiny birds are vulnerable to cats and other predators, the top of the enclosure should always be covered. Even blue jays have been known to attack chicks within topless enclosures. Small wild birds could spread diseases. Maintain a supply of food, fresh water, shade, and a place where the chicks can find protection. A box turned on its side can serve as both shelter and shade. Bring them inside if it’s raining or you notice the chicks are huddling rather than exploring their surroundings. Additionally, if their “playpen” during the day is unprotected from predators, take them inside whenever you cannot watch over them.
Handling and Preparing Chicks for Living Outside Permanently
Instead of carrying a box full of chicks, try taking each one separately to the playpen and back inside. They become accustomed to handling, and they become more trusting as a result. It teaches them that being handled by their human masters is nothing to fear. Turn off the heat source as the chicks approach the six-week mark. Allow them to spend days and nights in your home or garage. The brooder will protect them from harsh weather, but turning off the heat supply for a week or two will allow them to acclimatize. Keep in mind that it is harmful to add heat to outdoor coops! Instead of going outside immediately in week six to face the elements, it is simpler to gradually transition from a heated area to an unheated but comfortable setting to outside and sheltered.
5 Things to Watch Out for When Raising Chicks
Five common issues can happen with chicks. This section will cover each concern, symptom, and treatment option. Keep reading to learn more about:
- Scissor Beak
- Spraddle Leg
- Pasty Butt
- Wry Neck
- Cocci
Scissor Beak

Scissor-beaked baby chickens may find it challenging to eat.
©iStock.com/raw
This means that the top and bottom beak portions of a chicken, also known as crossed beak or crooked beak, are misaligned. Genetics or the inability to preserve the beak’s length and shape by routine sharpening against rocks or other hard surfaces may be to blame. Most chickens with scissor beaks can live normal, happy lives with a few minor modifications; it is not an automatic call for slaughter. No at-home remedy exists for scissor beaks.
Scissor-beaked baby chickens may find it challenging to eat, or other flock members may stop them from getting to the food. If so, the chicken must be placed in a secure area where only they may access the food. Some chicks find it simpler to consume wet feed with oatmeal-like consistency.
Seriously scissor-beaked chickens may benefit from feed that has been ground up and mixed with water to create a wet mash. Chickens with crossed beaks learn to scoop food into the bottom half of their beaks because they cannot use both halves of their beaks as utensils to pick up pieces of food.
Spraddle Leg
The term “splay leg” refers to a limb malformation in which the feet point outward rather than forward. If not treated, spraddle leg can be permanently disabling and make walking challenging, if not impossible. Slick flooring can cause chicks to lose their footing and cause spraddle legs. Unless addressed, the legs continue to rotate outward from the hip. Other factors include:
- Temperature changes during incubation
- A challenging hatch that weakens legs
- An injury to a leg or foot
- Overpopulation in the brooder
- A vitamin deficiency
How To Help Spraddle Legs
Chicks with spraddle legs will be visible when they arrive and must be treated immediately. The faster it is treated, the quicker the bones can recover correctly. While some of the reasons for spraddle leg cannot be prevented, some may. Avoid using paper or other slick surfaces for brooder bedding as this can help prevent spraddle legs. When spraddle legs are found, they should be hobbled (specially fastened together), and physical therapy should be given until the chick can stand by itself.
Pasty Butt
A condition known as pasty butt, also known as pasted vent or pasting-up, occurs when loose droppings adhere to down around a chick’s vent. Stress from shipping, being too hot or cold, or something they’ve eaten can all contribute to pasty butt. Not to be confused with the chick’s belly button is the vent. The vent is where a chick’s feces and eggs leave the body.
The vent and the belly button are not the same. Day-old chicks may have some crusting around their belly button area; this scab should NOT be removed since it is a byproduct of hatching and will naturally dry out and fall off. You risk infecting the chick by pulling it off and potentially causing disembowelment. If a blockage of droppings around a chick’s vent is not cleared, chicks risk dying. All chicks should be inspected for pasty butt.
What To Do for Pasty Butt
If poop is caked onto the vent area, it can be gently removed by losing it with warm water on a damp rag or paper towel. Take extra care not to drag the feces or down as this could injure the skin around the vent. Applying petroleum jelly or triple antibiotic ointment to the vent area after cleaning and drying will stop the droppings from adhering to the down. Olive oil should not be used because it can go bad. After a few days in the brooder, if numerous chicks start to exhibit pasty butt, the temperature in the brooder may be too high.
Wry Neck
Wry neck mainly affects chicks but can occasionally afflict adults.
©iStock.com/Tutye
Wry neck, often known as “crook neck,” mainly affects young chicks but can occasionally afflict adults. Your bird probably has a wry neck if you observe that it has trouble standing, that its neck twists, or that it always looks up. A genetic abnormality, a vitamin deficiency, a head injury, or toxin ingestion are the causes of this condition.
It’s possible the chick won’t be able to hold its head up on its own, regardless of how your bird’s wry neck developed. It will struggle to feed and may fall over or lay on its back and die. You can manage a wry neck in your chicken. The great news is that it is a treatable symptom with enough time and persistence. When chickens have crooked necks, their inability to eat or drink adequately is the leading cause of death. Additionally, wry-necked chickens can have trouble moving about and risk being crushed or pecked.
How To Get Your Chick Through Wry Neck
You must first remove the afflicted bird from the rest of the flock to treat the wry neck effectively. Although this illness is not contagious, as previously already explained, other birds may peck or step on a crippled chick. Separating your birds will lessen their stress levels as well.
Second, you must increase the bird’s nutritional intake, particularly selenium and vitamin E. You’ll probably need to assist your chicken with eating and drinking during this healing period because its twisted neck will make movement challenging. While tending to your chicken’s wry neck will take some effort, it will ultimately result in a happy and healthier chicken.
Chicken Poop
The most frequent reason for baby chicken deaths is coccidiosis. The common intestinal sickness known as cocci is brought on by parasite species that like warm, moist environments like those found in brooders and are spread by droppings. Diarrhea, blood or mucous in the droppings, listlessness, pale skin tone, loss of appetite, and failure to thrive or grow are the most typical cocci symptoms in chicks. Cocci can quickly kill a large number of chicks in a single brooder.
How To Help
Coccidiosis must be controlled by prevention. Keep brooders as dry and reasonably clean as you can. Keep bedding and feces out of waterers. For conventional waterers, using a riser or platform can assist with keeping droppings out of the water. Using chicken nipple waterers, which can be constructed or bought, would be a better option.
Conclusion
Taking care of chicks is rewarding and straightforward. Make sure they have clean and fresh food and water. The bedding needs to be clean, and they need to stay warm. The warming plate will let them get close for warmth but get away from it when too hot. This prevents them from getting overheated. Now that you know what to do when raising chicks, check out the other articles below that show you the best supplies. If you’re interested in learning how to hatch eggs, there’s an article below just for that! It’s a happy day to hatch happy chicks!

How to Add Us to Google News


Thank you for reading! Have some feedback for us? Contact the AZ Animals editorial team.