
Any gardener can tell you that starting seeds indoors can be just the cure for the winter blues. The first, verdant signs of life sprouting on your windowsill remind you that spring is around the corner. You don’t have to be an expert gardener either to start seeds indoors. Regardless of your experience, you only need a few supplies, some key tips, and patience. Read on to learn all the essentials to start your seeds indoors!
Dream up Your Ideal Garden
Stay inside this winter and plan the ideal garden for the spring and summer. By clarifying what you’d like to grow, you’ll be more prepared to take the right steps and provide your seeds with the best conditions.
©StephanieFrey/ via Getty Images
One of the great pleasures in gardening is learning how to work with the seasons, rather than go against Mother Nature’s grain. January and February are gray, quiet, and wintry across most of the U.S. While the plant life out your window likely looks dormant or dead, this is the ideal time to decide what seeds you’d like to plant and learn about what they’ll need to flourish. Take this time to fix yourself a hot cup of cocoa, cozy up, and plan out when you’ll need to plant your seeds and when it’ll be safe to move them outside.
Know Your Hardiness Zone

Frost is a quick way to kill seedlings, especially if you’ve started them indoors. Know your hardiness zone and you can prevent any damage from prematurely transplanting seedlings outside.
©fotomem/ via Getty Images
Planning your seed planting means knowing your hardiness zone, or the general climate of your geographical location. Understanding the average minimum temperatures of your area can help determine when to estimate the last chance of frost and when your seedlings will be able to survive out in your garden.
Let’s take tomatoes as an example. If you live in a colder climate, like Vermont, and you want to grow tomatoes from seed, you’ll have to start them indoors to enjoy a harvest by the summer. If you live in a warmer climate, like Arkansas, you may not need to start them indoors at all. The U.S. Department of Agriculture offers a hardiness zone map to help you find out what zone you live in. Find your hardiness zone here.
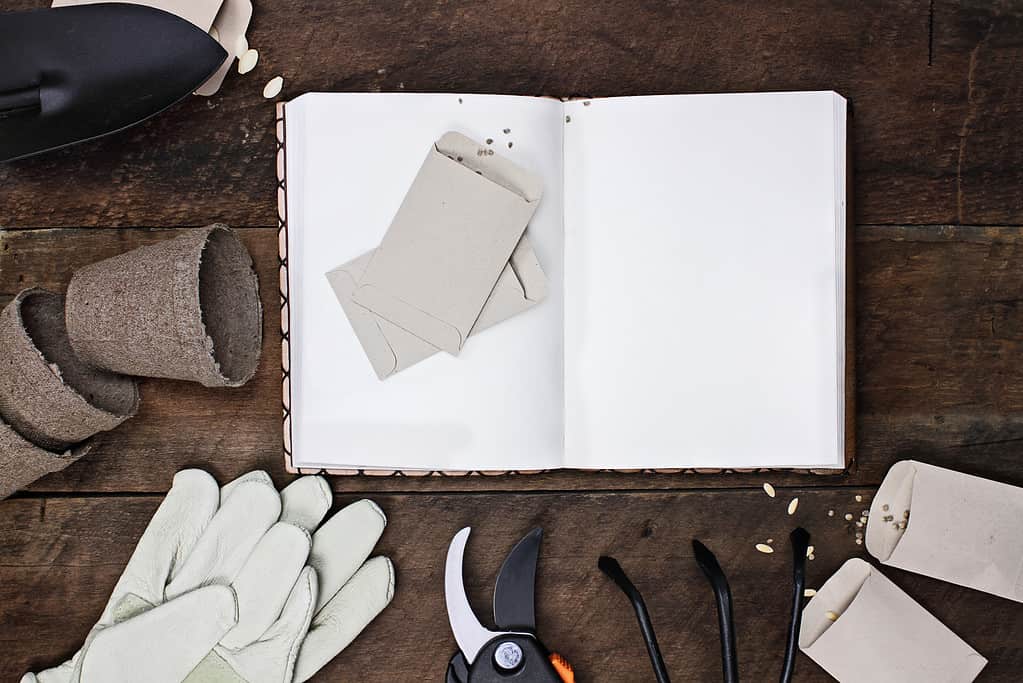
Seed Packet or Ticket for Success
Most seed packets will have all the information you need to grow your favorite plants. Save the seed packets as a reference tool.
©Ryan McVay/ via Getty Images
Another part of your plan will be printed out for you. All you must do is look at the back of your seed packet to learn about the plant’s specific needs. This can include whether they’re a plant that should be started indoors, when to plant the seeds, and the ideal conditions for the plant. This typically means:
- The plant’s light conditions
- The plant’s water requirements
- The ideal soil for the plant
Once you know the estimated last frost date of your area and what kind of conditions your plants need to grow, it’s time to gather your supplies and start planting!
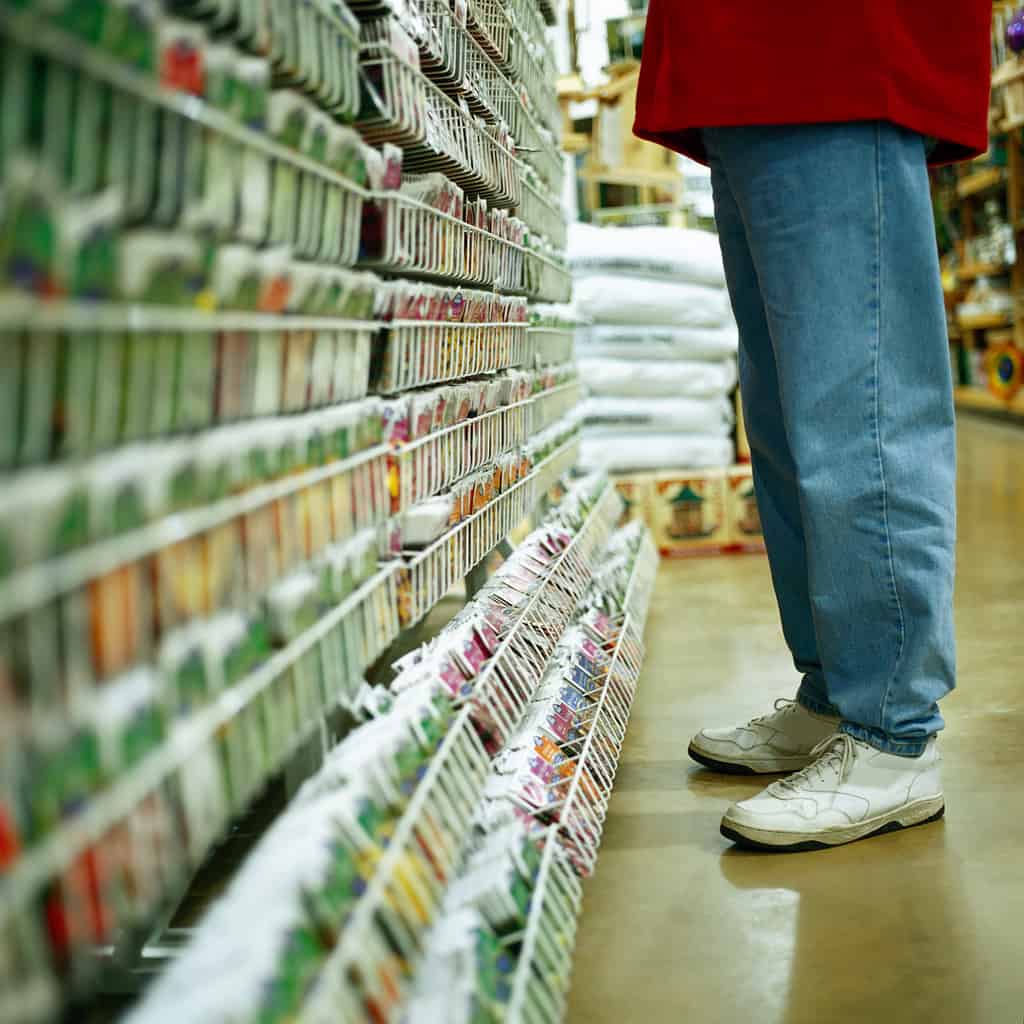
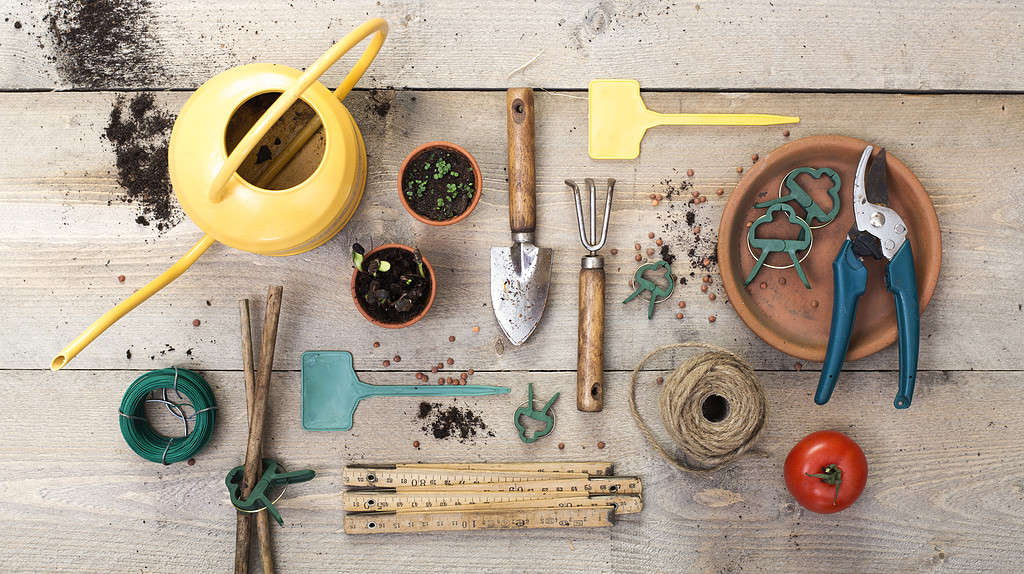
Gather Your Supplies
If you’re new to gardening, know that you don’t have to spend a lot of money on supplies. Instead of buying new containers for seed planting, you can use items around the house like egg cartons or cardboard paper towel rolls.
©patat/ via Getty Images
Most nurseries and garden centers will have everything you need to start planting your seeds. One of the benefits of growing plants from seed is that it’s one of the most affordable ways to grow a garden. In other words, wherever you find your seed-starting supplies, you don’t have to break the bank. The core items you’ll need include:
- Seed starting mix: while each plant may require different types of soil to grow, a seed starting mix is a nutrient-rich medium ideal for a wide range of seeds.
- Containers and trays: a plastic tray and cover can be great for holding your planted seeds and reducing mess. When it comes to the containers to plant your seeds in, opt for biodegradable options. Not only will it reduce your plastic consumption, but it will make transplanting easier. Jiffy pots are a great example because they’re made of peat and wood pulp. Not only are they the more sustainable option, but they can make it easier to monitor the seeds’ water intake.
- Watering can or mister: creating a humid environment for your seeds is key to growing beautiful vegetables and flowers.
- Grow lights: most homes won’t have sufficient light sources, even if you have bright windowsills, so it’s important to set up a grow light for your seedlings to get the light they need. You don’t need an elaborate lighting system either. Purchase a grow light bulb that fits a desk lamp and position it over your seeds.
- Heat pad: a vital part of a seed’s germination process is warmth. A heating source under the tray of seeds can help them sprout.
- Labeling system: if you’re planting more than one type of seed, save yourself the confusion and label each container. Again, you don’t need anything elaborate or fancy; popsicle sticks make excellent labels.
- Your seeds: hang on to your seed packets as a reference for all the key information.
Start Planting

While it’s ideal to limit your use of plastic, a plastic tray is an excellent way to contain your seeds, any water spillage, and dirt. It can also hold in moisture which is crucial for a seed to germinate.
©Ekaterina Fedulyeva/ via Getty Images
Now that you have your plan and all your supplies, it’s time to get your hands dirty!
- Fill each container with the seed starting mix (you can leave a little room at the top of the container, so seeds don’t wash out when you water them).
- Drop a seed or two in each cell or container.
- Cover the seeds with a thin layer of soil.
- Water or mist thoroughly, so the whole container is damp but not soaking.
- Position the heat and lighting sources around your seeds and you’re all set!
While the seed packet offers lots of information, don’t get overwhelmed by its planting details. The key thing to remember when starting seeds indoors is to balance moisture with warmth. Keep that balance in mind as you plant your seeds, and you’re likely to get a tray full of sprouts!
A few other tips:
- Prepare your seed starting mix by breaking up any lumps and dampening it slightly.
- Don’t pack each container or tray cell too tightly with soil.
- If you’re uncertain about how deep to plant a seed, plant it four times as deep as its width.
- Avoid drafty places to keep your seeds.
- Cover the seeds with plastic to help lock in moisture but allow some air circulation.
With proper warmth and humidity, your seeds are set up for successful germination and sprouting!
Track Progress
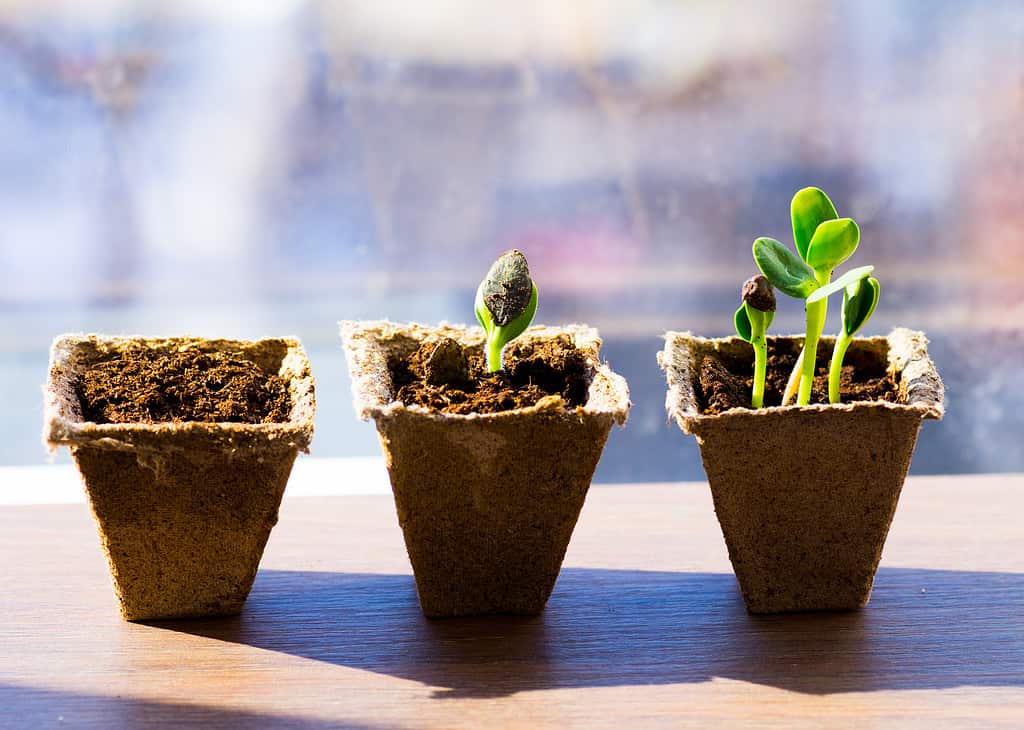
When a seed first sprouts, you’ll likely see two leaves emerge. These are called cotyledons or seed leaves. They provide nutrients to the seedling until the plant can photosynthesize.
©Alfira Poyarkova/ via Getty Images
Now it’s time to play mother hen over your seeds and monitor their conditions. Remember that key insight to balance the seeds’ moisture levels and warmth.
Perhaps the trickiest part of starting seeds indoors is giving the seeds enough moisture or humidity without creating conditions for them to rot. Watering from the bottom (pour water in the tray) and using a mister can help prevent any fungal disease from spreading across your seeds.
Another tip as you monitor your seeds: the warmer your heat pad, the more often you’ll need to water your seeds. You may need to check on them daily until you learn how quickly they dry out.
The final step in monitoring your seeds is patience. Depending on the seeds you plant, the germination process can take a few weeks (another detail you’ll find on the seed packet). Don’t be disheartened if you don’t see any signs of sprouting right away.
Signs of Life

Keep an eye on your seedlings as they grow. Not just the bright green growth but also the roots. You’ll know it’s time to transplant your seedling when the roots look crowded peeking out of the drainage hole of your container.
©Amazing Nature Photography/ via Getty Images
Once your seeds sprout and begin to grow, continue to water them, and give them light and warmth. If you planted the seeds too close together, you may need to thin out your seedlings as they grow. This process is called culling. Snip away weaker seedlings so stronger ones have room to grow. This also prevents damage to the roots.
If they grow tall and spindly, they’re not getting enough light. Consider lowering the light closer to your seedlings. Otherwise, find a stronger grow light or bring them by a window that gets lots of natural light.
Transplant Outdoors
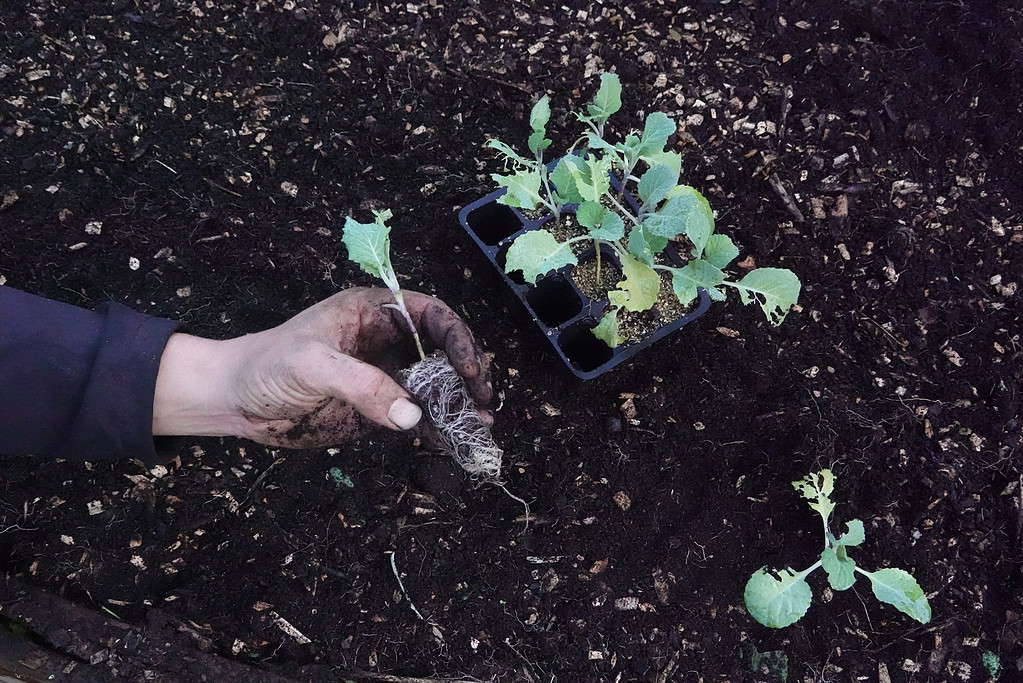
When there’s no more danger of frost, your seedlings can be transplanted outside. Handle them gently and loosen the roots so they can spread out underground.
©Toni Jardon/ via Getty Images
When your seedlings outgrow their containers and the weather warms up, it’s time to transplant your seedlings into your garden. Before putting them in the ground on the first spring day, seedlings do best if you harden them off first. Essentially, this means conditioning your seedlings for the outside. Start with a couple of hours a day, when you can bring the seedlings outside. Expose them to some sunlight, but they can get burned if you leave them in direct sun for too long. Gradually extend the amount of time you leave the seedlings out until they can safely spend a full day and night outside. Then you’re ready to transplant them!
Starting Seeds: Conclusion
Starting seeds indoors is a surefire way to jumpstart your garden’s success. It’s also a process that’s equal parts experimentation and blind faith. Prepare for trial and error and surprises. Whatever your gardening goals, know that starting seeds indoors is an excellent way to learn more about a plant’s growth and how you can work with nature for the best results.
The photo featured at the top of this post is © Zbynek Pospisil/ via Getty Images


How to Add Us to Google News


Thank you for reading! Have some feedback for us? Contact the AZ Animals editorial team.