
Owning a dog comes with a list of responsibilities, one of them being grooming. That may mean regular visits to your local groomer or just setting aside the time to take care of your pup yourself. You’ve stocked up on brushes to clear your pup’s coat of any loose, dead fur, and you’ve found some fantastic dog shampoo. But another tool you need is a pair of nail trimmers. There are different kinds depending on your preference. This is a rather simple task that most owners handle themselves, you just have to know how to complete it appropriately. Learn a painless and safe method of trimming dog nails!
Ensure Your Dog’s Comfort
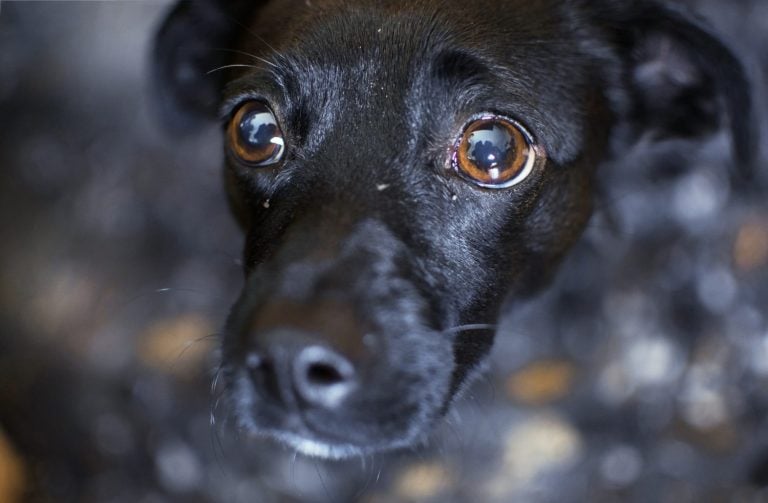
While some dogs don’t mind getting their nails trimmed, others make a whole spectacle of it. Wherever your dog stands on that spectrum, the most important thing you can do is ensure your pup’s comfort. Trimming your dog’s nails requires regular maintenance so creating positive associations is going to help you both in the long run. Within a single week, you can have a dog that doesn’t mind the process. You just have to be consistent, patient, and offer plenty of praise along with a few treats.
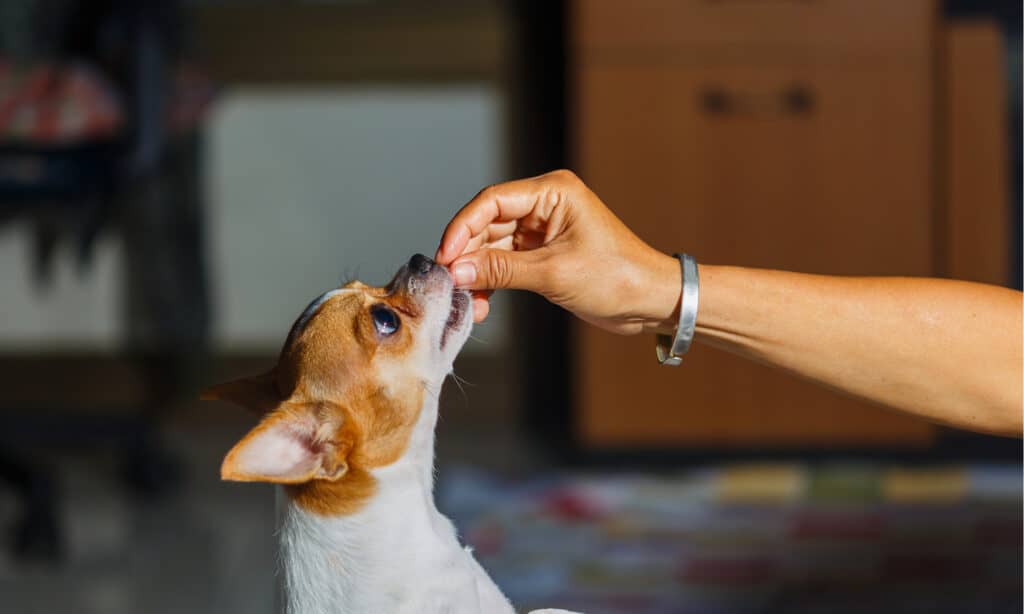
Consistency, patience, praise, and treats make nail trimming easier!
©boyphare/Shutterstock.com
Day One and Two
Dogs may not always like having their feet touched so incorporating positive touch without nail clippers is a good way to help your dog feel comfortable with you handling their feet. This should start from puppyhood but even if you have an older rescue, you can still start incorporating positive touch along with plenty of praise so that your dog associates you handling their paws with positive feelings.
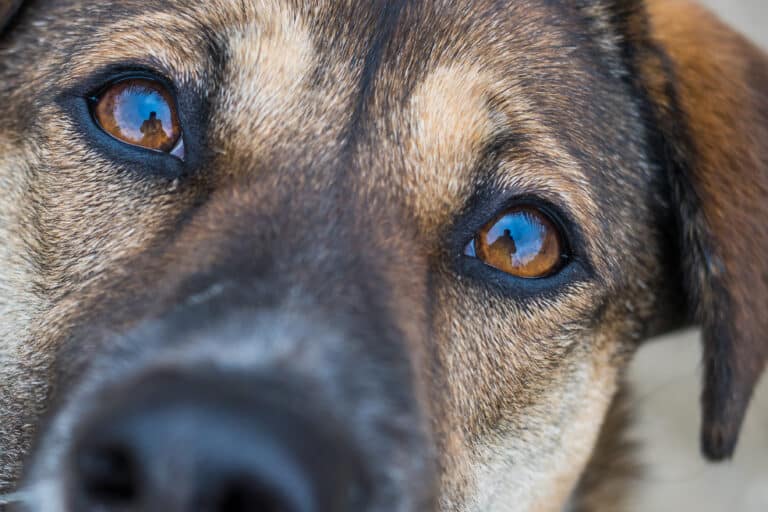
To start training your dog to allow nail trims, first, introduce the nail clippers or grinder that you intend to use. Don’t use them on your pup this first day. Just let your dog get a good sniff. Top off that interaction with a treat to reinforce the positive experience. On the second day, bring out your nail clippers or the grinder again and touch it lightly against your dog’s paws. Your dog already recognizes the tool and now you’re creating a positive association with the tool touching your dog’s paws. Give your dog a treat and praise them for doing so well.
Create positive associations with nail clippers so your pup can look forward to the experience.
©Reshetnikov_art/Shutterstock.com
Day Three to Six
On the third day, you’re still not trimming nails. However, you are exposing your dog to the sound that clippers make or the sound that the grinder makes. Either press the clipper so that your dog can hear the sound or turn the grinder on. After this interaction, give more praise and give another treat. On the fifth day, you’re going to give the first trim a try. It’s not going to be a full trim so neither of you has to get worked up about it. Just try trimming off the very tip of your dog’s front paw nail. Just do one. Even if you notice that your dog is calm, keep it at one single nail for now. Again, offer plenty of praise and give your pup another treat.
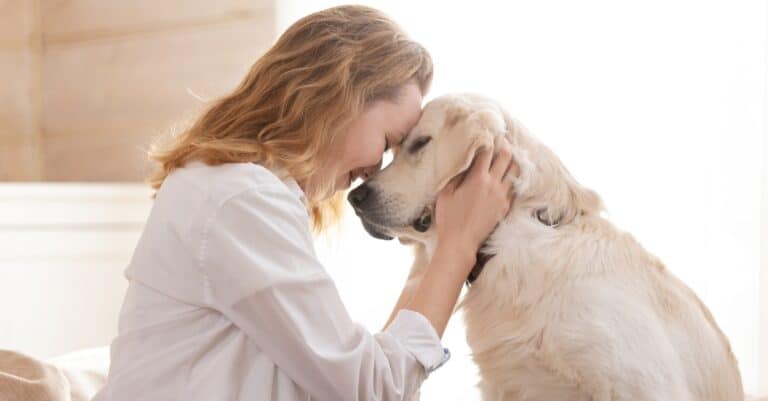
On day six, try two nails. With each day, keep working your way up, always ensuring your dog’s comfort. Don’t try to force a third nail if your dog is not having it. The idea here is to keep creating positive associations and ease your way into nail trims so that your dog can settle and allow you to keep their nails trimmed regularly. You could even take out the clippers or the grinder even when your dog doesn’t need a nail trim. Overall, you want to ensure your pup is comfortable when you bring out the clippers or when they hear the sound of the grinder. Always offer lots of praise with each of these interactions.
Touch your pup’s paws lovingly. Offer lots of praise after each interaction.
©iStock.com/sanjagrujic
Nail Trimmers
You have a couple of options when it comes to trimming your dog’s nails. You can use nail clippers or grinder tools. There are even some guillotine-type nail trimmers you can use. Ultimately, this is a matter of preference. The tool you use should be comfortable for both you and your pup. You should also consider having some kind of clotting powder readily available in case you happen to cut your dog’s nails too short. With a clotting powder, you can immediately stop any bleeding.
Trimming your dog’s nails is just like any other activity. With practice, you develop a rhythm, and you get better at it. Before you know it, it’ll be a breeze of an experience. However, if you are completely inexperienced and anxious about it, ask your veterinarian to give you a short lesson on how to do it properly. You can watch them cut your pup’s nails in front of you, and you may even be able to give it a go in the office under your vet’s supervision.
Trim Your Dog’s Nails
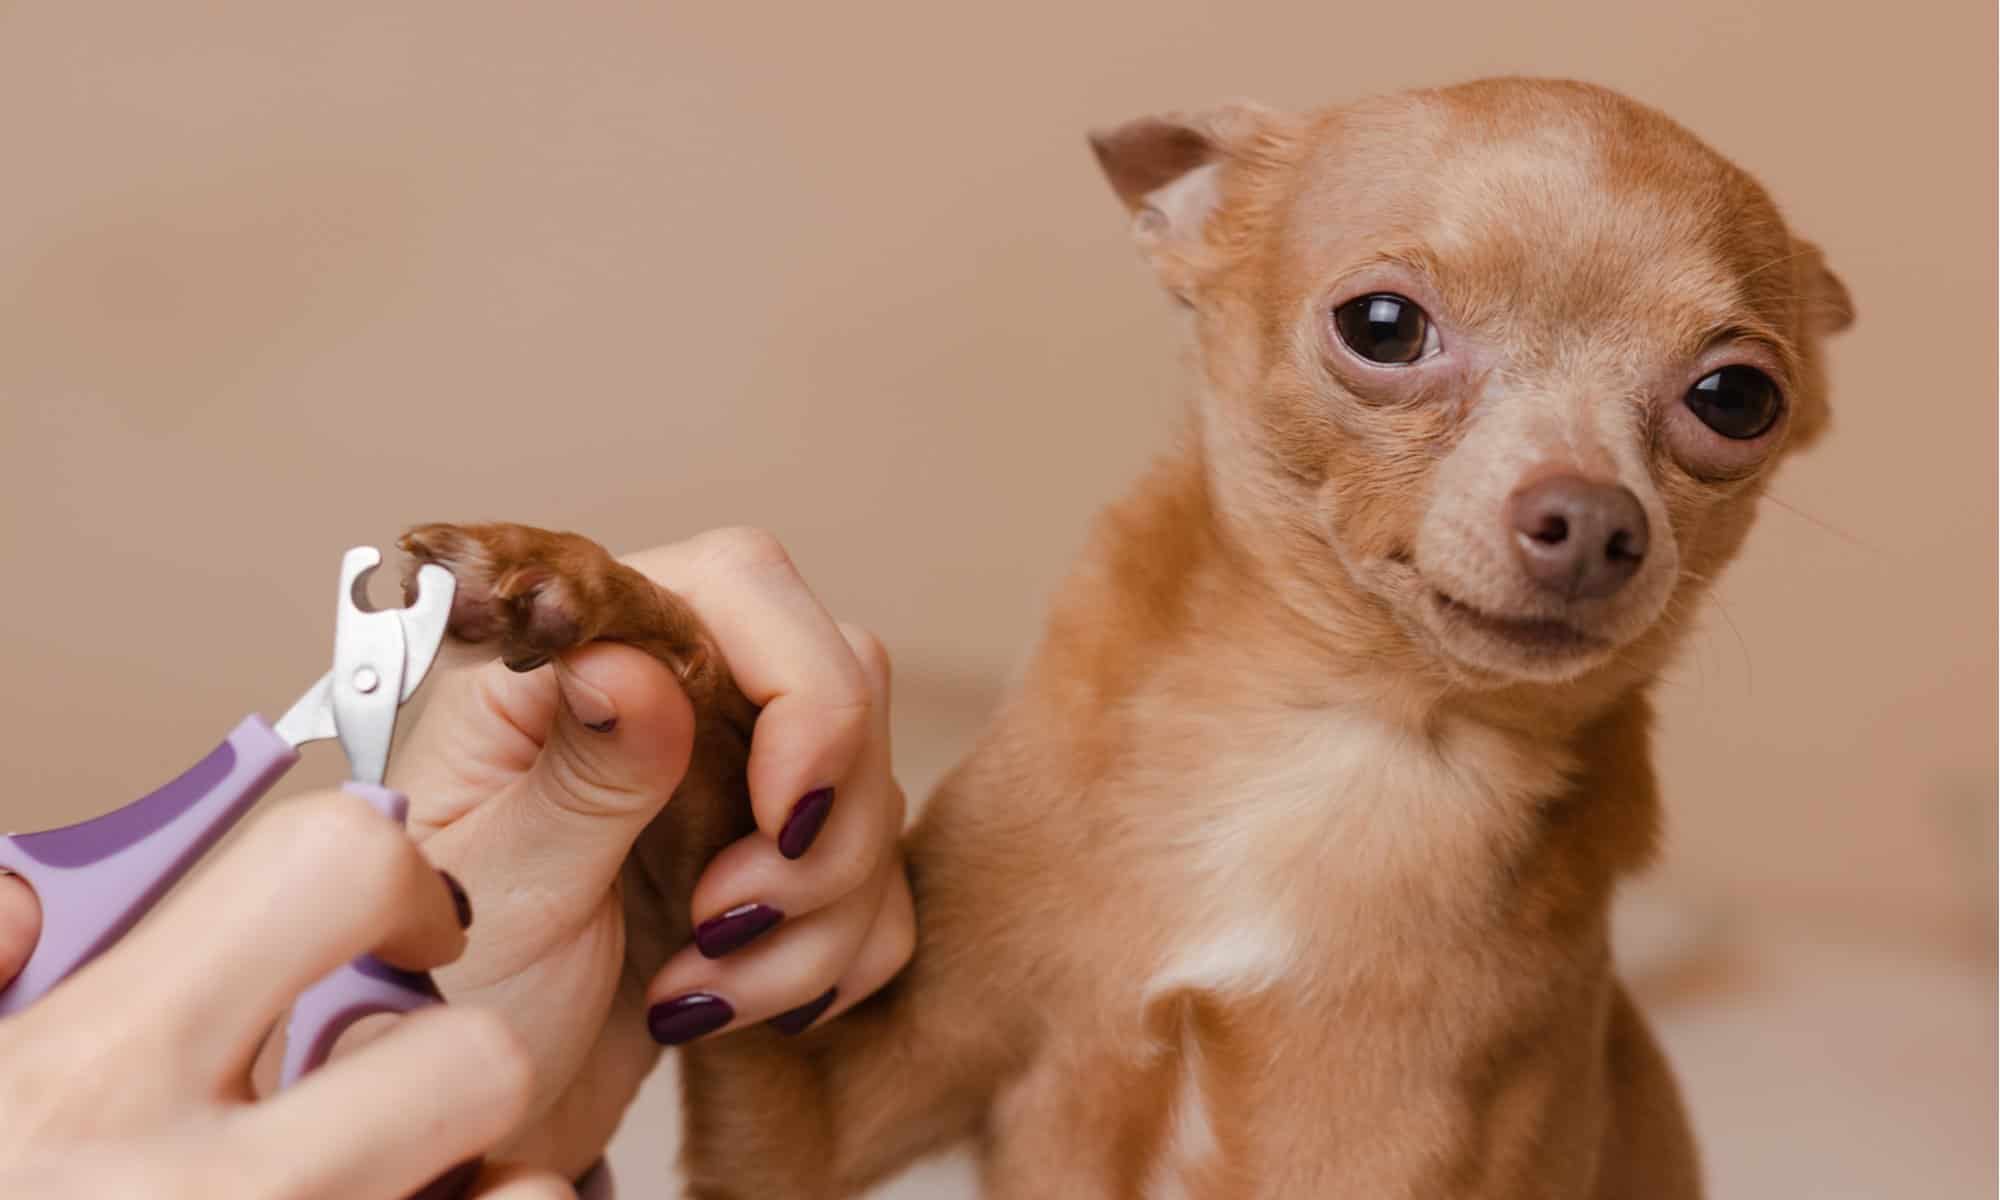
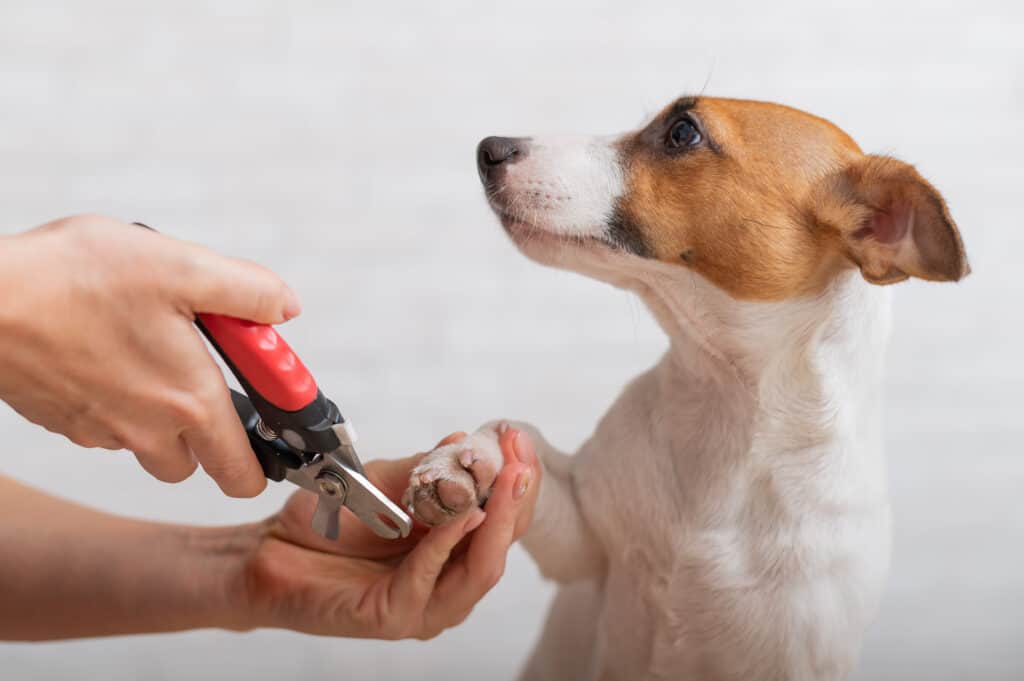
Once you’re ready to start, go ahead and grab your dog’s paw and place your thumb on the bottom of your dog’s toe pad. Place your forefinger on top of your dog’s toe, pulling any hair out of the way. Between your thumb and your forefinger should be your dog’s toe, its nail exposed. To extend the nail for easier trimming, push your forefinger forward and pull your thumb backward on your dog’s toe pad. Then, take your clippers and cut straight across your dog’s nail. Don’t forget your dog’s dewclaws, which are located on the inside of your dog’s paw.
Keep your clippers from touching your dog’s quick, which is where the blood vessels are located.
©iStock.com/Igor Barilo
To avoid cutting too far back and potentially hurting your pup or causing bleeding, don’t clip past the natural curve of your pup’s nail. The quick is the area where the blood vessels are located and it’s what you want to avoid. It’s a light pink color on lighter nails. But this area isn’t always visible, especially if your pup has dark nails. However, you may be able to spot a faint white line on darker nails — that’s your marker. Don’t get too close to that line or you may accidentally hurt your pup.
Grind Your Dog’s Nails
If you’re using a grinder, make sure that it is safe for use with your dog. Support your dog’s toe the way you would if you were clipping the nail and use your grinder on the bottom of your pup’s nail. Move the grinder gently and only grind tiny parts of the nail each time. Smooth out any rough edges. For a better grip and in turn, better control over the grinding part of the tool, hold it closer to the top. Make sure that as you’re working with your dog’s nails, you’re also alert to your dog’s responses, be they vocal or via body language. If your dog has shaggy, long hair, make sure that you pull it away from the nails so that it doesn’t get caught in the grinder you’re using.
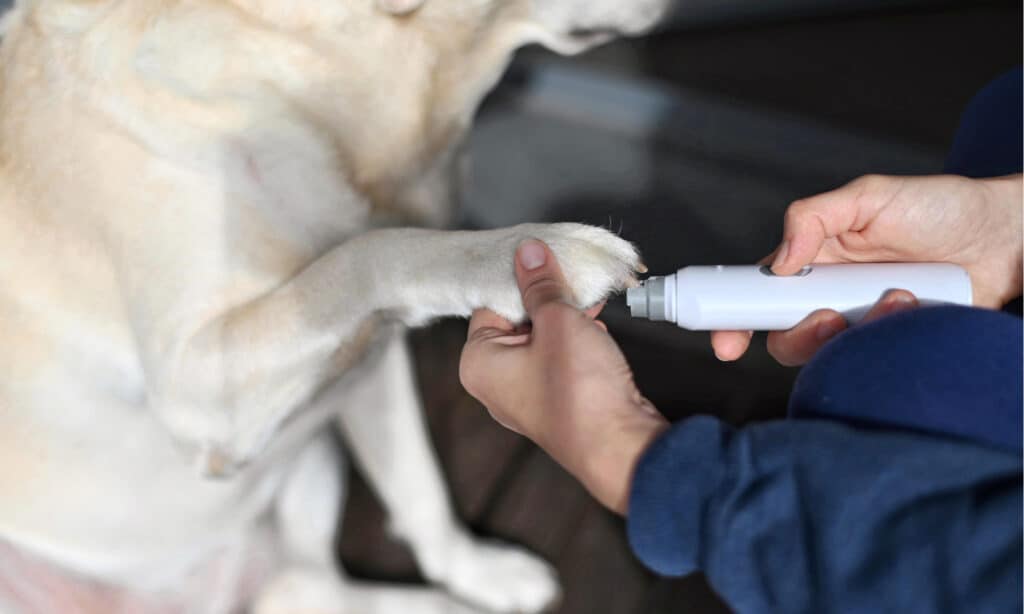
Electric grinders are an option in lieu of nail clippers.
©invisible invisible/Shutterstock.com
Consequences of Poor Nail Maintenance
When your dog doesn’t like having their nails trimmed, it can produce stress for both of you when it’s time to clip them or grind them down. However, nail maintenance isn’t just about keeping them short and cute. Your dogs need their nails taken care of regularly because when they’re unhealthy, they can cause your dog pain. Your dog can start losing traction and with long nails, your dog may actually develop a splayed foot. When you regularly trim your pup’s nails, the quick naturally moves back, which makes the process more comfortable for your dog. Once you develop a solid routine, both you and your pup can get through the process easily and quickly get back to a game of fetch!