
Rose care over winter is important to ensure roses continue to thrive when spring weather arrives the following year. Preparation can alter depending on your location, but this article includes lots of tips to help out wherever you’re based. Here’s all about winterizing rose bushes and how to prep your roses for the cold.

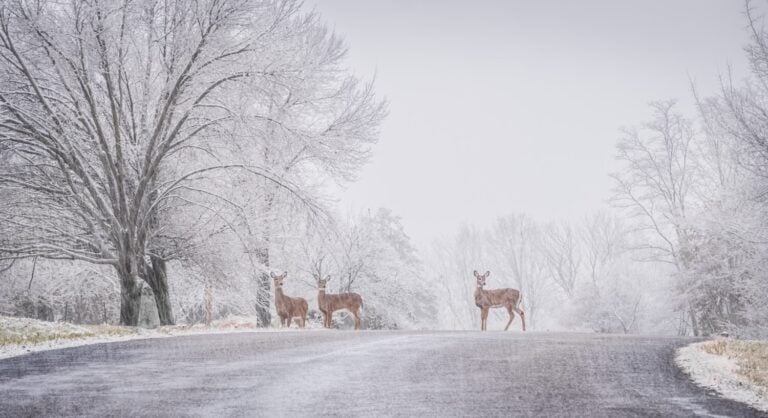
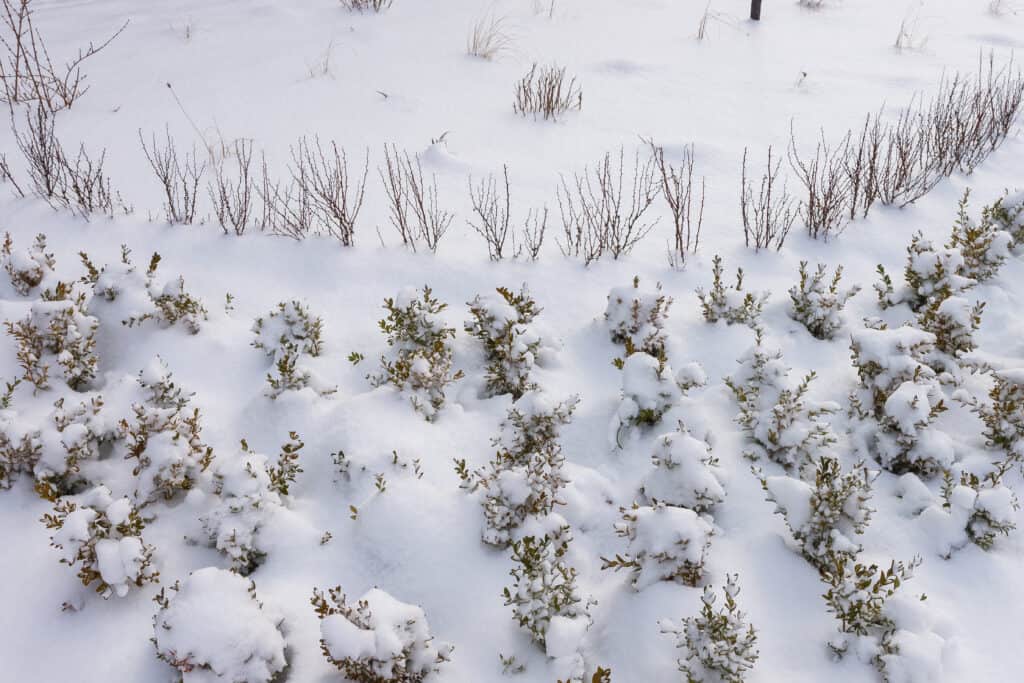
Frost, snow, harsh winds, and winter rain all kill unprotected tender roses.
©Africa Studio/Shutterstock.com
What Is Winterizing?
Winterizing means preparing roses so they are more easily able to withstand winter elements. The process shields rose bushes from wind, cold, and rain, keeping them safe in dormancy until fair weather returns.
Many different methods enable winterizing. Some gardeners like to go the whole hog, preparing in every way possible, while rose lovers in warmer zones might need just one or two elements to prepare rose bushes for winter.
In the USA, roses can easily cope with USDA hardiness zones 6 and above, which is down to freezing temperatures, without much help. Temperatures that fall lower can damage roses and lead to detrimental effects the following spring. Rose lovers in North Dakota, Minnesota, Wisconsin, and Montana need to protect tender roses.
Hybrid teas, grandiflora, and floribunda roses require the most winterizing care, and native smooth or prickly wild roses need less.
Let’s jump into winterizing beautiful rose bushes so they arise like a phoenix in spring.

Winterizing roses helps them emerge stronger the following spring.
©Maria Rzeszotarska/iStock via Getty Images
When to Start Winterizing Roses
Stop fertilizing roses in late fall. When residual fertilizer keeps roses growing and flowering, it damages new growth when frosts hit. Roses naturally fall into dormancy when temperatures begin to fall, so let nature take its course.
Apply the last round of fertilizer in late summer, six weeks before the first frost usually hits your area.

Stop applying rose fertilizer six weeks before frosts are forecast.
©Evoque Arte/Shutterstock.com
Consider Your Next Move
Fall is a good time to ponder whether your rose performed well in this spot. If not, use the period of warm but damp weather to move it into a better spot. Perhaps it needs more sun, or the current soil is too chalky.
It’s also worth considering whether the rose is diseased or not. Consistent fungal infections like black spots are highly contagious and difficult to treat. One infected rose can decimate a rose border. It might be worth removing a consistently infected rose.
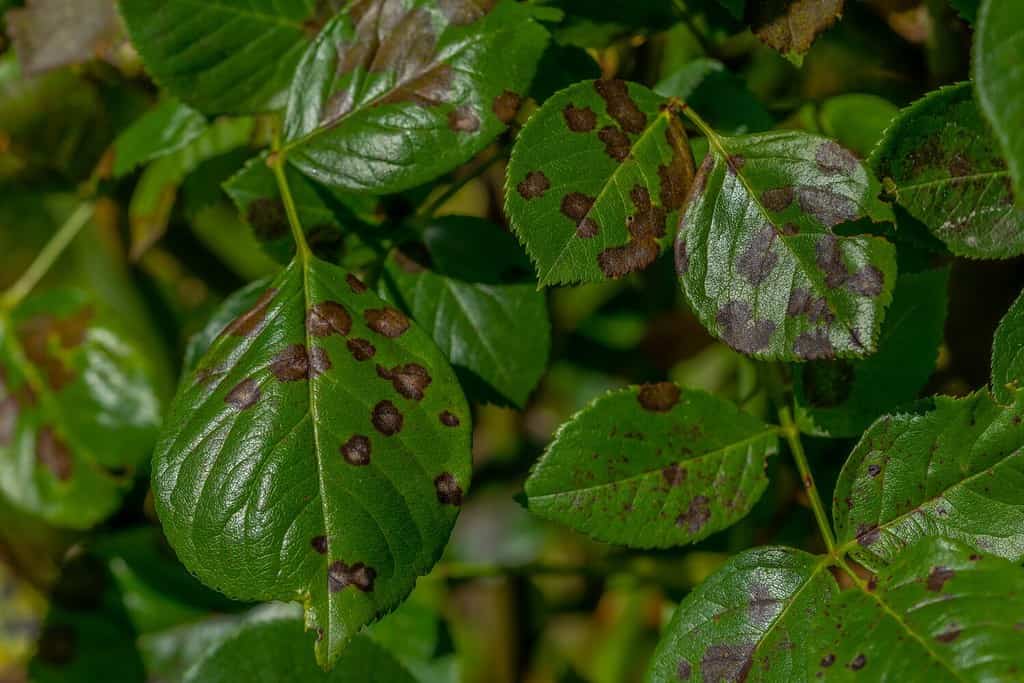
Remove and burn all blackspot-infected foliage.
©foto_molka/Shutterstock.com
Cutting Back
Cutting back roses for winter prevents strong winds from rocking the roots and allows gardeners to check their roses for signs of damage.
Deadhead all spent or wilting flowers, so all the energy goes into preparing for dormancy, not creating seeds. Deadhead after the final flush of blooms, starts to wilt.
Next, prune rose bushes back to the bare minimum so they have less to keep alive in winter. Cut bushes down to two to four feet in height and trim back branches to the second lowest knuckle.
The aim is a neat, open vase shape that winds easily blows through without waving its branches.

Cut bush roses back to an open vase shape in fall so wind easily passes through.
©gorillaimages/Shutterstock.com
Clean Up the Ground
Part of winterizing roses and prepping a flower border for winter includes cleaning up. Remove all fallen leaves from the ground, along with any debris. This clears pests and diseases from the root system, which is important because you’ll cover the area with insulating mulch that could harbor disease.
Clearing away rose foliage is particularly important if the rose has shown signs of blackspot. Lingering blackspot foliage adds spores to soil and re-infects roses the following year.
Bind the Canes
Binding canes is a good idea for climbing roses, but vase-shaped shrub roses can usually manage without this step if they’re pruned back.
Bind climbing rose canes with twine or wire to prevent them from flailing around in high winds. Windy conditions rock roots loose, so excess rain and frost can reach the root system and can kill the rose.
Mulching
Mulching roses is important in spring and summer because it provides regular food, traps moisture, and suppresses weeds, but mulch is important in fall, too.
Cover rose borders in a two-to-three-inch thick layer of organic mulch and mound it ten inches at the base of the roses to create extra insulation. Ensure mulch doesn’t press against stems because this creates rot. The aim is to protect the spreading root system below.
Good fall mulch includes compost, spent compost from summer containers is perfect, wood chips, leaf mold, pine needles, or even extra soil from other garden areas.

A thick layer of insulating mulch helps winterize roses.
©iStock.com/witmerphotography
Collaring Roses
In very wet or freezing zones, place burlap or heavy-duty fabric around bases on top of extra mulch mounds.
This extra layer of protection helps keep roots drier and warmer in very harsh climates. It might look a mess, but next spring, your roses will launch back into action earlier than usual because their roots feel warmer.
Tip and Bury Roses
In very cold areas, north Minnesota for example, some rose lover keep their treasured roses alive with the tip and bury method. The “Minnesota tip” insulates against extreme cold, shields roses against warm spells that break dormancy, and shelters roses from wind.
Carefully tip the rose onto its side and bury the branches with soil or mulch. Beneath the ground, roses enjoy complete insulation and avoid rose-killing deep freezes.
Here’s a step-by-step guide to the Minnesota tip.
- Lace-up roses using twine, pull the branches together, then tie them at the midsection and the tip. A bundle is easier to work with.
- Dig a trench to one side of the root ball to accommodate the shrub’s length and width. Dig so that the entire shrub is covered, plus four to five extra inches of depth.
- Dig extra depth next to the root ball so it begins to loosen.
- Dig on the opposite side until the soil works loose. Use a garden fork, not a spade that might damage roots. Do not dig up the rose entirely. Leave roots attached to the soil.
- Slowly push the rose into its trench. Roses are flexible, and they will bend!
- Weight it down.
- Cover the entire plant with soil and place a marker.
- Water it so the soil settles into place and weights branches into position.
In spring, when the frost thaws (usually April), remove some soil. When frosts have passed, uncover your rose completely and sit it upright. Re-establish soil around the roots, rinse it down and water it well until you see new growth.
Protect With a Rose Cone
Rose cones shield roses from harsh drying or freezing winds. Much like traditional bell cloches, rose cones resemble pyramids that fit neatly over a pruned, winterized rose bush. Anchored to the ground with camping tent pegs, they block the worst winds and keep roses warm enough to survive winter.
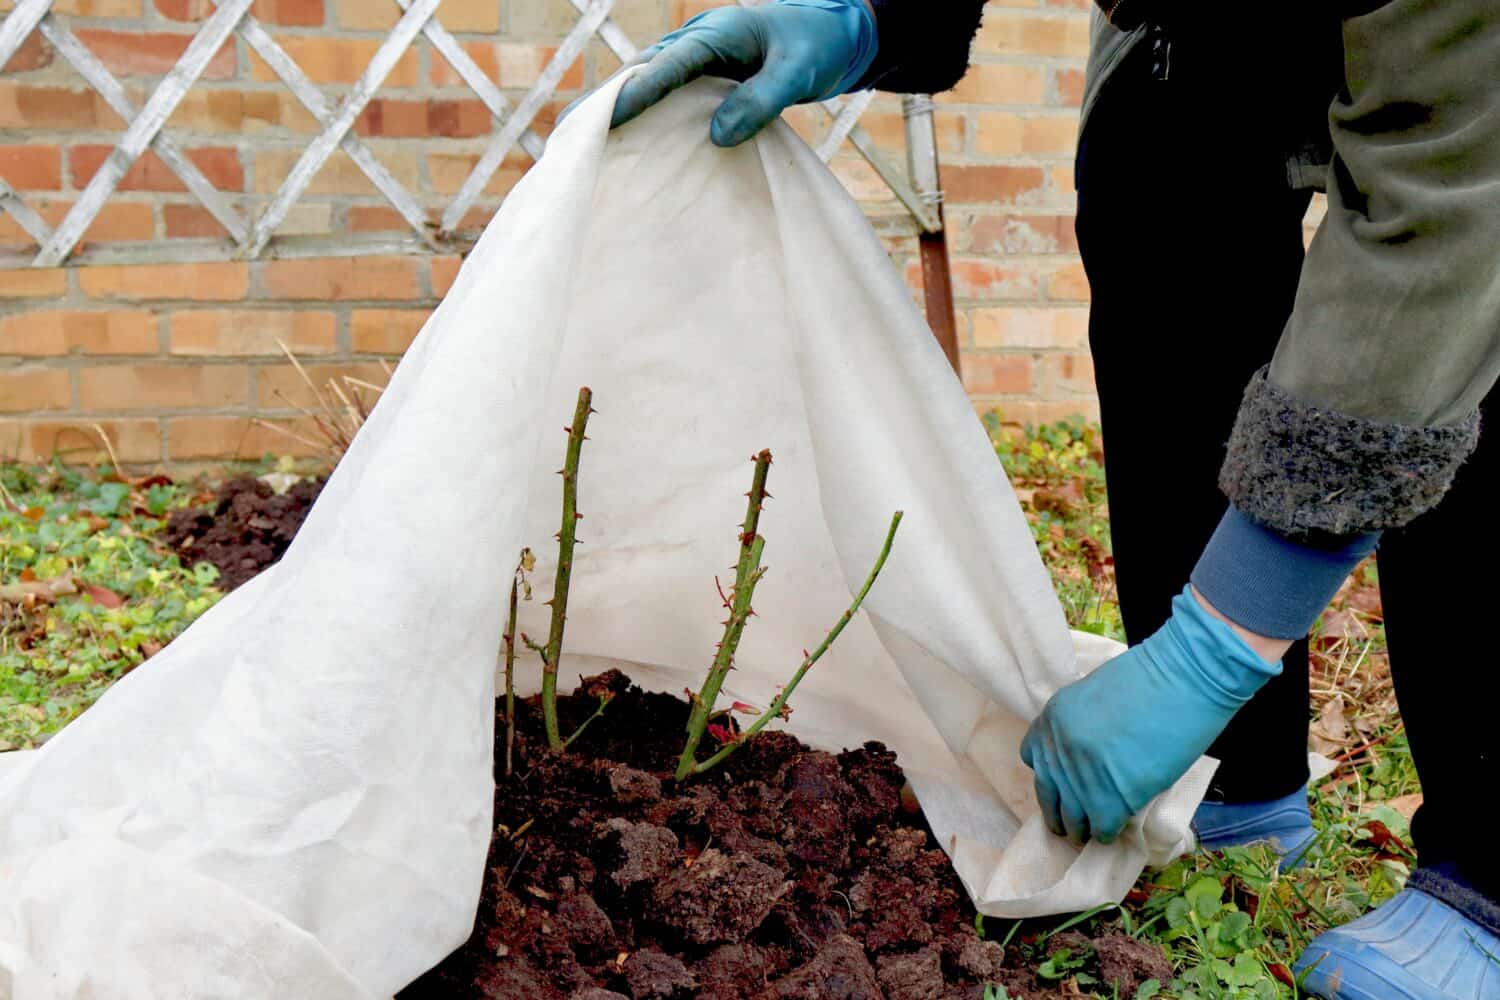
Alternatively, horticultural fleece blankets help to keep frost and wind at bay across a large rose border.
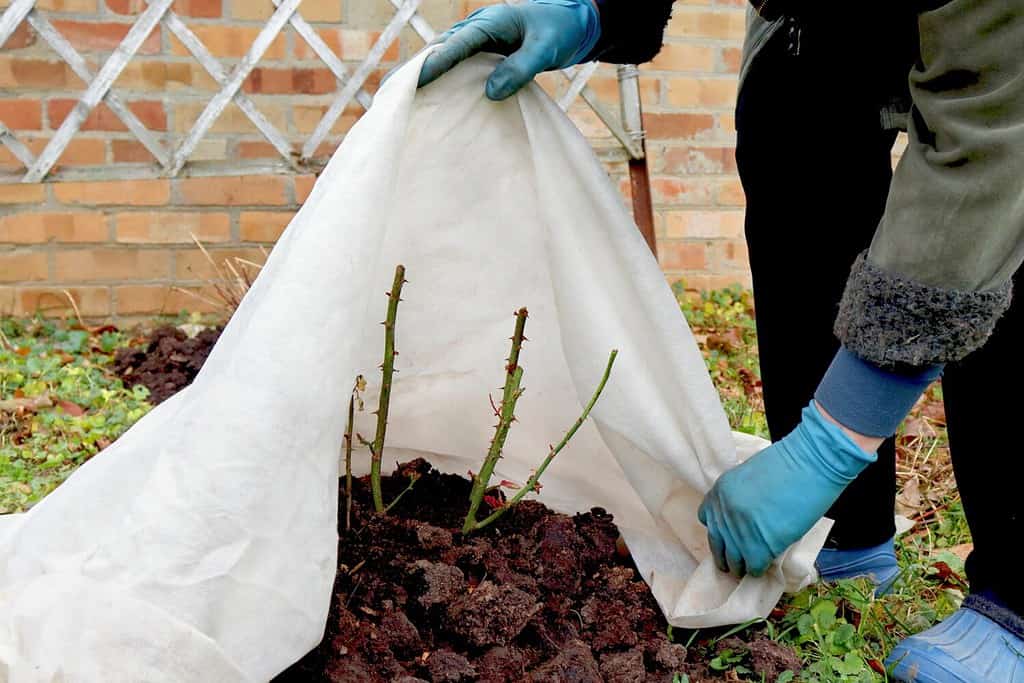
Cover large rose borders with horticultural fleece sheets over winter.
©Tasha-photo/Shutterstock.com
Potted Roses
Potted roses do not have soil-borne roots, so they are more susceptible to the cold. Move potted roses into a sheltered but cold place like a greenhouse, garden shed, or against a house wall.
Don’t try to avoid dormancy, but keep their exposed roots warmer than ground-based roses. Prune potted roses as you would a garden rose.
If moving a pot isn’t an option, wrap it with horticultural fleece, bubble wrap, bracken, or palm leaf wrap to insulate roots against deep freeze. Ensure the pot is slightly raised so water runs freely from the base. Trapped water rots roots, and when it freezes solid, it destroys the root system.
When Can I Stop Winterizing My Rose Bushes?
When frosts thaw, and winds feel warmer, it’s time to expose roses to the elements again. The best time is during early spring when the risk of hard frost has passed.
Check roses for dead or damaged parts and cut away any rotting or dead wood. Rake away mounded soil and apply a thick layer of organic, well-rotted mulch ready to feed new spring growth.
Early spring heralds warmer weather, and when rose bushes begin to sprout in the sunshine, they’re prey for pests like aphids who love juicy sap-filled new growth. Keep aphids at bay with predatory ladybugs, soapy water, or a citrus-infused spray.
Winterizing roses keeps them safe from the elements until spring returns.
©ROMAN KALISHCHUK/Shutterstock.com