
Potatoes are a bit trickier to grow compared to other plants, but not impossible. They are extremely popular all over the world, and with over 5,000 varieties to choose from, it’s no wonder these delicious plants are popular. They’ve been cultivated and eaten for over 2,000 years across different cultures. There are many ways to grow potatoes. You aren’t limited if you don’t have a large backyard or a patio. Follow along to learn how to grow potatoes indoors in just five easy-to-follow steps and other fun potato facts!
Do Potatoes Grow Well Indoors?
Growing potatoes indoors requires many steps and patience. Potatoes need bright direct light to grow.
©Val_R/Shutterstock.com
Potatoes grow well indoors, but only if they are grown in the right conditions! These warm-loving plants don’t tolerate cool weather. You can damage the vines if the indoor temperature is too cold or if frost develops outside. Even if your plant does survive, its growth rate may slow down.
Regardless of how and where you grow potatoes, these plants generally need the same things. Potato plants need temperatures of at least 45 F and bright light for 8-10 hours a day. They also need soil with a pH level of 4.8-6.0.
Potatoes grown indoors have many advantages compared to those grown outdoors. For instance, indoor potato plants are safer from pests and diseases. Potatoes can take anywhere from 10-12 weeks when grown indoors, although the time to harvest also depends on the variety.
About Potatoes
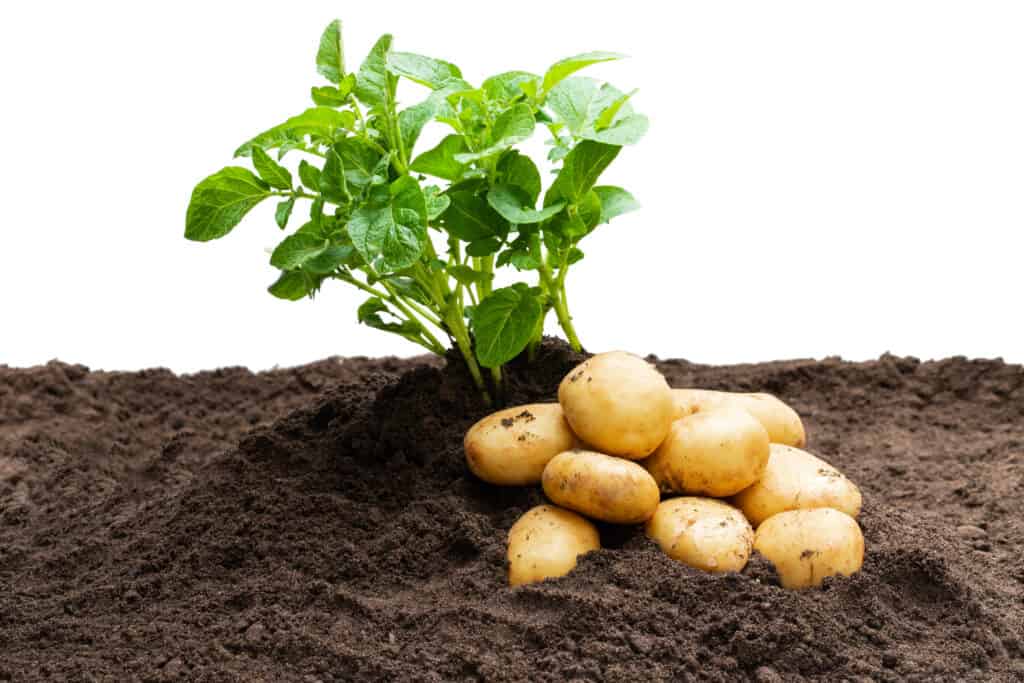
Potatoes are well-known starchy plants grown from the plant Solanum tuberosum. This plant is native to a wide range in the Americas, where there is a lot of biodiversity, especially in the southern United States to southern Chile. Although some people may think of Ireland because of the potato famine, Native Americans likely began cultivating this delicious starchy tuber 7,000–10,000 years ago. These lovely plants were first brought to Europe during the 16th century and spread quickly.
Potatoes aren’t just delicious and versatile, but also very nutritious! The skin and the inside of the potato are both edible. Potatoes are high in carbohydrates and can keep you full. In one serving of potatoes, there is also Folate, Vitamin B6, Vitamin C, Sodium, Iron, Manganese, and Magnesium.
Although potatoes are an amazing food, they are also slightly toxic. Potatoes contain glycoalkaloids. Although, when boiled, this isn’t a concern. However, potatoes can produce more of this toxin when exposed to too much light. The light exposure can cause greening, which is a sign that the potato has a higher concentration of glycoalkaloids. This type of poisoning though is rare. However, when ingested, you may feel nausea, general discomfort, sweating, and headaches.
How to Grow Potatoes Indoors in 5 Steps
Growing potatoes doesn’t have to be complicated or confusing. Here we have a short, five-step guide on how to grow potatoes indoors. There are different methods, but typically, these plants are grown near a south-facing bright window or with the help of LED grow lights. In just 3 to 5 months of growing potatoes indoors, you may have a large enough harvest to cook mashed potatoes or french fries!
Step 1: Chit Your Potatoes
Chitting potatoes allows your potatoes to sprout new green growth out of the ‘eyes’, which gives your plant a better chance of thriving in the soil.
©Elena Zajchikova/Shutterstock.com
The first step in growing potatoes indoors is to chit your potatoes. Chit is the process of preparing potatoes for germinating. There are a few ways to do this. First, choose a potato variety. Although you can use potatoes from the grocery store, it’s best to purchase a specific potato seed for growing. This way, there is a higher chance that the potato will produce potatoes. Growing from a grocery store potato isn’t secure either. The plant may be more susceptible to diseases and pests.
Potatoes need a bright, but cold spot to germinate. However, sprouts also emerge when left in the dark. Have you ever taken a potato out of a bag only to see small sprouts? This happens when stored in the refrigerator or a dark space like a cabinet or pantry.
To chit your potatoes, you can cut your un-sprouted potato, but keep an ‘eye’ or two of the potato, this is where the sprouts are located. Find a cardboard container, or egg carton and place the potato inside, with the ‘eye’ facing up. Then, place this container on a windowsill indoors or under an LED grow light.
In a few weeks, you should notice a lot more sprouts on your potato. There is a debate over whether chitting potatoes is necessary. Sometimes, you can get away with planting potatoes directly into the soil and growing beautiful vining plants. Still, it doesn’t hurt to add this extra first step.
Step 2: Prepare the Container

You can plant potatoes in 10 to 15-gallon containers.
©Peter is Shaw 1991/Shutterstock.com
The second step is easier than the first. You’ll need to prepare your container once your potatoes have enough sprouts. First, find a large and deep container you can easily move around your home. The container needs to be deep and thick as potatoes need a lot of space to spread and grow. Some master gardeners recommend using a 10 to 15-gallon container with drainage holes. It should also be at least 14 inches deep. Some containers are clear and come with flaps that allow you to watch as the potatoes grow and develop. This is helpful when it’s time to harvest.
So, what kind of soil is best for growing potatoes indoors? Potatoes need slightly acidic soil. You can use fertile, well-draining soil. Although you can make your mixture with garden soil, perlite, and mulch, you can also purchase potting soil with compost from a garden center.
After you’ve filled the container with soil, place the potatoes in the container with the sprouts facing up. Cover with a layer of 2 inches of loose soil.
Step 3: Water and Fertilize
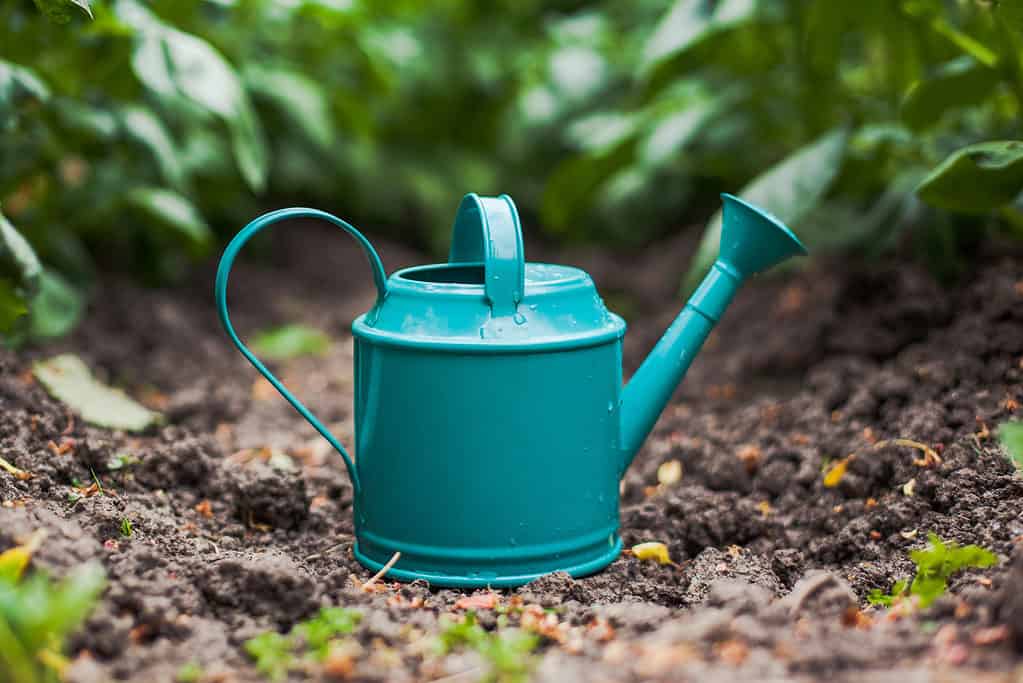
Potatoes need at least 1 to 2 inches of water a week after flowering.
©iStock.com/Tgordievskaya
Water is an important step when growing potatoes. After you plant the newly sprouted potato seeds, water them thoroughly. Potato plants need different amounts of water depending on the stage of growth. For instance, soon after planting, you need to keep the soil moist, but too much water can kill the plant before it even gets a chance to grow. However, once your plant is vining and flowering, these plants need 1 to 2 inches of water a week. Overwatering is common early in the season.
Step 4: Provide Sufficient Light and Hill Up Method

Potatoes need at least 8 to 10 hours of bright, direct light when growing.
Indoor potato plants need at least 8 to 10 hours of bright, direct light. This can be through a warm south-facing window or under LED grow lights. To trap heat, you can also grow your indoor potatoes in an indoor greenhouse. You can purchase a small greenhouse online. However, this can increase humidity, bringing in pests and increasing the chances of mold and fungus.
As the plant grows you’ll need to start the hilling process. This is when you slowly add soil on top of a potato plant to create a hill-like structure. This process keeps the potato plant safe. You start adding soil around the plant when it reaches about 6 to 8 inches tall. You can either use soil or straw.
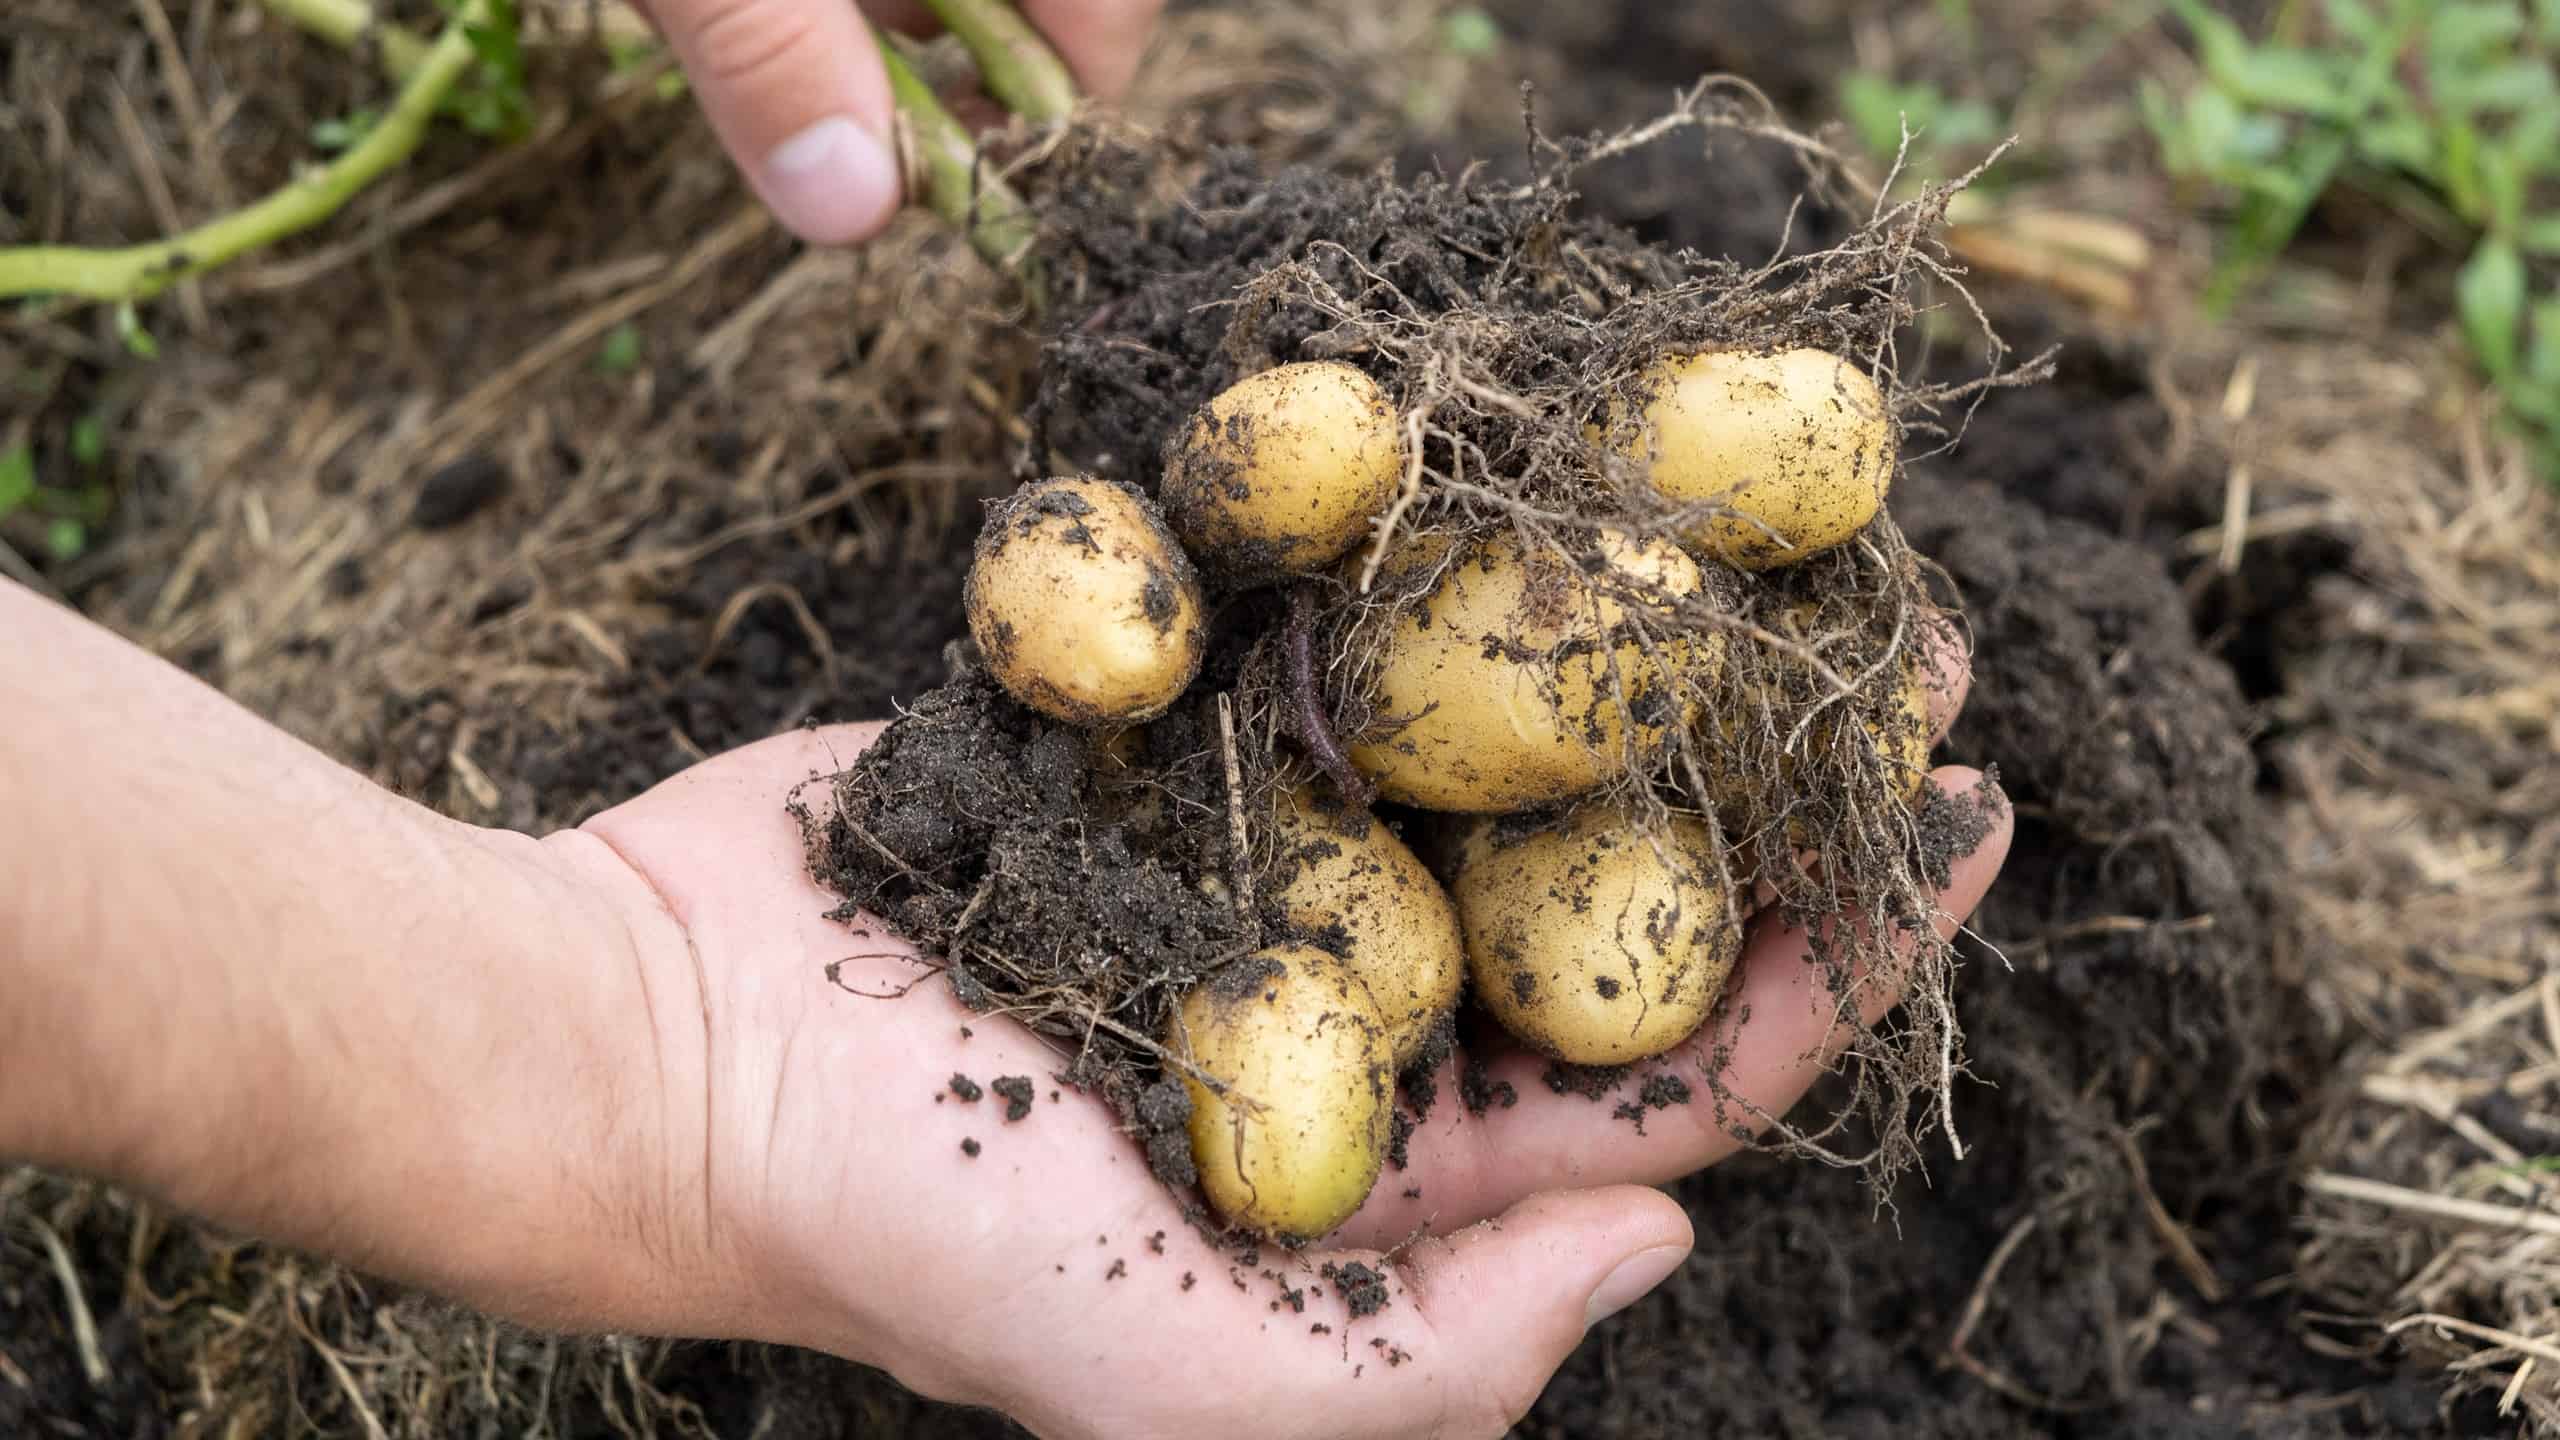
Step 5: Harvest and Cure
The fifth step is the most rewarding one, harvesting your potatoes. Potato plants are ready to harvest about 3 to 5 months after you start the growing process, but how do you know when they are ready? Potatoes are ready for harvest when the leaves start yellowing and dying. You can also slightly uncover your potato plant to see the size of your potatoes. To harvest, gently brush the soil with a gardening fork or tool. Be careful not to pierce the potatoes. If you’re growing from a container, it’s a lot easier. You can spread a tarp on the ground, and dump the entire container onto the tarp. Then, using your hands, with gloves, harvest the potatoes. Before you can use your newly harvested potatoes, they need to be cured.
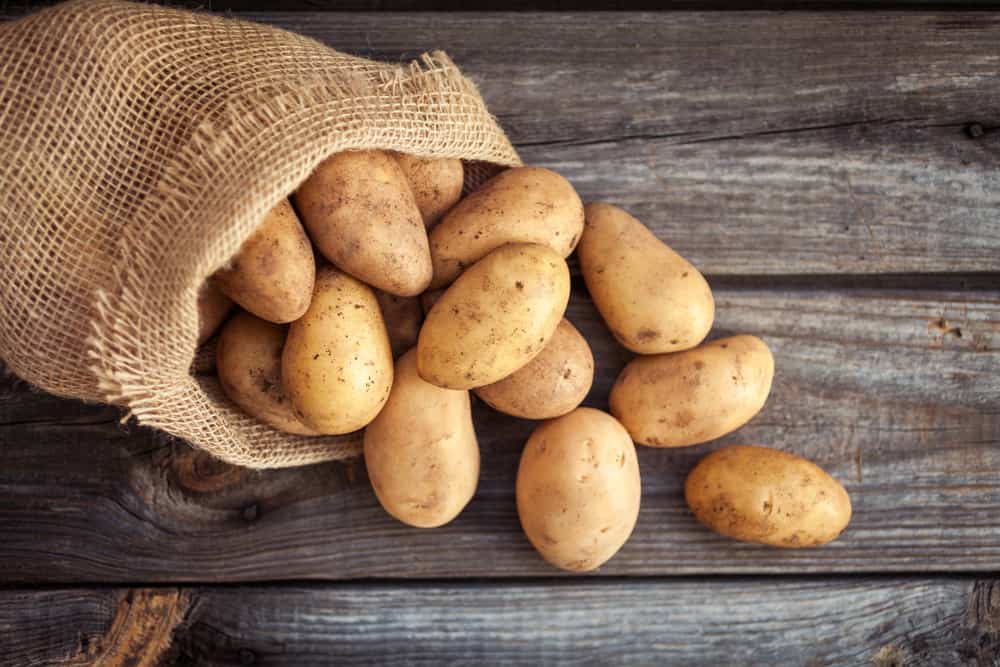
To cure your potatoes, don’t water them. Instead, place them in a dark, well-ventilated spot with moderate temperatures and high humidity for a few weeks. Newly harvested potatoes are sensitive.