
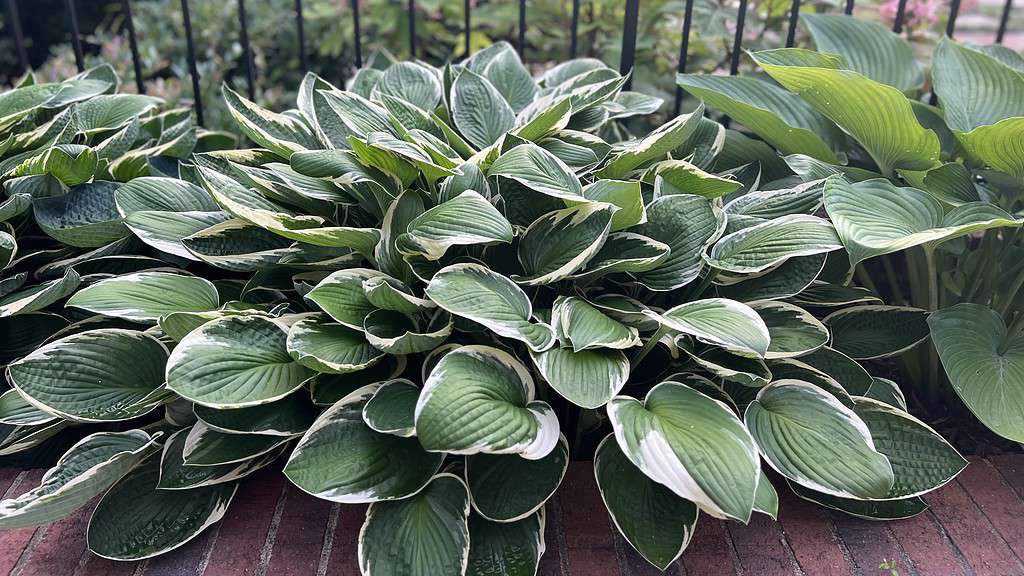
What is a Hosta
The hosta is native to Korea, Japan, and China. These popular plants provide a winning combination of beauty and accessible care to a garden, with the added benefit of thriving in partly shaded areas. Introduced to the United States around 1839, today there are over 3000 varieties between forty-five recognized species. Regardless of the hosta you grow, they all need the same care. Winterizing hostas is an important step to enjoy large, healthy plants every spring. This helps to protect the root system from harsh climates and encourages early spring emergence. An early sprouting will allow your plants to reach their full growth potential every season.
How Hostas Grow
Hostas are perennial plants that grow well in agricultural zones three to nine. Perennial means that the plant may appear to die off every winter but will regrow each spring. A mature perennial releases seeds that germinate in the soil at the end of the growing season or the perennial is grown from a root that goes dormant for the winter. The root releases new growth every spring, supporting new plants the following year. Hostas, like some perennials, combine both of these self-propagation methods.
While perennials that grow from seed tend to stay the same size every year, perennials that grow from root spread propagate, or split, at the root, creating two or more plants where you planted one. A hosta may appear to be one large plant; on close inspection, each hosta is a grouping of smaller, individual plants. This looks a bit like straws or rolled-up leaves emerging from the ground. As the hosta grows, the leaves of each plant will uncurl, creating a bush-like plant.
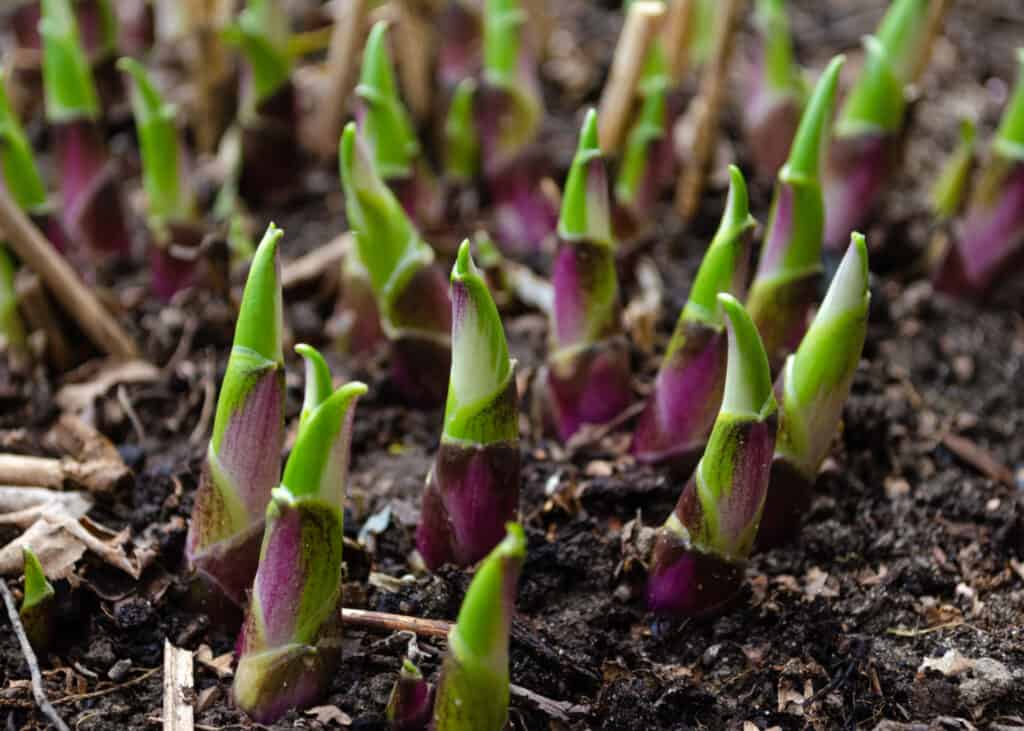
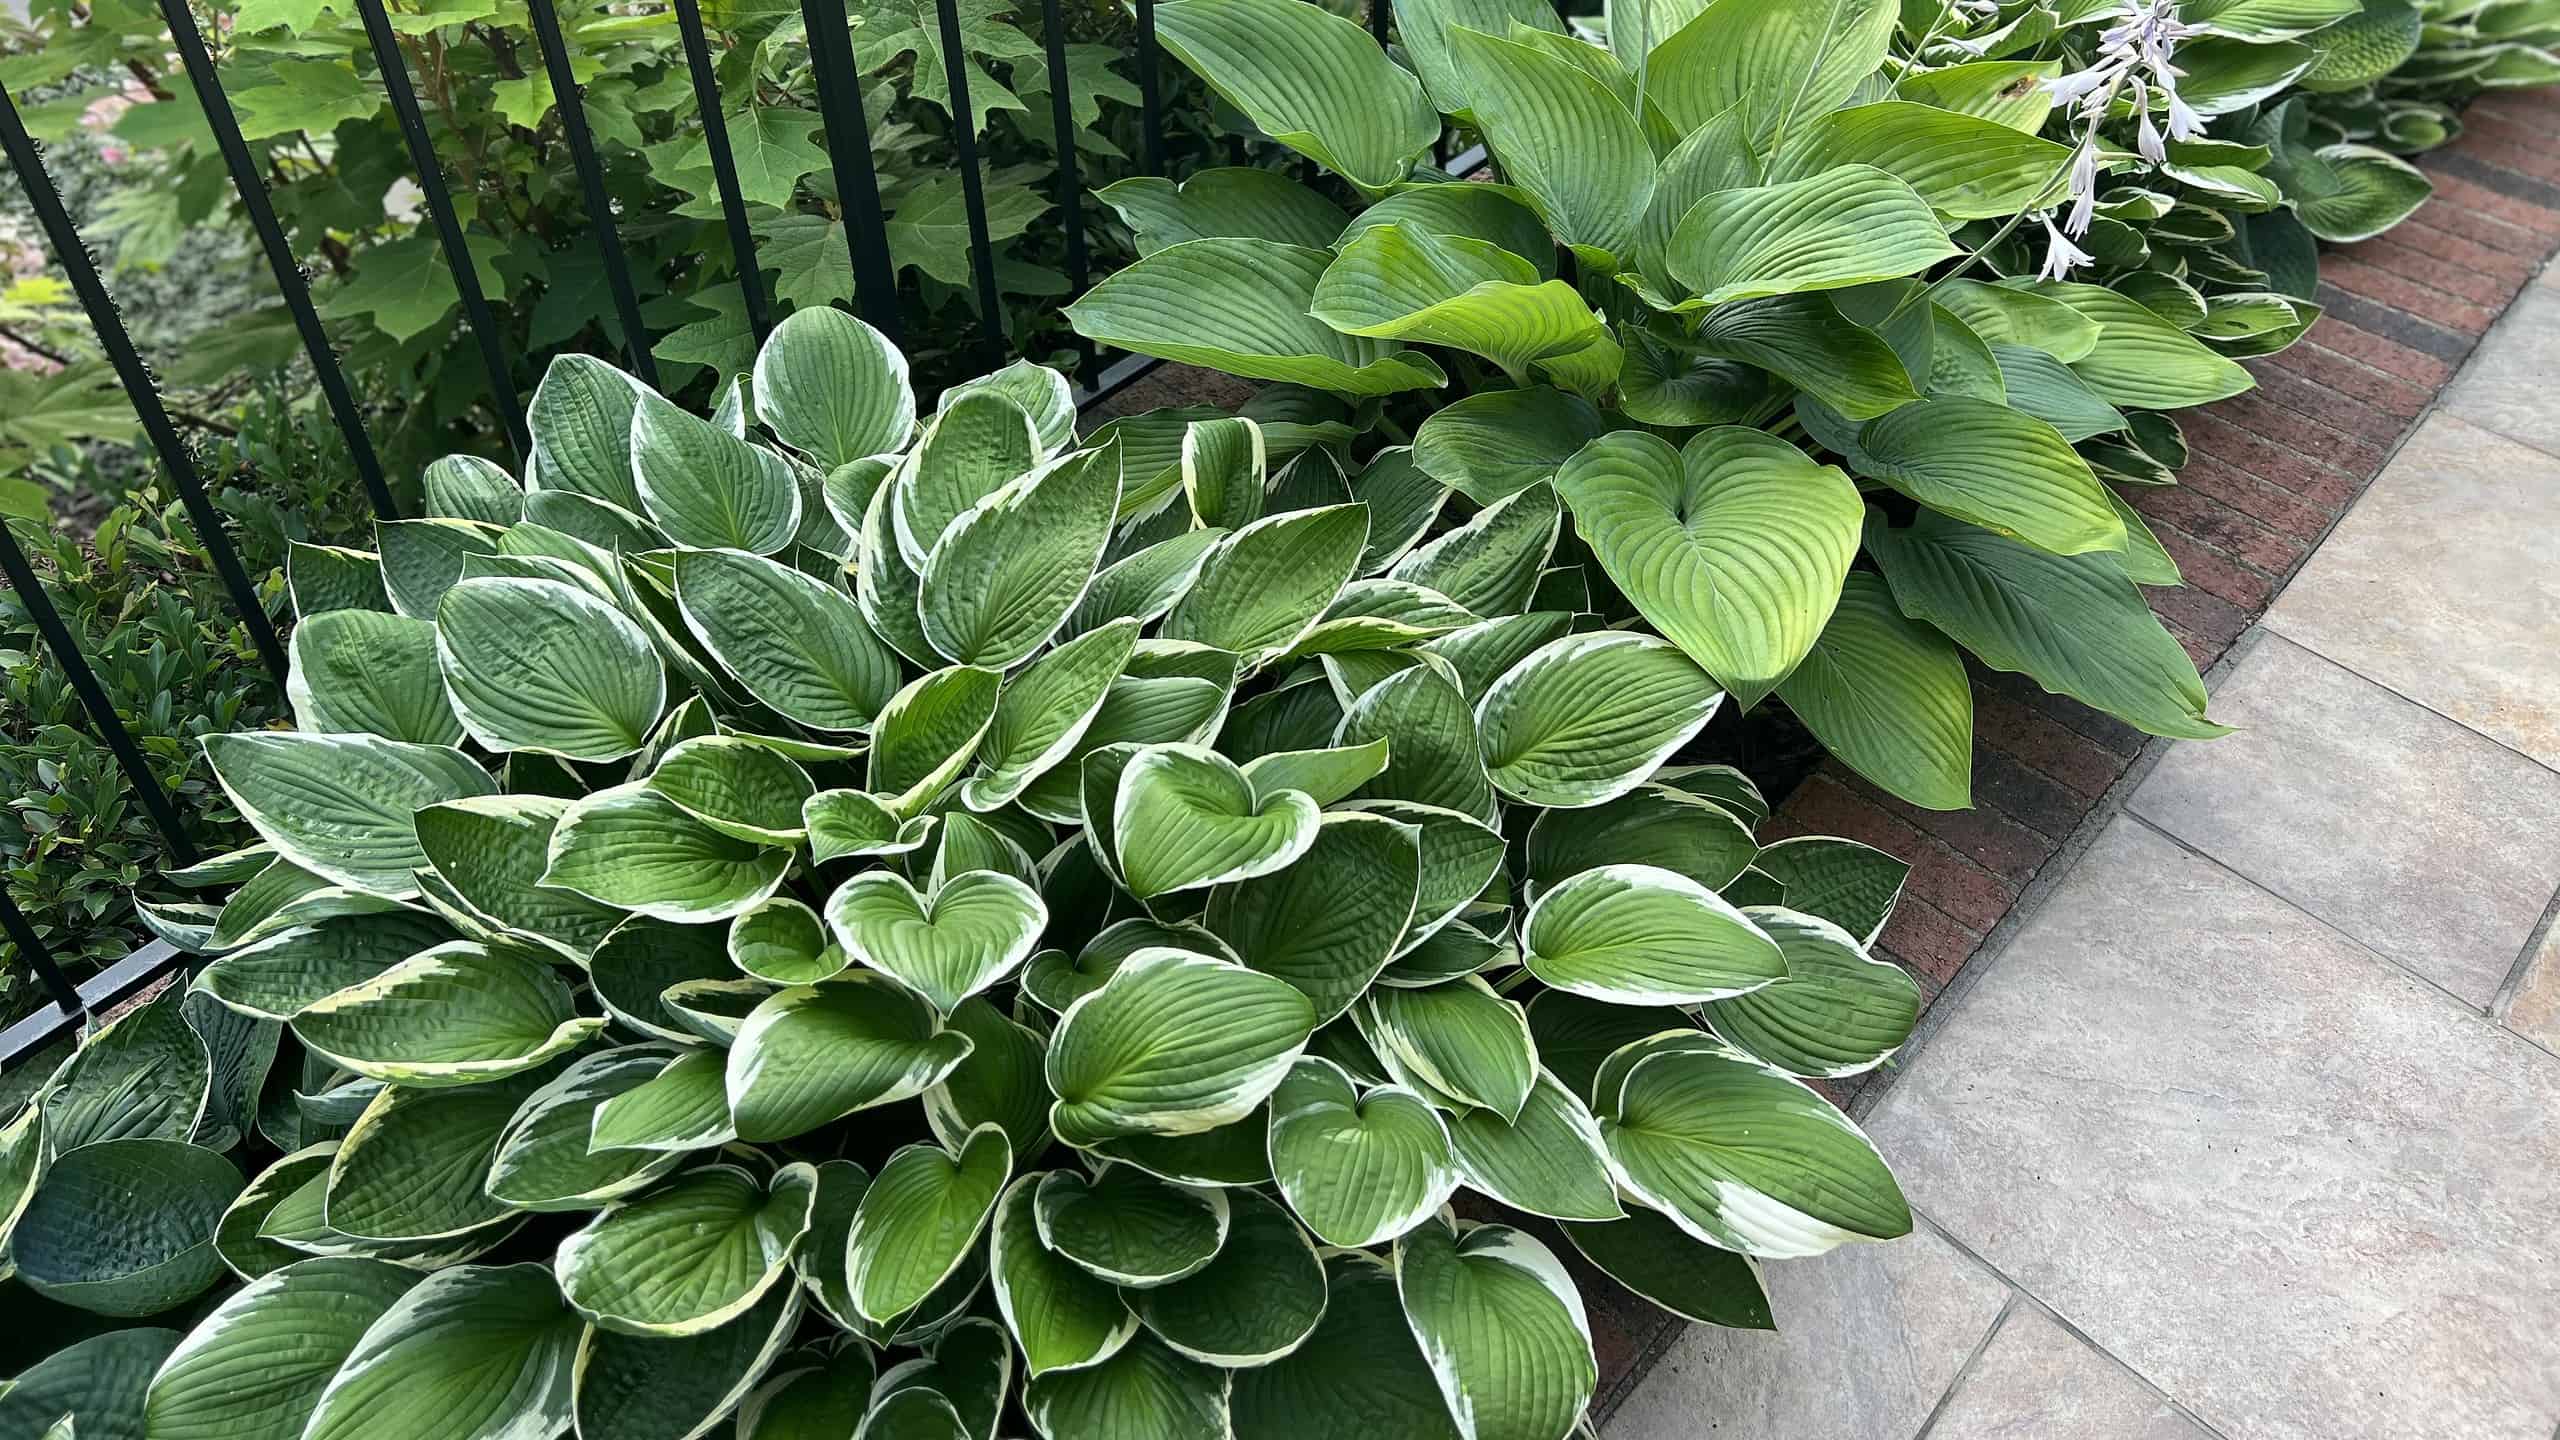
While hostas appear to be one plant, each one is a grouping of smaller plants.
©kmarina/Shutterstock.com
General Hosta Care
Partial shade is the hosta’s preferred spot in your garden. While some believe hostas grow well in full shade, they need at least part sun. Plan your garden accordingly, with taller hosta varieties in the back of your garden. This will prevent the larger plants from blocking the sun from smaller plants. It would be best if you also planted hostas according to the size of the mature plant.
Mature plants vary in size from dwarf or mini hostas that grow up to twenty-four inches wide to giant hostas that reach up to six feet wide—plan by allowing the appropriate space between your hostas to accommodate the plant’s mature size. Providing ample space between your plants also prevents water damage to the root system by ensuring proper drainage. Your new garden may look sparse for the first year, but your plants will reach full size in only three to seven years. Winterizing hostas will help to fill out your garden by encouraging growth.
Planting Times and Soil Concerns
Planting your hostas in spring or fall would be best to allow the plant time to establish strong roots. Hostas grow well in loamy, moist soil with good drainage. If you have clay or heavy soil, consider adding humus before planting. A layer of organic mulch helps prevent weed growth in your garden and helps the soil keep the water hostas needed. Newly planted hostas will need daily watering for the first two weeks, but established plants need weekly watering.
Trim back your hostas every autumn, and cut the flower stalks once the flowers die off every year. Seed pockets will form in the flower stalks once the flower blooms fade. If allowed to seed, you’ll likely find unexpected plants in the spring.
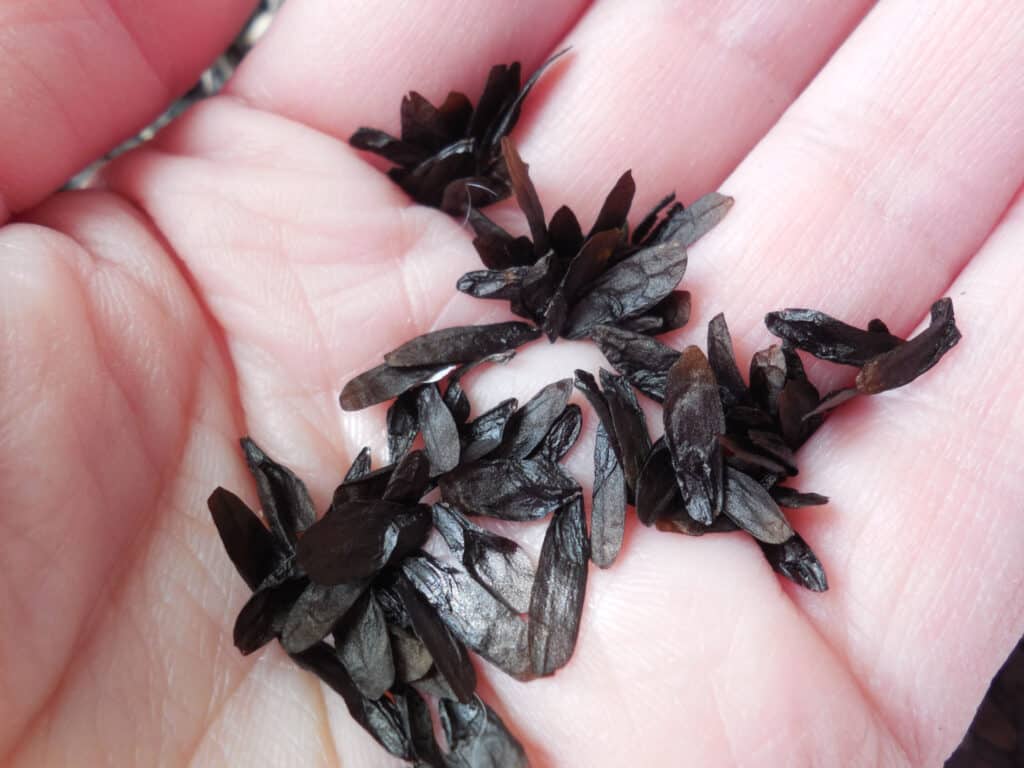
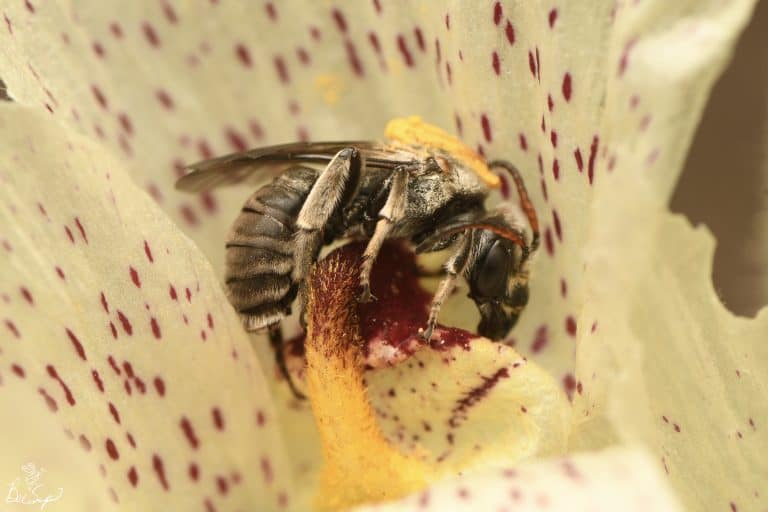
While hostas grow more successfully from the roots, growing the plant from seed is possible.
©Marina Bakusheva/Shutterstock.com
Winterizing Hostas
Hostas grow through root spread, making root protection vital in harsh winters. Freezing temperatures can kill the roots of your plants. Luckily, a few simple steps can prevent this from happening.
Winterizing in the Garden
You don’t have to dig hostas that have grown in the ground every winter. As summer begins to turn to autumn, water your plants a final time in the fall. Winterizing hostas in wet soil can contribute to freezing. Before the first frost, trim the leaves of your hosta back to several inches above the ground. Hostas usually begin this process themselves. When you notice your hosta is turning yellow and wilting, it’s a sign the plant is dying back for winter. Cover the plant with mulch or a layer of burlap and mulch. A hosta that has gone dormant for the winter in your garden does not need watering over the winter.
Winterizing in Pots
If you’ve grown your hostas outside in pots, there’s no need to take the pots indoors for winter. Cut your hostas back as if they were in the ground, and move your pots to a garage, storage shed, or other area where they will be sheltered from wind and snow. If you don’t have a space to do this, cut your plants back and wrap each pot with burlap. Winterizing hostas in pots may increase the need for water sparingly over the winter. Be sure to check your soil before watering and not to overwater. Too much water in a pot can freeze, damaging your plants and pots.
Prepare Your Hosta When Spring Arrives
Remove the mulch and burlap, if used, from your hosta. You can leave the mulch around your plant, but leave a few inches of open space around your hosta crown. Placing mulch too close to the crown of your plant can cause too much water to accumulate, which can cause leaf and root rot. Trim off any longer dead leaves. If you use fertilizer, now is the time to provide your hosta with a slow-release fertilizer.
Follow these same steps for a potted hosta; adjusting the fertilizer as fertilizer can easily damage the roots of potted plants. Without the drainage benefits of open soil, too much fertilizer can build up in a potted plant.
Dividing Your Hosta
As hostas grow larger every year, you may need to divide your plants. Spring to late summer is the ideal time to do this. You’ll want to avoid splitting your hosta too late in the season, or the root structure may not be strong enough to withstand winter temperatures. Dig your hosta, then pull apart the root ball into two segments. Hosta roots are firm and woody and recover well from division. Replant the root system of the plant you want to keep. The divided segment is ready to plant in a new location immediately. If you don’t intend to plant the division immediately, place it in a pot with garden soil to avoid drying out the roots.
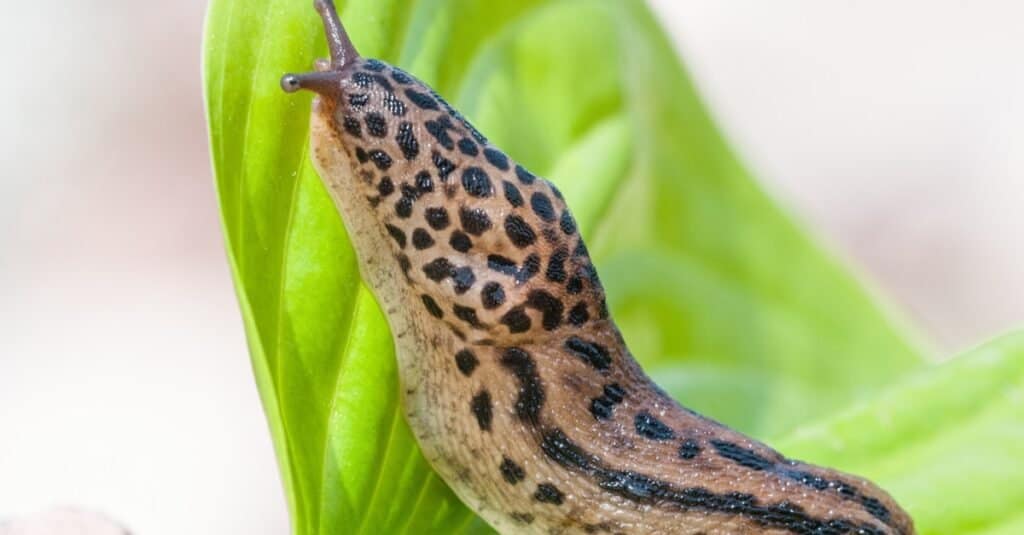
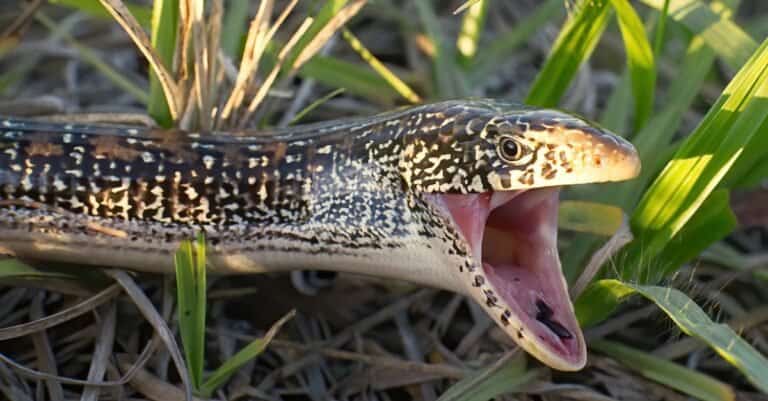
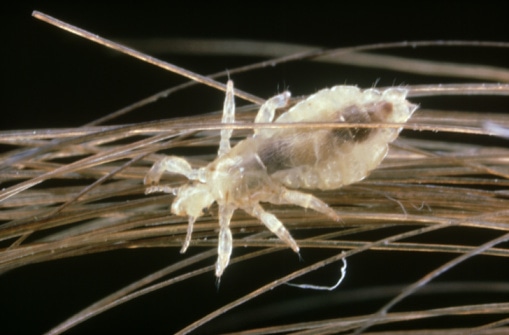
Slugs and snails are attracted to hostas as both a nursery spot and a food source.
©MMCez/Shutterstock.com
Special Concerns for Winterizing Hostas
Snails and slugs love hostas as much as people do. Placing copper rings around your hosta pots can help deter these garden pests. For plants grown in-ground, visit your local garden supply center for approved pest control methods. Before overwintering, check your plants carefully for these pests or signs of eggs.
As hostas grow in partial shade, they are vulnerable to petiole rot and powdery mildew. You can minimize the risk to your hostas by ensuring proper drainage for your plant over winter. Never place mulch too close to the plant’s crown, and never over-water in winter.
With a few protective measures against extreme freezes that may damage the roots of your hostas, you can enjoy a larger, more beautiful garden each year. Want more tips on how to keep your garden healthy in the colder months? Don’t miss our checklist here.