
There’s not much to a DIY chicken coop. In fact, with the right supplies, putting one together over the weekend shouldn’t be difficult. If you’re the proud new owner of a flock of chickens, a chicken coop is one of the most important items on your to-do list.
Even if you plan on allowing your chickens to free range, they have to have that security and laying space. If you live on the edges of civilization, it’s even more important. Foxes, feral cats, and coyotes are always happy to wipe out your entire flock. Even if any of the three are only hungry enough for one chicken, they’re liable to descend into a killing frenzy, wiping out a huge portion of your flock.
Besides, it makes your chickens happy and happy chickens are very productive chickens. The best part about a chicken coop is you don’t have to go crazy with it. All the chickens need is the appropriate space per chicken and several nesting boxes.
DIY Chicken Coop: Steps
It’s best to break things down into steps since there are several things you need to do before construction, including some decision-making.
1. The Best Location for the Coop
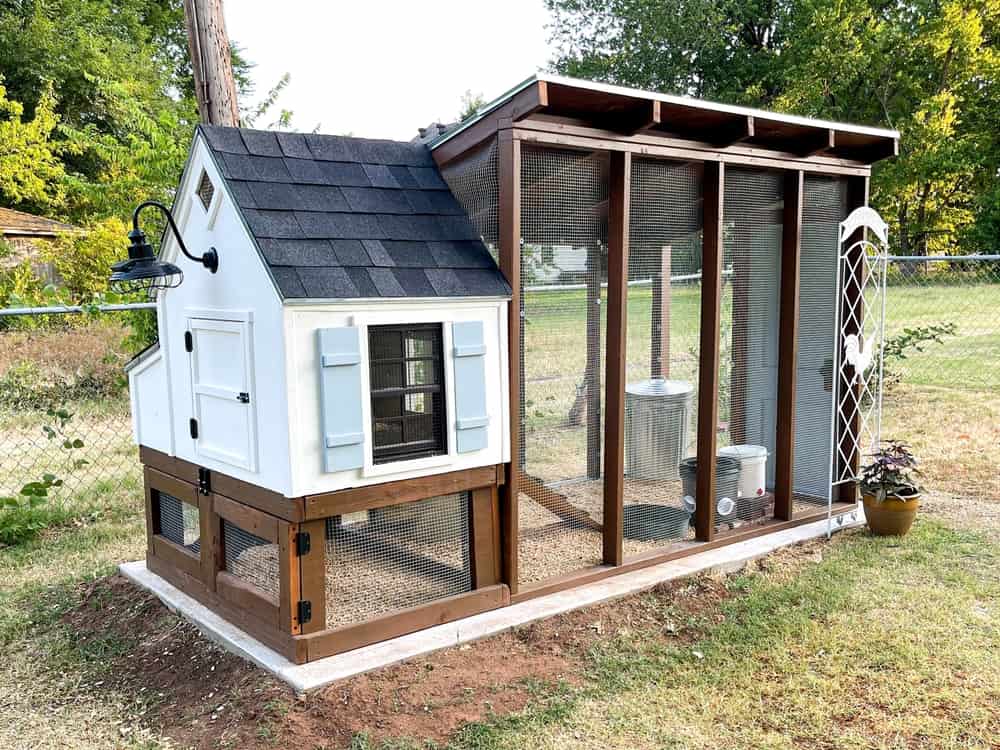
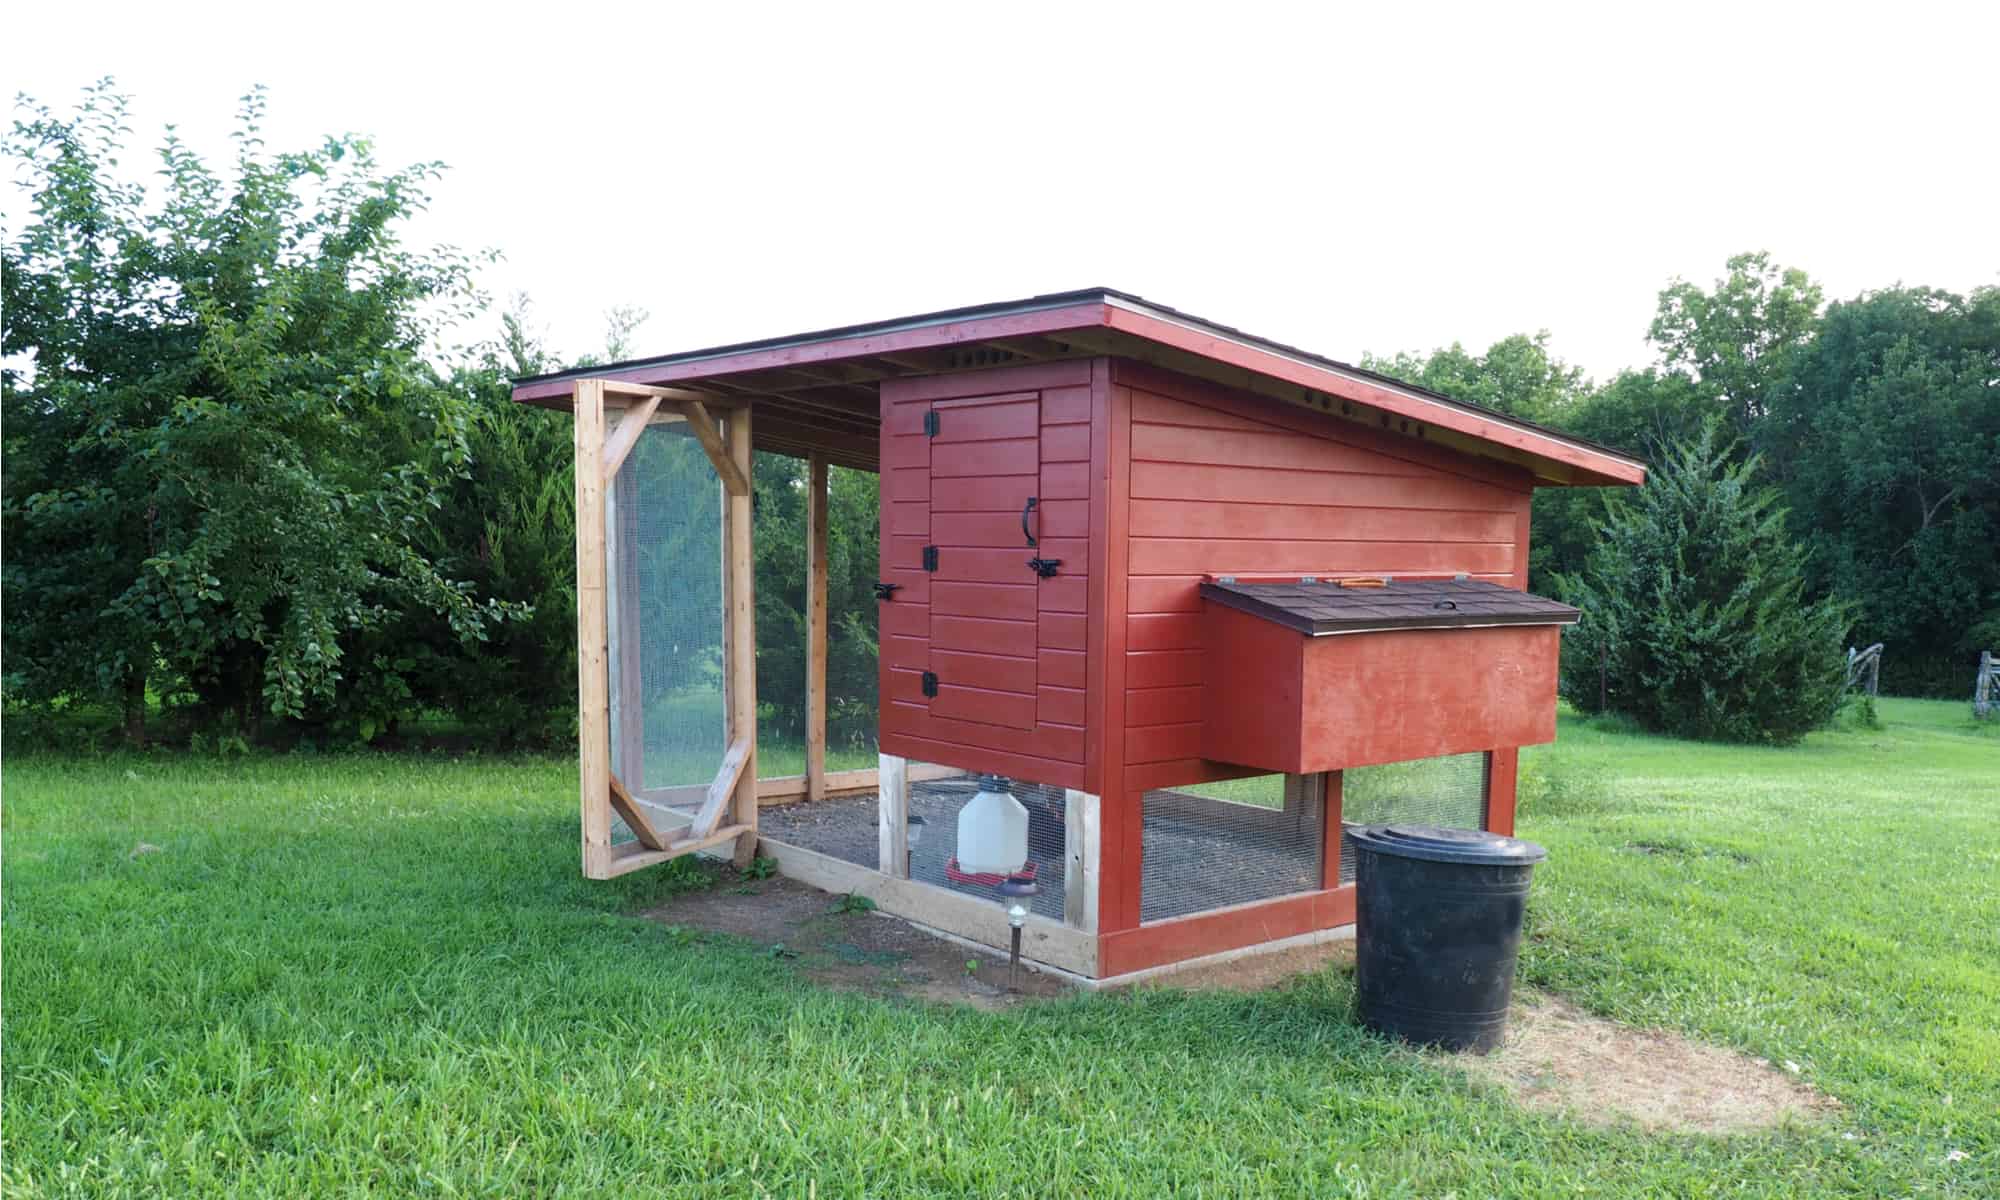
Backyard chicken coop with large run.
©Courtney Jenckes/Shutterstock.com
You don’t want to build a chicken coop and then have to move it, especially if you live on a sizable piece of property. Besides, building the chicken coop on location is only part of the equation. There are several considerations to make before you get started.
- Places with plenty of sun and shade are best
- Look for high-ground
- The location should be as close to your home as possible
- The coop should be away from heavy foliage and undergrowth
- Wherever the coop ends up, the living space should be elevated
Areas where you normally spend the most time in the yard are the best. Your options in terms of predation are wider when you live in the city, suburbs, or an otherwise heavily populated neighborhood. The only thing you have to worry about in that situation is the city’s rules and regulations on keeping chickens, ducks, or other types of livestock.
Clear the ground where you want the coop and never build right after a rain. Make the area as level as possible, with all of the rocks, sticks, and vegetation removed.
2. Local Ordinances

Check your local ordinances if planning to build a coop and raise chickens in non-rural areas.
©Wangkun Jia/Shutterstock.com
Many new chicken owners assume that since Tractor Supply or the local feed and seed sells chickens, it must be okay to own them anywhere. That depends on where you are. Before you start constructing a chicken coop and filling it with chickens, it’s a good idea to check with the city and county you live in.
If you’re out in a rural country, the odds are good you won’t have to worry about anything. That’s not always the case locally. The last thing you want to do is go through the effort and financial expenditure of building a brand new, Greek pantheon for your chickens only to find you can’t have them or you’re strictly limited.
The fact is, there’s been a recent explosion in backyard chicken farming, mostly because of the pandemic and for eggs at a time when the price for everything in the grocery store is going up. Thanks to those two factors, many cities are easing their restrictions or not enforcing local ordinances.
However, it is always a good idea to check, and the best way to do that is to contact animal control, the local council, and the country clerk. Even more importantly, ask the right questions. The following are things you need to know before you get started:
- The number of chickens you can own, which will also inform you of the size of your DIY chicken coop
- Whether or not you can own a rooster (if you just want eggs, it’s not a good idea to have one)
- Whether or not you need a permit
- Whether or not you have to bring the issue to your neighbors
- What are the coop-building rules, in terms of location and size
- Who to contact if your chickens become diseased or you need to get rid of them
You do not need to build a coop and start filling it with chickens without this information. If it turns out you need a permit, animal control is likely to seize the animals and you’ll have some hefty fines to deal with.
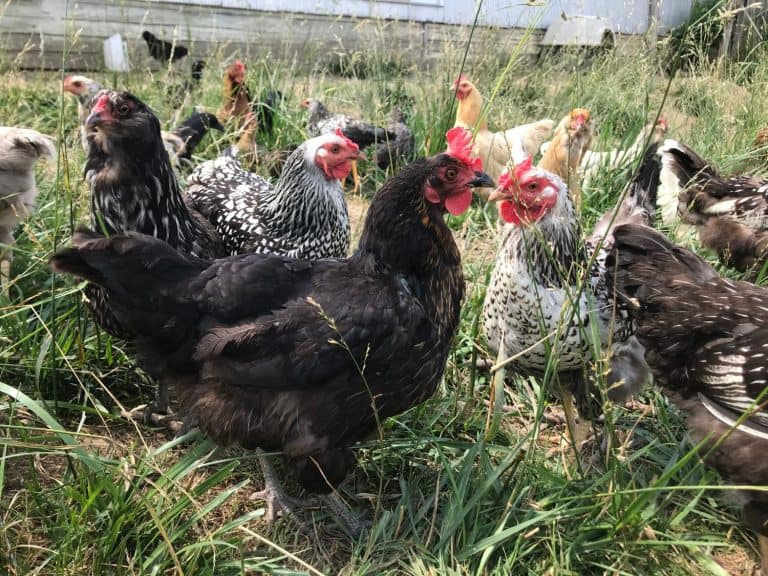
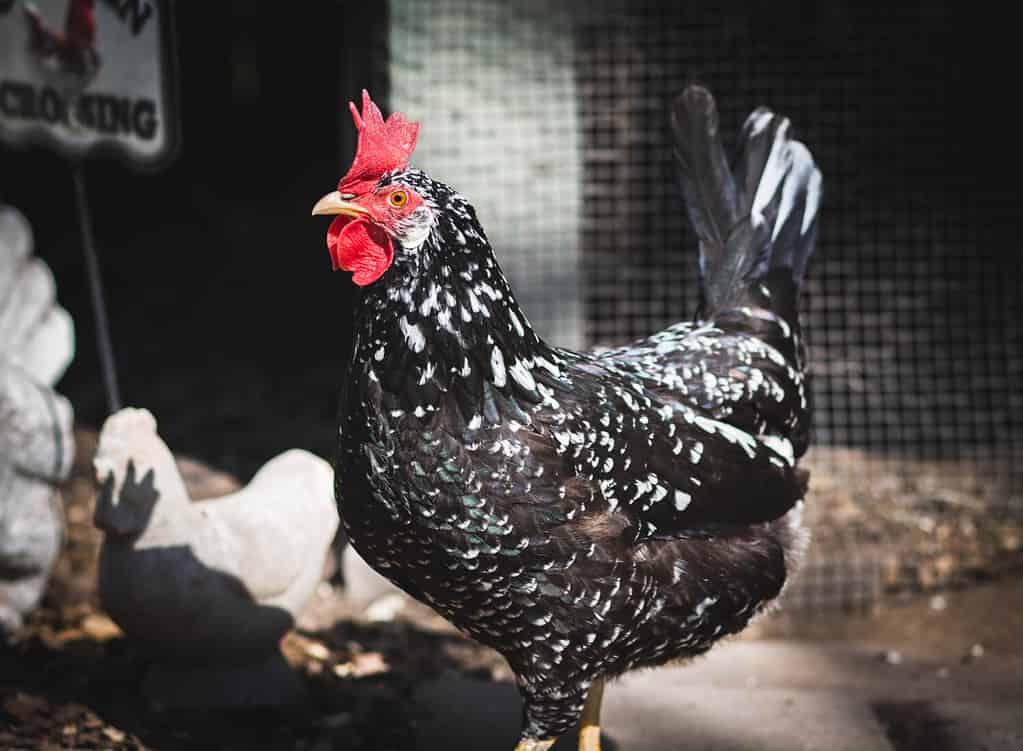
3. Build According to the Number of Chickens
Buff Orpington hens and rooster.
©Racheal Carpenter/Shutterstock.com
For the average chicken, anywhere between 3ft² and 5ft² is the amount of space appropriate for each one. For instance, if you have 5 chickens, anywhere between 15ft² and 25ft² is the ideal size. That’s just for the interior where they will sleep and nest.
Within the confines of the coop, there should also be a ‘run,’ which is simply an outdoor space still within the confines of the coop. If you plan on letting your chickens free range, the run is less important. However, you also have to consider predators.
If you live in an area where a fox or a feral cat is common, you need to close the coop after the sun goes down and they will need a space that’s roughly 4ft² per chicken. If you have very large chickens (like a Jersey giant or something similar), bump things up to 5ft² per chicken. The height of the egress and ingress points need to accommodate the chicken.
The coop should also be large enough to accommodate a sizeable roosting bar or two, waterers, nesting boxes, feeders, and ventilation. You can either frame it on your own, according to your plans or you can purchase a DIY chicken coop plan.
Building the frame, at its most basic, will require four walls, a deck, a sloping roof or otherwise angled roof, and your corners. Pre-paint the entire coop before you start screwing the pieces together. Speaking of screws, use them instead of nails. They hold better and last longer.
Build your “run” frame separate from your coop and combine them, leaving an opening from the roosting portion of the coop into the run. For the corners, 2 x 4s may be a little excessive so use 2 x 2s instead. For the walls of the run, chicken wire or a tighter mesh will do. You can staple these to the 2 x 2s. If the mesh is large and lengthy, add a 2 x 2 every few feet for additional support.
4. Material for Flooring
Ancona hen standing inside her coop.
©JennGarcia/Shutterstock.com
If your first instinct is to use plywood for your DIY chicken coop flooring, you’re off to a good start. Plywood may be cheap but it’s simply the best option for flooring purposes. It’s strong, long-lasting, and affordable.
To extend the longevity of the plywood, roll out a thick layer of linoleum over the top of the plywood to protect it from mite infestations and chicken droppings because it’s much easier to clean. Also, if you already have your square footage calculated, remember that you’ll lose some of that space to nesting boxes, the walls, and anything else you decide to place in their sleeping quarters.
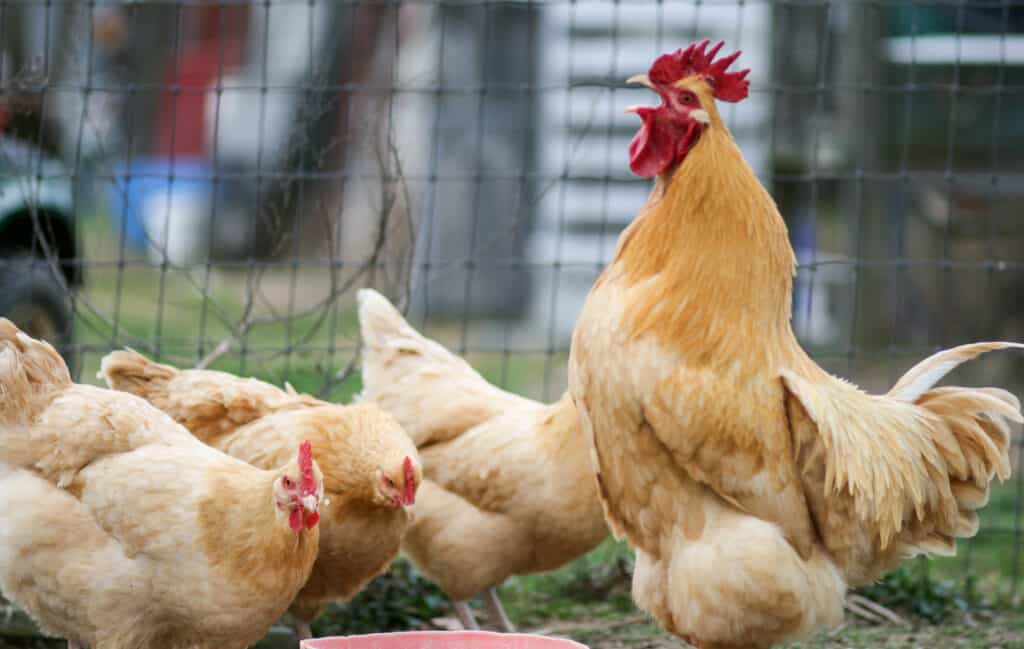
5. Elevate Your Coop and Use Pressure-Treated Wood
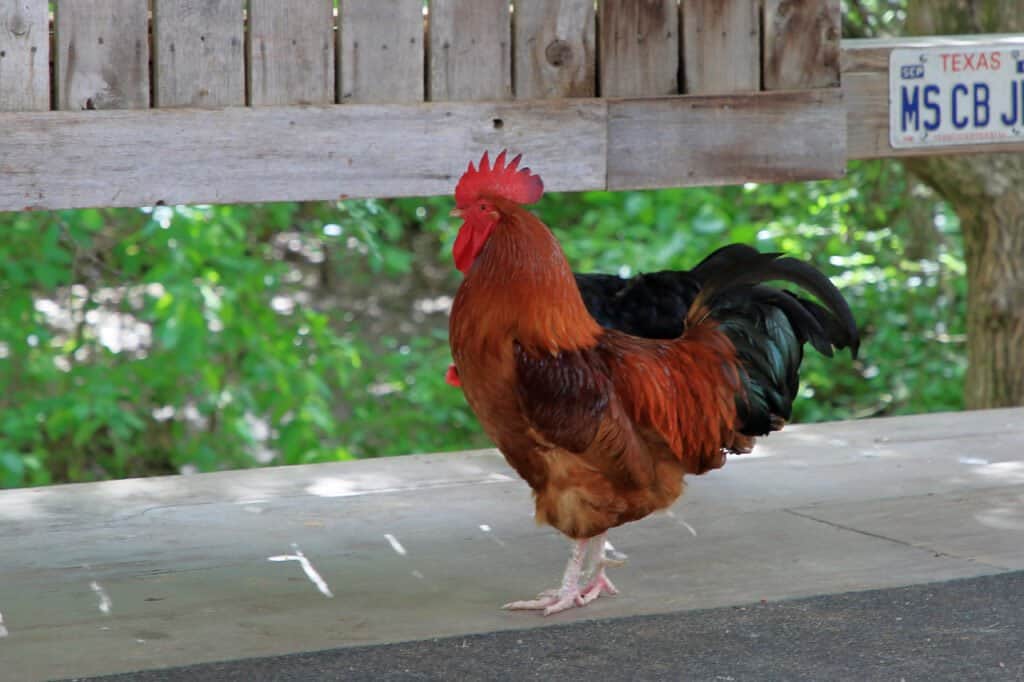
It doesn’t take much in a DIY chicken coop to make a rooster happy.
©JustPixs/Shutterstock.com
Elevation is key and your number one defense against predators. The fact is, even inside of city limits, there are several predators to concern yourself with. Snakes, feral cats, stray dogs, and raccoons to be precise. Outside of city limits, add coyotes and foxes to the mix.
The elevation should be at least a foot, possibly more (again, depending on the height of your chickens. Elevation also protects your chicken coop from rotting. Sitting on the ground, the floor is subject to light flooding during heavy rains and resting in the mud for a day or two afterward.
Any DIY chicken coop should always account for this and the best way to achieve longevity is to use pressure-treated wood. If you want a very sturdy structure, bury your four corners with concrete pilings. You can pick up a bag of concrete at any hardware store for a reasonable price.
A standard bag of concrete should be enough for at least two posts. If you’re aiming for a gigantic DIY chicken coop, consider 4 x 4s. Smaller coops are just fine with 2 x 4s instead. The spaces surrounding the lower floor should be encased in wire mesh. Even better, wire mesh the floor as well, to keep snakes and digging rodents out.
6. Security Measures in Your DIY Chicken Coop
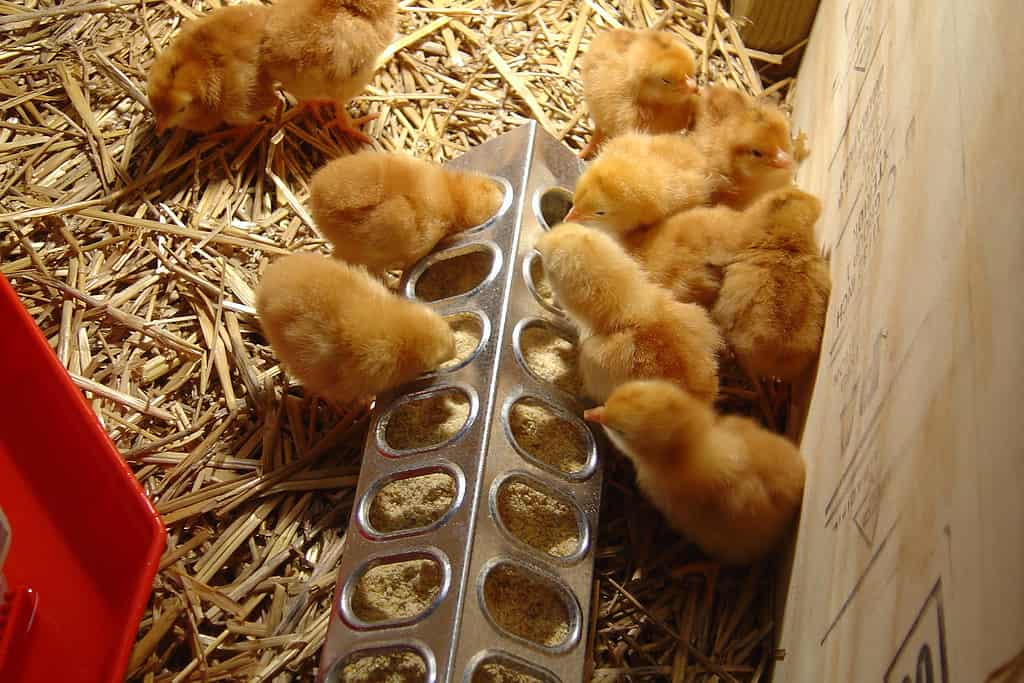
A group of baby chicks eating chicken feed in a brooder on a farm.
©iStock.com/Jennifer Chamblee
A closed door is no good if your chickens are capable of bumping it open. An open doorway is a welcome doormat for foxes, feral cats, raccoons, or even smaller predators, interested only in chicks and eggs. If you need to shut your chickens in at night or you keep them in an enclosed environment, your doors should be securely shut and latched.
Fortunately, cutting out a door to fit, supplying hinges, and adding a latch are all simple and affordable processes. All chickens should spend a week or two in their coop before being allowed to free range anyway. This ensures that they always return to their coop at the end of the day.
If you enclose them at night, which is a good idea, even within city limits and in heavily populated areas, you need to have a solid latch to make sure the doors stay closed. Automatic chicken doors are becoming fairly popular as well. Automatic chicken doors open at the press of a button or on a timer.
These doors are available in kits or you can purchase the motor alone and use your door. Just make sure that your door matches the specs on the motor. There are three types of power sources you can use as well—solar, batteries, and AC.
7. Nesting Boxes
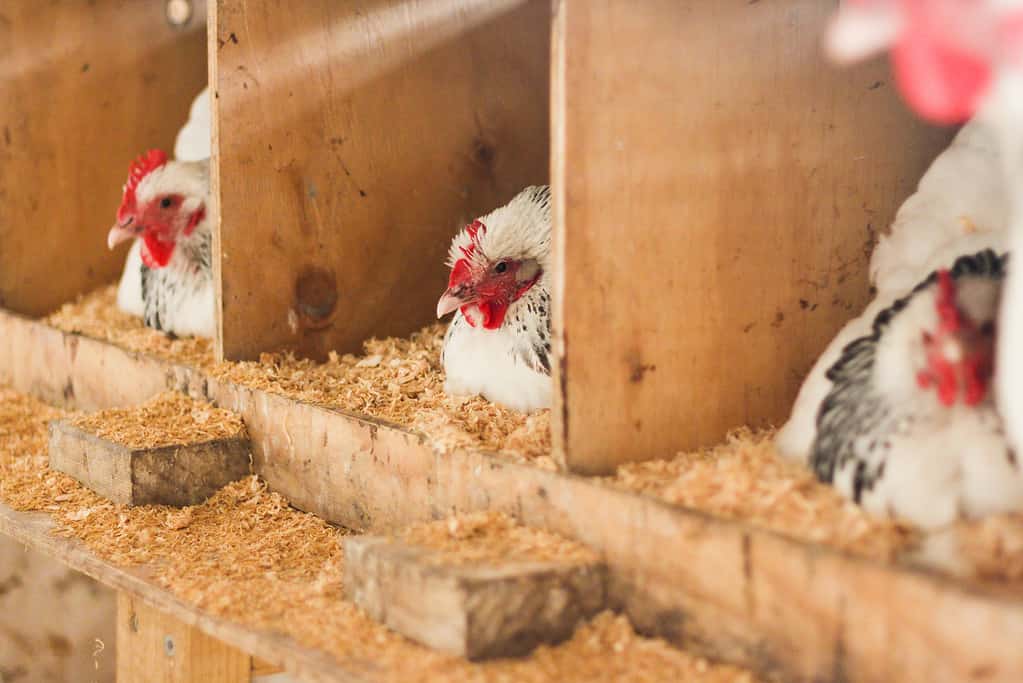
A group of broody hens warming up their eggs.
©iStock.com/nedjelly
Your DIY chicken coop only needs a single nesting box for every three hens, regardless of size and laying ability. If you have 6 hens, 2 nesting boxes is enough. You’ll find that most chickens will all lay their eggs in a single nesting box, even if you have three or four of them.
Free-ranging chickens will often eschew their nesting boxes in favor of their nesting places throughout the yard, so keep that in mind as well. Nesting boxes are very simple. All you need is a wall on three sides, with the opening facing the interior of the coop. Fill the nesting boxes with pine shavings, sawdust, or straw, and chickens will take it from there.
If you want, add a box or two full of regular sand. Your chickens will love you for it. Make sure the nesting boxes are at least a single square foot. For Jersey giants or similar-sized chickens, expand each side by a few inches. Also, make sure the side walls are removable, making the area much easier to clean.
Additional Features in a DIY Chicken Coop
Some features are entirely up to you and some are not necessary but should be included for improving the lives and general happiness of your chickens. Roosting bars are one of the latter. If you allow your chickens to free range, you’ll discover very quickly how much chickens love to perch.
They’ll jump up on anything, including your window sills! Throwing a large roosting bar or two inside the coop is like adding a luxury recliner to your living room. The chickens love it and will perch on it often at night when they’re roosting.
Ventilation for your coop is a necessity, especially throughout the hot summer months. It also helps prevent mold and mildew build-up inside the coop. Usually, this just means cutting windows into your plywood walls. However, you need to cover each window in wire mesh to keep out predators.
If you want consistent egg laying even in the winter, consider stringing light bulbs throughout the coop. You can leave them on to extend the winter days.
Chicken waterers come in a variety of shapes, sizes, and uses but they are a necessity for any coop. Feeders are optional, depending on whether or not you allow your chickens to free-range. As far as bedding is concerned, you want at least half a foot of depth using either pine shavings or straw.
DIY Chicken Coop Costs

The costs for a DIY chicken coop add up quickly if you aren’t careful and plan accordingly.
©Le Do/Shutterstock.com
The overall cost is very difficult to ascertain because it is highly dependent on the number of chickens, the size of the chickens, and the variety of materials on hand that fit your plans. Plywood isn’t too bad but waterers, feeders, electrical or smart items, paint, latches, and pre-fabricated doors or windows are the most expensive and add up quickly.
If it’s your first time and you’re on a budget, stick with plywood and 2 x 2s for the framework. The only pressure-treated wood you need is for the lower portion of the coop. If you’re building on a concrete pad, you don’t need the treated stuff.
If you have a pre-existing building, you should consider repurposing it, especially if it’s solid and in really good shape. So long as you stick to the formula of elevating the roosting section of the coop, providing plenty of ventilation, adding in the necessary features, and providing water and feed supply, any small shed or shack will work just fine.
Final Thoughts on a DIY Chicken Coop
A DIY chicken coop is not as hard as it sounds. The materials are relatively affordable and it’s not difficult to frame, especially if you go with an existing chicken coop plan and buy the necessary supplies to build it out.
Chickens are like people or most other animals. They seek shelter, water, and food. A chicken coop that provides all of these things is a success and will make your chickens happy. Happy chickens are the best layers so prepare yourself as you will soon be swimming in eggs.