Quick Take
- Cat nail trimming requires a calm setup and proper tools to reduce stress and injuries.
- Desensitize paws, extend nails gently, identify the quick, and clip only the hook with scissor-style clippers.
- Trim in short sessions and follow a 2–3 week trimming schedule.
Trimming a cat’s nails can be, to put it politely, a nightmare. It can feel intimidating, especially if your cat fights back; you’re likely to get scratched without even trying. However, research-based handling methods show that most scratches and stress happen for a surprising reason.
Cats often feel insecure during a nail trimming session, which is why they can react poorly. In fact, many experts say that reducing restraint and allowing your cat to feel supported may significantly decrease their chance of defensive scratching. When combined with the correct trimming technique, nail maintenance becomes safe and straightforward.
But what are some of those expert tips and tricks to keep both you and your cat safe during their routine nail trim? Vet technician Teagan Coleman provides insight below on how to trim safely, how far to cut, and what to do if an injury happens. Here’s how to have a successful nail trim with your cat at home, with fewer scratches and stress.
Tools For Trimming Your Cat’s Nails
The less stressful your environment is, the more likely your cat will be comfortable having its nails trimmed.
©fotoedu/iStock via Getty Images
Multiple feline-friendly handling guidelines recommend preparing a low-stress environment for them, which requires a few specific tools and methods. Be sure to gather a non-slip towel, trimmers, treats, and always use gentle handling rather than force. Small, scissor-style trimmers are safest for cats because they minimize any type of crushing pressure on the nail that could be caused by human-style trimmers.
“Keep your cat against you, wrapped in a towel, or even in your lap. They’ll be far less likely to swat at you or scratch you,” Coleman explains. “Plus, keeping them close without too much force will keep trimming safer for both of you.”
You may also want to procure what’s known as styptic powder, a product capable of stopping bleeding quickly if you happen to trim too far. Once you have all of your tools gathered, here’s how to get the job done.
Step-by-Step: How to Trim Your Cat’s Nails Without Getting Scratched

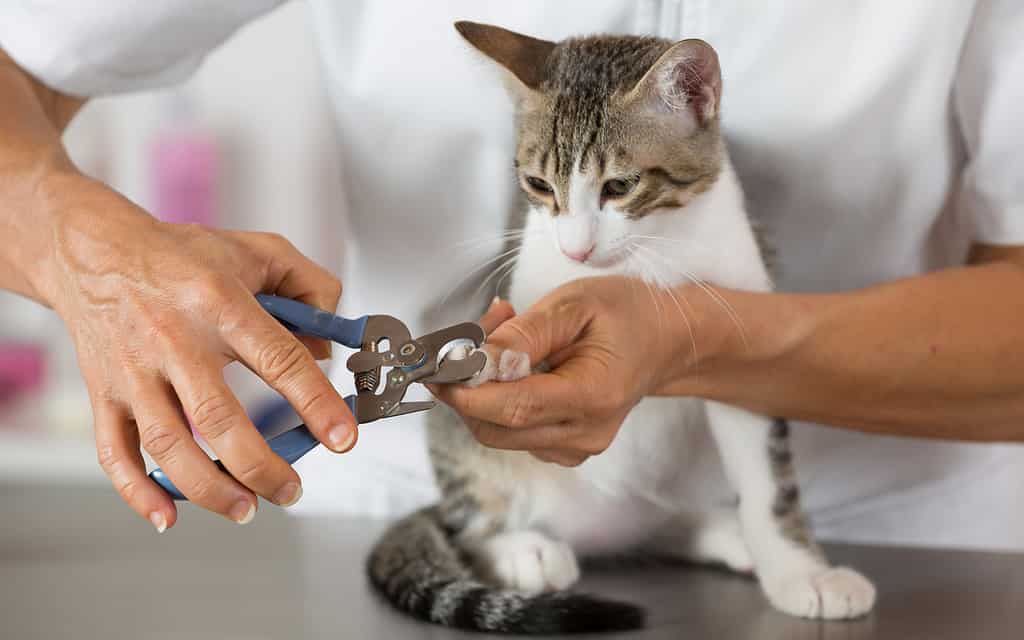
A vet doesn’t have to be the one to trim your cat’s nails. Here’s how to do it at home.
©Dina Photo Stories/Shutterstock.com
There are recommended steps you should try to take before sitting down to actually trim your cat’s nails. Here is your step-by-step guide to keeping both of you safe and trimming your cat’s nails successfully.
1. Desensitize their paws
Before you begin trimming, gently touch your cat’s paws daily and reward them with treats. Short, positive handling sessions reduce your cat’s stress and gets them accustomed to having their paws handled.
2. Extend the nail gently
Apply light pressure at your cat’s toe pad to extend their claws. Avoid squeezing too hard, which can trigger a defensive reaction, likely resulting in you getting scratched.
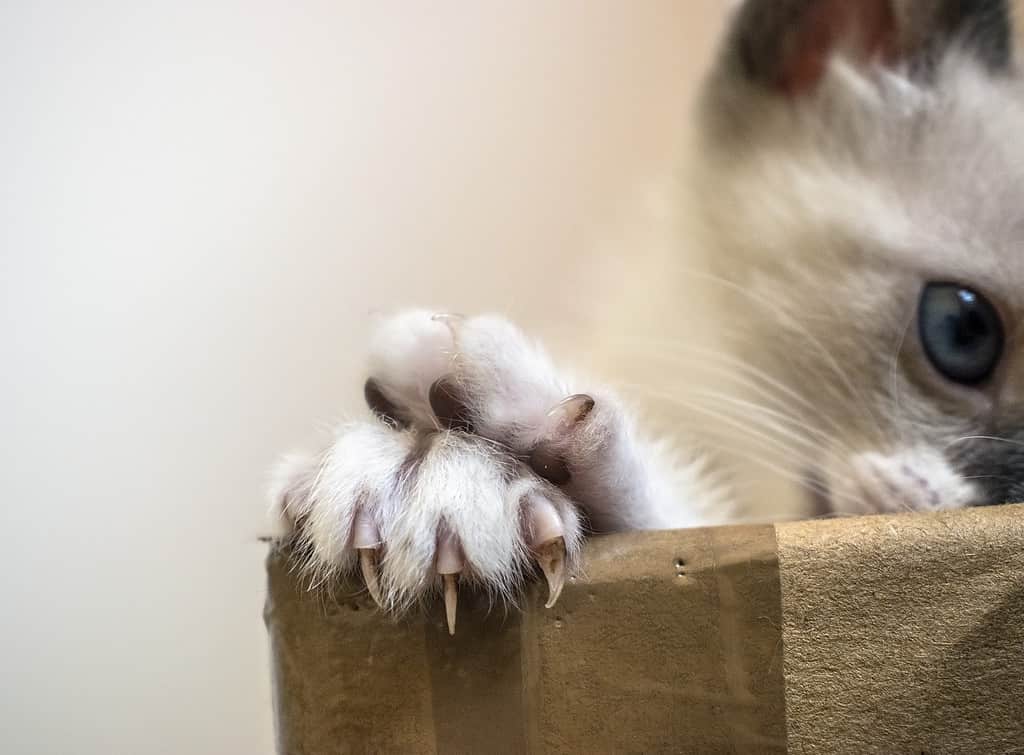
3. Identify the quick
The quick contains nerves and blood vessels, appearing as a pink core in light nails. For dark nails, additional caution and careful identification will be necessary.
4. Clip only the hook of the claw
Coleman notes that, especially with dark nails, “Clipping only the hooked part of the claw is your best bet. Any farther in and you’ll risk cutting the quick.”
Scissor-style clippers provide the cleanest cut, as previously noted. Any other type and you’re more likely to cause damage than get the job done.
5. Trim in short sessions
The stress of your cat should be taken into account during the entire session, so be sure to take breaks and return to trimming at another time if the activity proves too intense.
“One or two nails per session is perfectly acceptable and normal, especially for cats that aren’t used to nail trims at all,” Coleman adds.
6. Reinforce positively after each nail
Food and treats after any trim help your cat view trims positively, strengthening their willingness to participate in the future.
What Should I Do If I Trim My Cat’s Nails Too Short?
If your cat’s nails bleed during trimming, it’s important to have styptic powder on hand.
©brunorbs/iStock via Getty Images
If you accidentally cut the quick, don’t panic; the bleeding is usually mild and stops quickly.
Coleman recommends keeping styptic powder nearby for this exact purpose. “If you trim too close and see blood, apply styptic powder or even a bit of cornstarch and hold gentle pressure for several seconds. It looks worse than it feels to the cat, but leaving it untreated isn’t an option.”
If bleeding persists past 10 minutes or the cat appears incredibly distressed, Coleman suggests contacting your veterinarian to rule out clotting problems or any other issues.
The Best Clippers for Cat Nail Trimming

Many cat nail trimmers come equipped with guards to better protect their quicks.
©Iana Kunitsa/iStock via Getty Images
Scissor-style trimmers with sharp stainless-steel blades are the best and most protective options for trimming your cat’s nails. They allow for precise trimming, better visibility, and reduce nail splitting. Many even have guards to help you from reaching the quick.
“Dull clippers cause cats to jerk because the nail crushes instead of slicing cleanly,” Coleman explains. “Just make sure to get new clippers, and you should be good to go.”
When to Skip At-Home Nail Trims

If your cat seems too stressed, taking them to a groomer or vet for their nail trims may be a better fit.
©Foxhound photos/Shutterstock.com
It probably isn’t best to perform any at-home nail trimming if your cat exhibits high levels of anxiety, such as open-mouth breathing, intense vocalization, or repeated escape attempts. You’ll only increase your risk of injury as well as the potential for injury to your cat. Head to the vet or groomer if the cat’s stress gets too high.
How Often Should I Trim My Cat’s Nails?
With time and patience, most cats adapt to nail trims at home, without you experiencing too many scratches.
©Andriy Blokhin/Shutterstock.com
Multiple sources recommend trimming your cat’s nails every 2–3 weeks, especially for indoor cats whose nails do not naturally wear down the same way as outdoor cats. Nails that snag on fabric or produce an audible clicking sound on hard floors are ready for trimming.
“When nails begin curving toward the paw pad or catching on your carpeting, that’s your signal to trim,” Coleman adds. “When they reach this length, it can be uncomfortable for your cat, and you’re better off trimming, even if it’s stressful.”
Most cats adapt to having their nails trimmed, even if it may take an adjustment period. Keep them comfortable, relaxed, and all nail trimming to a minimum until they’re more used to this routine activity. With your confidence and patience, your cat should manage to make it through without scratching you!