
Geraniums are well-known and loved for their colorful varieties and low-maintenance nature. Yet, many gardeners who plant these lively perennials are shocked when they don’t return in the spring.
Winterizing geraniums is essential for a bountiful return each spring. In this article, we’ll cover choosing the best geraniums for perennial growth and key tips on winterizing geraniums indoors and outdoors.
Let’s dig in!
Winterizing Geraniums 101: Key Considerations
Geraniums are a genus of flowers consisting of over 400 species. While many geranium species are perennials, there are many annual species as well.
The first step in winterizing your geraniums is determining which species you have and whether they’re true geraniums or if they’re actually pelargoniums.
The next step is determining your USDA zone. Geraniums are listed as having a wide range of USDA zones, from 3-11. However, this includes less cold-hardy species and where the flower will grow as an annual. Cold-hardy cultivars will survive winters in zones 4-11. Others will only grow as an annual outside of zones 10-11.
When in doubt, err on the side of caution and overwinter geraniums indoors.
Geraniums vs. Pelargoniums: How to Tell the Difference
Geraniums and Pelargoniums were originally classified in the same genus. Despite being reclassified as separate genera in 1820, many Pelargoniums are still marketed as geraniums.
To help offset the confusion, some geraniums may be labeled as hardy perennials or tender perennials. Hardy geraniums are “true” geraniums and can likely be overwintered outdoors in certain USDA zones. Tender perennials are typically Pelargoniums and should be treated as annuals or overwintered indoors.
You can also look at the botanical name on the seed pack. True geraniums will list the Geranium genus. For example, Geranium himalayense. Conversely, Pelargoniums will list the Pelargonium genus. For example, Pelargonium inodorum.
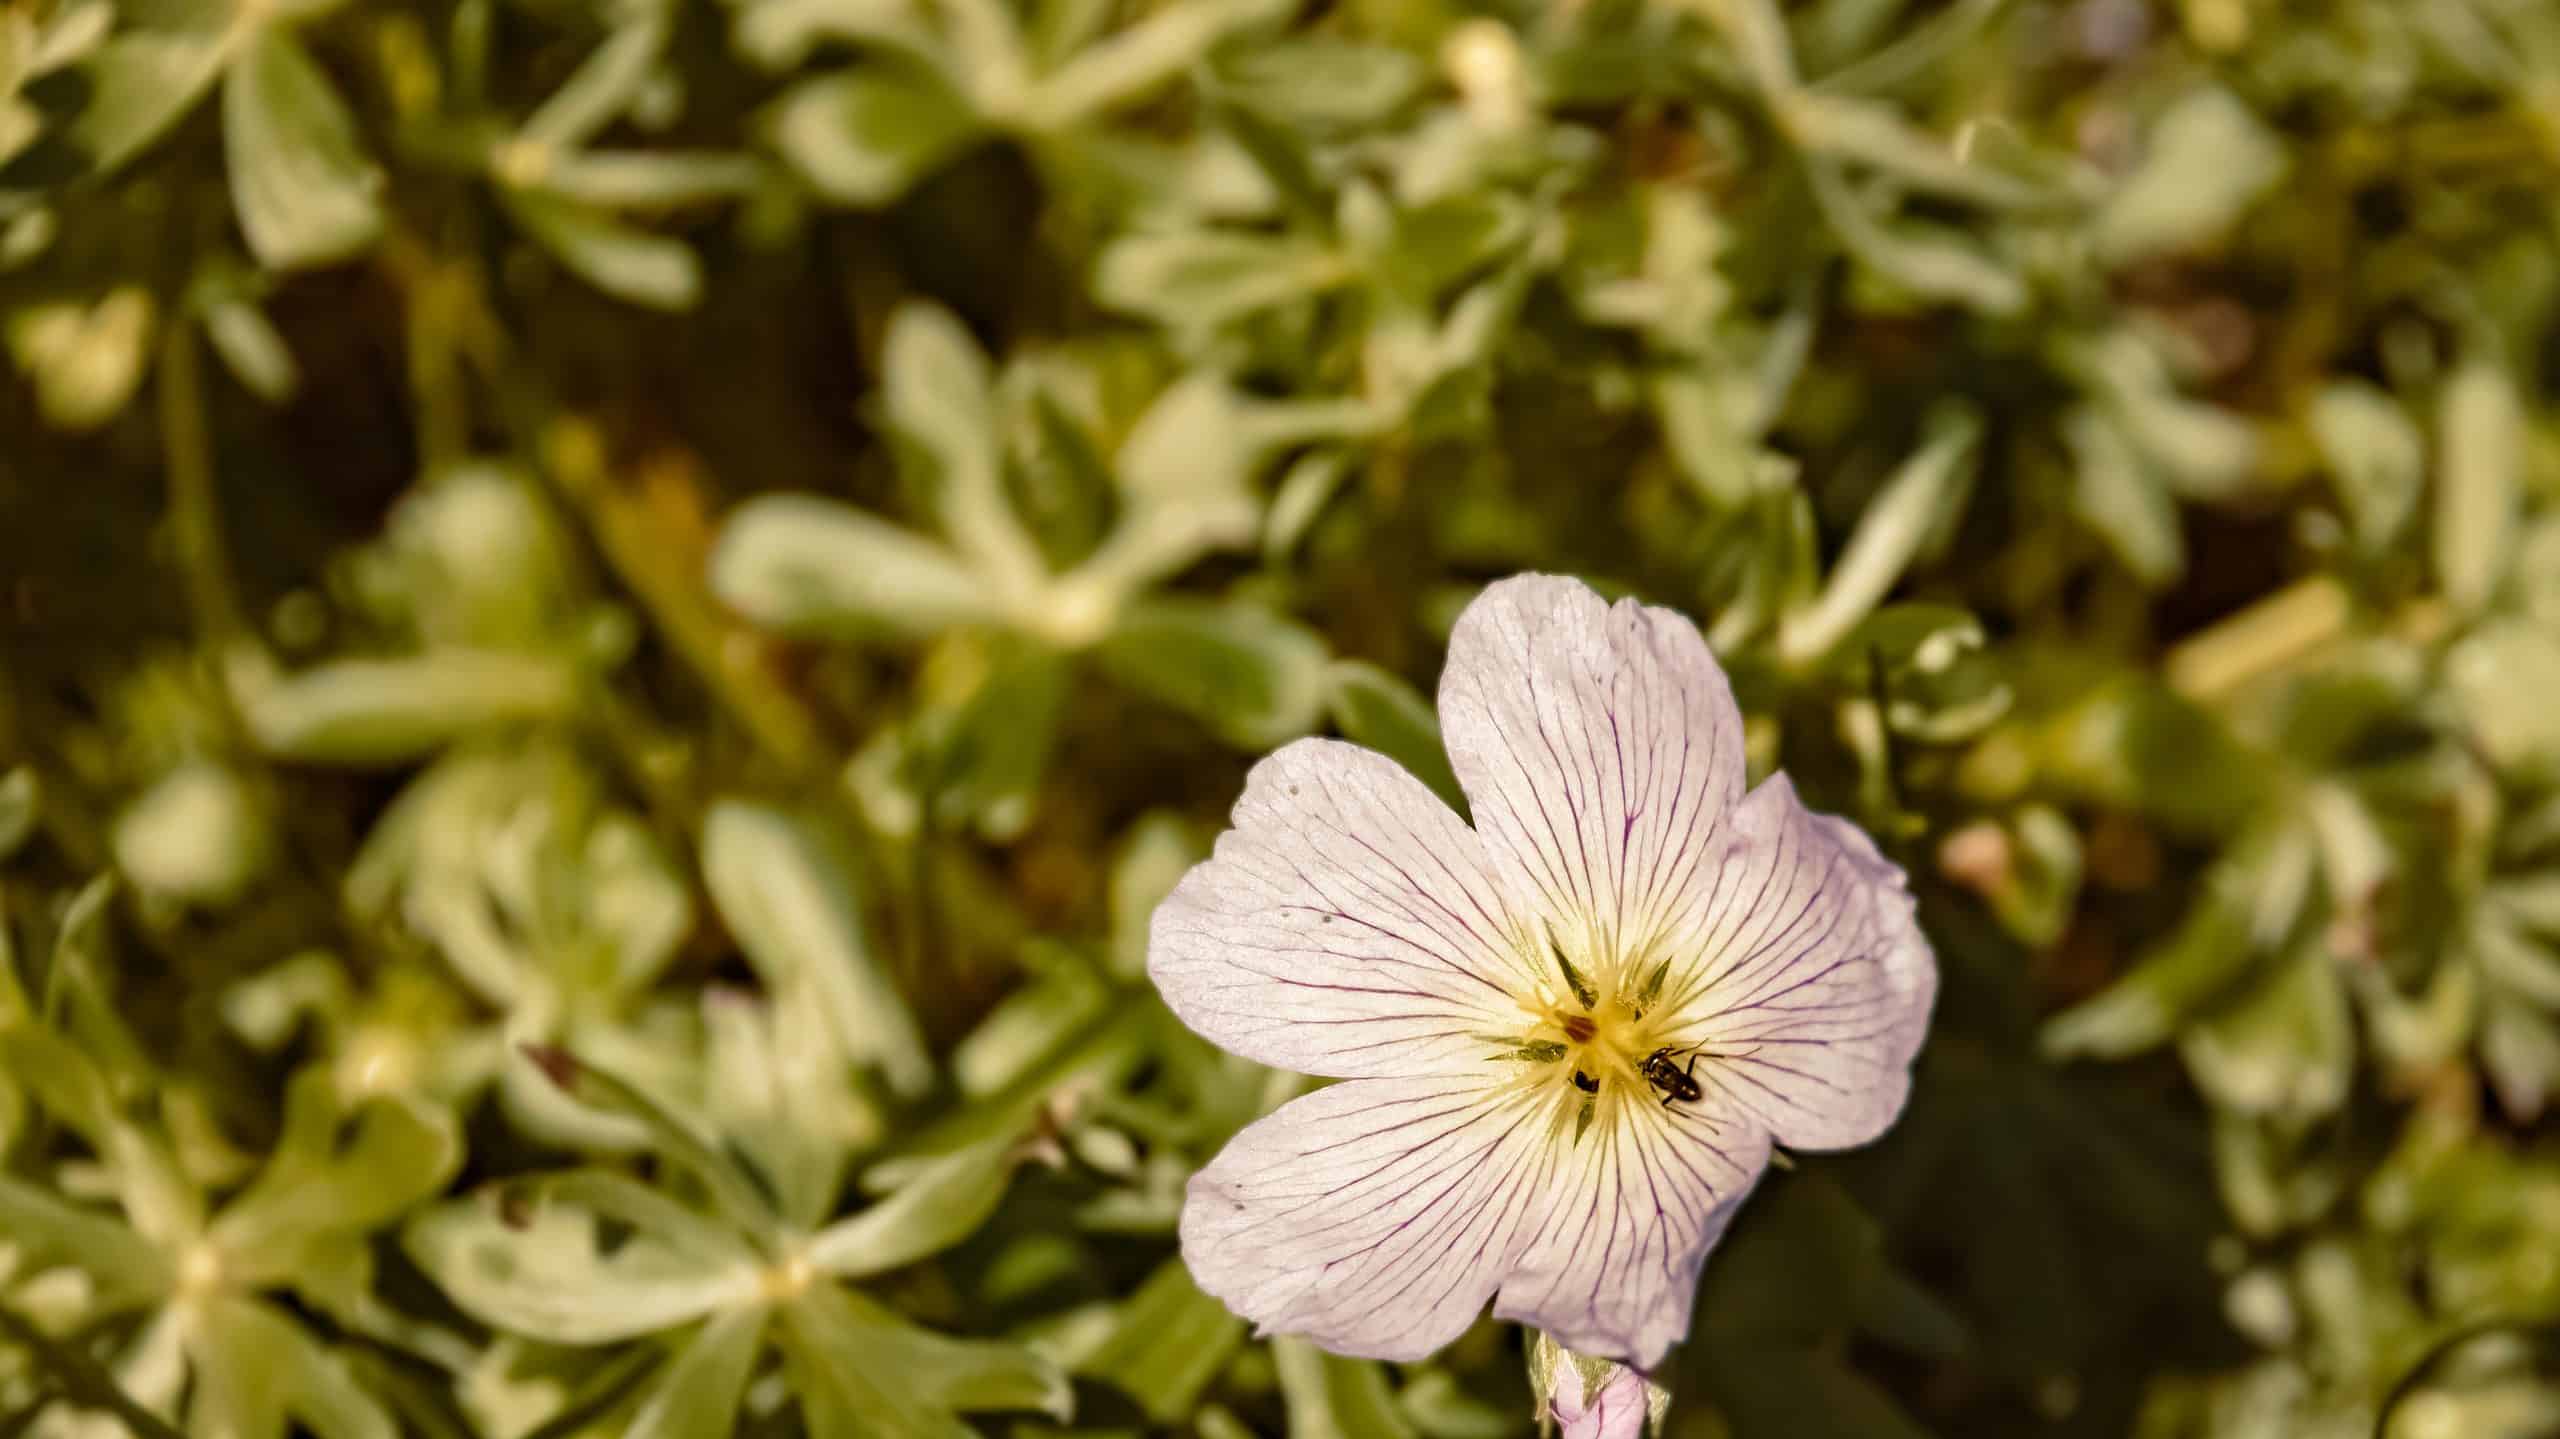
If you don’t have access to the botanical name, you can identify your flowers by differences in the petals. Both Geraniums and Pelargoniums have five petals. However, a true Geranium’s petals tend to be entirely symmetrical and identical. A Pelargonium’s petals tend to be asymmetrical, with the top two petals looking notably different than the bottom three.
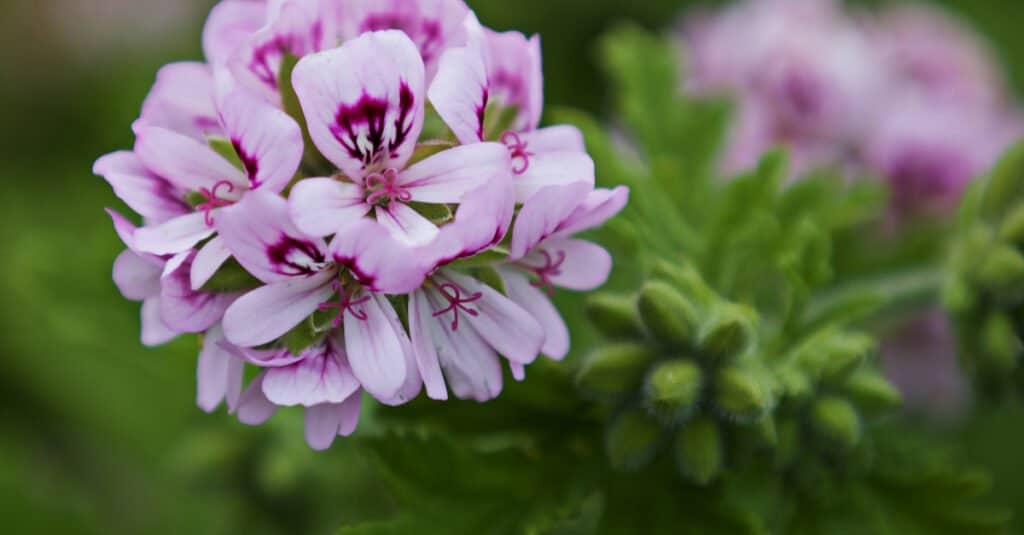
Pelargoniums typically have notable differences between the top two and bottom three petals, as shown here.
©tony mills/Shutterstock.com
Indoor vs. Outdoor Geranium Winterization
There are several pros and cons to consider when determining how best to winterize your geraniums.
Pros of Indoor Winterization
- Superior frost protection – there’s no risk of misidentifying your plants or losing them to unsuspected cold snaps.
- Controlled environment – you have control over lighting, humidity, and other environmental factors that could contribute to a strong blooming season.
- Extended blooming period – if you winterize your Geraniums indoors, they may bloom longer and add a nice touch to your decor.
Cons of Indoor Winterization
- Space requirements – you’ll need a place to safely store your geraniums for the winter, which can be challenging.
- Increased care requirements – you’ll have to be more vigilant about humidity control, watering, light exposure, etc. when interrupting the natural dormancy period.
- Cost and resources – you’ll need additional pots and soil to support your geraniums.
Pros of Outdoor Winterization
- Low maintenance – after you prepare your plants for the winter, you can forget about them until the spring.
- Less labor intensive – no uprooting or cutting your geraniums; provide care where they live.
- Less stress – plants don’t like being repotted or moved. Leaving your geraniums outdoors could cause less stress and harm to your plants.
Cons of Outdoor Winterization
- Vulnerability to cold – if you’ve misidentified the species or have an unseasonable cold period, you could lose your plants.
- Limited blooming period – indoor geraniums tend to bloom longer. Leaving your flowers outdoors will result in a shorter blooming period.
How to Winterize Geraniums Indoors as Potted Plants
Many plant lovers prefer to overwinter their geraniums as indoor plants. Here’s how:
- Start by pruning and inspecting your plants. Cut away dead leaves and flowers, looking for signs of pests or infection. Only take healthy plants indoors.
- Gently dig up your geraniums, transferring them to nutrient-rich potting soil and well-draining pots.
- Water thoroughly and leave the plants outdoors to dry. Ensure you leave ample time before the first frost.
- Bring indoors and place in a temperate, sunny location away from vents and drafts.
- Water infrequently, letting the top inch of soil dry between waterings.
- Monitor for pests and trim away dead foliage over the winter.
- As spring approaches, increase watering frequency. Prune the plants to encourage new growth.
- Move back outdoors after the risk of frost has passed and feed with organic matter.
Your indoor geraniums may or may not bloom, depending on the species, light exposure, and several other factors. If you live in a dark area during the winter, consider supplementing with a grow light.
Geraniums can be grown indoors over the winter.
©iStock.com/MayaAfzaal
How to Winterize Geraniums Indoors as Root Balls
An effective, low-maintenance alternative to growing winterized geraniums as indoor plants is to preserve the root balls in their dormant state.
- Start by pruning and inspecting your plants. Cut away dead leaves and flowers, looking for signs of pests or infection. Only take healthy plants indoors.
- Rinse off the soil from the roots and let them dry in a cool, dry area.
- Place the root balls in a paper bag and store them in a dark, cool area, like a basement or closet.
- Check your geraniums regularly, removing additional foliage or petals as they wither.
- If your root balls look withered, give them a deep soak and hang them to dry entirely before putting them back in their storage bag.
- In the early spring, take the root balls out of the bag and prune back dead growth.
- Place them or plant them indoors in indirect light for 6-8 weeks before the last frost.
- Transfer outdoors after the risk of frost has passed.
Humidity control is paramount for storing dormant geraniums. Consider treating roots with an antifungal treatment if you’re concerned about humidity and mold growth.
How to Winterize Geraniums Indoors as Cuttings
Rather than digging up the entire plant, you can promote continuous growth by propagating your geraniums and growing the cuttings indoors for the winter.
- Choose a healthy, green stem for your cutting, avoiding woody, older growth.
- Use sharp, clean scissors to cut the stem, allowing 3-5 inches of growth to remain intact.
- Dip the end in rooting hormone and plant in potting soil in a well-draining pot.
- Provide a deep watering to the planted cuttings.
- Cover in plastic wrap or a bag and set in bright, indirect sunlight away from drafts and vents.
- Water regularly until roots are established.
- When roots are established and each cutting shows signs of growth, transfer the cuttings to individual pots.
- Water the transplants regularly and keep them in a sunny window or grow light until spring.
- After the risk of frost has passed, transplant your geraniums to the garden.
How to Winterize Geraniums Outdoors
If you live in USDA zones 10-11 or have a cold, hardy geranium variety, you may be able to overwinter your geraniums outdoors.
If you’re unsure of your geraniums’ species or live in an area prone to extreme cold spells, consider saving some of your geraniums indoors as you test this method.
- Deadhead flowers and remove withering foliage.
- Stay diligent in removing fallen leaves and other debris as the first frost approaches.
- Continue watering until the first frost.
- After the first frost, cut your hardy geraniums back. Light frost exposure is good for hardy geraniums!
- Add a deep layer (3-4 inches) of mulch over your geraniums to protect the root system.
- Wait until the ground starts to thaw with no noticeable icy patches in the spring. Then, remove the mulch to let your geraniums breathe.
- Take note of the first frost dates and thaw dates for next season!
Consider fertilizing with organic materials to encourage growth after removing the mulch. Note whether your efforts were effective. If not, overwinter indoors going forward.
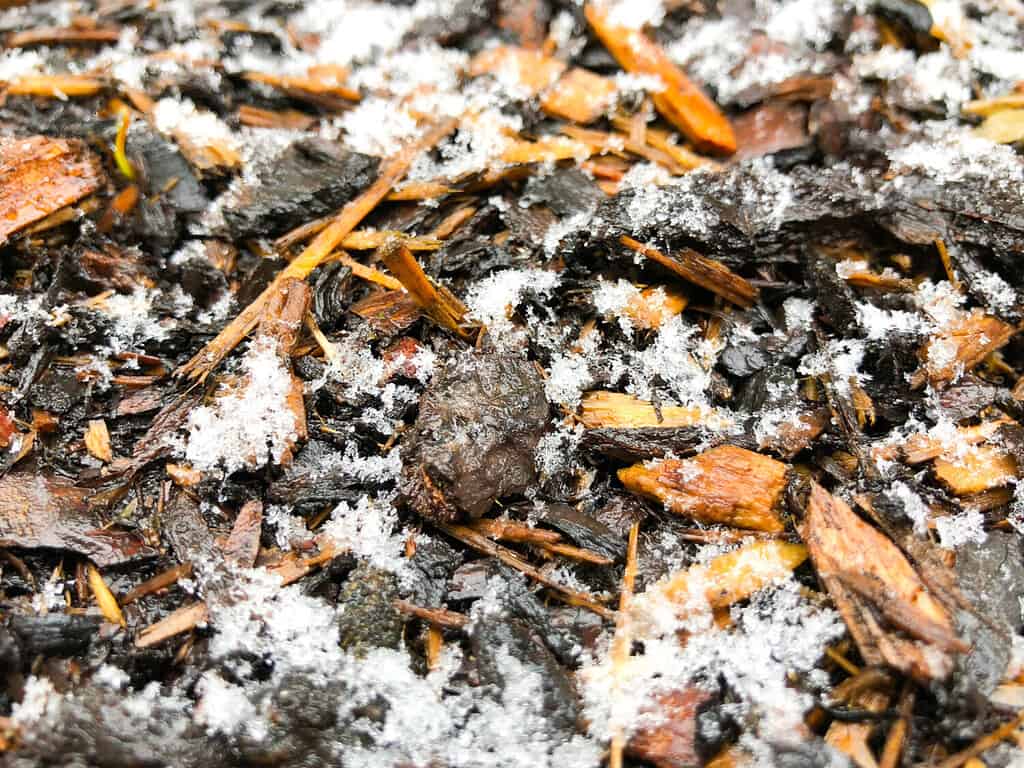
Adding a thick layer of mulch can help protect cold hardy geranium varieties during the winter outdoors.
©Ilaha Aliyeva/Shutterstock.com