
Although lengthy, growing your roses from seed is a rewarding process. With a bit of patience and persistence, anyone of any skill level can do it. There are several steps that you will need to follow on your journey and a couple of aspects of the process that you should consider before getting started.
Things to Consider
Before moving forward, know that growing roses from seed is more difficult than growing them from cuttings. Rose seeds harvested from hips must undergo a process called cold stratification before they will germinate. The entire germination process takes about 3 months to complete, so you’ll need to be patient. Even after stratifying, germination rates can be fairly low. If you’re harvesting your seeds, gather more than a few to ensure that you’ll end up with enough plants to accomplish your goal.
You will also want to consider that new rose bushes can take two to five years to begin producing flowers. Planting roses that have already started growing will speed up this process, but older plants are more expensive to purchase than seeds. Rearing your rose bushes from your own harvested seeds can save you some upfront costs, but the whether the trade-off is worth it is up to you.
The last consideration to make is that roses grown from seed will most likely differ from their parent plant. Because there are multiple genetic inputs when a plant generates a seed, flower size, color, and shape will probably not be true-to-type. If you’re looking to grow plants that are the same as the ones you’re already growing, you’ll want to propagate them from cuttings instead. On the other hand, by working from seed, you may end up with a wonderful new hybrid!
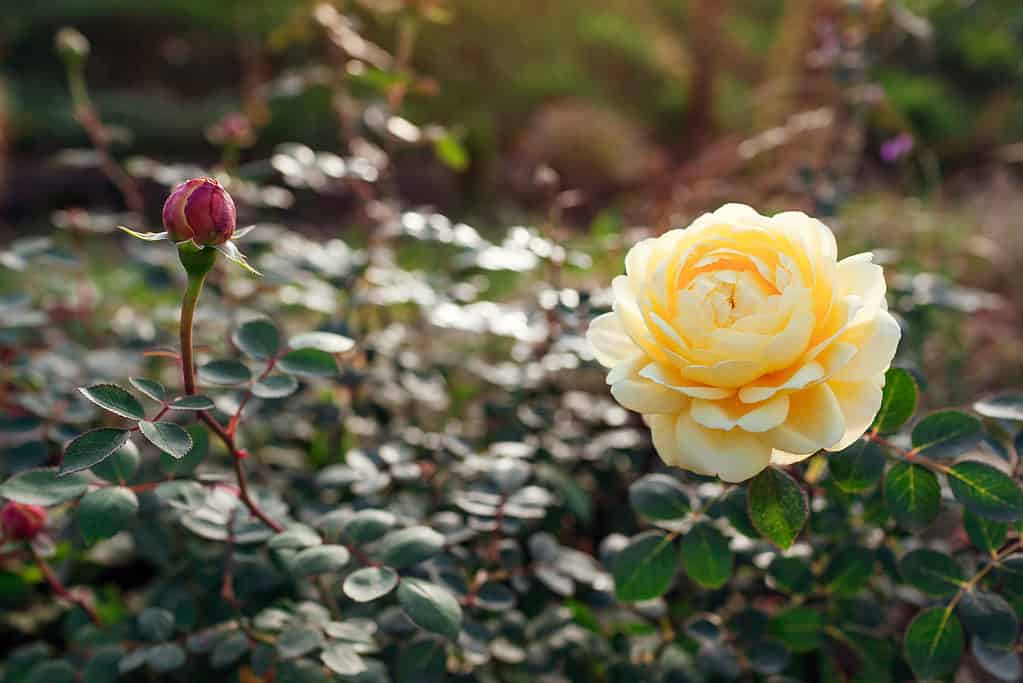
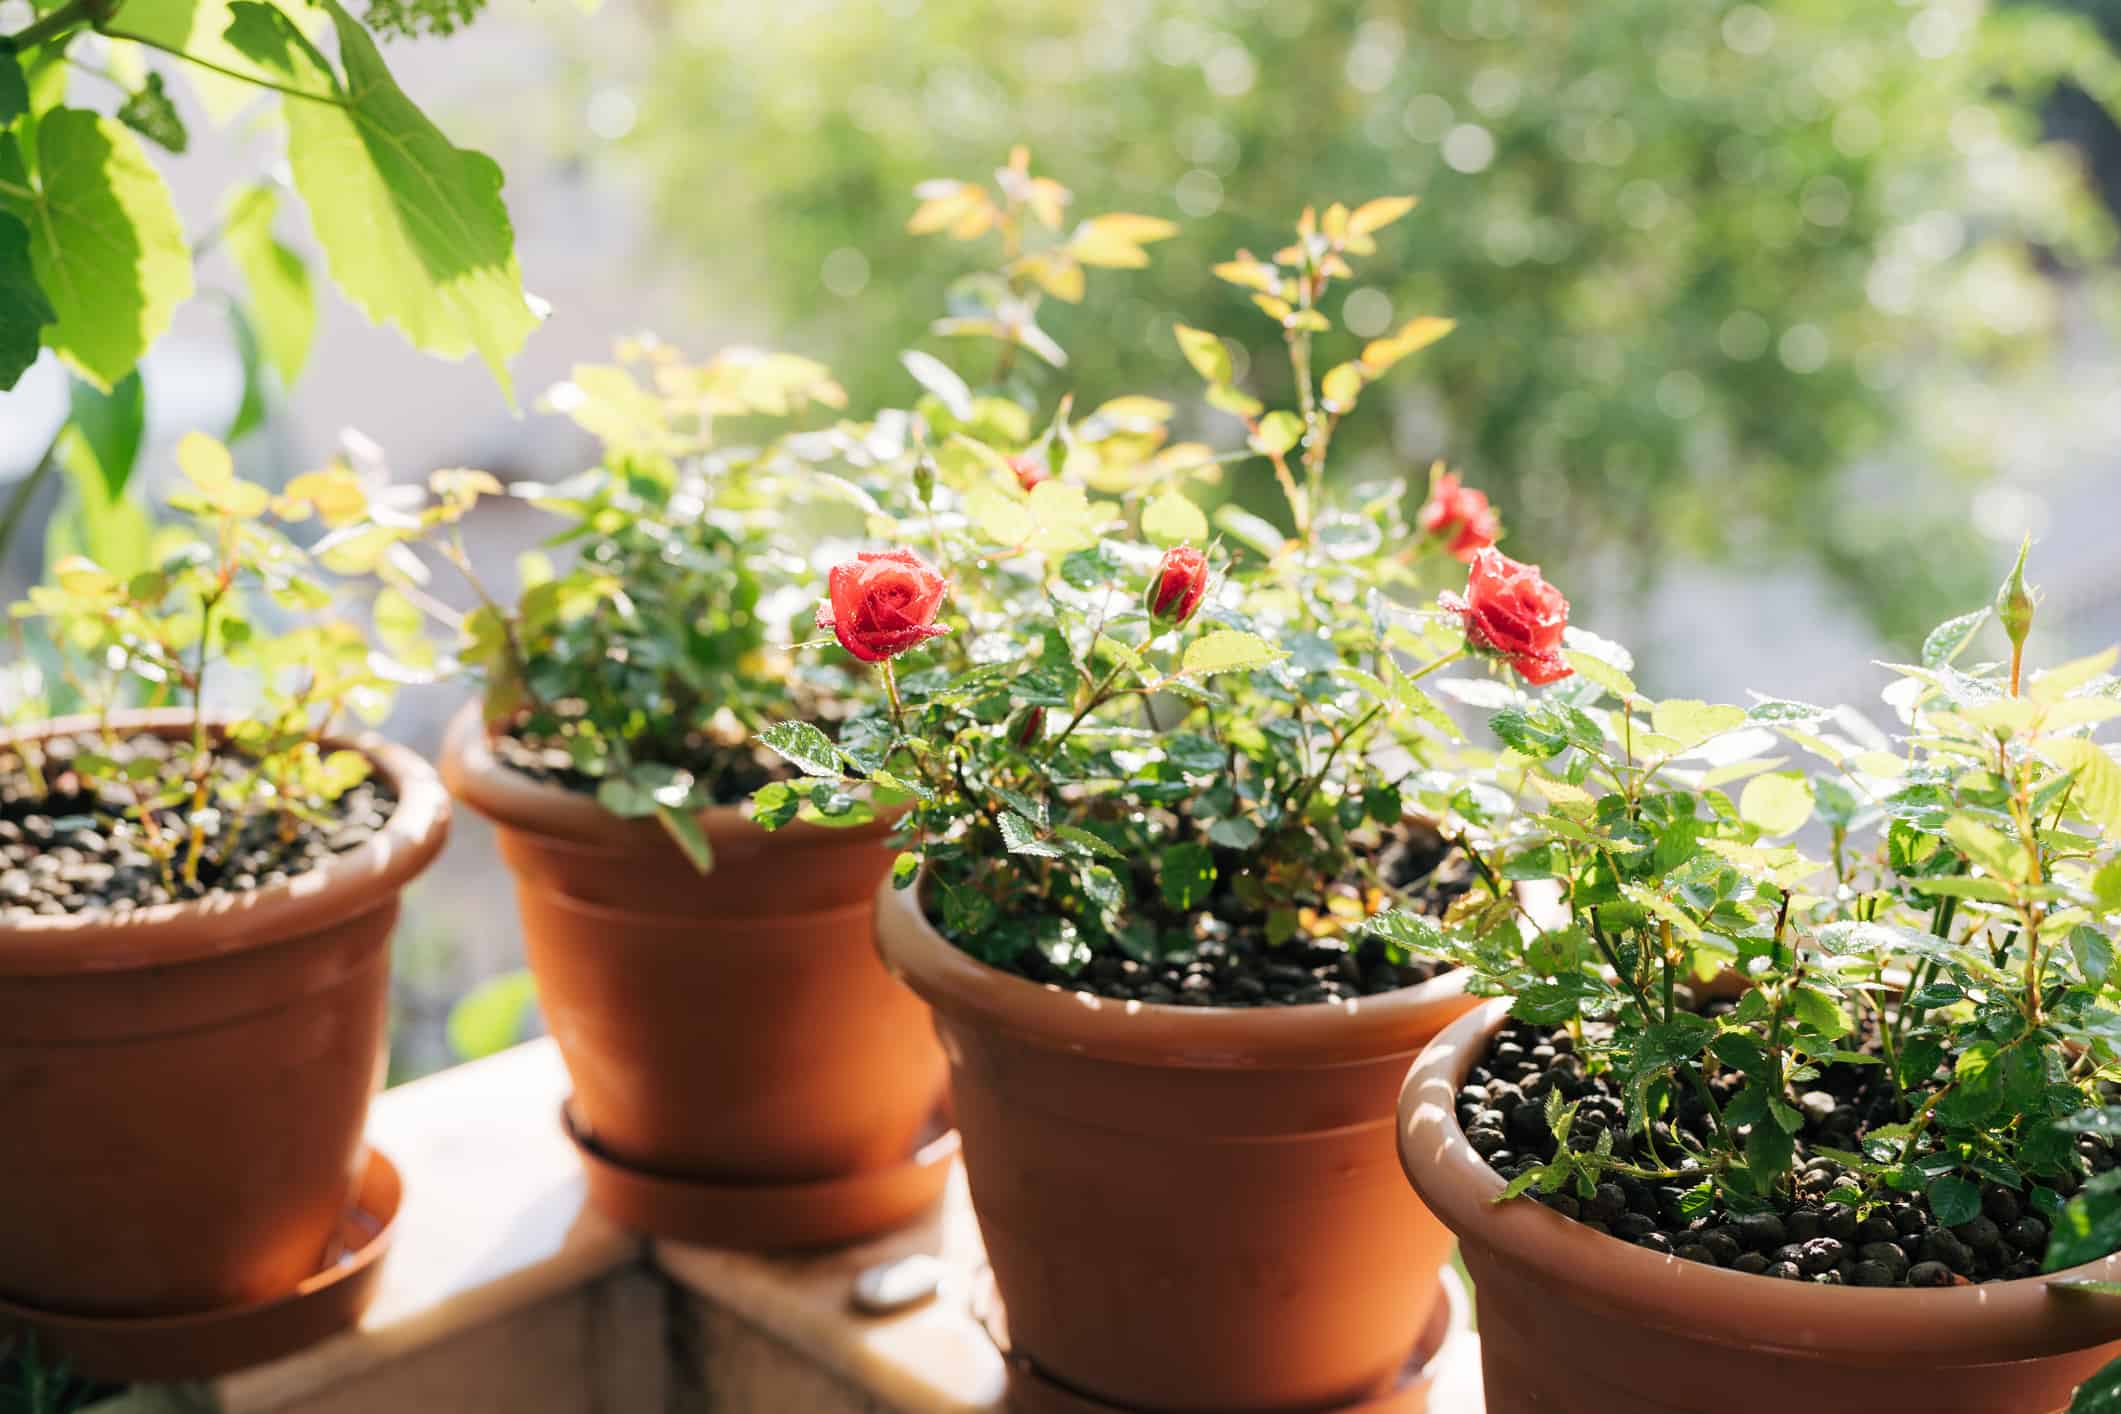
Impressive, prolific rose bushes can take a long time to grow when starting from seed. However, you’ll have the satisfaction of participating in the plant’s entire life process. You may even end up with an exciting new variety!
©iStock.com/Maryviolet
How to Grow Roses from Seed
If you’ve made these considerations and are still reading, that’s great! Below, we’ll tell you how to harvest your rose seeds. We’ll also outline the process of stratifying, germinating, and planting your rose bushes from the seeds you collect. This process, though long, is not complicated and makes growing your roses even more rewarding.
One more note: Although you can purchase commercially available seeds to speed up the process, we’re going to focus on growing roses from harvested seeds for this article. If you choose to purchase your seeds, the process is the same. You’ll be able to skip the cold stratification process, though, as commercial growers will have stratified them before packaging.
Collecting Seed
The first step in growing your new roses from seed is, of course, to acquire the seeds. Since we’re harvesting our own, they’ll come from the fruits that appear in the months after your plant’s blooms begin to fade. These fruits called rose hips, start green but will ripen to red or orange in the late summer or fall. Sometimes, depending on the cultivar, rose hips may remain green or turn yellow, purple, or black. Regardless of the color, you can be sure your plant’s hips have ripened if they readily squish between your fingers. Once your plant’s hips have fully ripened, harvest them by snipping them from the plant with a pair of clean, sterilized shears.
Now that you have a harvest of rose hips, we’ll need to open them up to collect the seeds. Split open each hip to reveal a multitude of seeds and fruit pulp, and then scoop them off into a bowl of clean tap water. Gently agitate the seeds in the water to separate them from the pulp, and then strain off the cleaned seeds. At this point, you may wish to briefly wash your seeds once more in a very dilute bath of bleach or hydrogen peroxide. This step is entirely optional. However, because this solution kills bacteria and fungal spores on the seed surface, many gardeners choose to coddle their seeds and give them the best possible start. If you choose to bathe your seeds, be sure to rinse them off well afterward.

Many rose cultivars will produce plump, red hips. Squeeze or cut them open to collect seeds! Since you’ve already removed the seeds, why not sample the edible fruit?
©Iva Vagnerova/Shutterstock.com
Cold Stratifying
Now that we have acquired and cleaned our seeds, we need to cold-stratify them. Subjecting your seeds to cold temperatures for 60–90 days simulates the kind of winter environment they would experience outdoors. A rise in temperature after this period signals to the seeds that spring has arrived and that it’s time to germinate. To grow roses from seed, you should cold stratify them — they may not germinate for a very long time without this step.
To cold-stratify your seeds, you have a couple of options. Both require a refrigerator or, if you live in a mild-wintered area, a cool space that will not freeze. A detached garage or shed are great options in those locations.
One approach to stratification is the bag method. To use this method, you’ll fold your cleaned seeds, spaced apart, into a damp paper towel or bundle of peat moss. If you’d like, you can dampen your medium with a 1:1 mixture of water and 3% hydrogen peroxide to help prevent mold. Once the seeds are situated, carefully put your medium into a sandwich bag and record the date. Then, place the bag in a location where temperatures will remain between 34 and 36 degrees Fahrenheit. Check on your seeds periodically to make sure they aren’t drying out. About 60 days from your recorded date, you’ll be ready to move forward.
The second method is much the same as the first. Instead of a bag, however, you’ll place your cleaned seeds directly into seed start trays. Each seed should sit about a quarter-inch below the surface of the seed start mix. Once you’ve planted your seeds, cover the tray in plastic wrap so it doesn’t dry out. Remember to mark the date! Although this method is more space intensive, your seeds will emerge from the fridge a step ahead.
Planting
Now that your seeds have stratified, it’s time to plant them in the proper growing medium. If you’ve used the start-tray method of stratification, your plants are already well on their way. If you’ve used the bag method, however, your seeds will need to be moved.
Move your seeds into pots or start trays, taking care to plant each seed about a quarter-inch into the soil. After planting, give the soil a good initial watering and place it in a sunny location. Remember to keep an eye on your tray throughout the germination period. The soil should stay moist (but not wet) the entire time. Do not allow the soil to dry out. Additionally, if there is still any danger of frost, you’ll need to keep your seeds sheltered until they are old enough to plant in the ground.
As the weather begins to warm, your new rose seedlings should emerge from the surface of their soil, bearing their very first leaves. These leaves, called cotyledons, look quite different than the plant’s true leaves. They use energy stored in the seed to begin photosynthesis and kick-start your plant’s new life. Once your seedlings are a few inches tall and have developed a couple of sets of true leaves, you can safely transplant them outdoors or into a new pot.