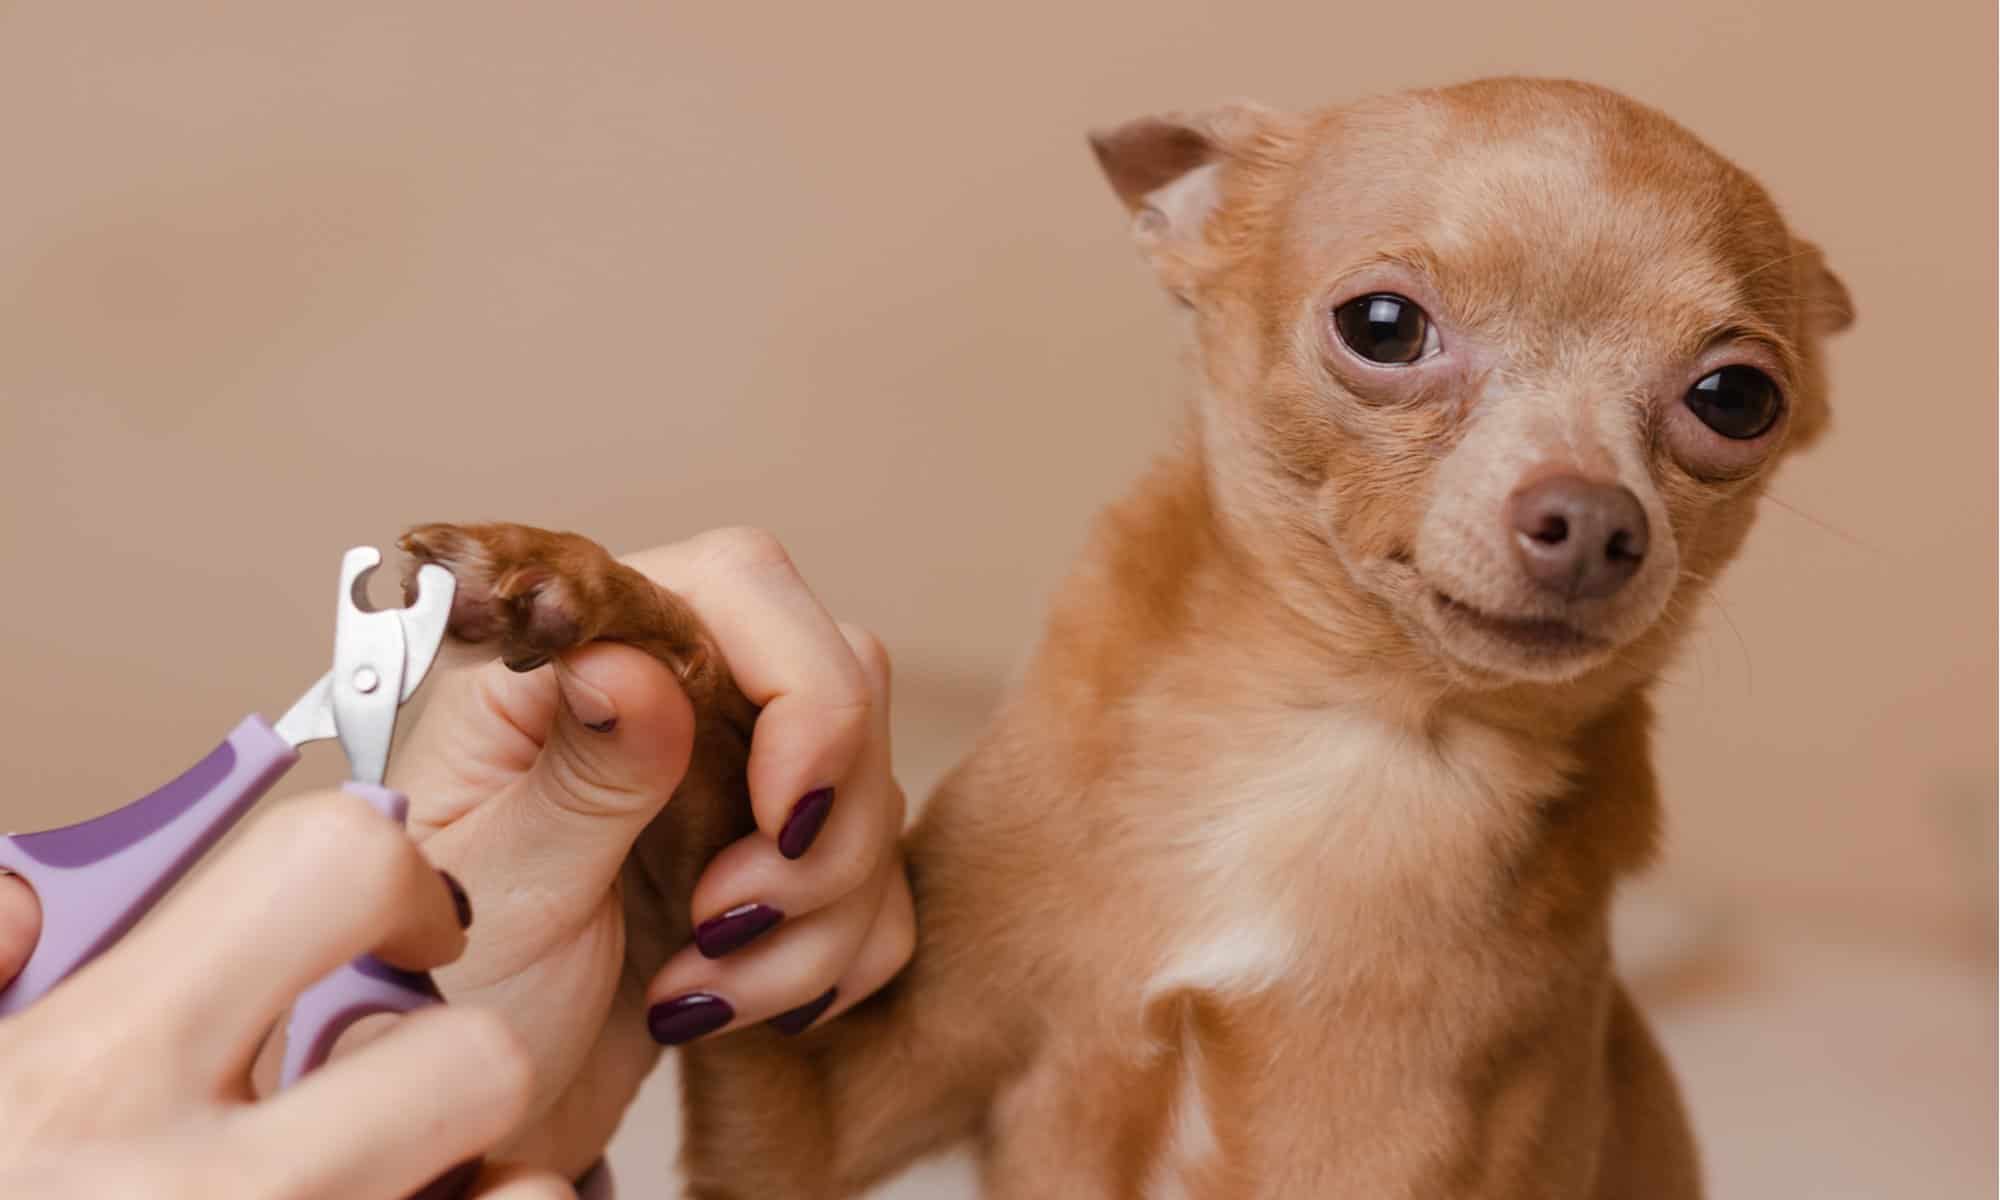

Having a dog (or a few!) is great — but sometimes the upkeep and maintenance can be a chore. For example, cutting a dog’s nails proves to be the bane of many dog owners’ existence. Unlike humans, for whom a trip to the nail salon is a treat, dogs generally dislike the feeling of clippers or trimmers taking off parts of their nails.
Sometimes squirmy dogs shift during their nail session and accidentally make you snip a little too high up, resulting in a high-pitched wince and a little bit of blood. Though it might be your knee-jerk panic reaction, that’s not the best course of action.
While it’s not the best situation, it’s pretty easy to fix. Keep reading to discover six steps to take if you cut your dog’s nails too short.
Dog Nail Anatomy
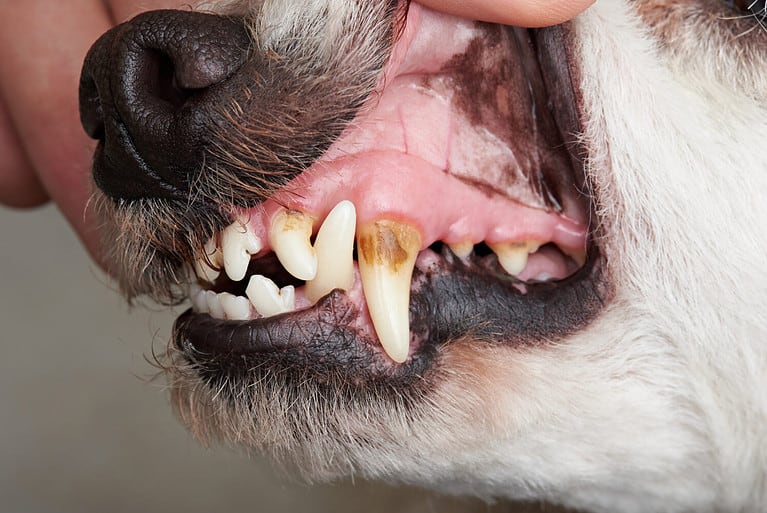
When cutting your dog’s nails, know where the quick is.
©Reshetnikov_art/Shutterstock.com
Did you know that dog nails have a few different parts to them? Outside of the toe pad and paw of a dog’s feet, two major parts make up a dog’s nails: the quick and the shell.
The quick is the inner part of a dog’s nail. You can think of it like a human’s nail bed. It’s where both the nail’s blood supply and nerve endings are, which is why the nail bleeds if you accidentally nick the quick instead of the shell. Beneath the quick is the dog’s bone, so it acts as a sort of protective barrier.
A dog’s nail shell is exactly like what it sounds: the outer part of the nail is a hard layer of claw. You can liken this to a human foot or hand to the nail plate.
Like humans, dogs don’t have feeling (or at least, nerve endings) in the actual hard part of the nail. The quick, however, has nerve endings that send signals and sensations to the brain if a nail snaps, shatters, or gets clipped too high.
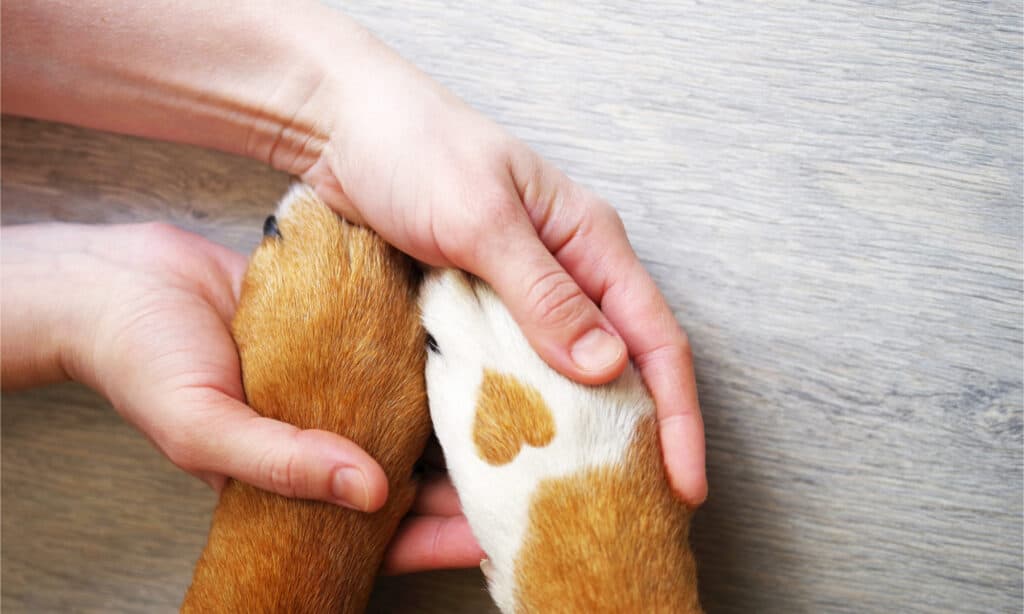
Step 1: Stay Calm
Keeping calm after you nick your dog’s quick will help keep them calm, too.
©iStock.com/Mumemories
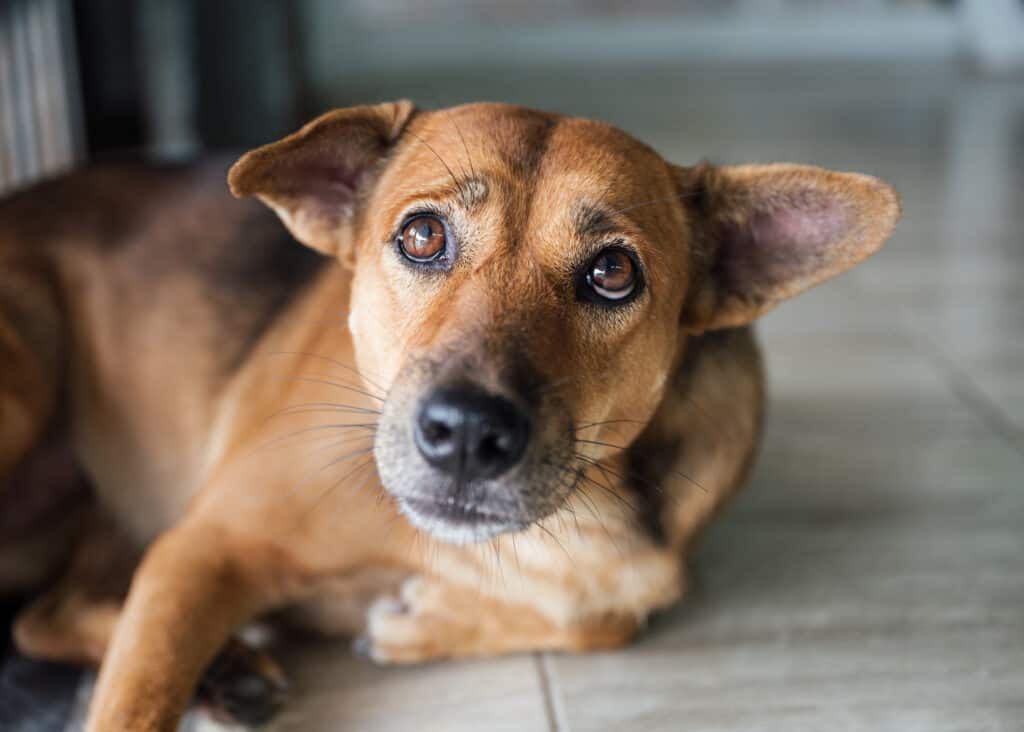
The wince, cry, or whine of your pup is heartbreaking — especially if an action you take is what incurred the noise. It’s easy to panic in these situations, especially if it’s your first time accidentally nicking your dog’s quick or if blood begins to flow.
Try your best to stay calm and control your emotions.
Dogs are sensitive, empathetic creatures. Just as they know when to be wary of an intruder or when you’re sad, they can sense the fear or panic in you. They’re the one that is hurt, so this shift in your demeanor can make them panic more.
Additionally, excessive petting or worrying over your dog can either hype their adrenaline more or create a more dramatic situation. If you have a habit of “babying” or “fussing” over your dog when they get hurt, this remains especially true. Their keyed-up response will make it harder for you to treat the injury and keep them off the foot.
The best thing to do: take a deep breath, assess the damage, and proceed to take care of the injury with a normal attitude. Throughout the treatment process, compliment your dog for their patience, courage, and bravery, and provide some tasty treats.
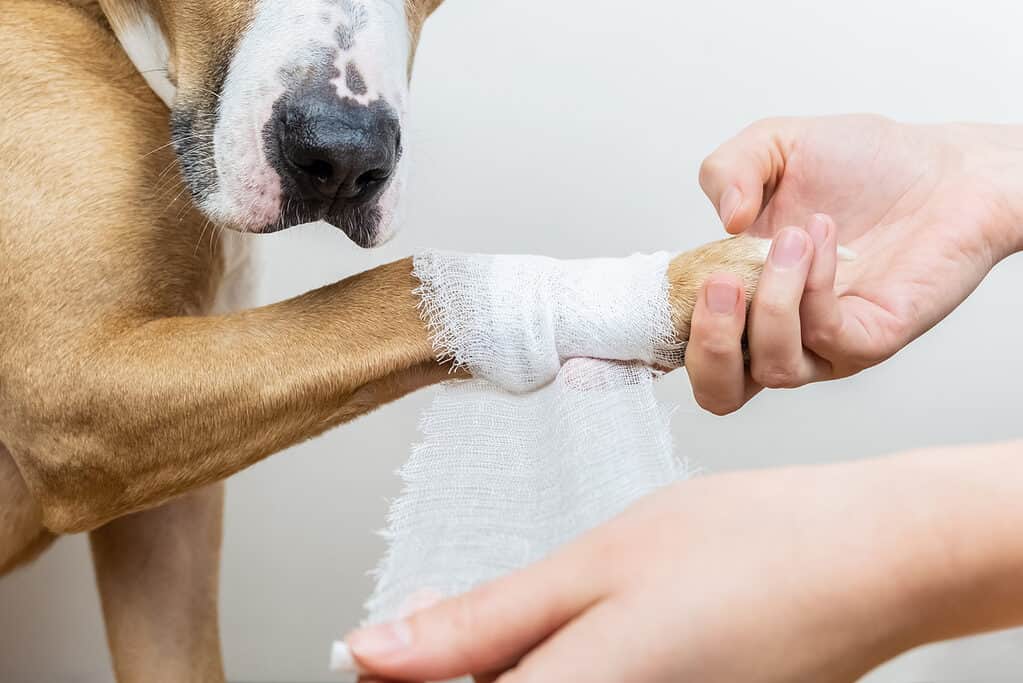
Step 2: Put Some Pressure on It
As a dog owner, know how to treat an injury — and when to take your pup to the vet.
©Liudmyla Guniavaia/Shutterstock.com
This cut is just like a scratch, cut, or gash a human would get — pressure slows the bleeding and enables the platelets in the blood to do their job. Platelets remain vital to the clotting process, so if you’re able to stop the flow of blood out of the injury, the platelets can build around the edges of the wound and start the healing process quicker.
When you realize you’ve cut the quick, try your best to take the injured paw and apply firm pressure to the nail tip with a clean cloth. Your dog may pull back; they’re hurt, and they want to protect themselves. Use calming tones and stroke their fur to comfort them, and show them by gently touching their paw that you want to help. Do not squeeze your dog’s toe.
Keeping in line with “don’t panic:” avoid grabbing your dog’s paw quickly or tightly. You need to stop the bleeding and make them feel comfortable. If your dog absolutely won’t tolerate you pressing the injury, it’s fine. You can move on to the next step.
Step 3: Hold Something Cold to the Area
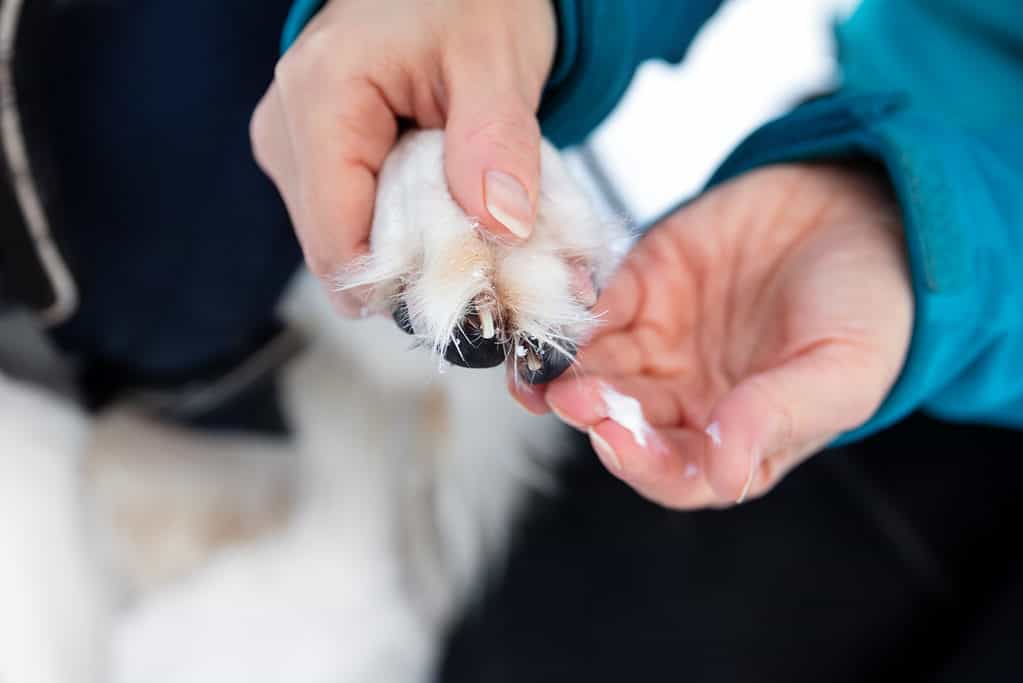
Cold can help your dog’s nail heal itself.
©Miriam Doerr Martin Frommherz/Shutterstock.com
Because cold temperatures cause blood vessels to shrink, you can minimize blood flow with a cold rag or compress. If your dog doesn’t like the pressure on the nail, they may not allow you to hold something cold to their paw, either. Conversely, a cold pack (wrapped in a thin towel), an ice cube, or a rag run under cold water might feel soothing to them and they may allow you to keep it there. If they do, hold it as long as your dog will allow you; between three and five minutes at least.
If your dog won’t allow you to hold something cold to their nail, that’s okay. Go ahead to the next step.
Step 4: Stop the Bleeding
The easiest way to stop the bleeding of a nail’s nail is to apply styptic powder.
©savitskaya iryna/Shutterstock.com
Quick cuts usually stop on their own after two to four minutes. That’s still a handful of minutes of bleeding, though, and if your dog didn’t allow you to put pressure or cold on the injury, you want to ensure the healing process begins as soon as possible.
If you have a dog nail kit, it may or may not have come with styptic powder. Styptic powder is a handy tool that quickly stops bleeding in nail clippings — or even minor cuts. It’s an antiseptic clotter that contracts the nail’s blood vessels to stop bleeding and keep bacteria from entering the bloodstream.
Not every dog owner has styptic power handy, though, so you can use some alternatives you definitely have at home.
- Ice cubes. This will help numb the pain and slow blood flow. Place an ice cube on the tip of the nail, or wrap it in a thin cloth and then place it to the tip. Hold it there for at least five minutes.
- Soap bar. If you have a fragrance-free or mild soap bar handy, it can double as a clotting agent and disinfectant. Soften a portion of the soap bar and gently push the affected nail into it. You may not get it to stick the first time, so keep calm and keep trying. Make sure the soap topper stays on your dog’s nail for at least five minutes.
- Cornstarch, baking soda, or flour. Cornstarch is the best choice, but if you only have flour or baking soda, that can work too. Place a pile in your hand and press your dog’s bleeding nail into it. Make sure the powder coats the affected area. With proper coverage, blood should have more than enough cornstarch to latch onto.
Another option is potassium permanganate, but most homes don’t have that handy.
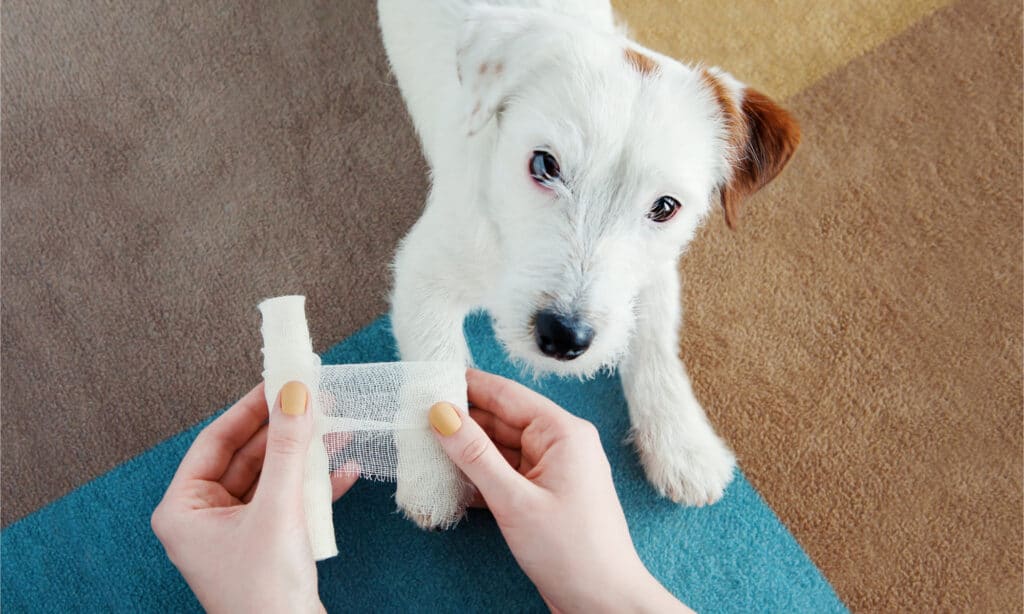
Step 5: Bandage It
Bandage the paw to ensure it have the proper time and space to heal.
©iStock.com/photoboyko
You’ll want to cover your dog’s entire paw, not just the toe, to prevent the blood vessels from reopening and bacteria. The best choice for dog bandages are the ones made for dogs. When applying them, make sure there’s enough room for a finger to slip inside — this ensures the bandage is tight enough to protect the wound but loose enough to let the skin breathe.
Pet owners would benefit from having a pet first aid kit at home. If the injury happens and you don’t have one handy, you can use sterile gauze meant for humans and elastic tape.
You should not use any sort of liquid bandage, Neosporin, or another type of human-grade medicated bandage for your dog.
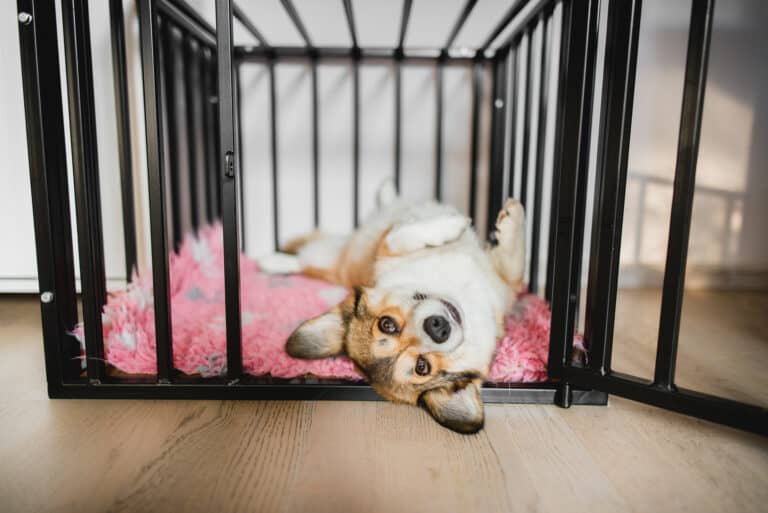
Step 6: Keep an Eye on the Injury
Don’t let your dog lick their injured paw until it’s healed.
©iStock.com/shotbychatty
After you’ve cleaned and dressed the wound, try your best to keep your pup off that paw for the time being — at least 30 minutes. Prevent your dog from licking their nails or the bandage. If your pup puts too much pressure on their bandaged nail, they run the risk of erupting that blood vessel again. If they lick extensively, they could transmit the bacteria in their mouth to the open wound.
For the rest of the day, keep an eye on your pup. If they limp extensively, blood starts to appear through the bandage, or extreme swelling occurs, consult your vet for next steps.
How to Avoid Cutting Your Dog’s Nails Too Short in the Future
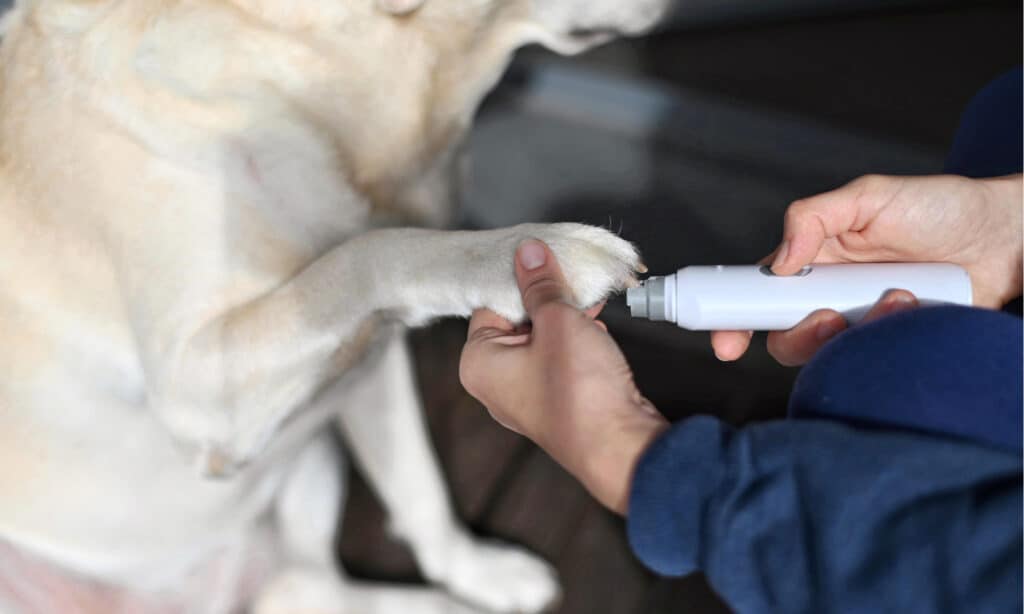
Electric trimmers can help you avoid your dog’s quick.
©invisible invisible/Shutterstock.com
Whether your dog hates the groomer or you’d like to save money by doing the job at home, you’ll probably have to cut your dog’s nails in the future after the quick-cutting incident. Allow them to be a little wary; dogs have a great memory when it comes to what inflicted pain on them. However, you can make the activity less stressful for you both with a few simple tricks.
Do Your Homework
After your dog’s nail heals, get them acclimated with you touching their paws without the clipper nearby. Use this time to get to know their nails. If your dog has dark black or brown claws, it’s difficult (or impossible) to see the pink quick through the shell. Look up pictures and videos of vets and groomers cutting the nails of the same breed.
It’s also smart to cut millimeter by millimeter. Start with the very tip, and only cut until you see the “pre-quick,” or a section of the nail that appears to be a small dot during cutting. That’s right before the quick, and going any further may cause your dog’s nail an injury. Depending on the color of your dog’s paws, the pre-quick may be black or pink in color.
Hand the Job to a Professional
Maybe cutting your dog’s quick was the sign you needed to use a groomer. That’s fine! Both groomers and vets offer nail-cutting services and have much more practice than you probably do. It’s completely okay to let a professional cut your dog’s nails — just remember to make appointments periodically so your dog’s nails don’t overgrow. Overgrown nails can lead to even more foot trauma.
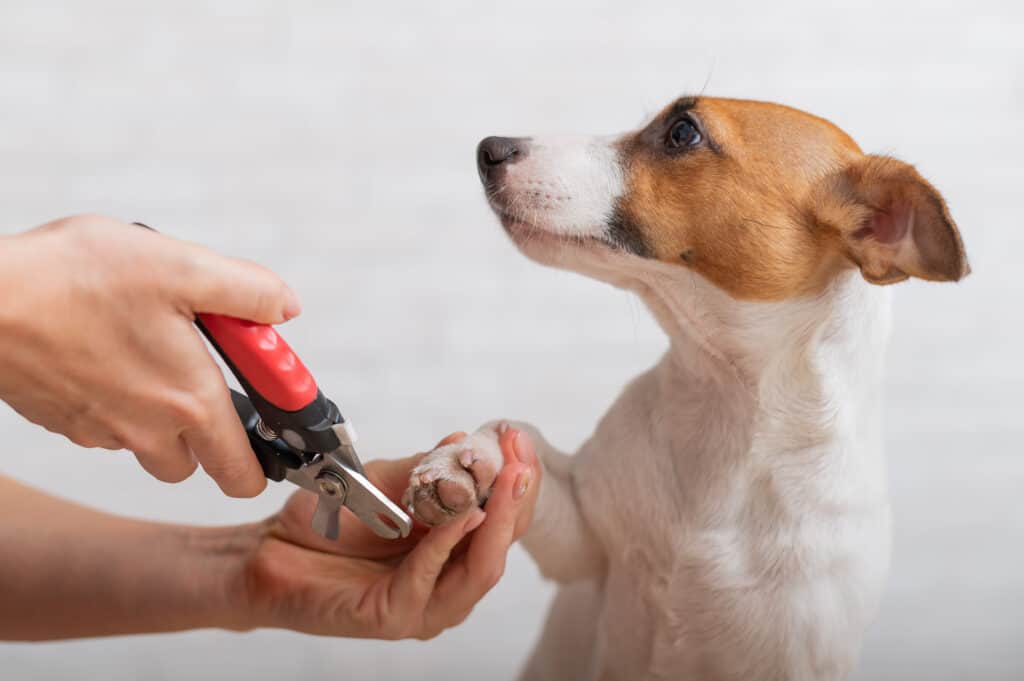
Keep Your Dog Calm
Make nail clipping a fun or relaxing time. If you’re stressed about the act even before the clippers come out, your dog will be too. Instead, consider making some of their favorite treats, playing with them beforehand, or purchasing a harness. All three methods can keep your dog still so you can avoid accidentally quick clippings.
Try a Grinder or File
Clippers aren’t the only way to trim your dog’s nails. Your dog may do better with an electronic grinder or file that slowly shaves off the nail rather than snapping it in one go.
Know When It’s an Emergency
Most, if not all routine, at-home nail cutting sessions will pass without incident. Once in a blue moon, your dog may fidget or shift, making you accidentally cut a piece of nail you didn’t mean to. On very rare occasions, extenuating circumstances cause significant nail trauma that may need more than styptic powder or an ice cube.
If your pup’s toe doesn’t stop bleeding for over 10 minutes, or if a more significant part of the toenail comes off (as in, it’s partially or completely torn out) seek veterinary care immediately.
No Need for an Emergency Trip to the Vet
If you accidentally cut your dog’s nails a little too short, you haven’t hurt them beyond repair. Following the steps outlined above will help you stay calm, keep your dog calm, quell the pain, and get the nail fixed. Just make sure the next time you go to cut your dog’s nails, you know where the quick is and what to do if you nick it again. And thankfully, dogs don’t hold grudges as humans do, so they won’t stay mad at you!